A quick decision guide for Scenario users
When you first start generating with Scenario, it can feel tricky to know which model will give you the results you’re looking for. The key is to approach it in stages, moving from the simplest option to the most customized.
A. Image Generation
Begin by clarifying your creative goal. Is the look you’re after highly stylized or photorealistic? Is the subject matter simple, or does it involve complex compositions and details? Do you need a unique, branded style, or will a general style be enough?
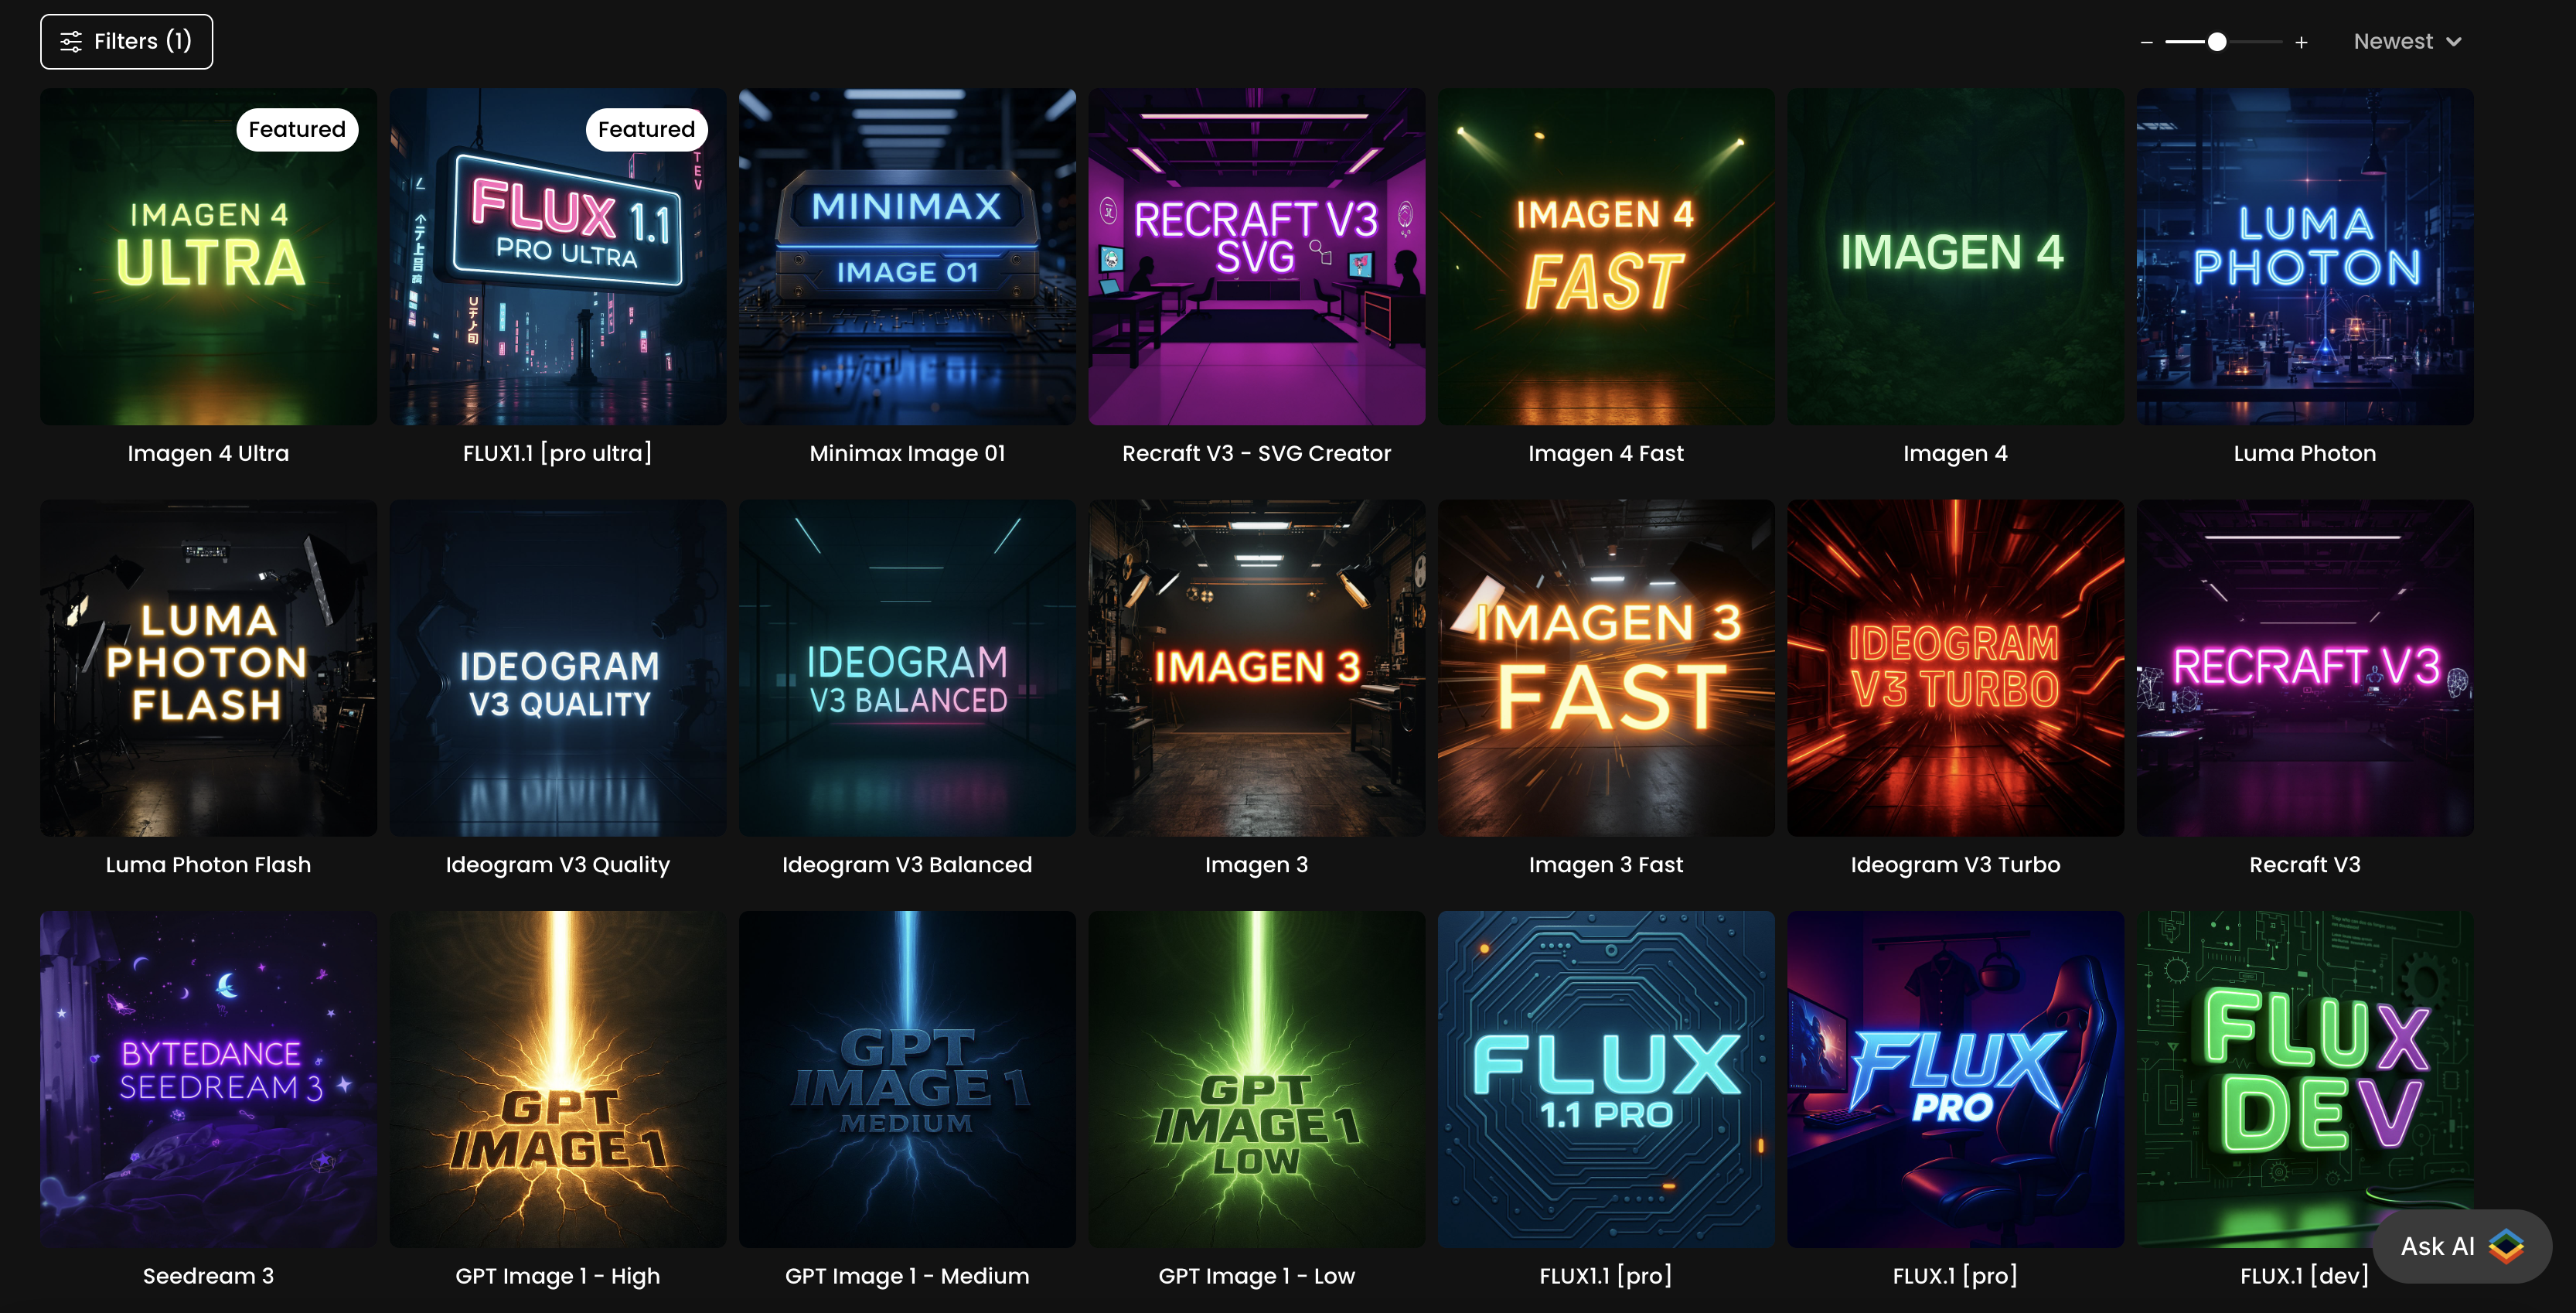
Step 1 - Start with Base Models
In most cases, the easiest and fastest starting point is a base model. Scenario offers more than a dozen, but models like Imagen 4 Ultra and Flux 1.1 Pro Ultra are excellent for first tests. Keep prompts simple at the start, then refine them to push the output toward your vision. If one base model doesn’t work, switch to another base model moving to more advanced options.
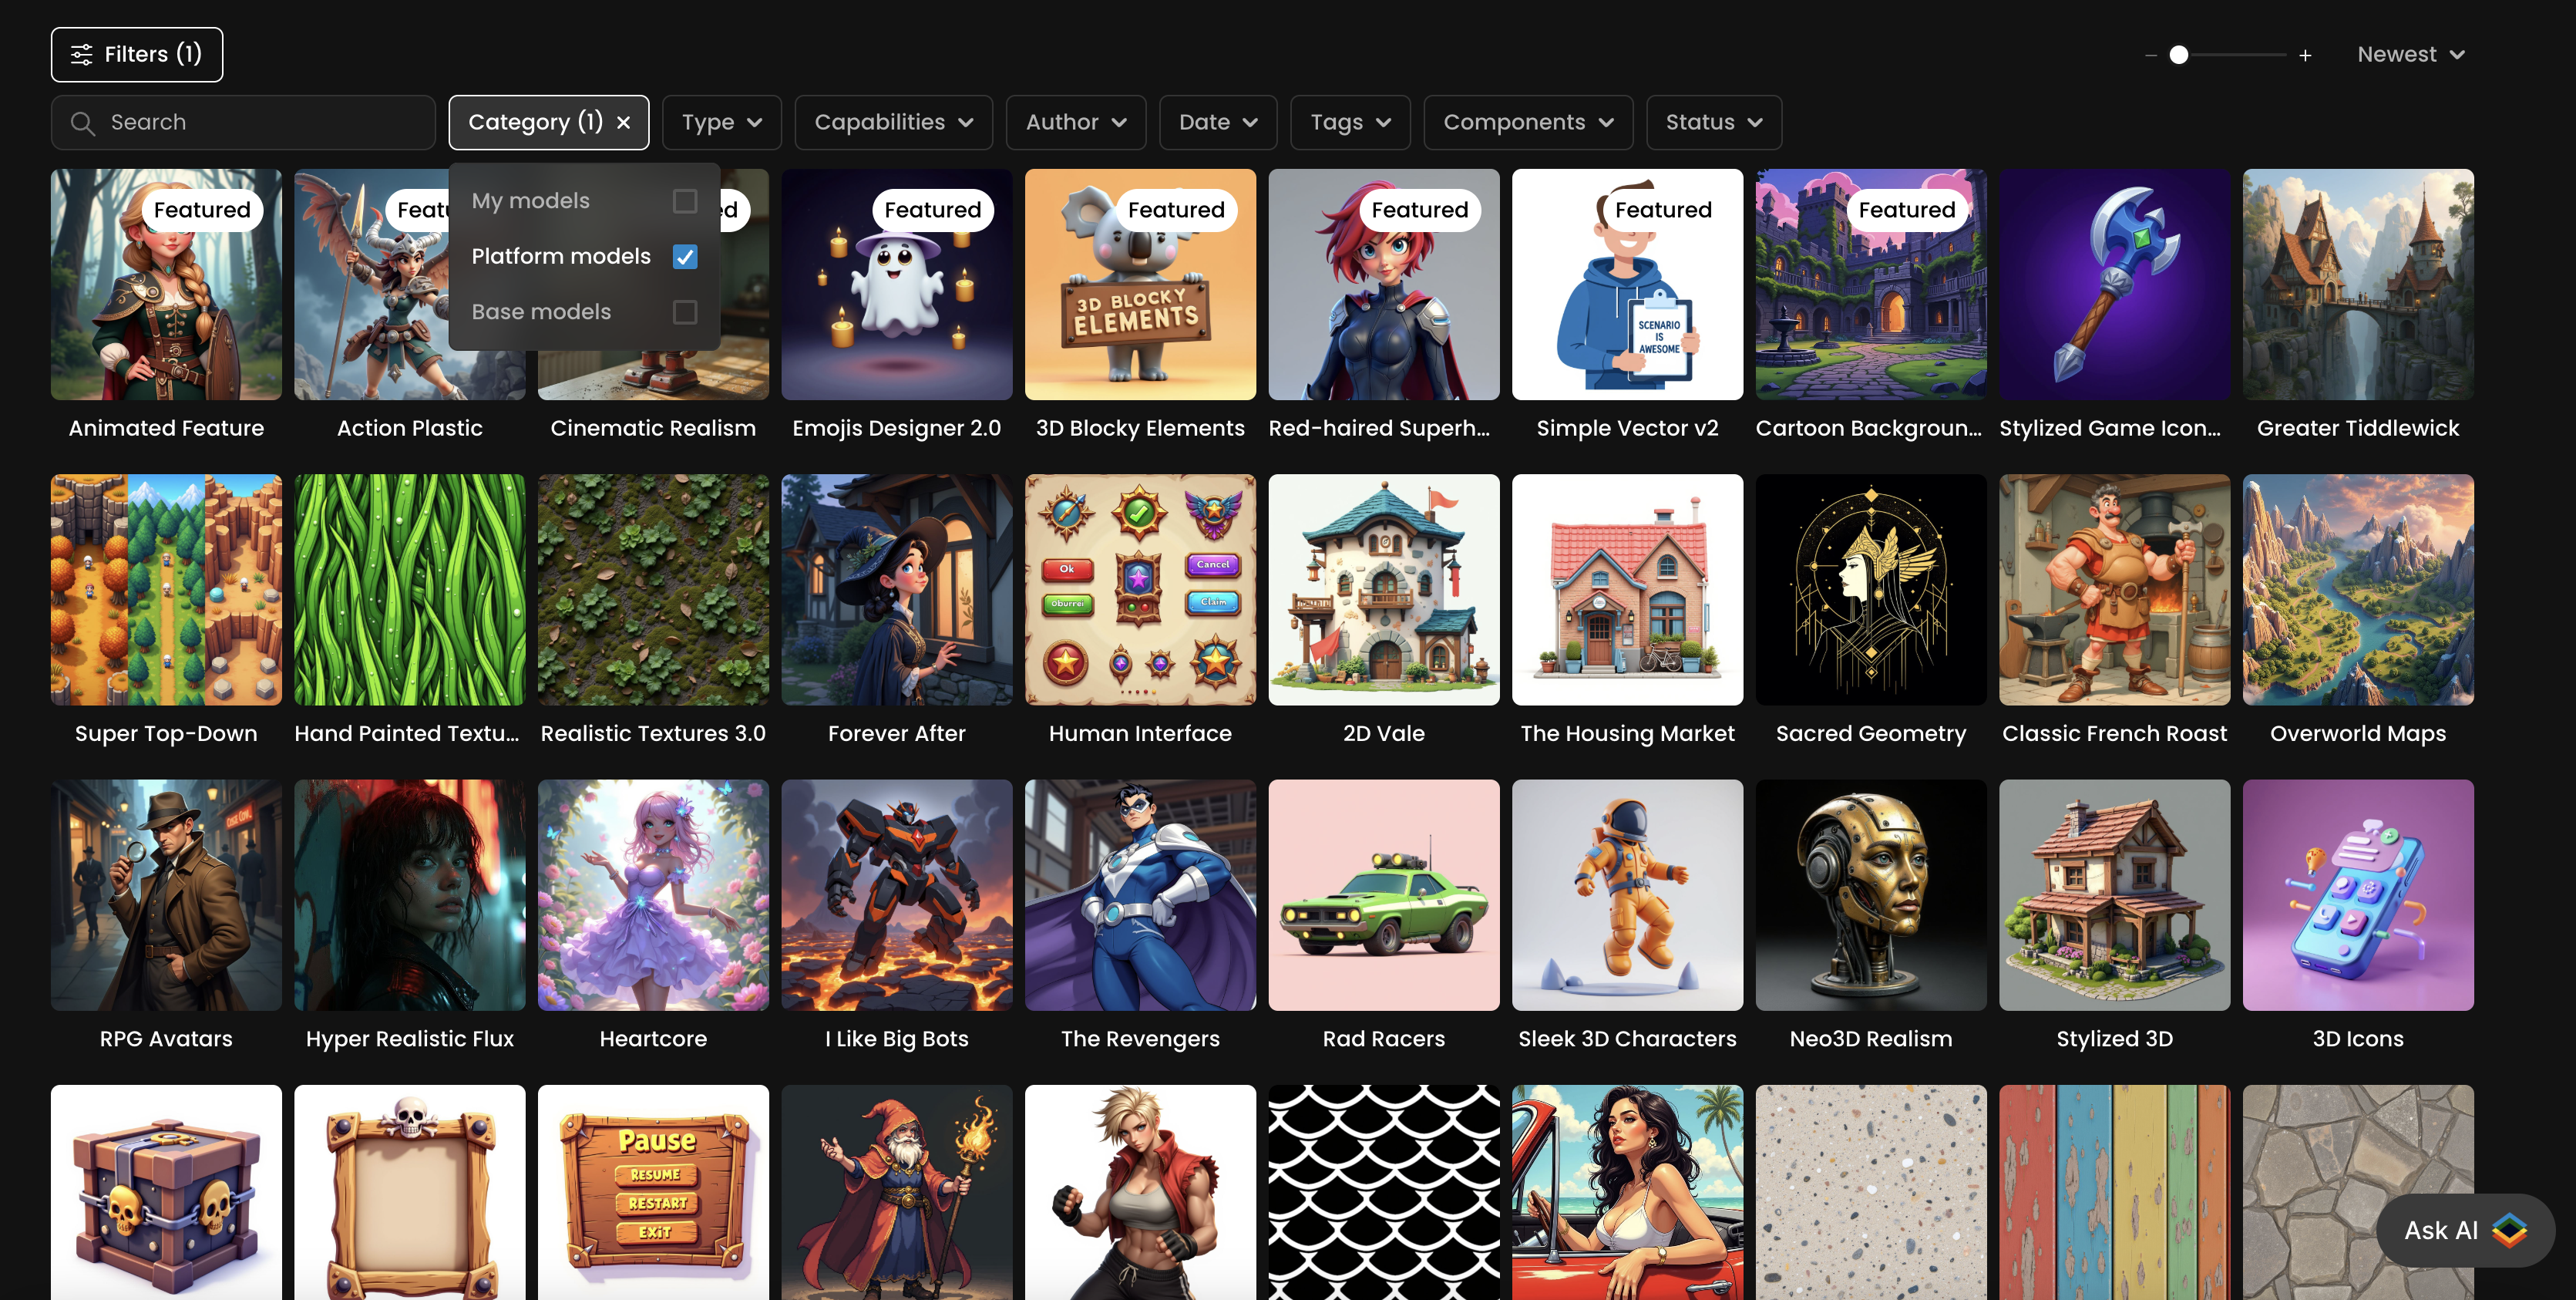
Step 2 - Evaluate Platform Models (LoRAs)
If the base models still can’t achieve the style you want, explore Scenario’s platform models. These are pre-trained for specific purposes, ranging from character designs and stylized art to props, UI assets, and more. Each has pinned example images, so you can see its style in action before committing compute resources.
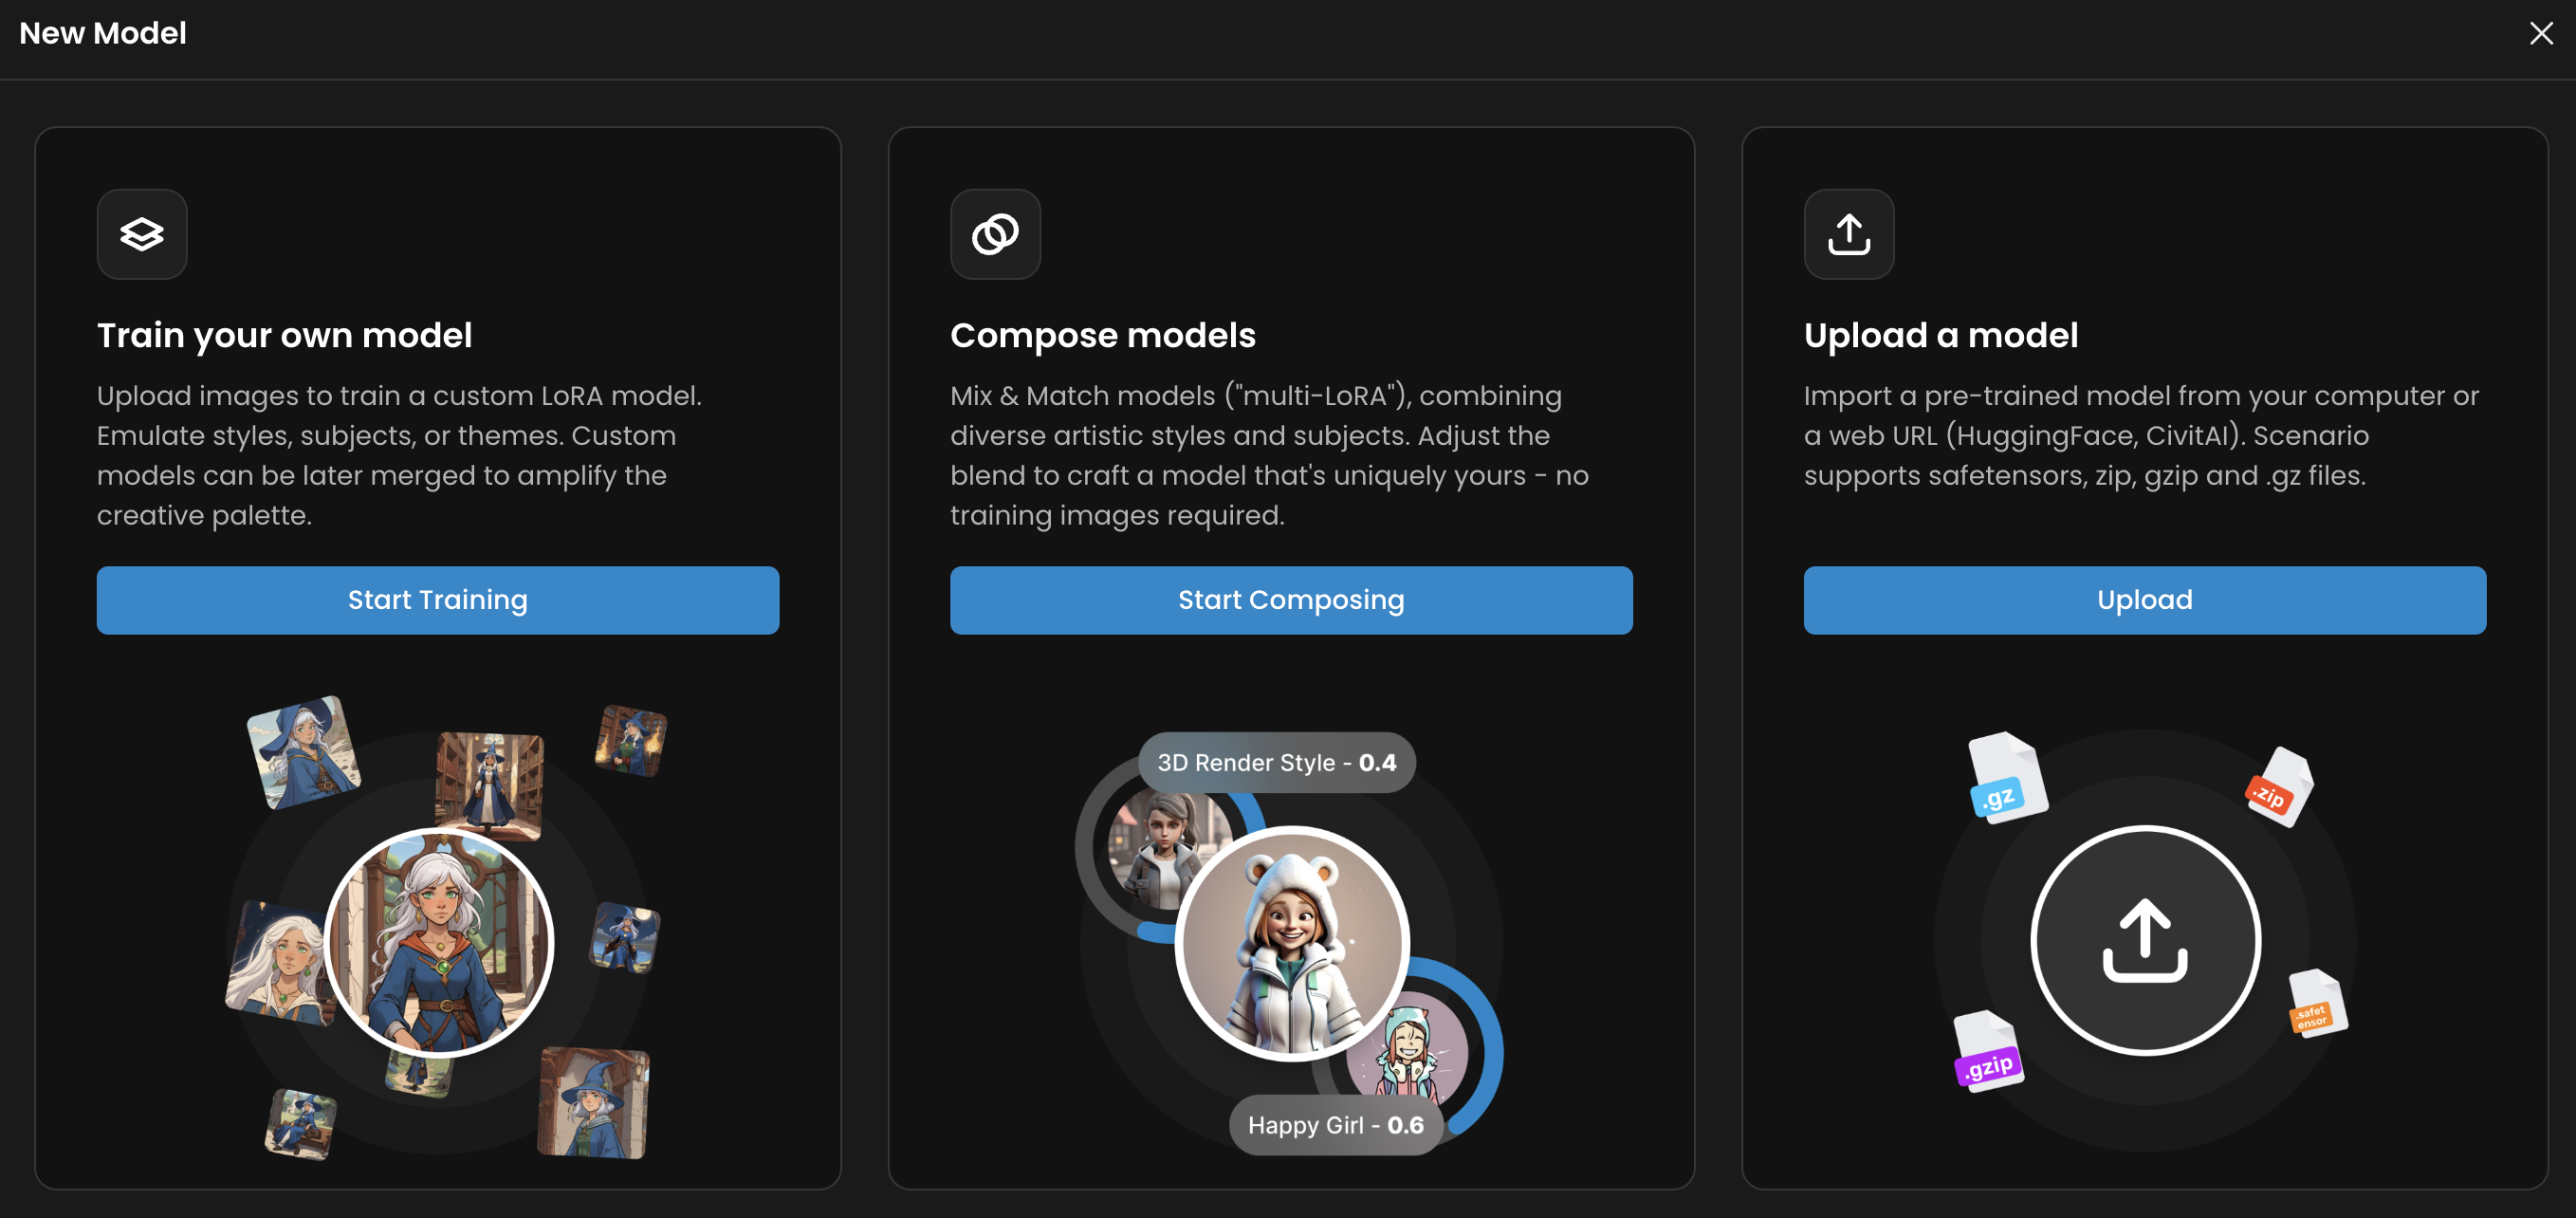
Step 3 - Train your Own Models
When neither base nor platform models match your needs, that’s the time to consider training your own. With a set of 5–50 high-quality images (20 on average works well), you can create a style or character model that reproduces a consistent, on-brand look across every generation. This is the most flexible option and is ideal when your project requires an exact aesthetic that can’t be reached through prompting alone.
Whatever path you take, remember that model choice is only part of the equation. Testing, experimenting, and refining your prompts will have just as much impact on the final output. Tools like Prompt Spark can help you quickly improve your prompt structure, making it easier to get the results you want. Even if you plan to train a custom model, it’s smart to start with a base model first — it saves time and credits while giving you a clearer direction before you commit to training.
B. Video Generation
Start by considering if you are building from scratch using text prompts, or animate existing images. Scenario offers versatile tools for every approach. Text-to-Video (T2V) models create animations purely from textual descriptions—perfect if you’re looking to visualize concepts without a base image.
In contrast, Image-to-Video (I2V) models animate an existing image, preserving its style and composition while adding natural movement. There are also hybrid models that support both inputs, offering maximum flexibility .
When choosing a video model, consider several dimensions:
Visual Quality: Do you need fast, low-resolution clips for concept testing (e.g., 480p), or high-definition outputs for final showcases (720p, 1080p)? Some models perform better than others at maintaining detail and clarity across frames
Motion Quality: How important is realism or cinematic camera movement? Some models are designed for smooth, realistic motion and camera dynamics
Style Matching: Certain models excel in realism, animation, or stylized visuals. Pick one aligned with the aesthetic you're targeting
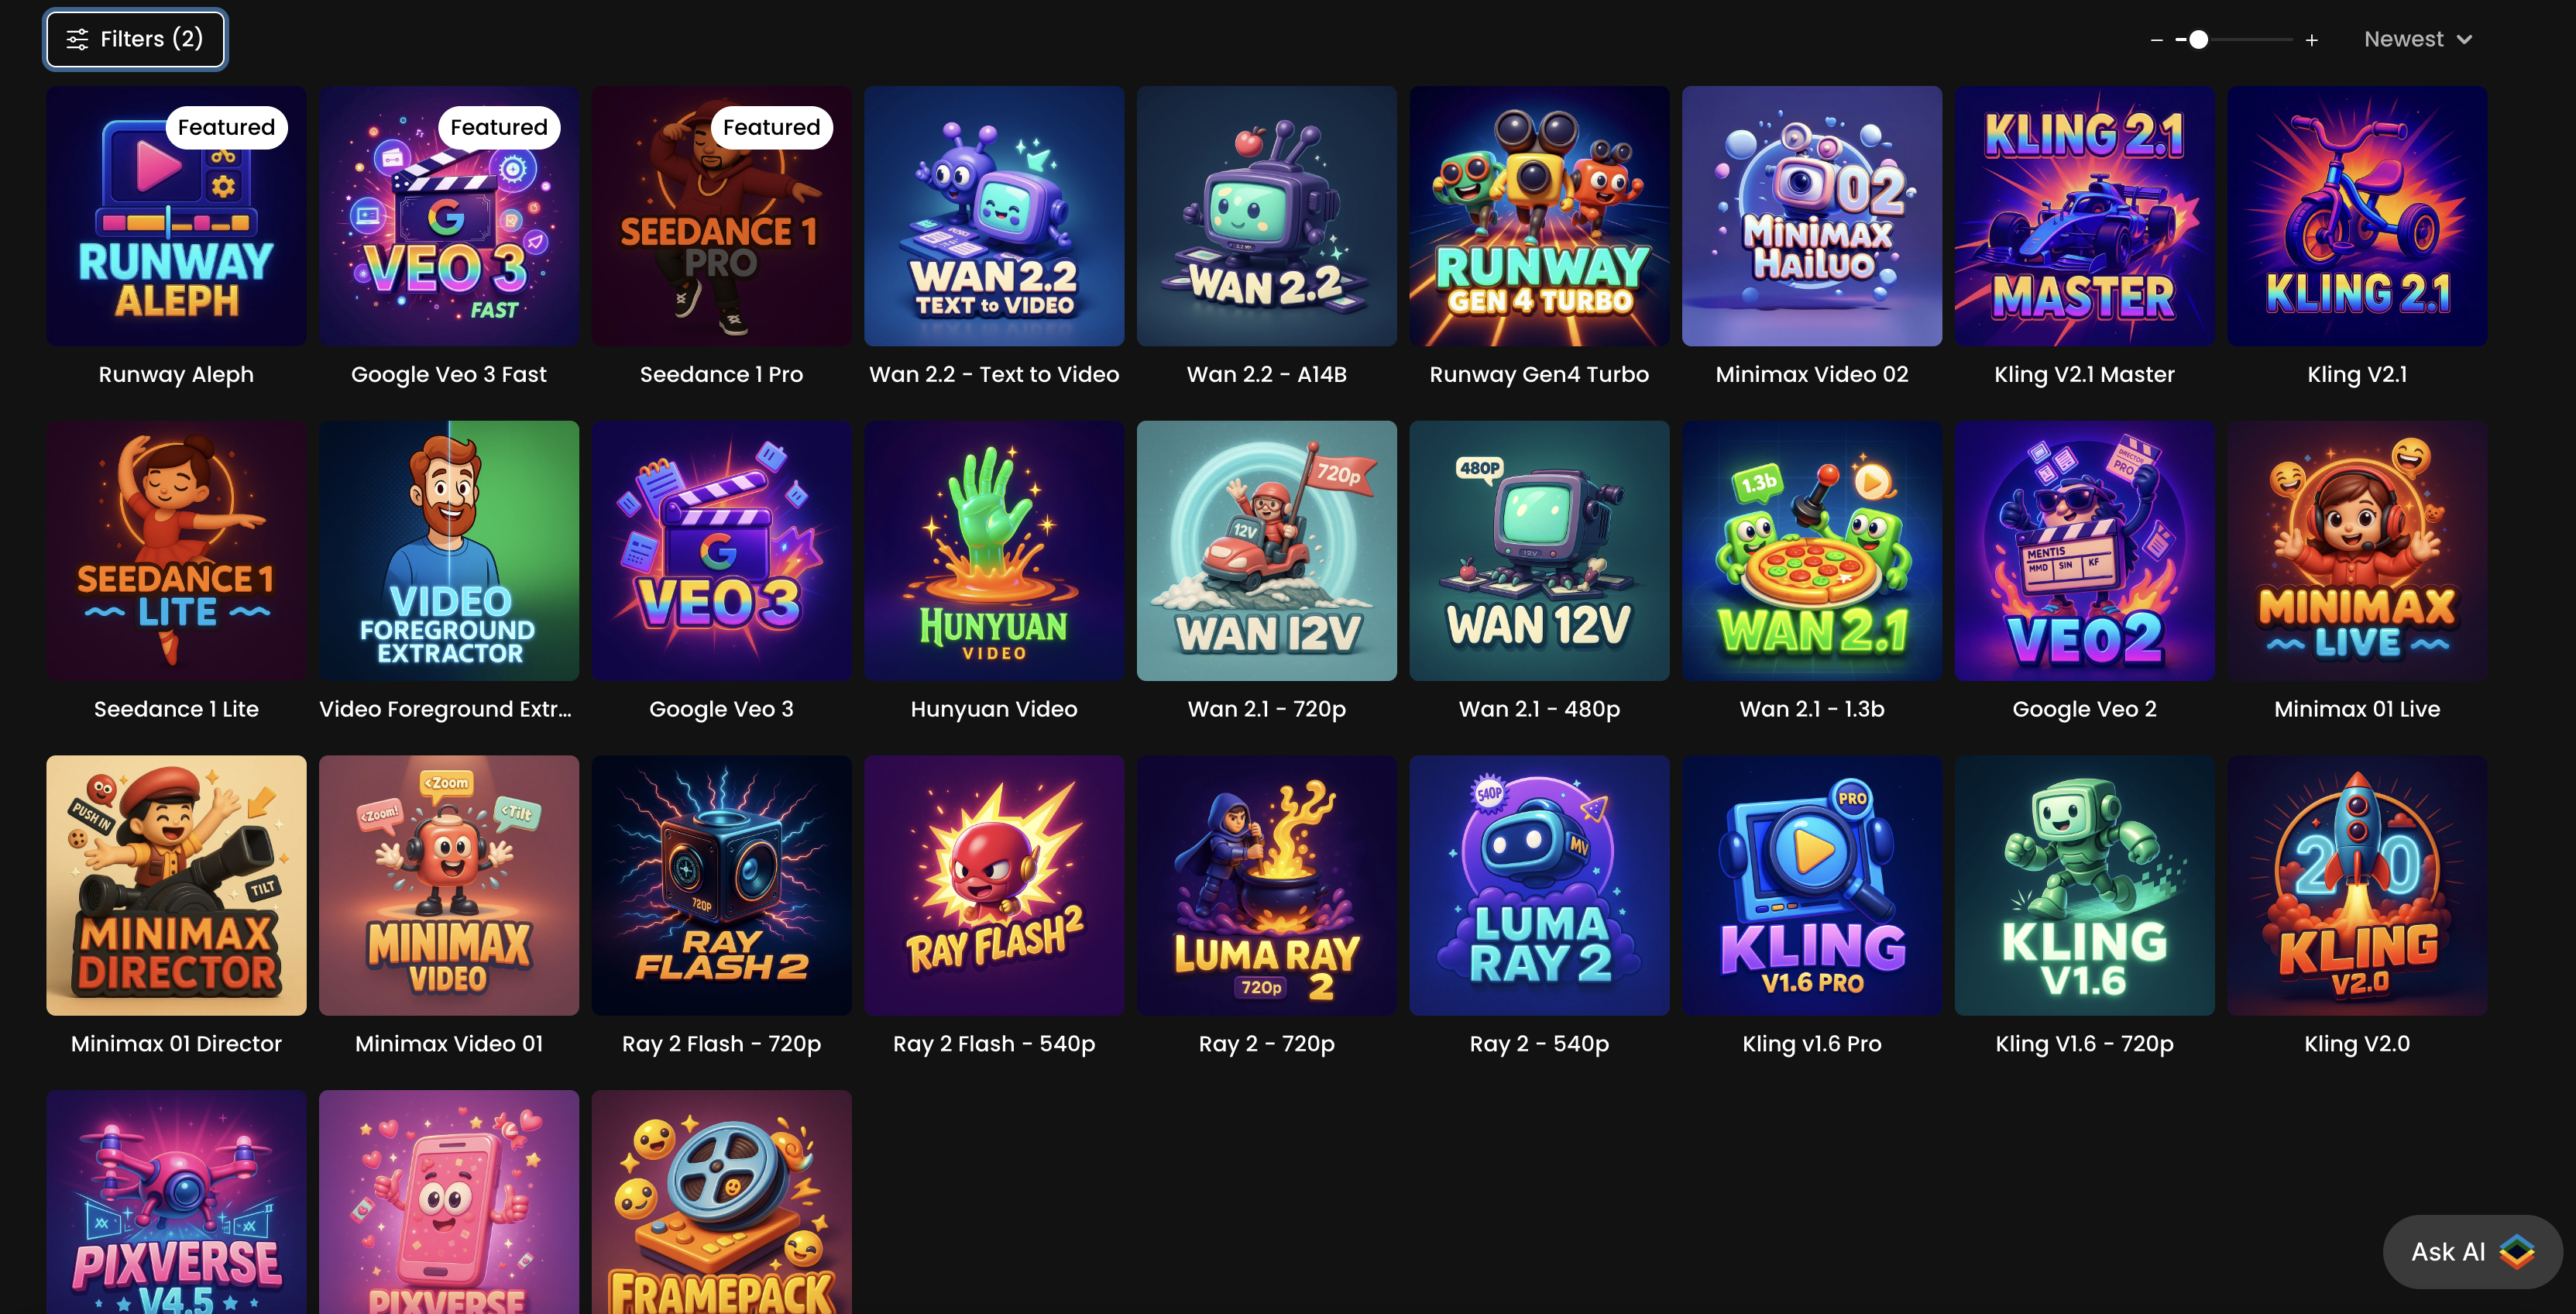
Begin by testing popular all‑purpose choices like Seedance, Kling, or PixVerse, then move to specialized models like Minimax or Wan if your project demands something more stylistically specific
Once your model is selected, craft your prompt carefully: define movement (e.g., “slow pan,” “rotating,” “hair swaying”), specify visual style, and include camera/lighting cues. Prompt Spark is a helpful tool to refine your prompts faster
C. Generative 3D
Scenario’s 3D Generation tools allow you to create fully textured 3D models (with PBR materials) from a single image or prompt. The workflow is similar to image and video generation — start simple, then move toward more specialized models and settings as needed.
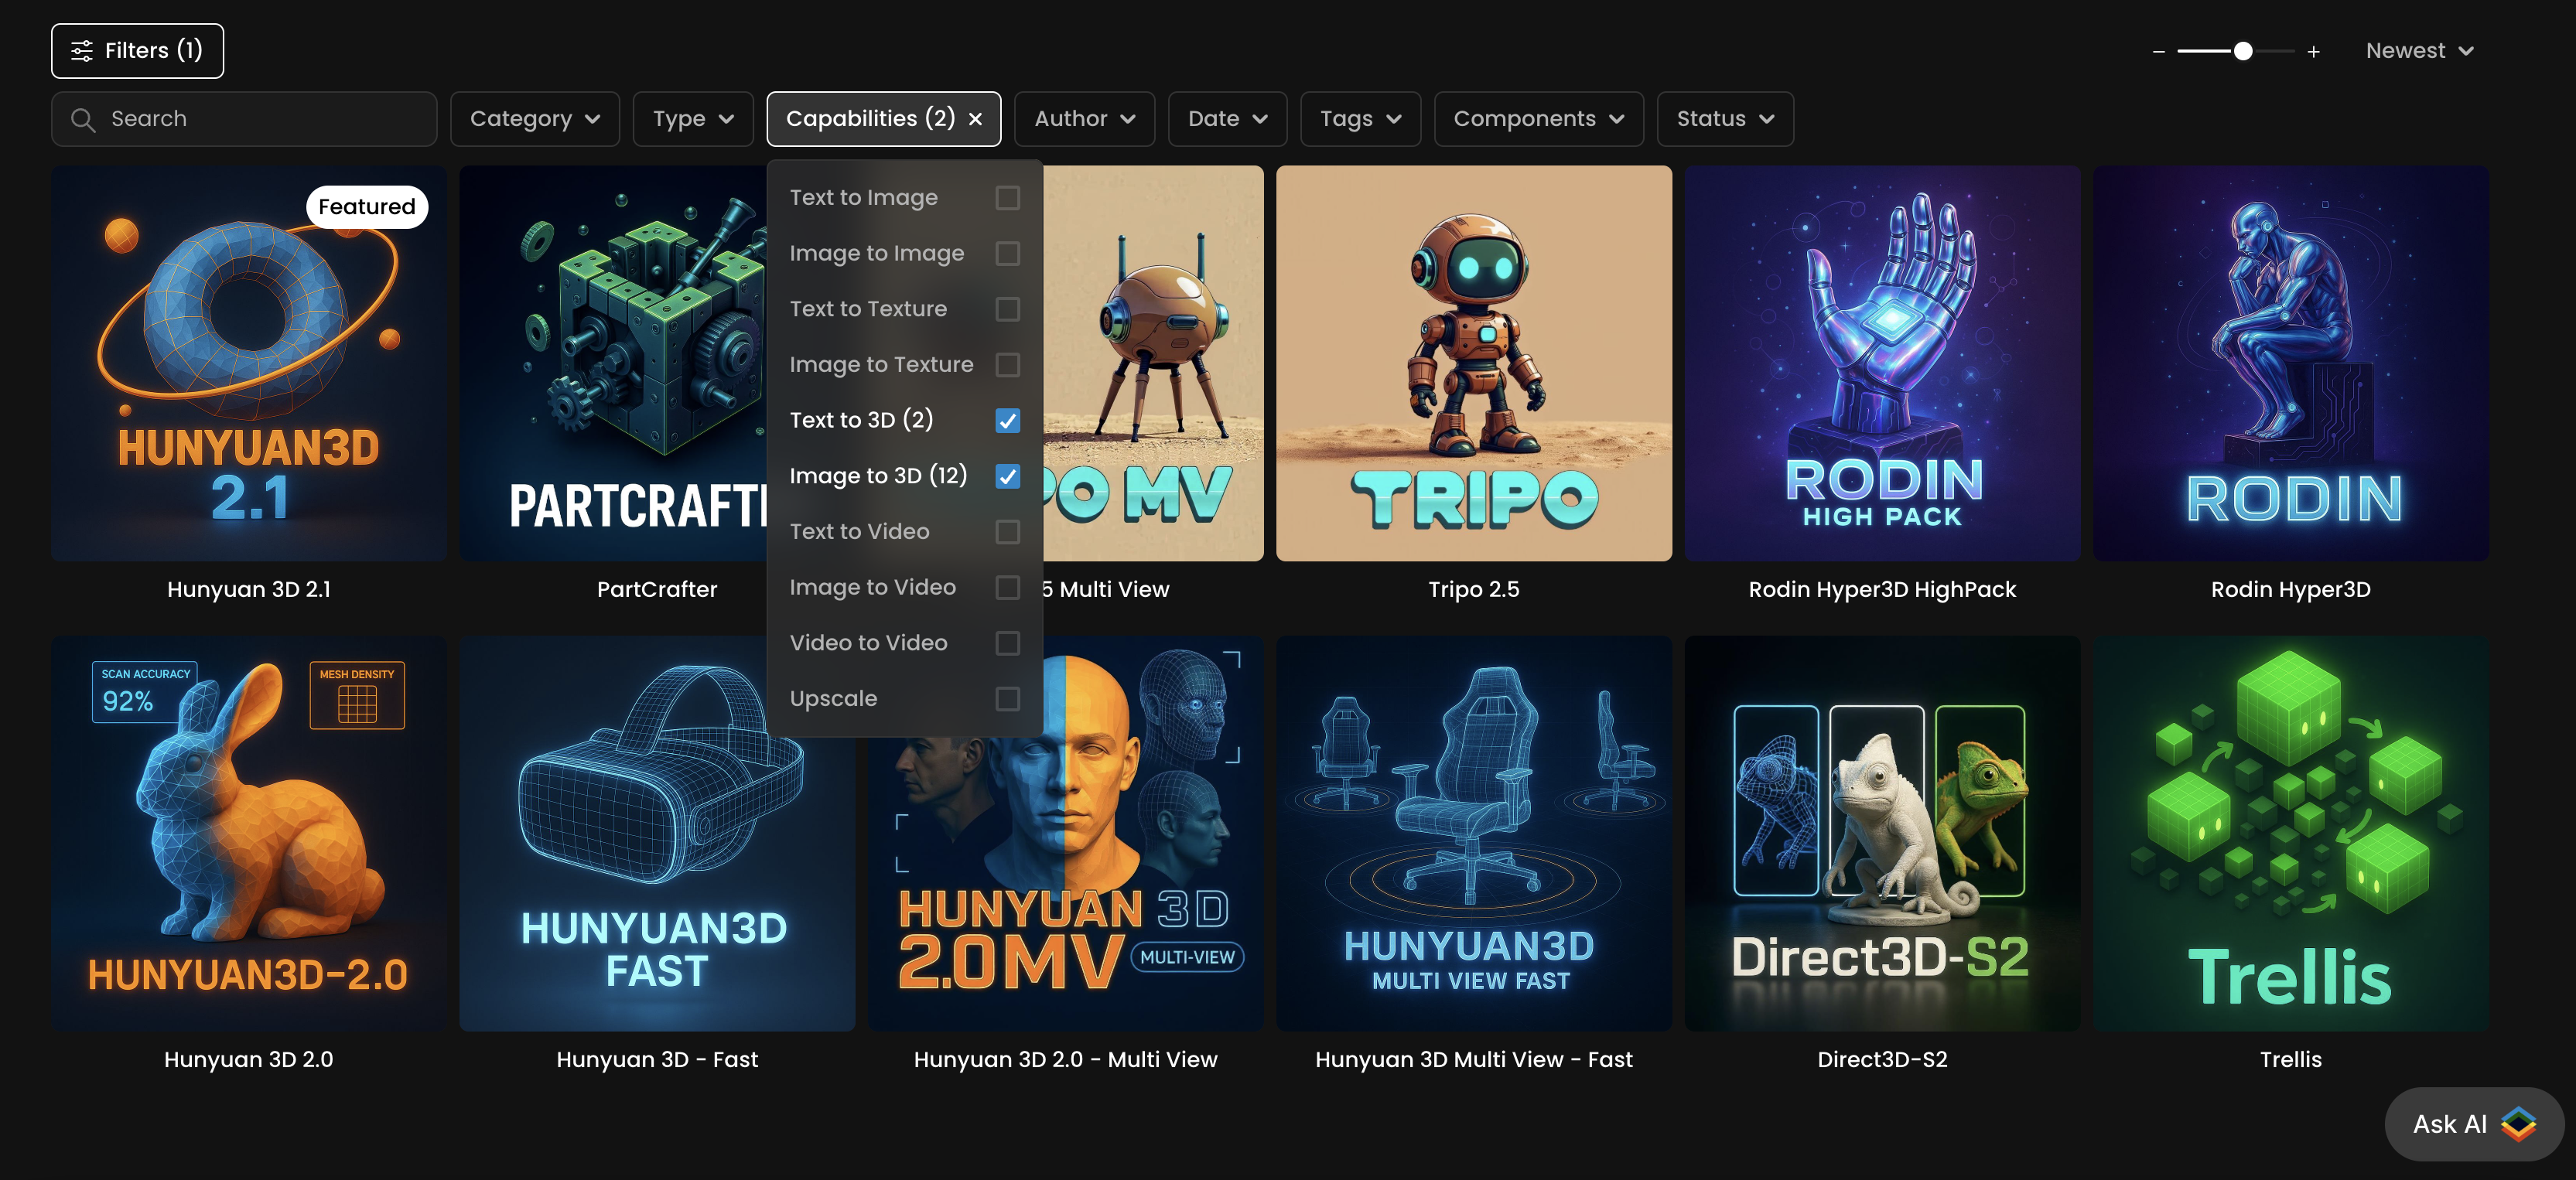
Begin by deciding whether you need a quick concept model for prototyping or a high-fidelity asset for production. If you’re testing an idea, start with a default 3D model like Hunyuan 2.1 or Rodin Hyper3D, which balance speed and quality. For more complex designs, experiment with specialized models such as PartCrafter (for generating modular pieces) or multi-view workflows to capture your subject from multiple angles for greater accuracy.
As with other generation types, quality is influenced by your input. Clear, high-resolution reference images with well-defined shapes and textures will produce the best results. If you already have an on-brand 2D style, you can generate a reference image with Scenario’s image tools, then feed it into the 3D generator to maintain style consistency across formats.
Once generated, review your 3D output in the 3D viewer. You can adjust advanced parameters such as polygon count, texture resolution, or output format to fit your pipeline. For asset refinement, consider iterating on specific views or using the multi-view process to improve symmetry and detail. Final models can be downloaded in common formats for direct integration into your game engine, 3D design software, or other production tools.
For the most consistent, high-quality results, follow these best practices:
Use reference images that clearly show the object’s proportions and key details.
When possible, supply multiple angles to reduce distortion and guesswork.
Match your generation model to your intended use case — choose realism-oriented models for photoreal assets, and stylized-capable ones for cartoon or game styles.
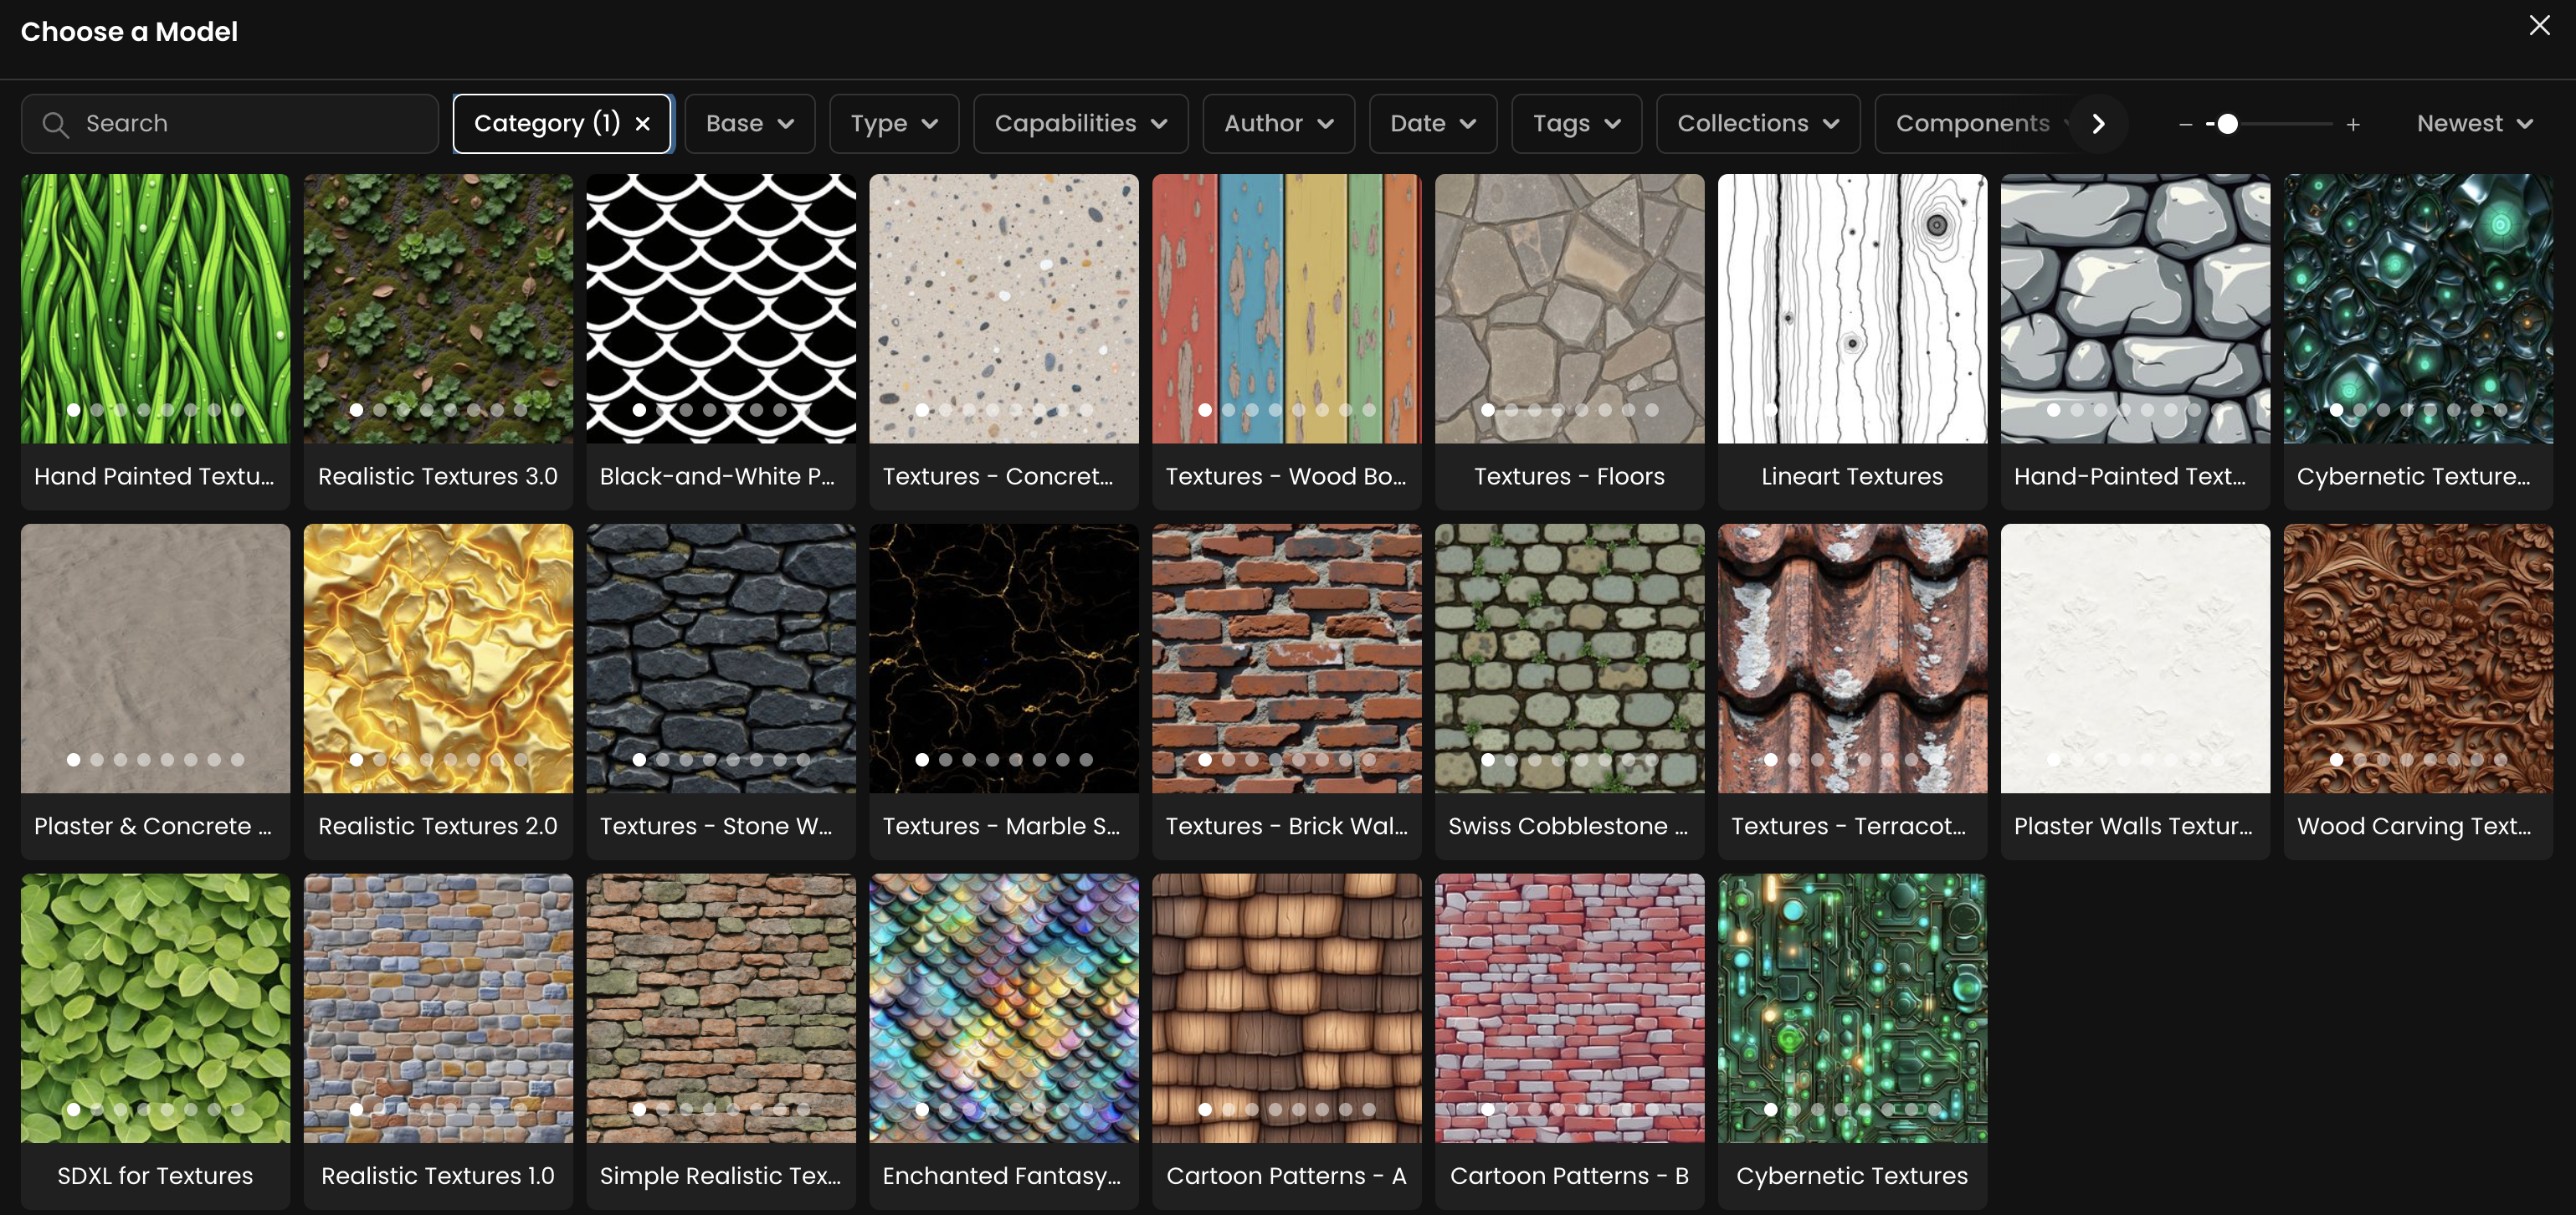
D. Materials & Seamless Textures
Scenario’s texture models create seamless, tileable materials They can be realistic—like photoreal wood, stone, or fabric—or stylized, matching cartoon, painterly, or game-specific looks.
Step 1 – Start with Platform Texture Models
Browse Scenario’s pre-trained texture models by material category (e.g., stone, fabric, wood, metal, organic). Each produces loopable patterns you can use immediately for PBR maps or design work.
Step 2 – Train Your Own Texture Models, for Unique Materials
If you need a proprietary style or exact match to your art direction, train a custom model with 5–20 high-quality, square textures. Keep lighting neutral and surfaces clean to ensure perfect tiling.
Conclusion
Scenario offers one of the most comprehensive ranges of generative models available—covering images, video, 3D assets, and seamless materials—all designed to work together in a unified creative workflow. Whether you start with a base model, explore specialized platform models, or train your own, the process is the same: begin simple, test often, and refine until you achieve consistent, production-ready results. By progressing in stages and leveraging Scenario’s full toolset, you can move from concept to polished asset faster, while maintaining complete creative control.
Was this helpful?