In this guide, we will walk you through the process of creating an animated character for a 2D platformer game using Scenario and Blender.
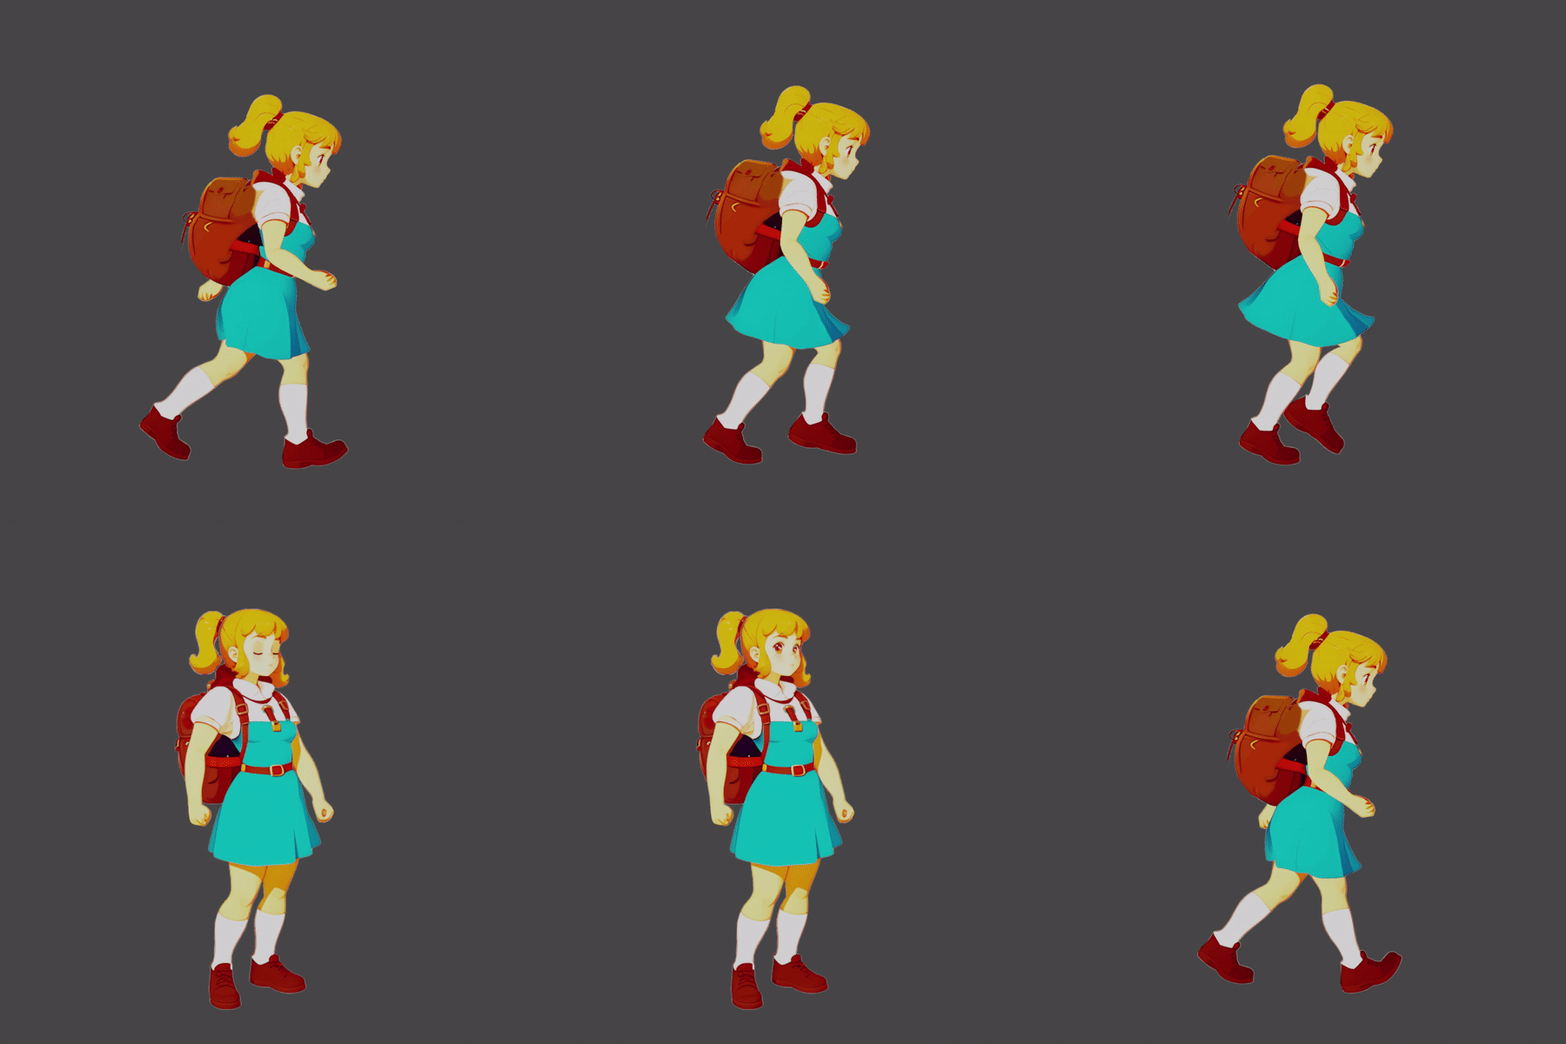
To start, prepare a reference image. The image shown below was specifically designed for platformer game characters.
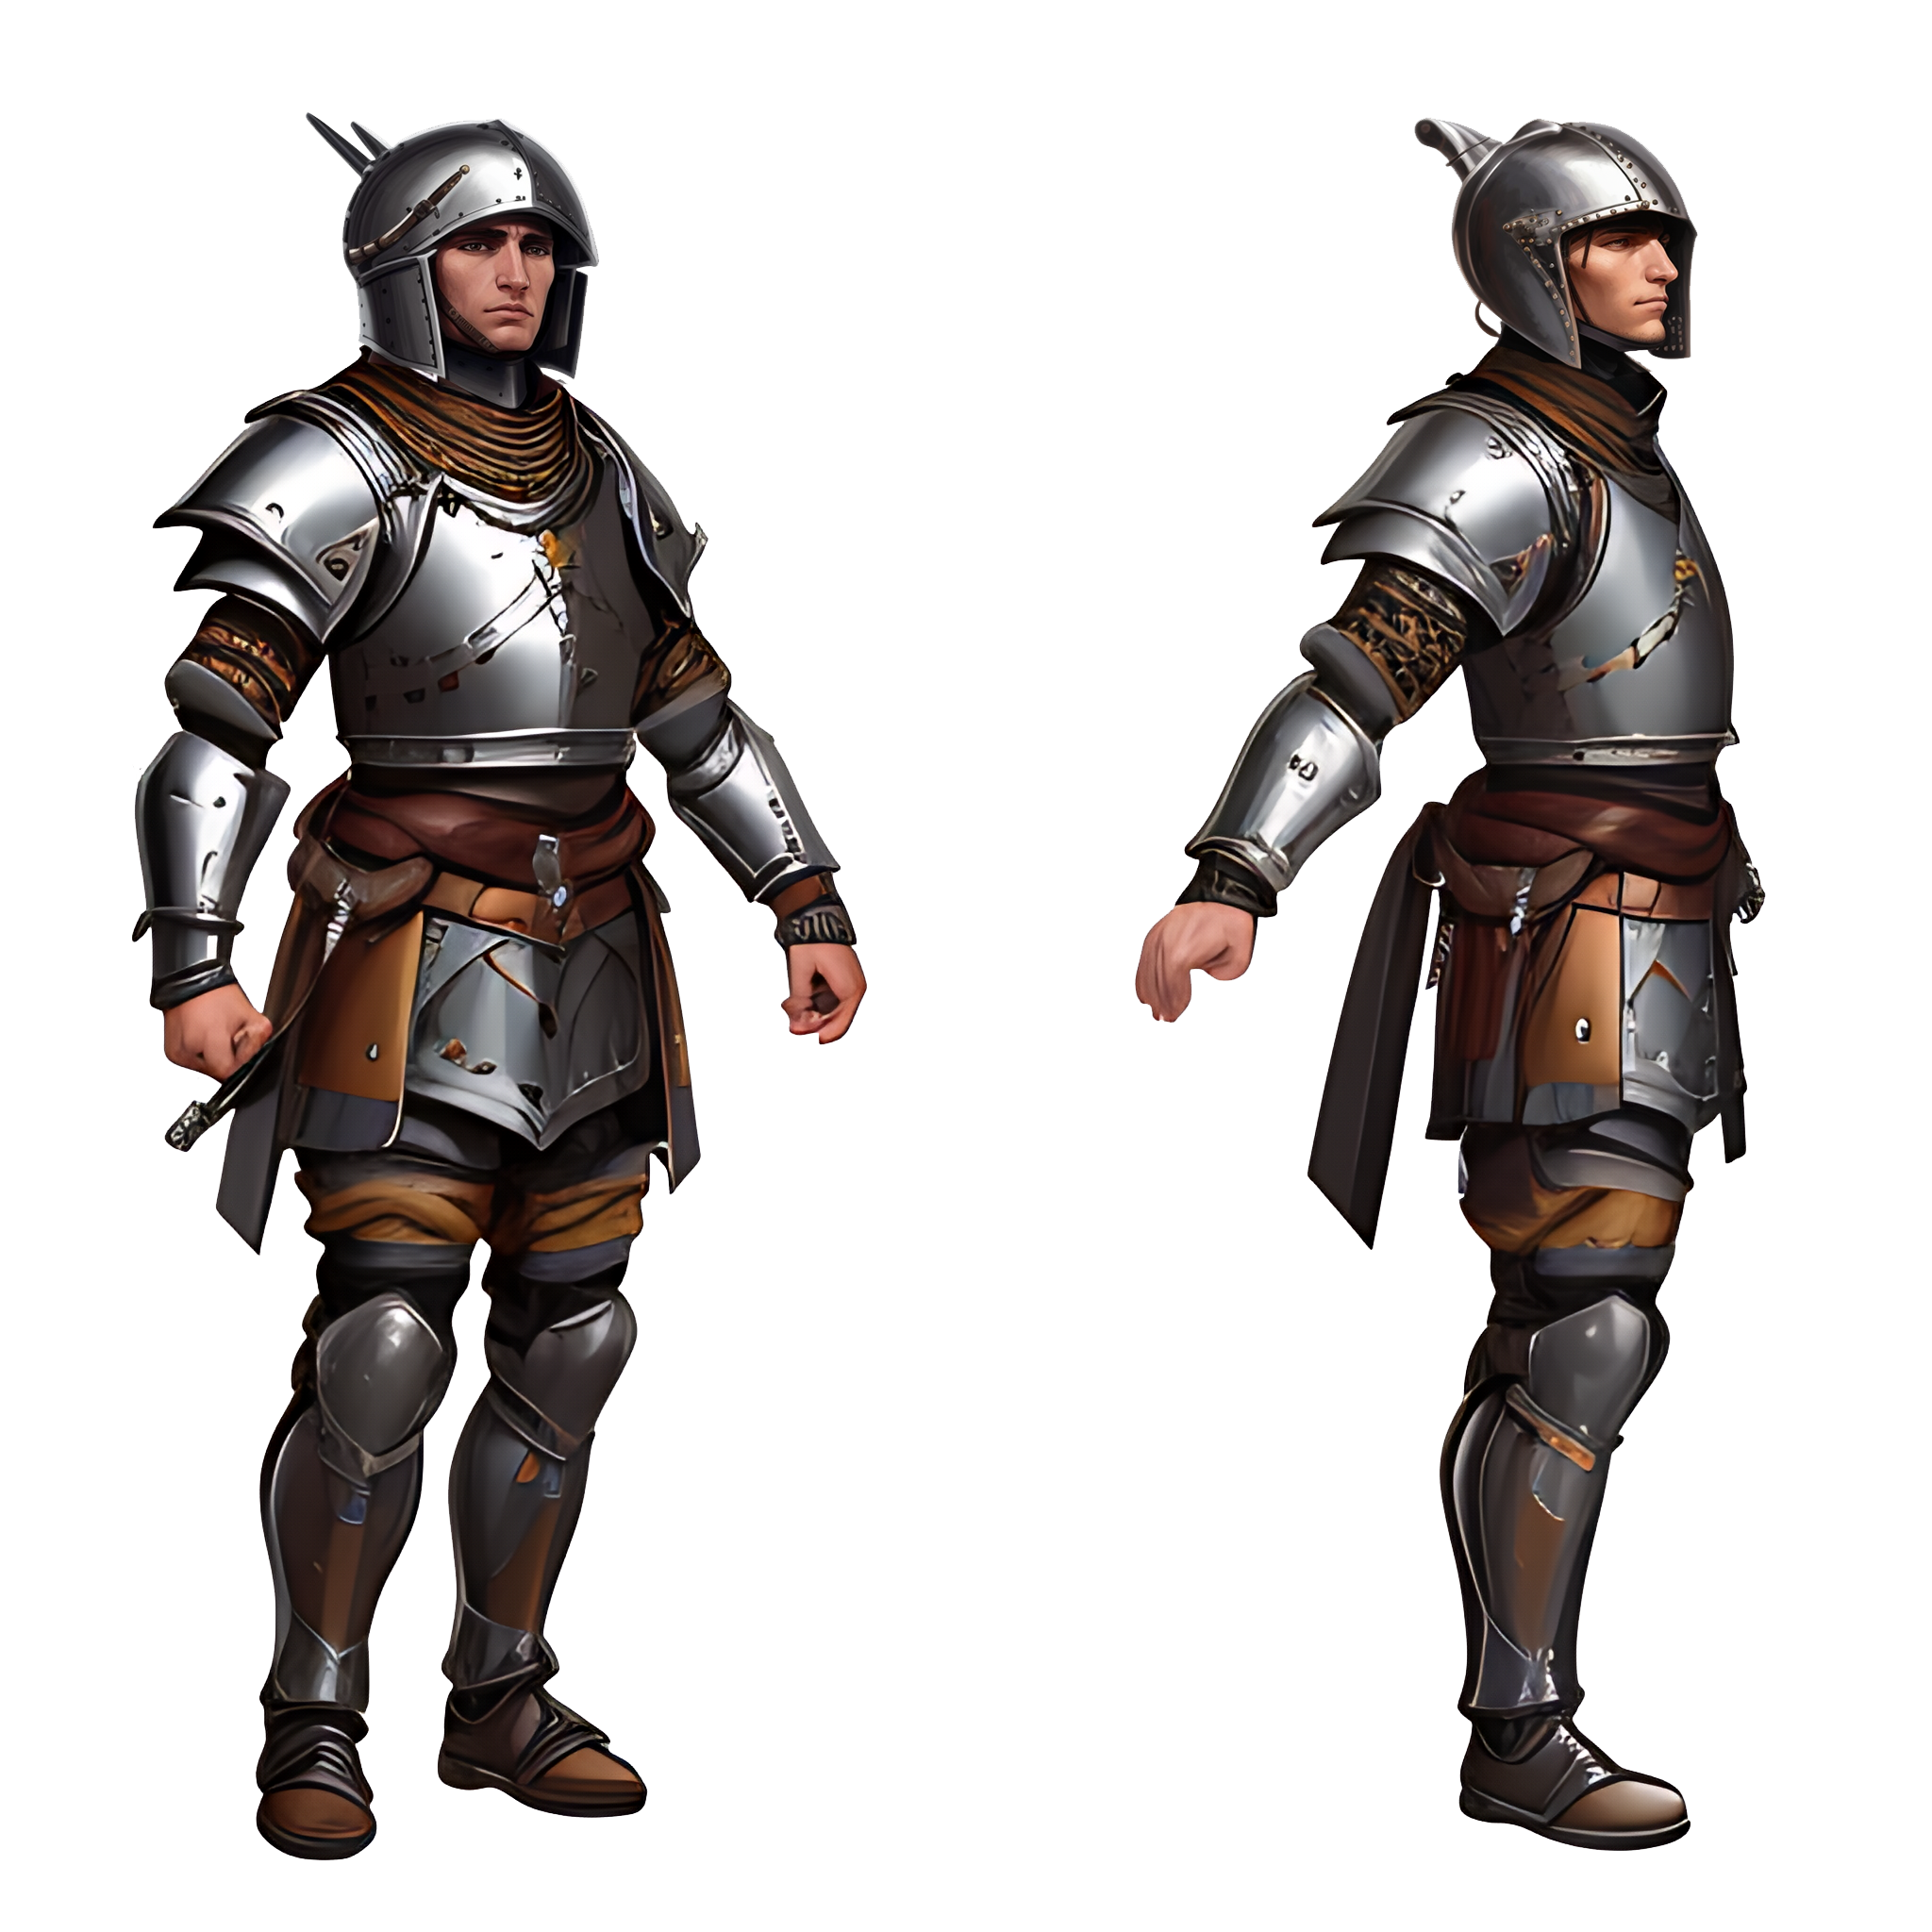
Next, it's time to create your character. Visit app.scenario.com and click on "Generate Images". Select the Cozy World Builder model add the reference image, and set the mode to ControlNet Pose.
-1.png)
Continue generating images and adding prompts until you achieve the desired result. Then, select the image and remove the background.
It will often be necessary to retouch the character's face to improve the quality.
Next, we will prepare the character for animation by separating some parts of the character. This process involves using an image editor to cut out parts of the character and manually filling the "hole" created.
-1.png)
Most of the time, it's necessary to separate the arms from both poses. In some cases, you may need to separate the leg. In this tutorial, we separated the leg to animate the skirt.
Start by importing your images into Blender using the "Import as Planes" add-on.
-1.png)
Once positioned, go into Edit mode (Tab key) and subdivide (right-click -> Subdivide) your image planes to add more geometry for smoother animation. Delete any unnecessary vertices using Box Select (B key) and Delete (X key -> Vertices).
-1.png)
To begin rigging, create an armature (Shift + A -> Armature) for each geometry and position the bones appropriately. You can extrude new bones in Edit mode by selecting a bone tip and pressing E.
-1.png)
Bind your armature with the geometry by selecting both (Shift + Click), and choosing 'With Automatic Weights' from the Ctrl + P menu. If needed, adjust the weights manually in Weight Paint mode.
Create an Inverse Kinematics (IK) system for the legs in Blender. Start by selecting the armature and going into Edit mode. Create a new bone at the tip of the leg bone chain, which will act as the IK control or target, and position it where you can easily access it. Then switch to Pose mode and select the bone where you want to apply the IK constraint, usually the first bone in the chain such as the thigh.
Add an Inverse Kinematics constraint from the Bone Constraint tab and set the Target to the armature and the Bone to the IK control you created.
Finally, adjust the Chain Length to define how many bones in the chain the IK will affect; typically, this would be 2 for a leg to include the thigh and shin. Now, moving the IK control will lead to a more automatic, natural movement of the leg.
.png)
.png)
In the pose where the character is viewed from the side, duplicate both the geometry and armature of the arm and leg by utilizing the (Shift+D) shortcut.
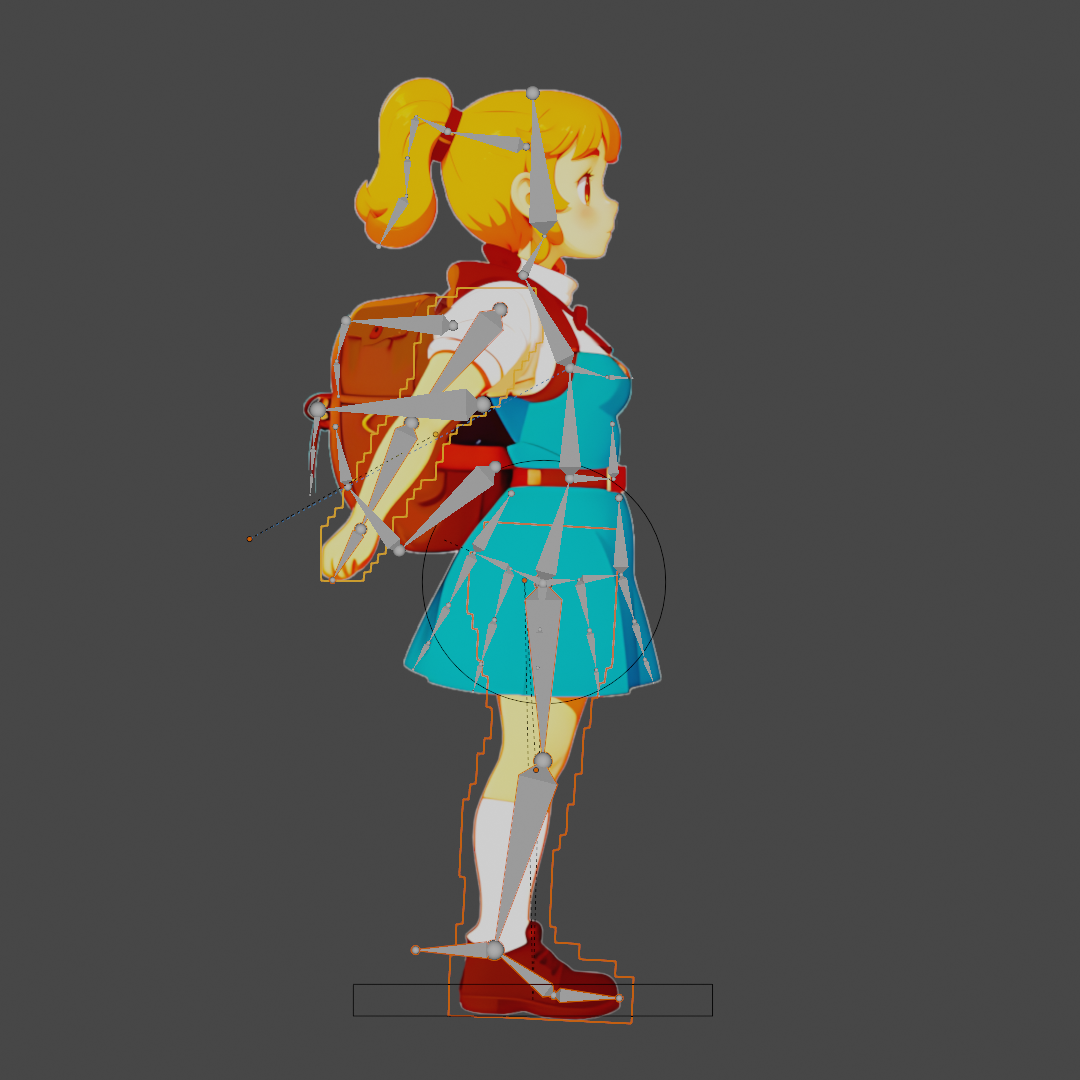
The following image shows the setup of the rigs for each respective pose.
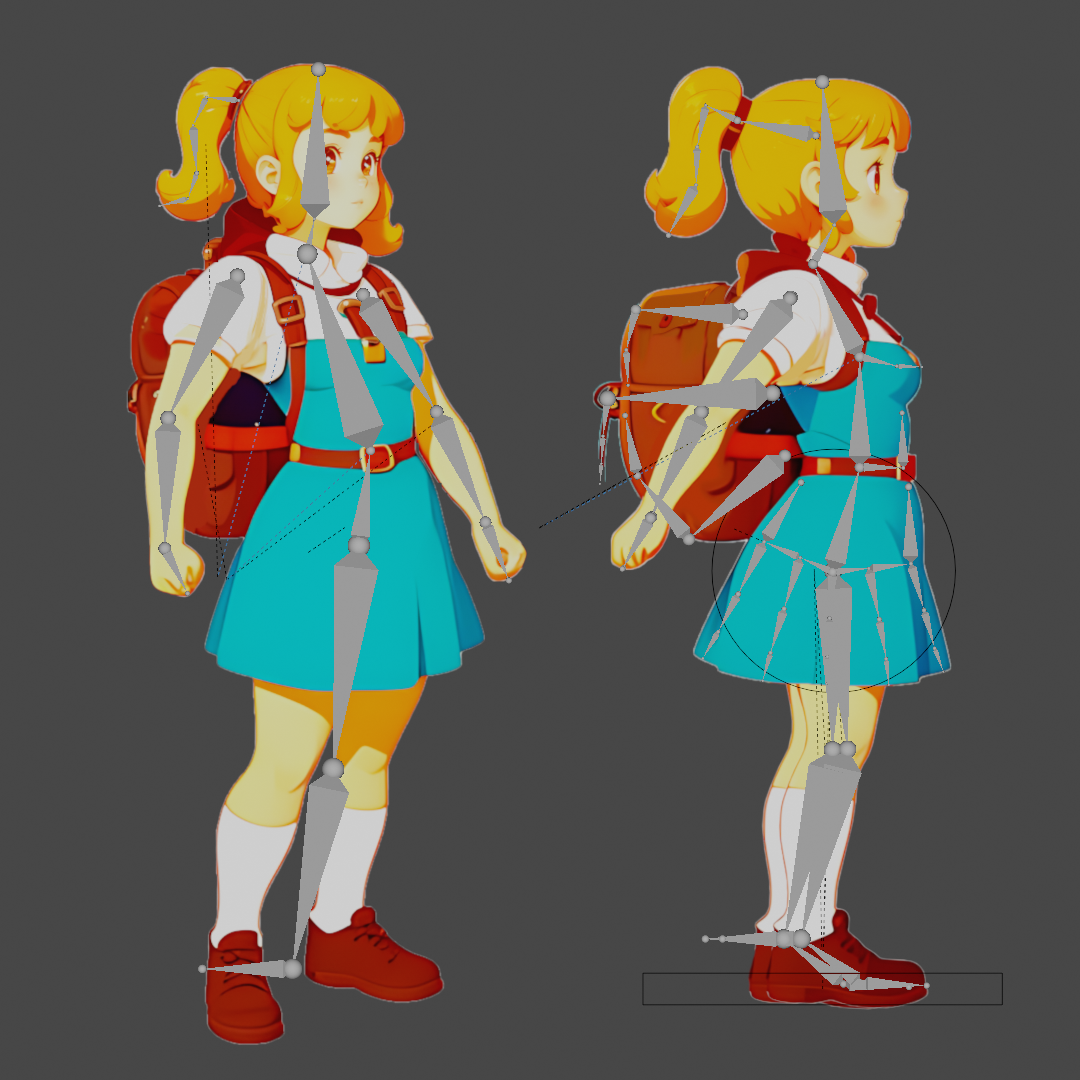
Test your rig in Pose mode (Ctrl + Tab). Select a bone, transform it, and observe the mesh deformation to ensure everything works as expected.
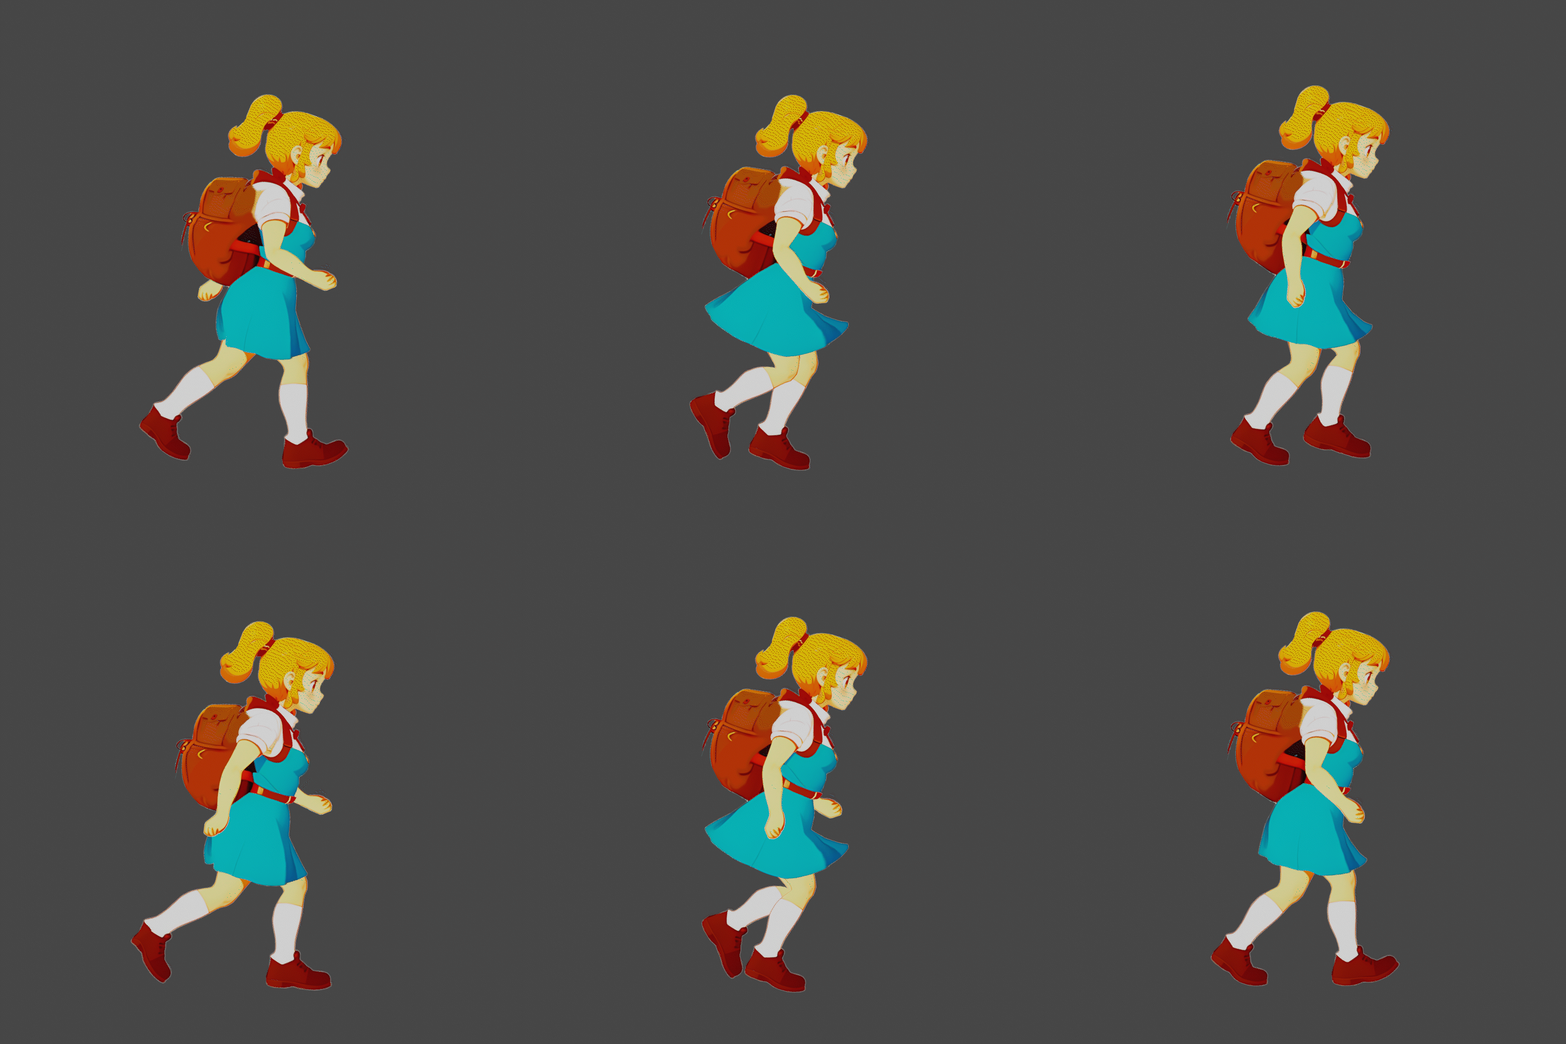
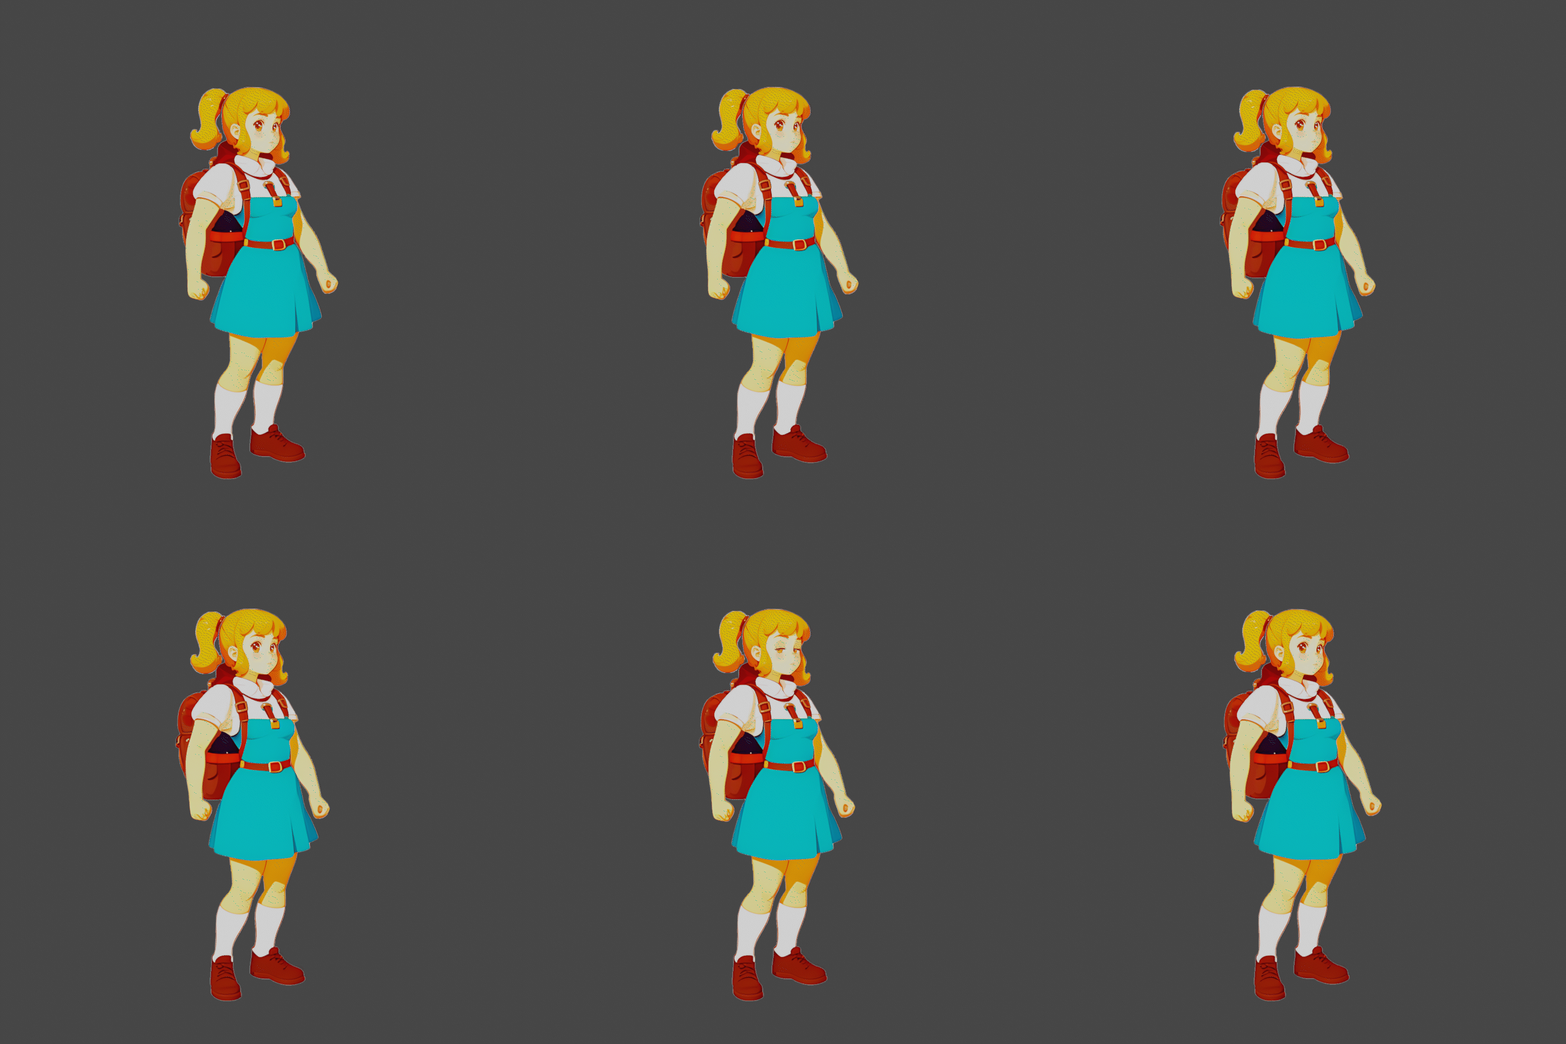
With the rigging process complete, your character is now ready for animation. For the purposes of this guide, we'll be focusing on creating Idle and walking animations. To achieve a natural and convincing animation, it's important to observe and study the movements of real people or use animation references. This practice makes the process easier and more accurate.
Animating in Blender is a dynamic process that combines technical skills with artistic instinct. While it can seem daunting at first, the more you experiment with the tools and principles, the more comfortable you will become. Remember, every animator starts with their first keyframe, and every animation starts with a single movement. Good luck, and happy animating!
You may want to add more life to the character by making it blink. To create this animation we used 2 extra images of the half closed and fully closed eyelids.
.png)
In conclusion, creating a 2D platformer animated character using Scenario and Blender is a straightforward process that involves creating the character, preparing it for animation, rigging, and finally, animating. With the right approach, this task can be both rewarding and exciting. With the guide above, you can successfully design and animate your platformer game character. Enjoy the process and let your creativity shine!
Was this helpful?

Quentin