Create and Manage your Organization
Last updated: April 9, 2026
This guide provides a walkthrough of creating and managing organizations in Scenario. It covers everything from initial setup to advanced team management using Role-Based Access Control (RBAC), ensuring you can collaborate securely and efficiently.
Understanding the Structure: Organizations and Projects
Scenario uses a two-tiered structure to keep your work organized and secure:
Organizations are the top-level containers in Scenario. An organization holds all your members, projects, billing information, and global settings, serving as the central hub for your entire team.
Projects are dedicated workspaces within an organization. They allow you to structure work by team, campaign, or initiative. All content, such as generated assets and trained models, is isolated within its respective project, ensuring confidentiality and a clean workflow.
Creating Your Organization
Getting your organization set up is a simple, three-step process.
Navigate to the Organization Menu: In the upper-left corner of the interface, hover over the organization icon to open the dropdown menu.
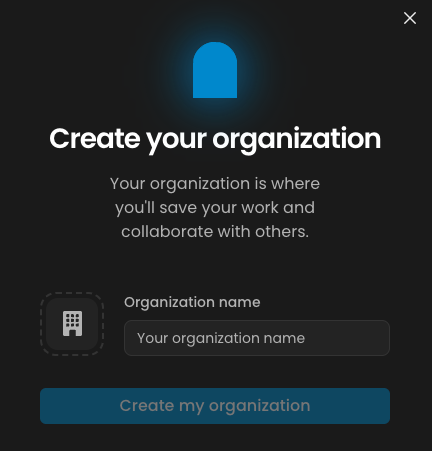
Start the Creation Process: Click the + New Organization button.
Name and Launch: Enter a name for your organization and click Create my organisation. You can now share models and collaborate with your team.
Managing Your Team: Members and Roles (RBAC)
Once your organization is created, you can invite members and assign them specific roles. Scenario's Role-Based Access Control (RBAC) system provides granular control over what each member can see and do.
Inviting Members
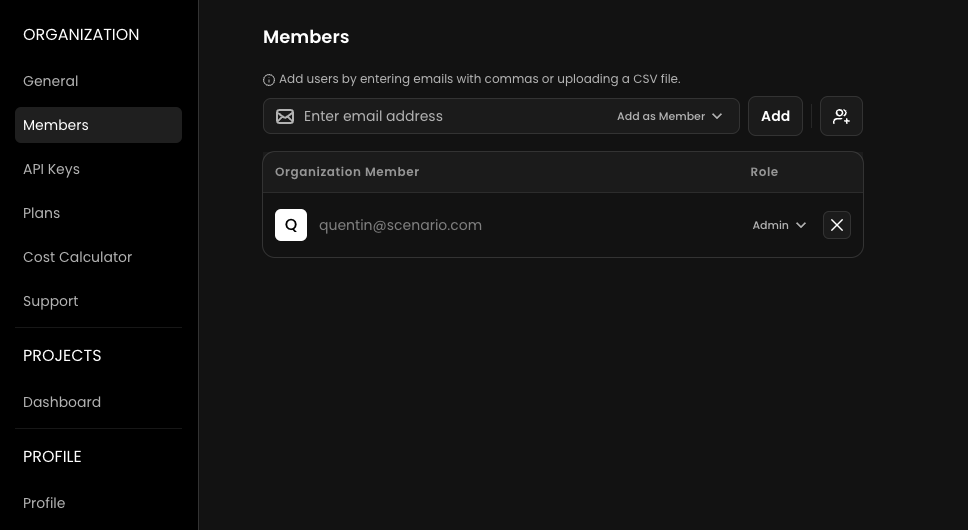
To add new members, navigate to Manage your organization > Members. You have two options for sending invitations:
Enter Emails Directly: Type the email addresses of the new members into the text field.
Upload a CSV File: To invite multiple people at once, upload a CSV file with emails in the format: email1;email2;...
Understanding Roles and Permissions
Scenario has two levels of roles: one for the entire organization and one for specific projects.
Organization-Level Roles
These roles, managed under Manage Organization > Members, grant broad permissions across your entire account.
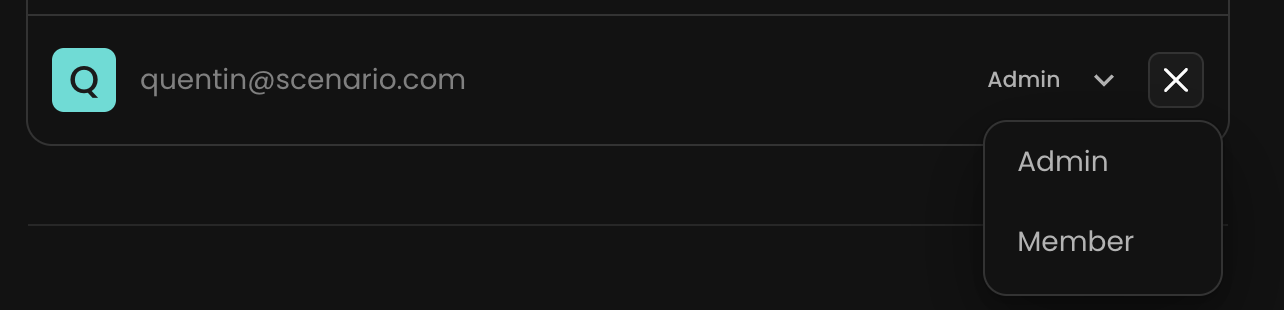
Admin has full control over the organization, including billing, user management, global settings, model management, and project creation. This role is best for team leads, administrators, and account owners.
Member can access the organization and be invited to projects, but cannot modify organization-wide settings. This role is best for general team members, collaborators, and clients.
Project-Level Roles
Managed within each project's settings, these roles define what a user can do inside a specific project.
Owner has full control over the project, including managing members (inviting/removing) and project settings. This role is best for project managers and team leads.
Contributor can generate, train, import, and edit assets within the project. This role is best for active team members who create and manage content.
Viewer has read-only access and can view the project and its assets but cannot take any action. This role is best for stakeholders or clients who need to review work.
Managing Existing Members
You have controls for managing users at both the organization and project levels.
At the Organization Level: Navigate to Manage Organization > Members. From here, an Admin can promote any Member to an Admin role, granting them full account privileges. You can also remove a user from the organization entirely.
At the Project Level: Navigate to the specific project and open its Project Members settings. Here, a Project Owner can add or remove any user from the organization to that specific project. They can also change a user's role within that project (e.g., from Viewer to Contributor).
This two-level system allows you to maintain a central roster of users in your organization while controlling their access and permissions on a project-by-project basis.
Deleting Your Organization
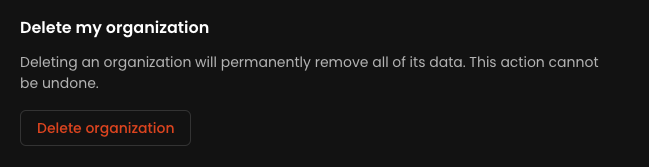
Should you need to delete your organization, go to Manage your organization > General and click the Delete organization button.
Important: You cannot delete an organization with an active subscription. You must first downgrade to the Starter plan before this option becomes available
Best Practices for Team Management
Use the Principle of Least Privilege: Grant users only the permissions they need to perform their duties. This enhances security and prevents accidental changes.
Maintain Clear Naming Conventions: Use consistent and descriptive names for projects to ensure your workspace remains easy to navigate.
Conduct Regular Audits: Periodically review your organization and project members to ensure all permissions are current and appropriate.