Generate Multi-Character Scenes
Last updated: April 9, 2026
Note: Newer Workflows Available
The Multi-Character Model training workflow described in this article remains fully functional and reliable. However, for improved efficiency and consistency, we now recommend using newer models and dedicated tools.
Models like Nano Banana Pro and Seedream 4.5, as well as the dedicated Character Fusion app, often achieve similar or better results with fewer steps, simplifying the process documented on this page.
Recommended Guides:
- Gemini 3.0 Pro Image: The Essentials
- Seedream 4: The Essentials
👉 Access the Character Fusion workflow here
This guide walks you through creating scenes with multiple distinct characters in a single generated image, using two options:
Edit with Prompt (Nano Banana, Flux, GPT, Runway Gen4 - for instance)
or Scenario's Multi-LoRA feature, which is more complete and ensures greater consistency. By merging character models together, you can generate consistent and unique subjects interacting within one cohesive composition. Whether for game assets, or concept art, this approach ensures each character maintains their individual traits while appearing together naturally.
Option A: Combine Characters via “Edit with Prompts”
Edit with Prompt allows you to generate or edit images using natural language instructions. It’s a versatile tool for modifying character details (outfits, poses) or for combining elements—such as merging separately created character images into a single frame.
This process typically uses the Nano Banana model for style-preserving edits. You can also experiment with Flux Kontext and GPT options to compare quality.
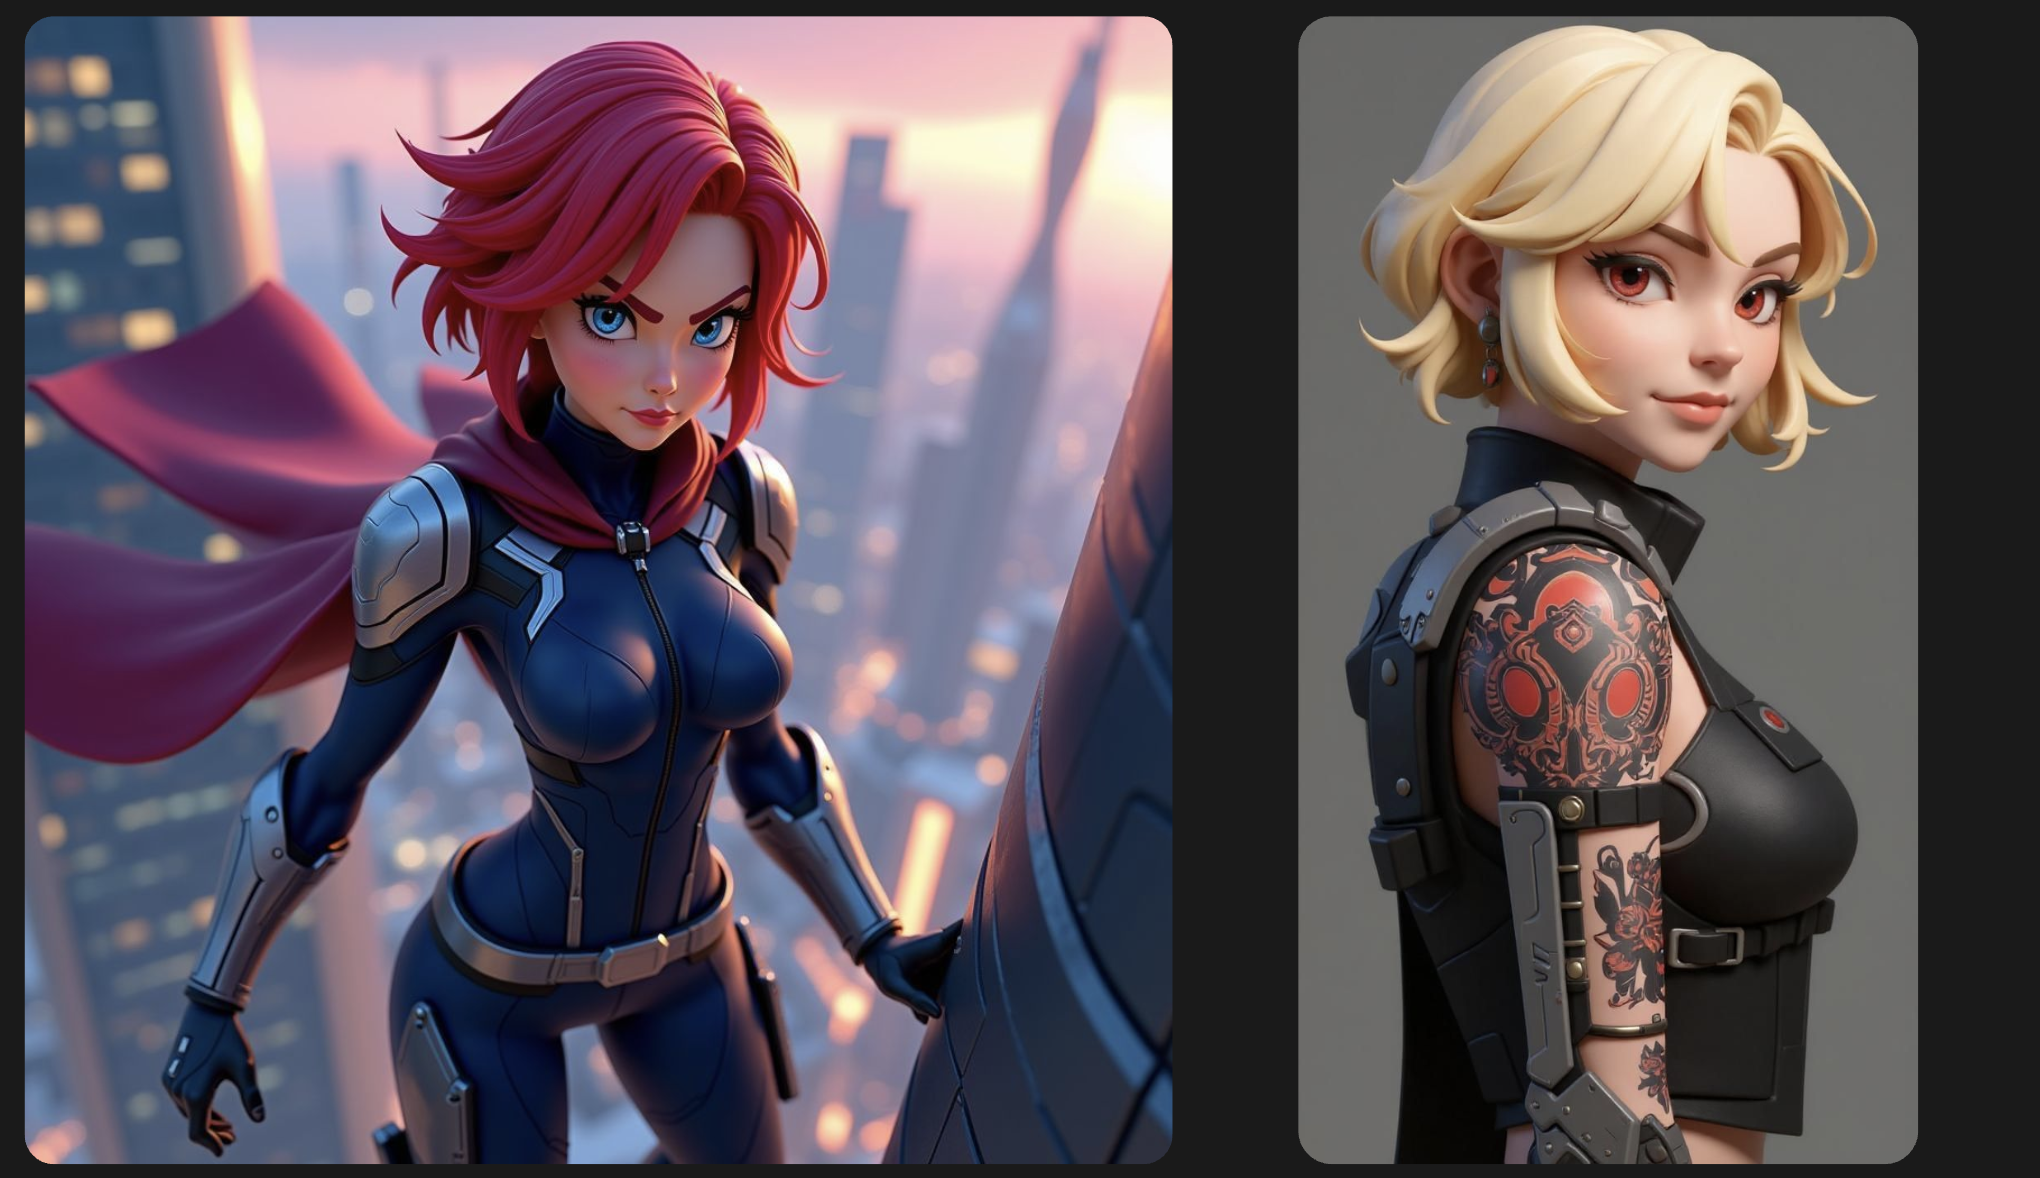
Step 1: Select Character Images
Choose two (or more) individually generated character images.
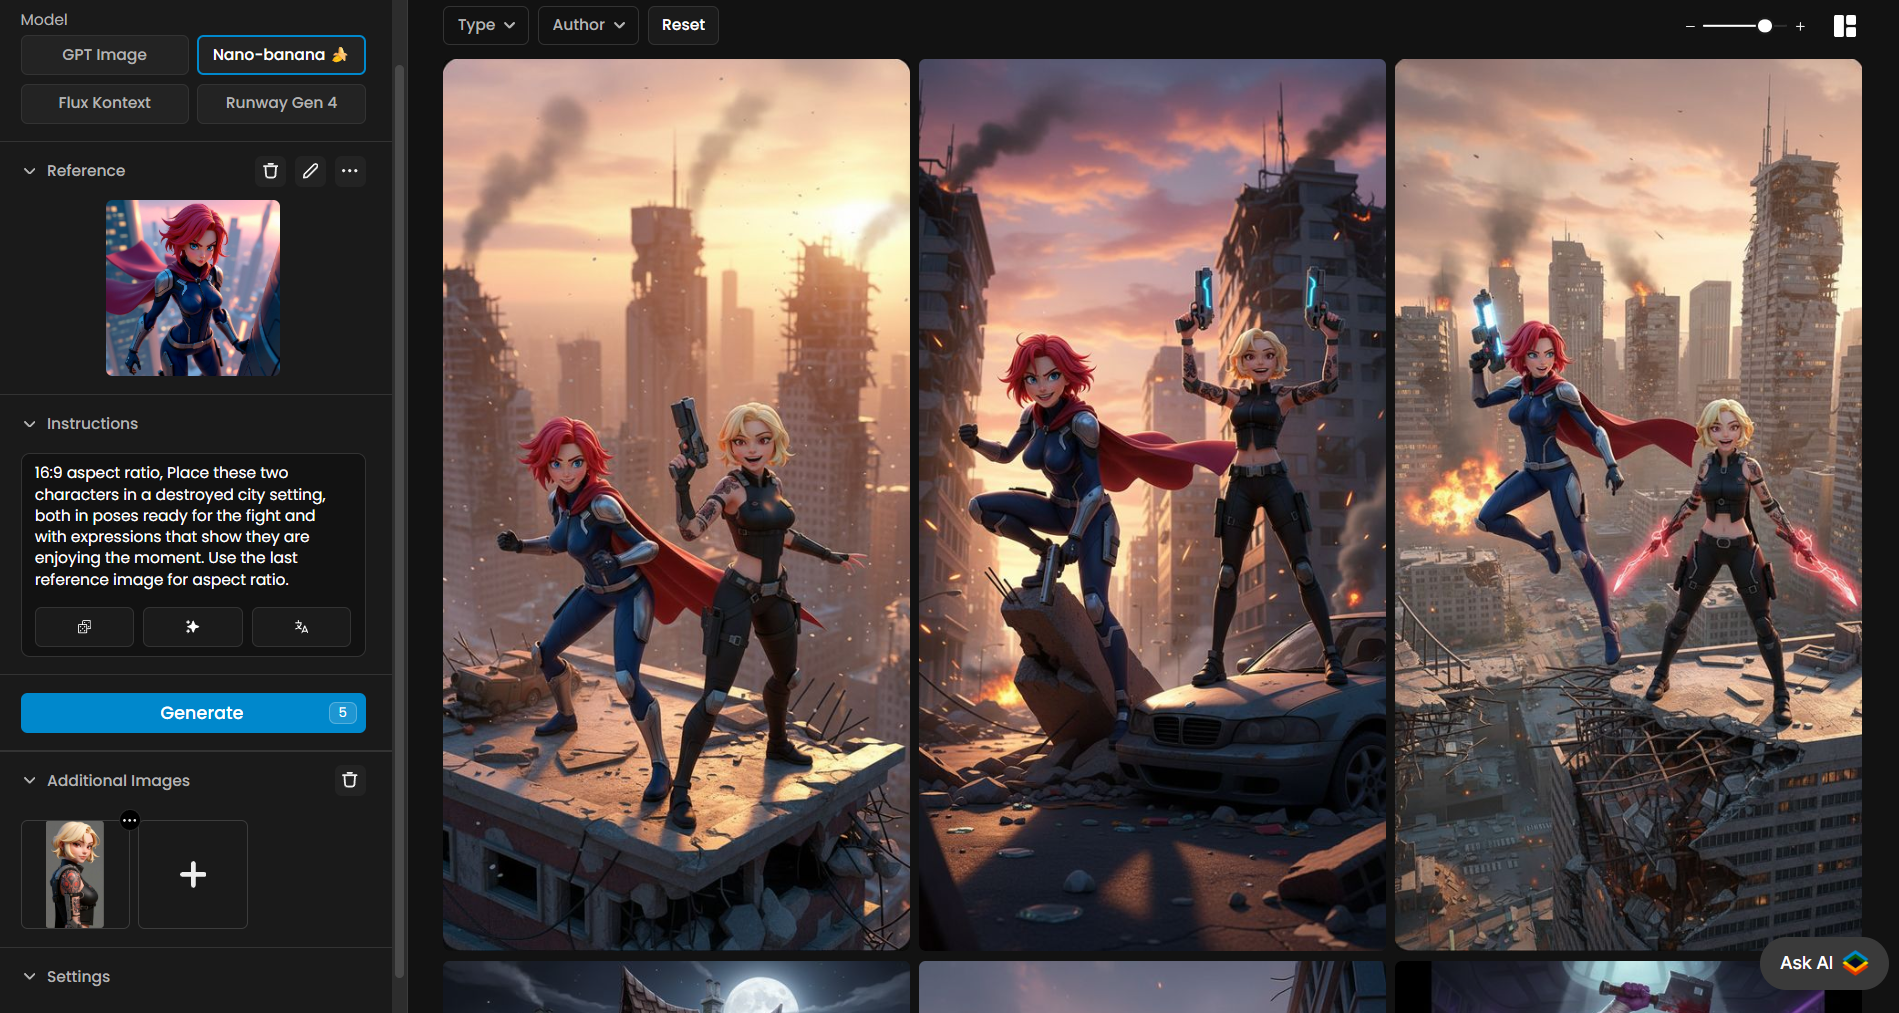
Step 2: Combine Using Nano Banana
Open one base image in Edit with Prompt, and load the second character as an additional image. Provide a detailed prompt describing how they should be positioned, their expressions, and how they interact. For example:
Place these two characters in a destroyed city setting, both in poses ready for the fight and with expressions that show they are enjoying the moment.
Click Generate. Scenario will create a cohesive image blending the characters in a scene-consistent composition. For a full guide, see this article and video on Edit with Prompts.
Option B - Multi-LoRA for Character Generation
Scenario allows you to train custom models, including both style models and character models. Character models are particularly valuable for maintaining consistency in a specific character's design across multiple images.
By merging two separately trained character models into a Multi-LoRA composition, you can generate dynamic interactions while ensuring each character retains their unique features.
This technique works effectively with both Flux and SDXL models.

Creating a Multi-Character Model
Step 1: Merge Character Models
To generate two distinct characters, you'll need to merge their individual models into a single composed model. Navigate to Models and click "New Model," then select "Compose Models" to open the model merging interface. For detailed information about merged models, see our Multi-LoRA section.

Choose two character models to merge. In this example, we'll combine a "Red-Haired Superheroine" (Character A) and a "Green-Skinned Zombie" (Character B), each trained separately with their own unique traits.

When prompting these characters later, describe each using language similar to the captions they were trained with for best results.
For more generic information about merged models (Multi-Lora), please refer to our Multi Characters Scene video.
Step 2: Test the Composed Model
Once the merged model is created, it will appear in your model gallery, ready for testing:
A 3:2 image format often works well for character placement, though you can experiment with other ratios based on your needs.
Create a structured prompt that describes each character's appearance and actions separately. For example:
"A female character with vibrant, messy short bob red hair and bright blue eyes, wearing a dark navy blue tactical suit with silver accents on the shoulders, a dark crimson cape, and silver forearm protection, is sitting on a table playing chess with a green-skinned zombie with scruffy brown hair and wide yellow eyes. His face is smeared with blood, and he wears ragged clothes with a backpack."
Generate several test images and evaluate the results.
Be aware that features from “Character A” and Character B may occasionally blend together. In our example below, the red-haired woman might show "red scars" similar to the zombie's face. If this happens, you can adjust your prompts with more descriptive details or adjust the influence of each model component.

Step 3: Refine Character Consistency with Canvas
For more precise control over each character, use Scenario Canvas to adjust details separately for each character.. First, open your generated image and click "Retouch" to load it in Canvas.

Mask (select) the part of Character A that needs editing, then adjust the model component influences in the top-left panel:
Increase the influence of Character A's model (the heroine)
Lower Character B's model influence (the zombie) to zero

Use a simple prompt focusing on Character A, such as "A female character with short bob red hair," and click generate to update the masked area.
Repeat this process for Character B, masking their portion of the image and adjusting influences accordingly.
This method gives you precise control over each character's appearance, ensuring they remain distinct while sharing the same scene.
Step 4: Finalize and Enhance
Once you're satisfied with your multi-character composition:
Save the image to your gallery via the "Export" option in the top-right corner.
Use the Enhance tool to upscale your image for higher resolution and finer details.
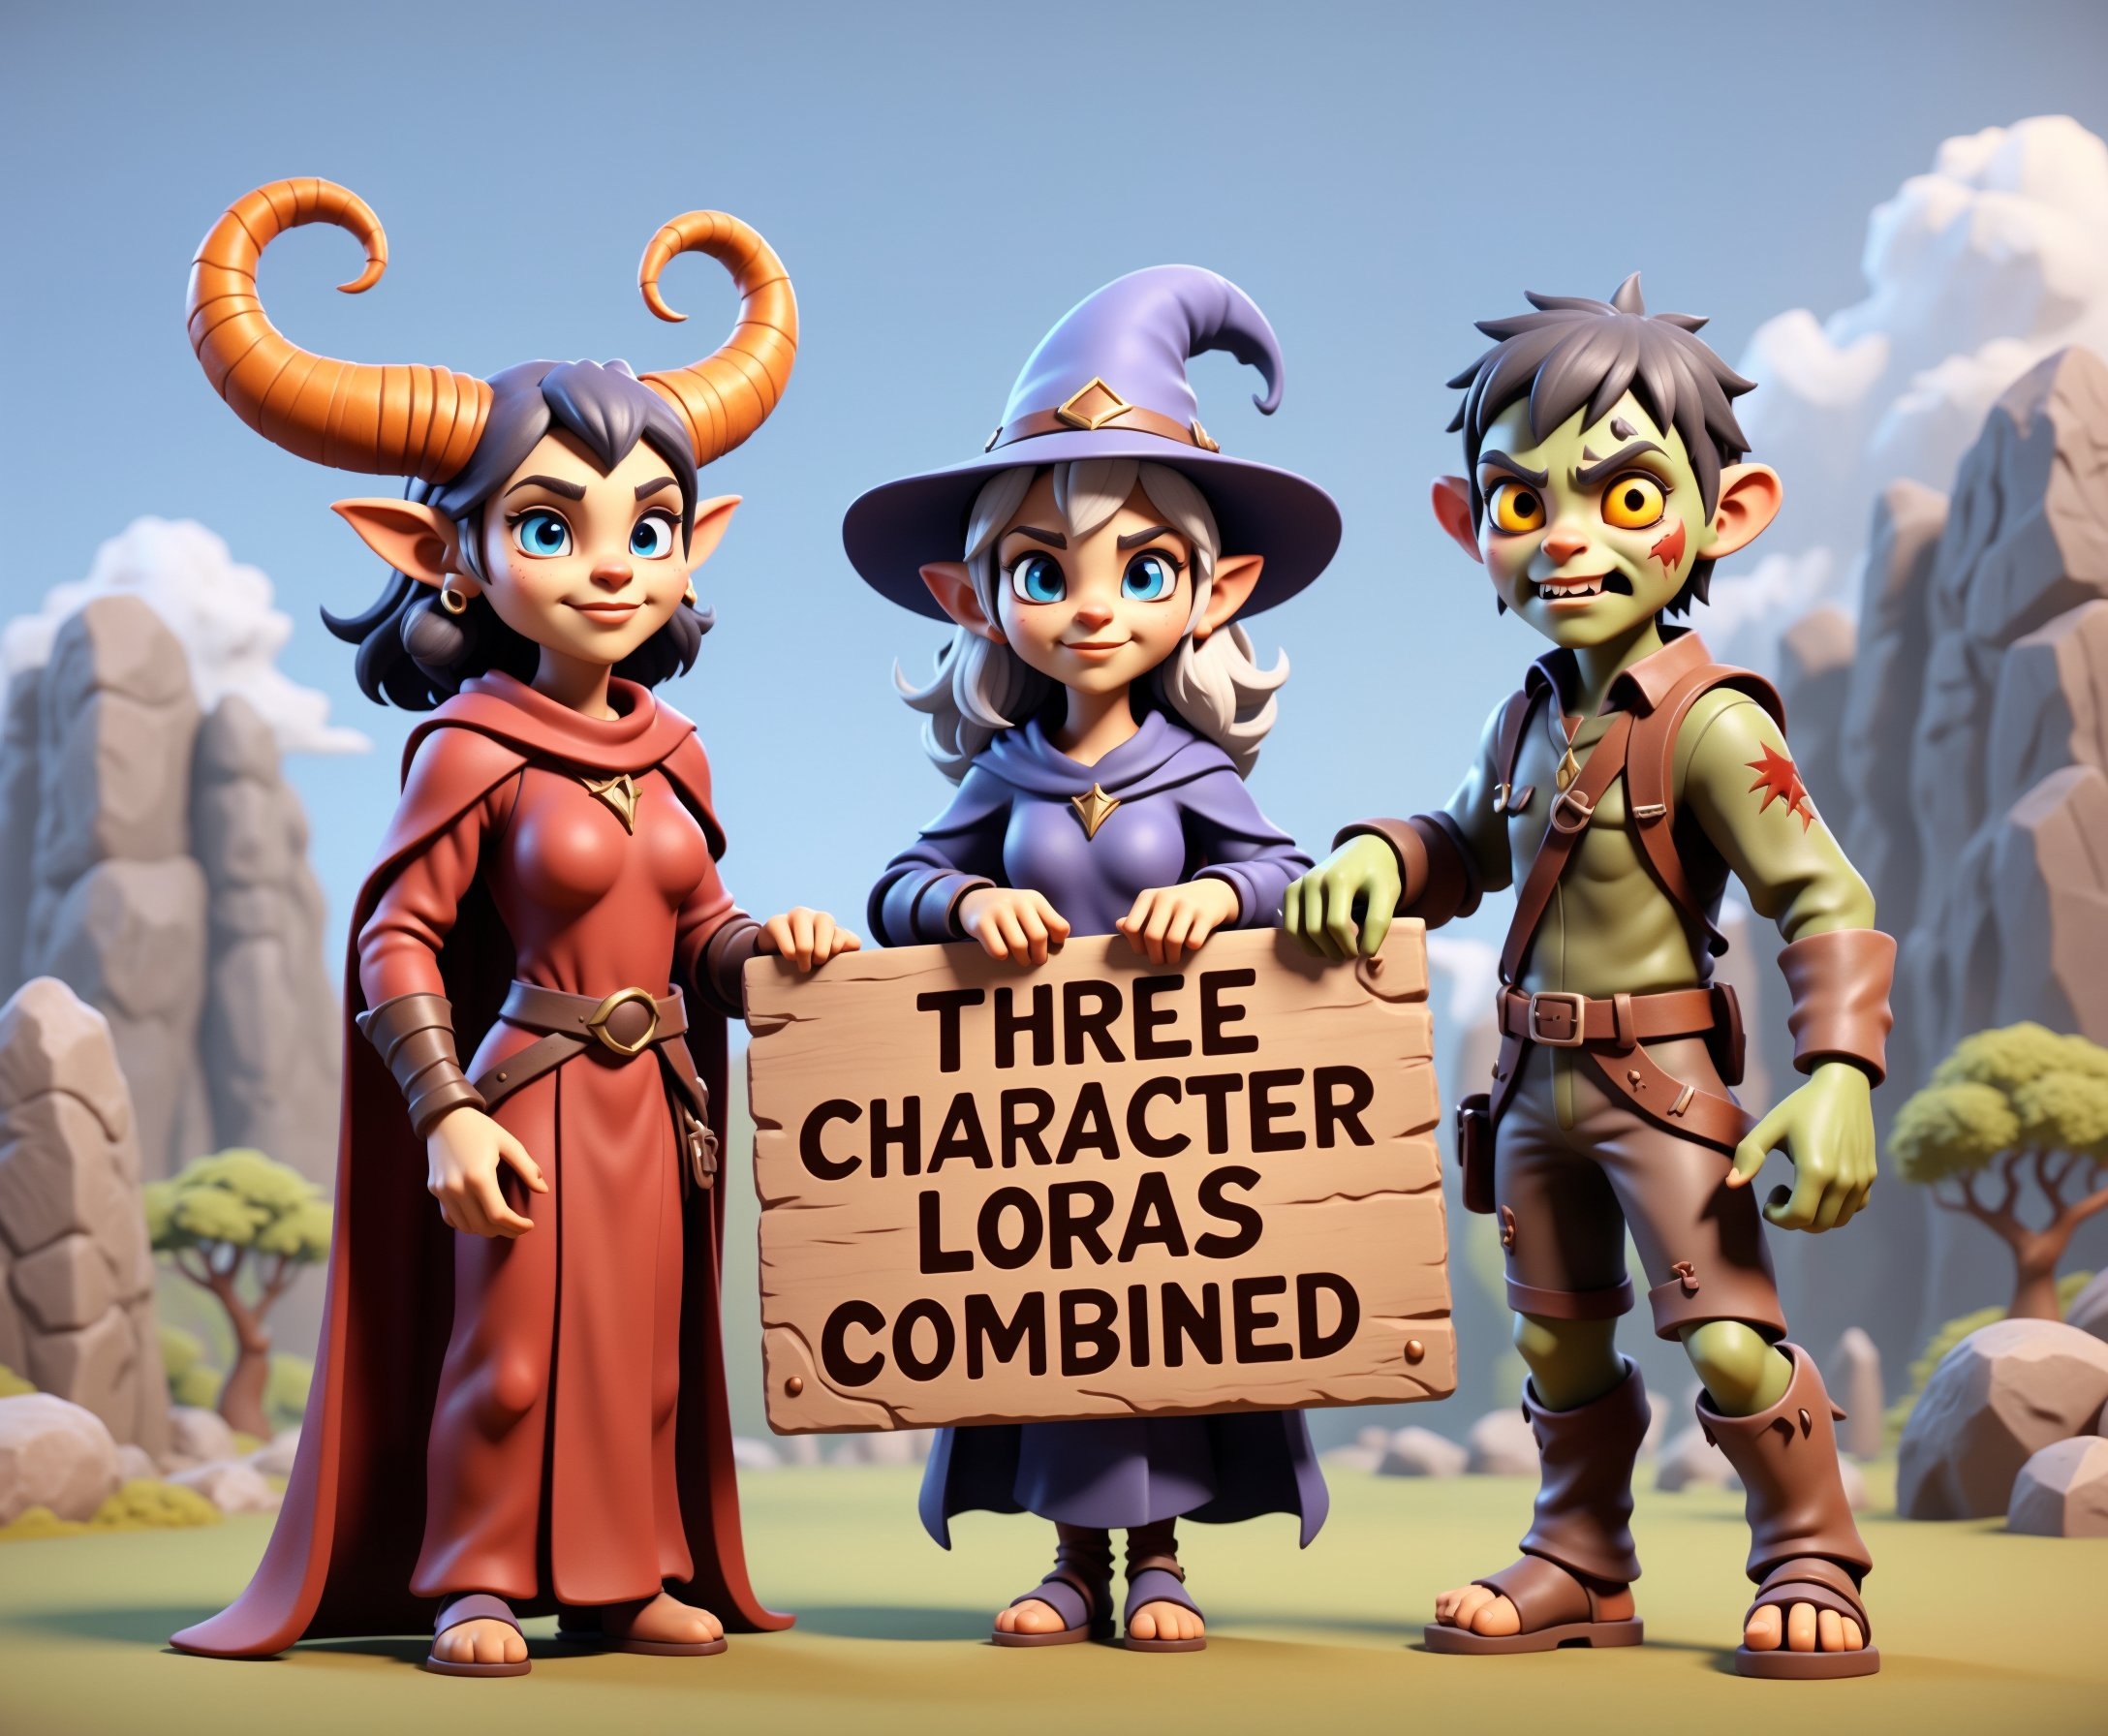
This process can be extended to three or more characters, though it requires careful balancing of model influences and prompts.
Below is an example of three character models that were trained independently before being merged into a multi-character composition, using the workflow described above. Each character retains its unique design and does not lose defining details when placed in the same scene.
Final Notes
Multi-LoRA in Scenario provides a powerful approach for generating consistent, multi-character scenes with minimal effort. Rather than drawing multiple characters separately and compositing them together, you can create natural interactions while maintaining each character's unique identity.
Start by merging character models, generate compositions, and refine in Scenario Canvas as needed. The more you experiment with this technique, the better you'll become at controlling how characters appear and interact within your scenes, creating compelling visual narratives for games or illustrations.
Check out our Multi-Character tutorial (Part 1) for a more in-depth look as well as Part 2 (train Dual Character Models). You can also refer to this tweet.
Access This Workflow Via API
Resources:
Create a Model: Scenario API Documentation - Create a Model
Trigger Model Training: Scenario API Documentation - Trigger Model Training
Text-to-Image Generation: Scenario API Documentation - POST /generate/txt2img
Image-To-Image Generation: Scenario API Documentation - POST /generate/img2img
Inpainting Generation: Scenario API Documentation - POST /generate/inpaint