Flux is one of Scenario’s most versatile base models, designed to prioritize stylistic fidelity, prompt comprehension, and smooth visual composition. However, some generations may sometimes appear soft or blurry, especially when prompts are minimal or when scenes are complex:
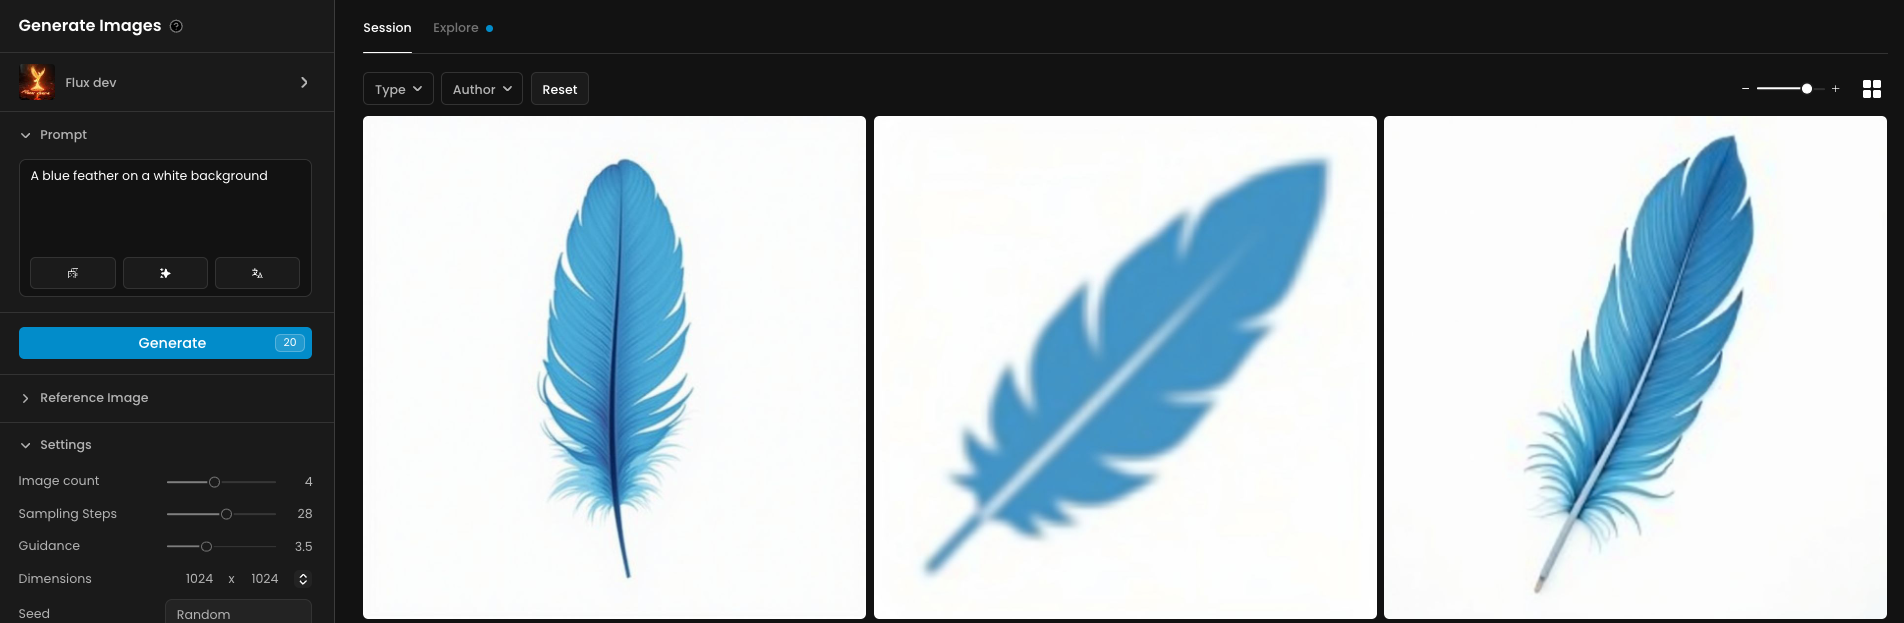
This isn’t a bug, but it’s rather an (occasional) model behavior. With the right techniques, you can guide Flux to produce sharp, detailed results while preserving its stylistic strengths.
Why It Happens
Blurriness is most common when:
Prompts are vague or under-specified (e.g., “a cityscape”)
Scenes involve complex elements or overlapping subjects
The inference step count is set too low
You’re using wide (16:9) or tall (9:16) aspect ratios without spatial prompts
The background is described as “white background” or “minimal,” which the model may interpret as ambient glow
Prompting for Sharpness
Clear, texture-rich prompts help Flux render precise details. Here’s how to optimize your input:
Avoid:
“A futuristic street at night”
Try Instead:
“A narrow futuristic alleyway at night, wet asphalt reflecting neon signs, sharp shadows and defined textures, ultra-detailed”
You may also include tokens (words) related to:
Textures: “gritty concrete,” “brushed metal,” “glossy reflections”
Camera descriptors: “8k close-up,” “sharp focus,” “high-resolution”
Spatial structure: “cinematic framing,” “vanishing point,” “foreground subject”
Aspect Ratios and Spatial Composition
Flux handles standard formats (1:1, 3:2, 4:3) well. Wide or tall ratios may cause the model to “fill space” with softness unless prompted otherwise.
Tips for wides/talls:
Add compositional framing: “Character in foreground, detailed architecture in background”
Use the Expand tool to reframe 1:1 images into different aspect ratios while maintaining style consistency
Working with White or Minimal Backgrounds
Prompts like “white background” can lead to hazy or low-contrast outputs. This happens when the model interprets empty space as artistic blur.
To increase clarity:
Be explicit: “white photo studio backdrop, crisp shadows under subject”
Add structure: “flat-lit environment,” “high-contrast studio lighting”
Apply the Enhance tool post-generation to sharpen edges without altering the background
Model Settings That Help
Inference Steps
Raise inference steps to 30–50 for better detail retention
Especially useful for intricate environments or layered scenes
Enhance Tool
If your image has good composition but lacks edge clarity, you may use Scenario Enhance.
Use Precise to retain structure and enhance sharpness
Try Balanced or Creative to boost texture and depth without losing style
Best Practices for Consistently Sharp Results
Area | Recommendations |
|---|---|
Prompt | Add focus, texture, and perspective details |
Aspect Ratio | Use square or add scene structure for wides/talls |
Inference Steps | Start at 30+ for critical detail |
Enhance Tool | Use “Precise” for fidelity, “Creative” for artistic clarity |
White Backgrounds | Add lighting/shadow cues, use “studio backdrop” instead |
Style Model | Consider training a custom model if consistency is key |
If you’ve followed these steps and your images are still soft or hazy, try comparing base model generations (Flux vs SDXL), or consider refining your dataset and prompt structure.
Was this helpful?