Here's how to navigate and manage your images effectively using the gallery feature.
You can access your gallery through the left menu by navigating to Images > Gallery.
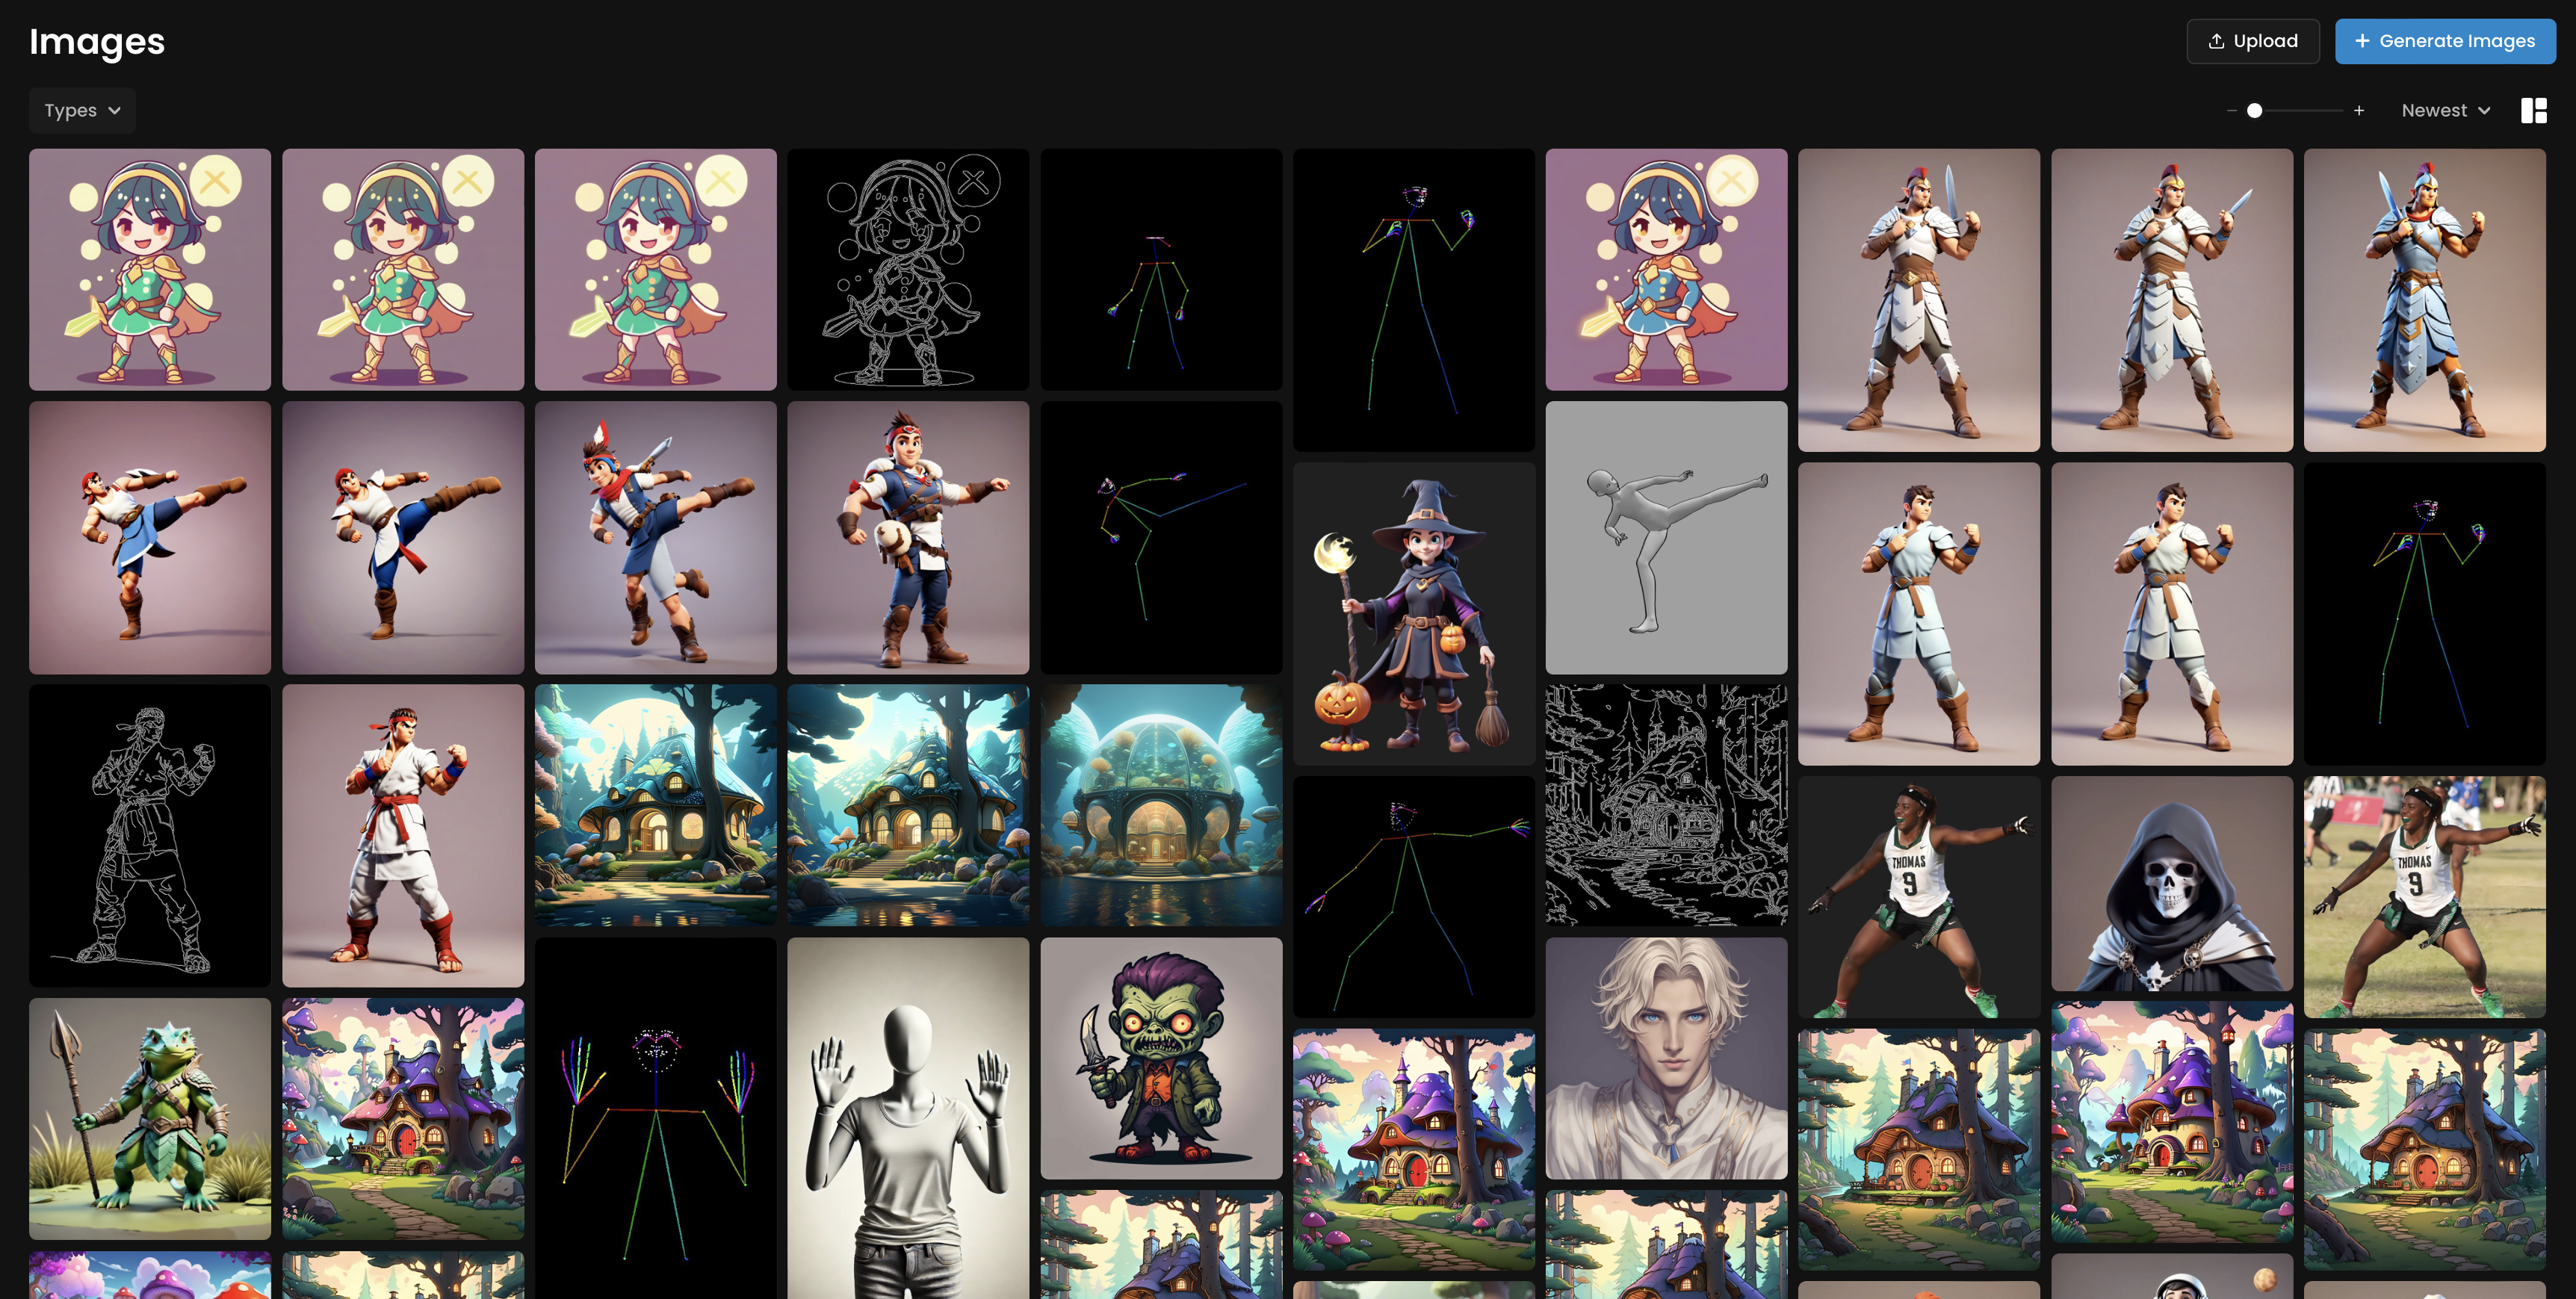
In the gallery, you'll find all the images you've generated, along with those you've altered.
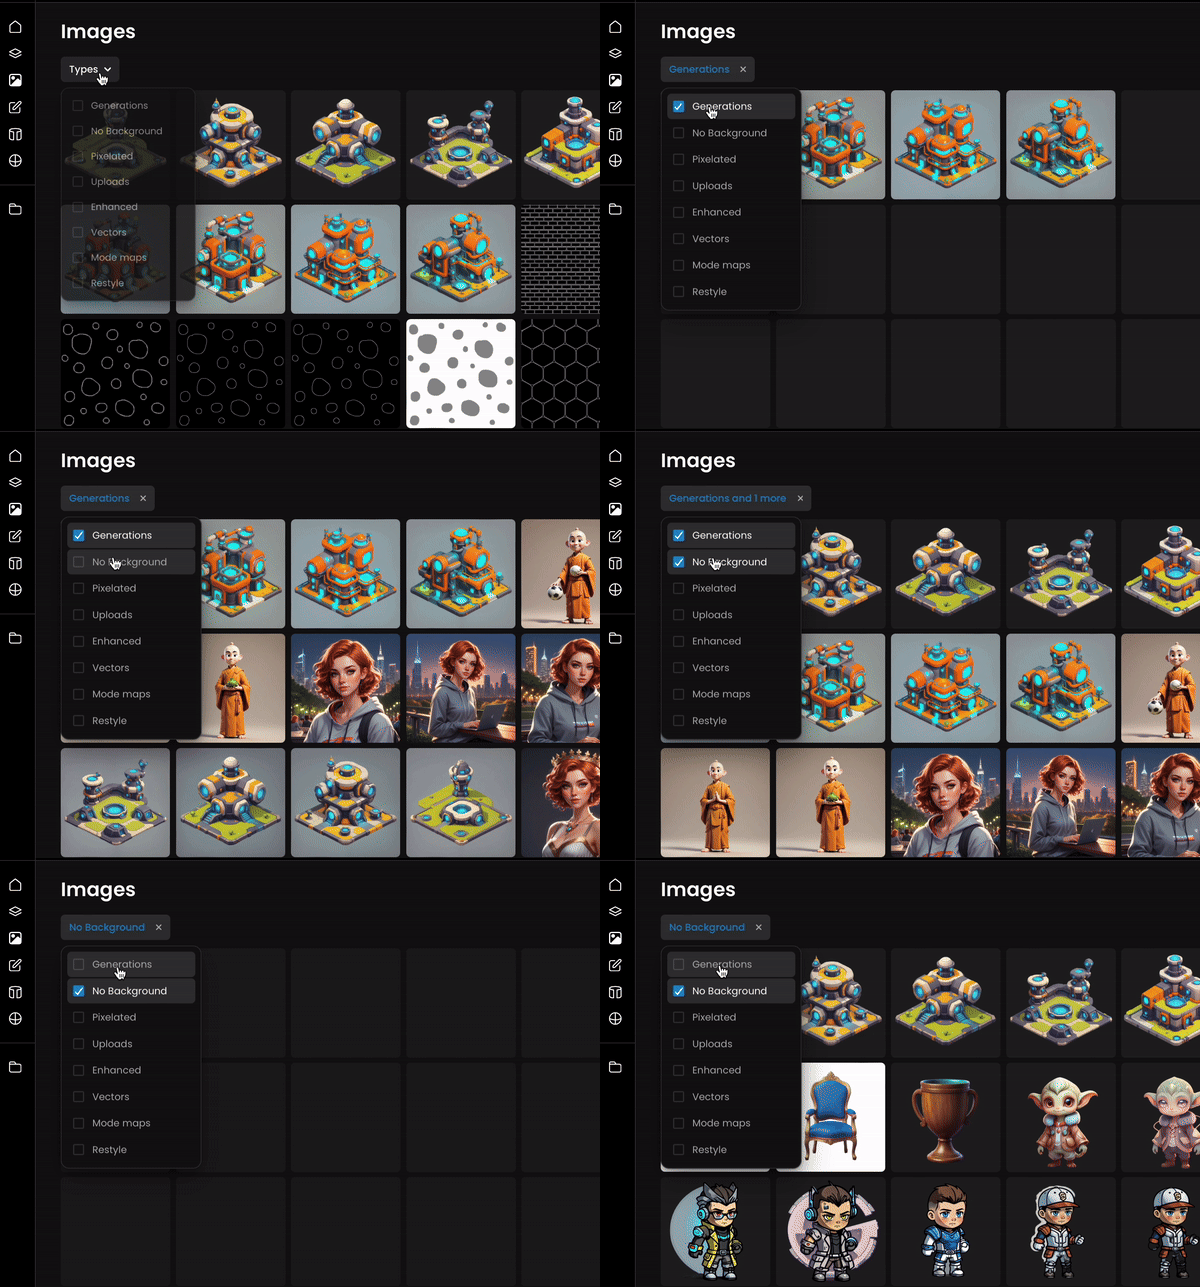
To organize your images, use the Types filter to sort by categories such as Generations, No Background, Pixelated, Uploads, Enhanced, Vectors, Mode Map, and Restyle. This allows you to easily find specific types of images based on your needs.
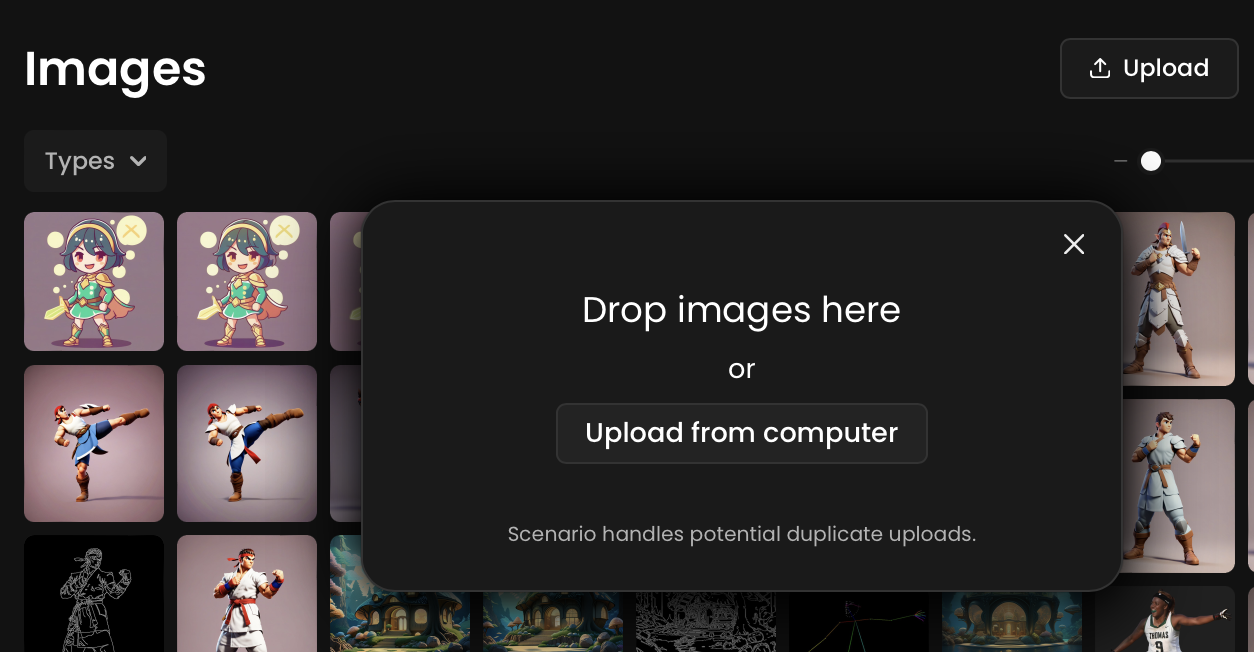
If you want to add new content, you can upload images directly into your library or jump to the Generation Screen by clicking on Generate Images.
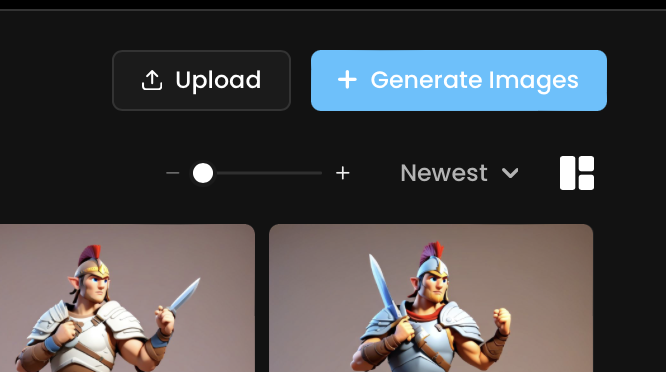
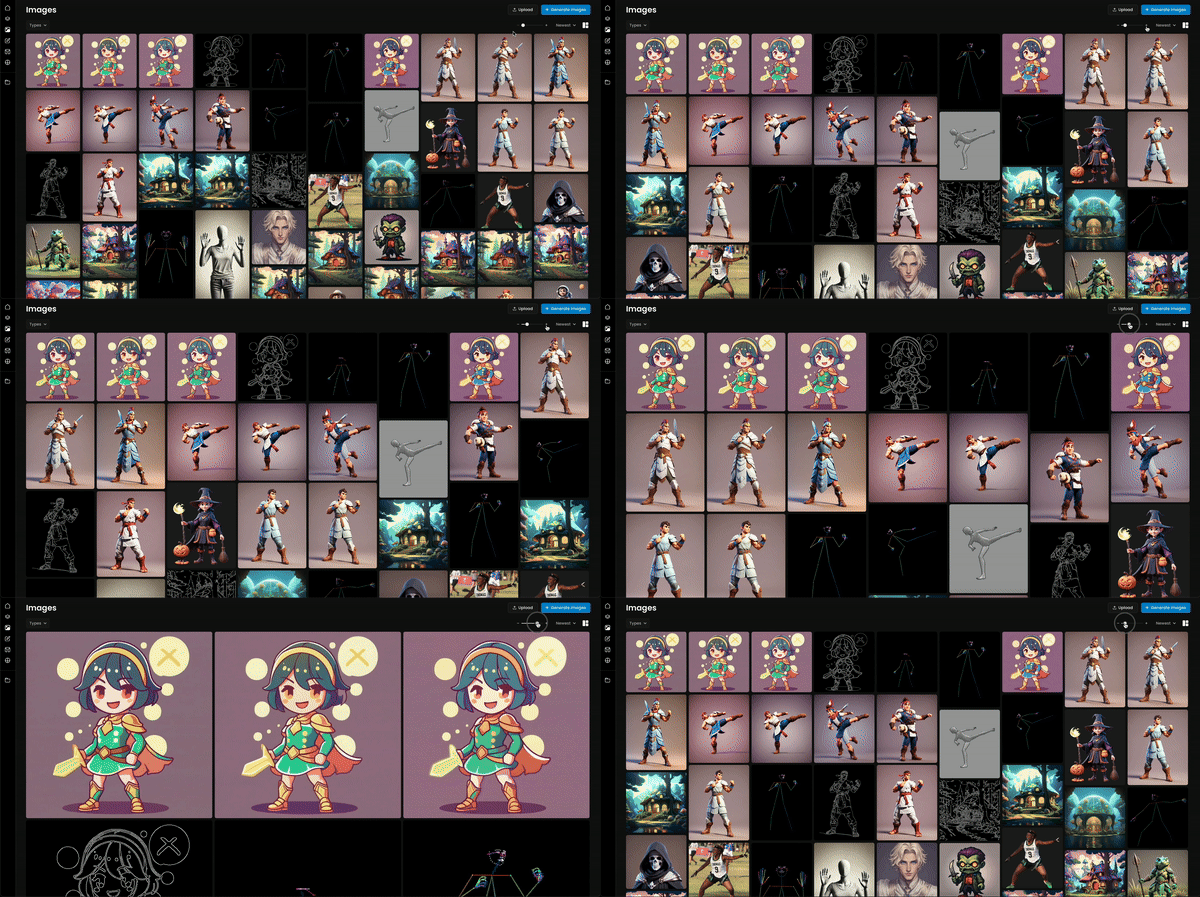
For better navigation, you can customize the display of your gallery by adjusting the size of the preview cells.
You can also modify the layout format: Masonry, Fit In Grid, or Fill In Grid.
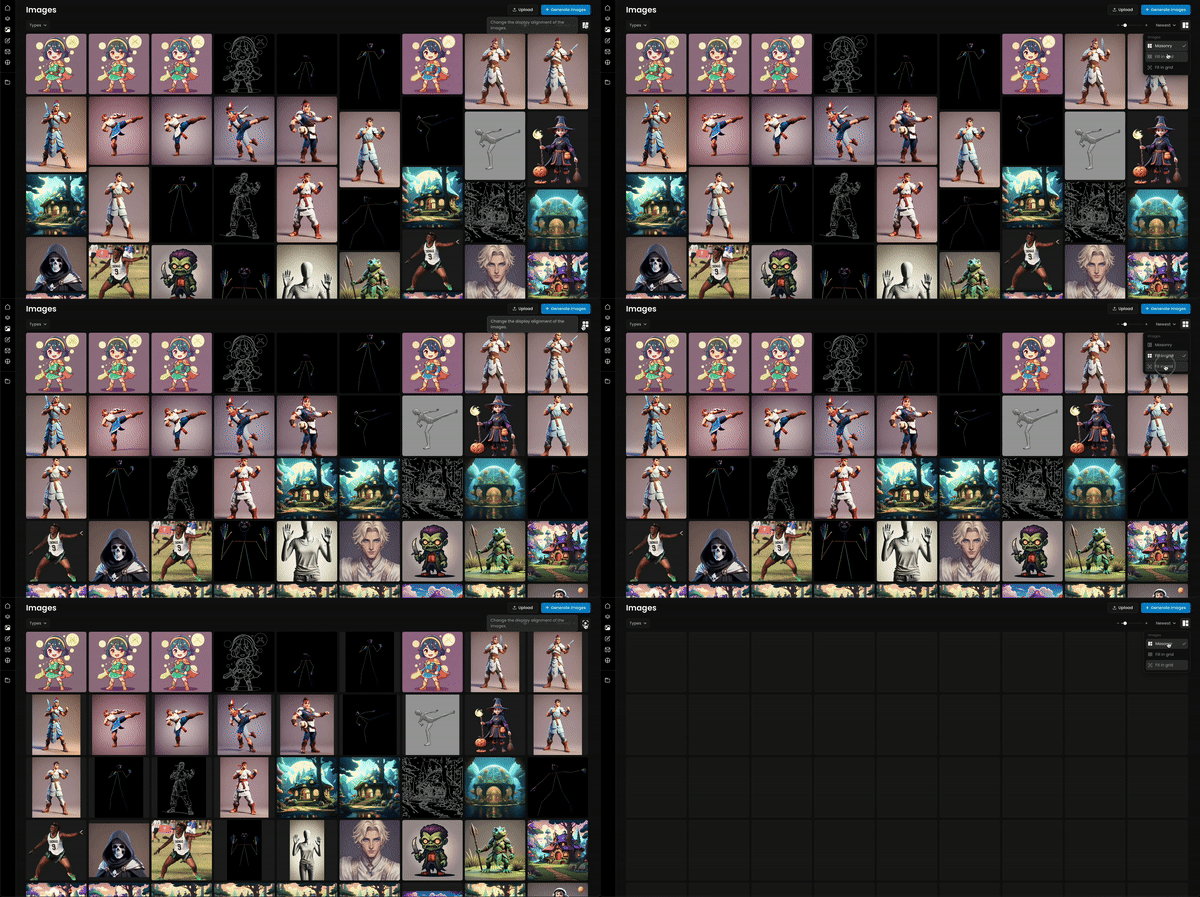
You also have the option to sort your images from Newest to Oldest or vice versa.
When you hover over an image in the gallery, a small circle will appear, allowing you to select the image. Once selected, you can perform bulk actions by selecting multiple images using the circle or by holding Shift+Click. Available actions include:
Removing Backgrounds - More info on Remove Background article
Adding Tags - More info on Tags article
Launching Training with Selected Images - More info on Training articles
Downloading - More info on our dedicated article
Deleting Images - More info on our dedicated article
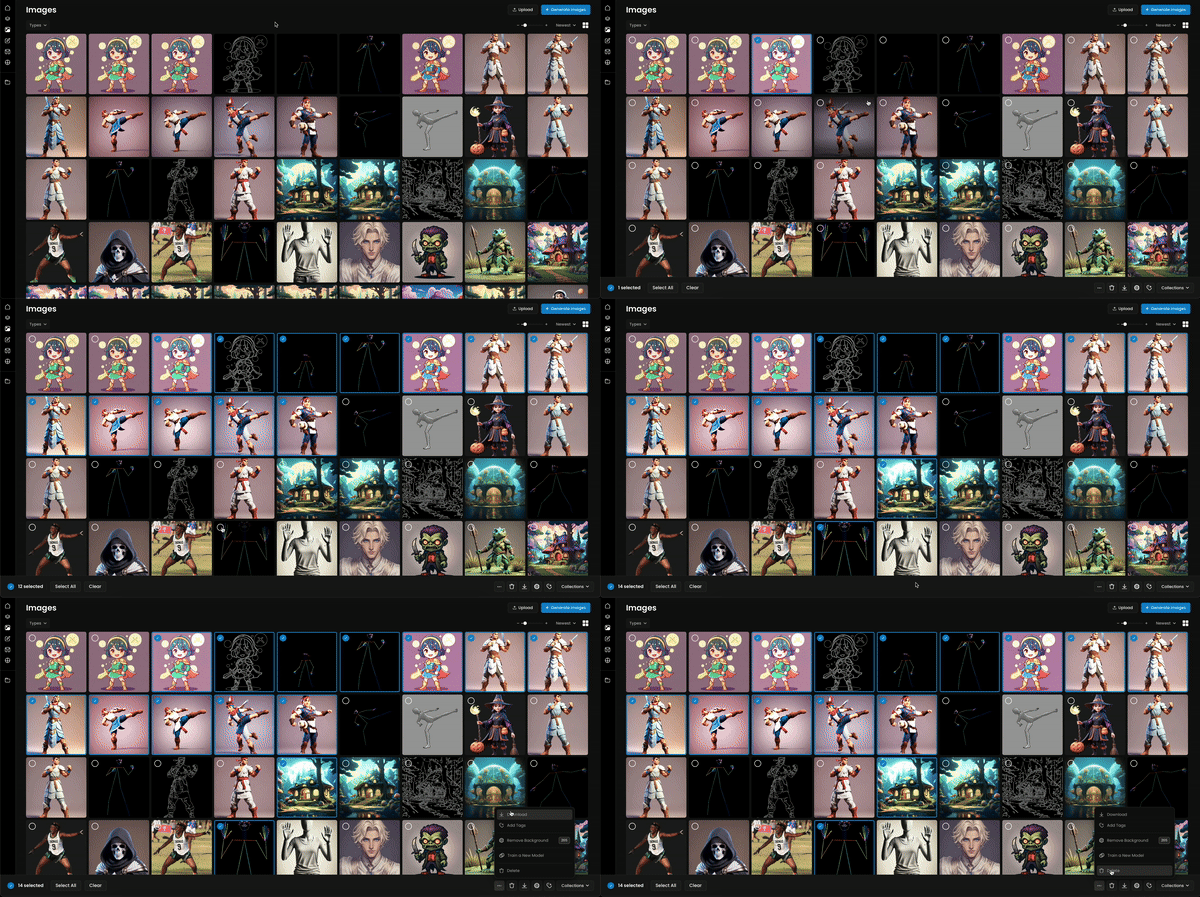
This interface provides a streamlined way to manage, organize, and edit your images, making it easy to find and work with your creative assets.
Was this helpful?

Quentin