Integrating Skyboxes in Unity with Scenario
Last updated: April 9, 2026
Introduction
Once you've created a stunning skybox in Scenario, the next step is bringing it into Unity to wrap your 3D scene in a seamless 360-degree backdrop. Unity makes it easy to integrate Scenario's game-ready skyboxes, ensuring your environments look immersive and polished.
Importing and Testing Your Skybox in Unity
Step 1: Export Your Skybox from Scenario
After generating and enhancing your skybox in Scenario, download the skybox as a high-res image file.
The file will be a 2D panoramic image optimized for game engines.
Step 2: Import the Skybox into Unity
Open your Unity project.
Drag the exported skybox image into the Assets folder in the Project window, or use the Import New Asset option. If you have the Scenario plugin installed in Unity, you can use the shortcut in the 3-dot menu “Open in Unity”.
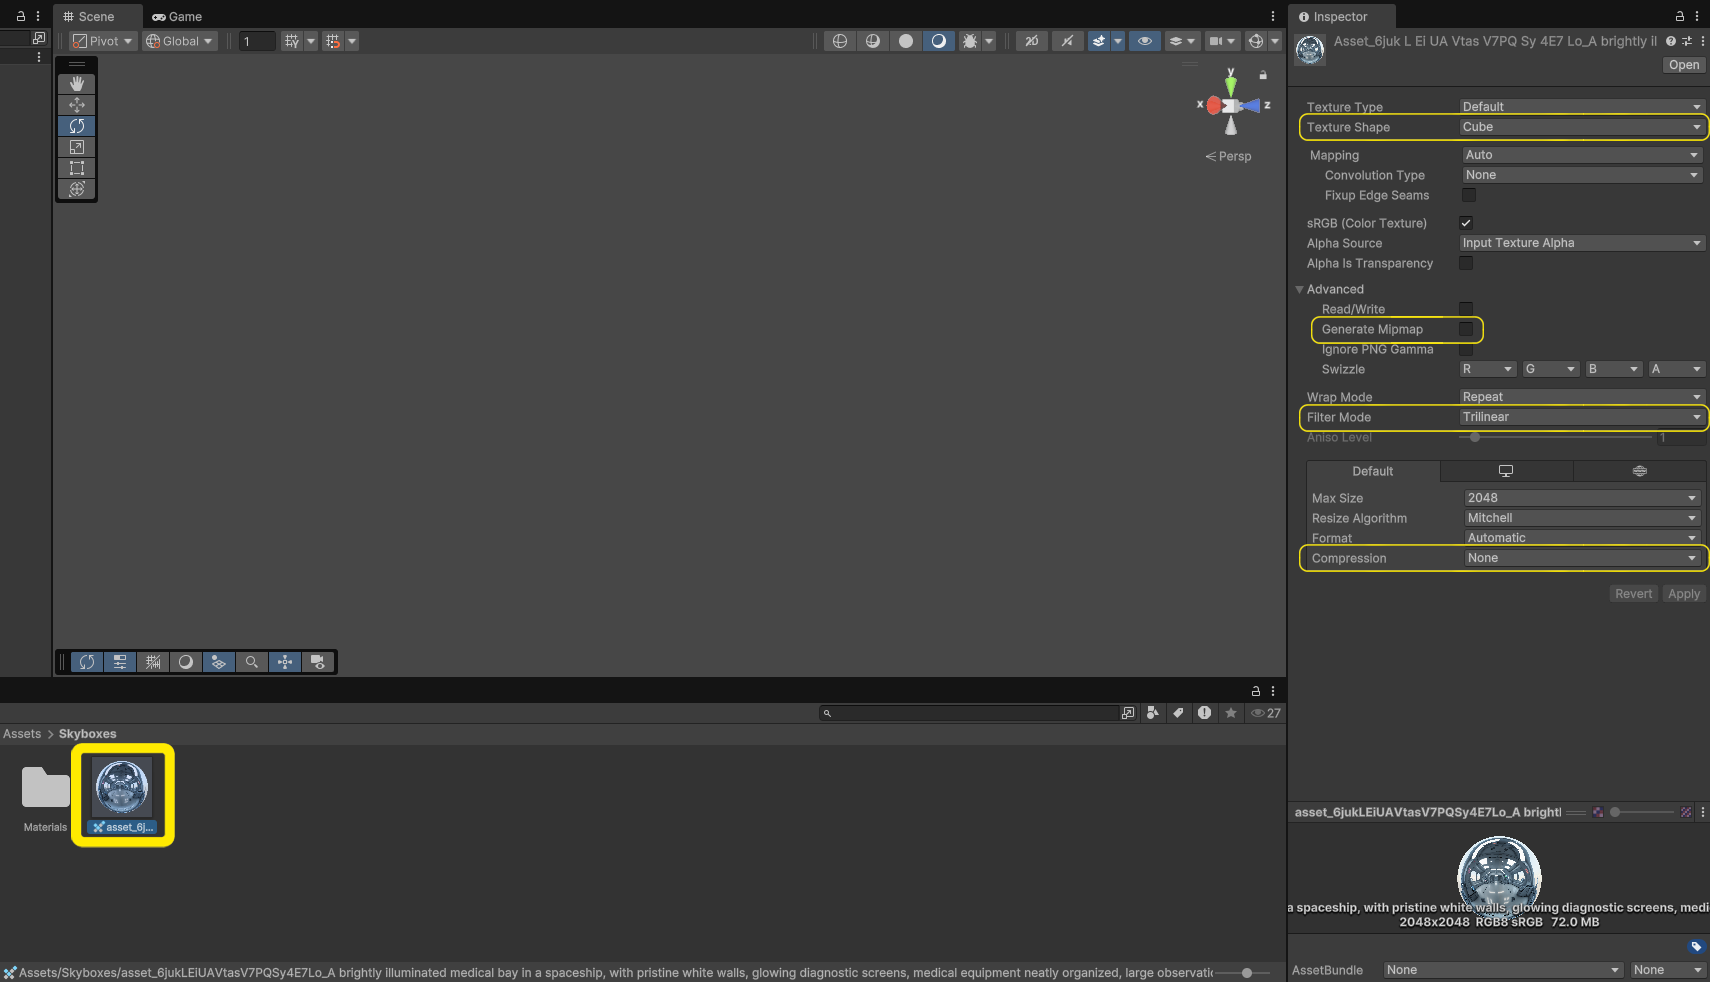
Select the image in the Project window to view its properties in the Inspector.
Configure the following settings:
Set Texture Shape to Cube to map the image onto a cubemap.
Uncheck Generate Mip Maps in the Advanced menu to avoid blurry transitions.
Set Filter Mode to Trilinear for sharp rendering.
Set Compression to None to preserve quality (or use High Quality if file size is a concern).
Click Apply to save these settings.
Step 3: Create a Skybox Material
In the Project window, right-click and select Create > Material.
Name it something like "SkyboxMaterial".
Select the new material to open its properties in the Inspector.
Set the Shader dropdown to Skybox > Cubemap.
In the Cubemap slot, drag your imported skybox image from the Assets folder, or click the small circle to select it.
Step 4: Apply the Skybox to Your Scene
Go to the top menu and select Window > Rendering > Lighting.
In the Lighting window, go to the Environment tab.
Under Skybox Material, drag your newly created "SkyboxMaterial" into the slot, or click the small circle to select it.
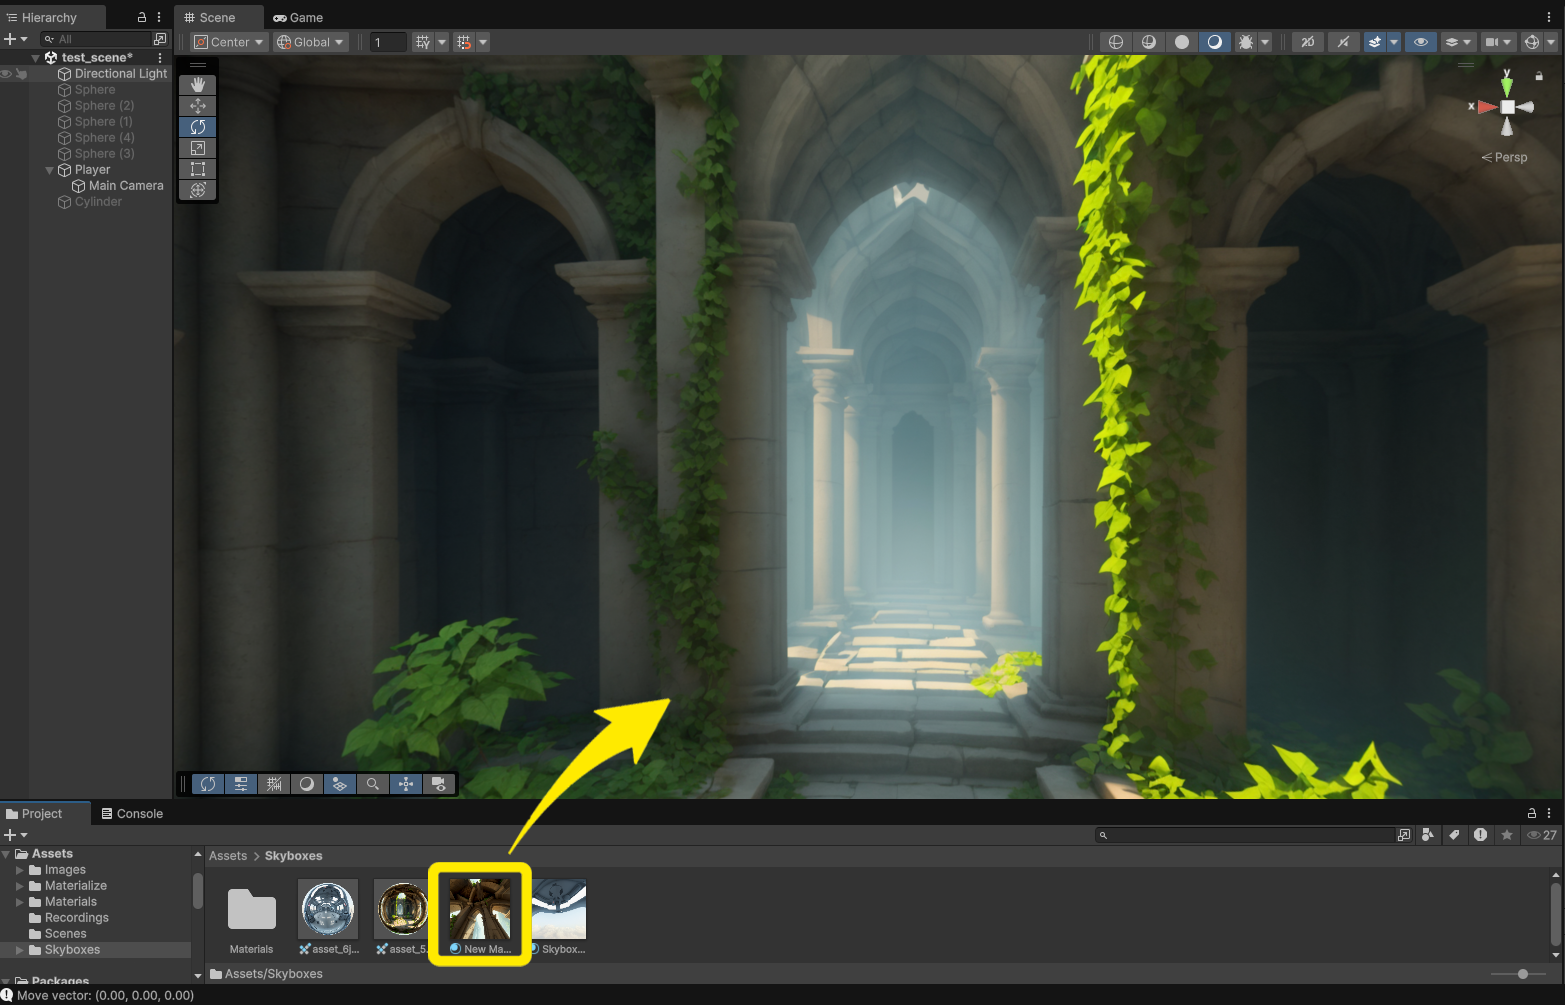
Alternatively, you can drag the material directly into the viewport, and Unity will automatically enable the skybox.
Your scene should now be surrounded by your Scenario skybox.
Step 5: Test and Adjust in Unity
With the skybox applied, test it to ensure it looks natural from all angles:
Use Unity's viewport to rotate the camera 360 degrees, checking for any adjustments.
Adjust the Rotation of the skybox material in the Inspector if the orientation needs tweaking.
