Easily manage the number of seats in your organization with our Max plans, ensuring your team size aligns perfectly with your project needs.
If you're using a Max plan, managing the number of seats in your organization is a straightforward process that allows you to adjust the capacity of your team as needed. Here's how to do it:
1. Access Organization Settings
To begin, navigate to your organization settings. You can do this by clicking on the Manage Organization option in your organization menu. More info on Organization settings on our dedicated article.
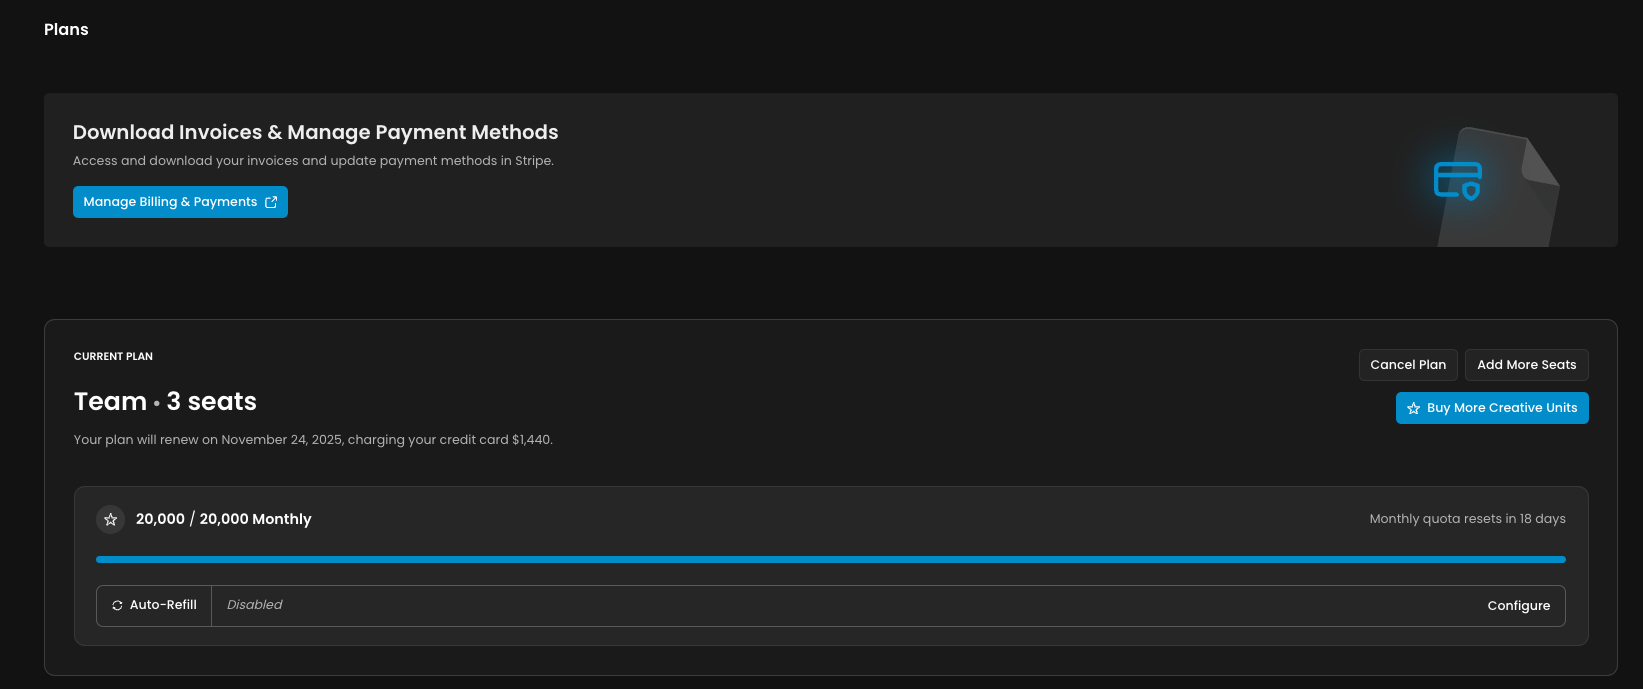
2. Go to the Plans Section
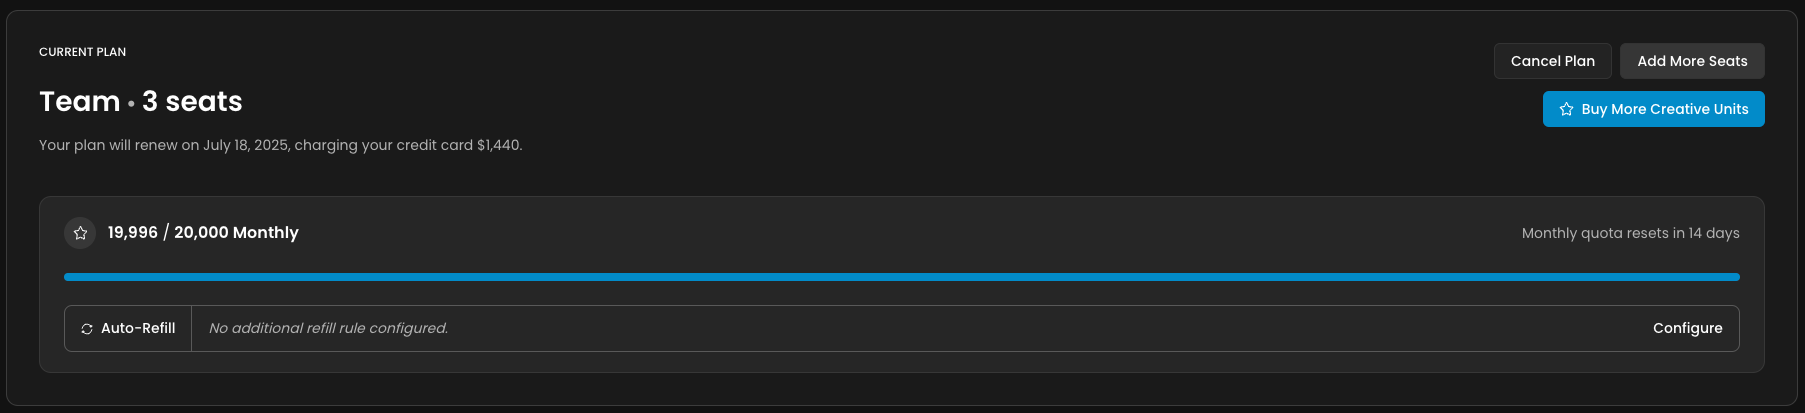
Once in the organization settings, locate the Plans section. This is where you can view your current plan details, including the number of seats you have and the cost associated with them.
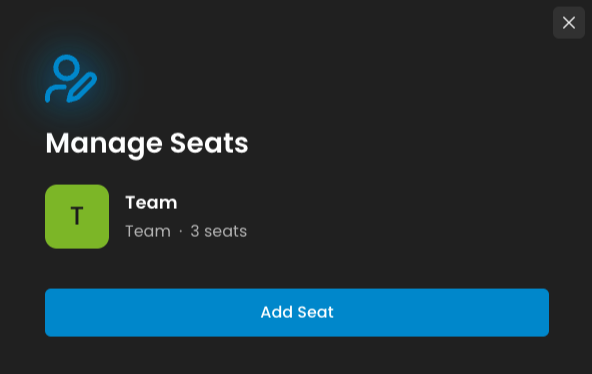
3. Manage Seats
In the Plans section, click on Manage Seats.
This option allows you to add or remove seats based on your current needs.
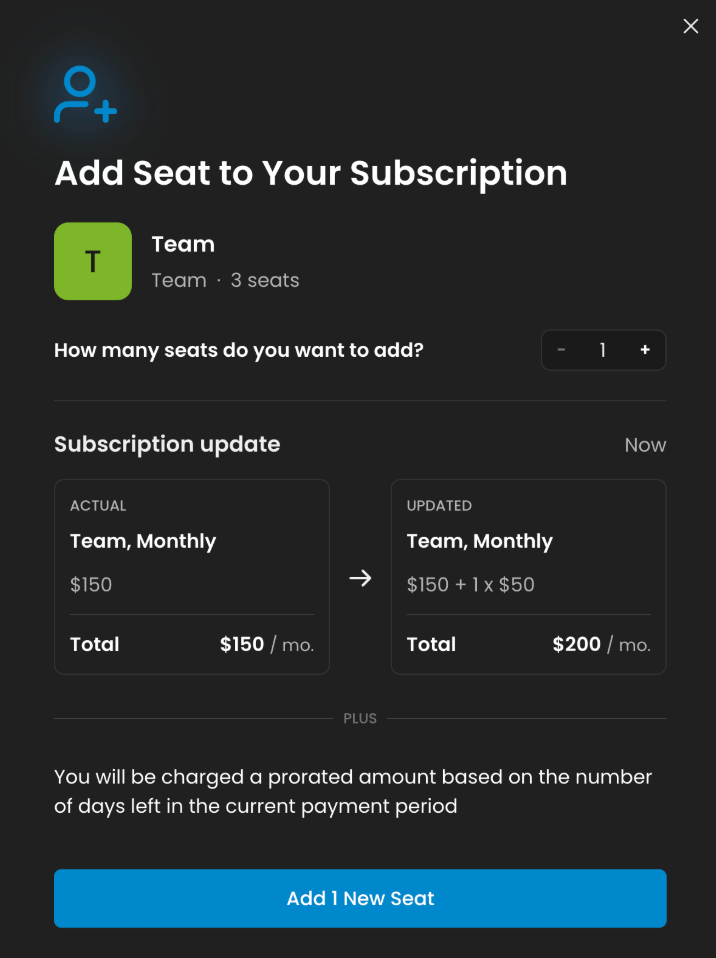
Adding Seats: If you need to add more seats to your organization, simply specify the number of additional seats you require. The new seats will be added immediately, and the cost will be applied prorated according to your billing cycle. This means you'll only be charged for the remainder of the billing period for those seats.
Removing Seats: If you want to reduce the number of seats, you can do so by specifying how many seats you wish to remove. The reduction will take effect in the next billing cycle, ensuring that your team has sufficient time to adjust.
4. Understand the Costs
When you add seats, the prorated charge will reflect the remaining portion of the billing cycle. If you remove seats, the adjustment will be scheduled for the following billing period.
Was this helpful?