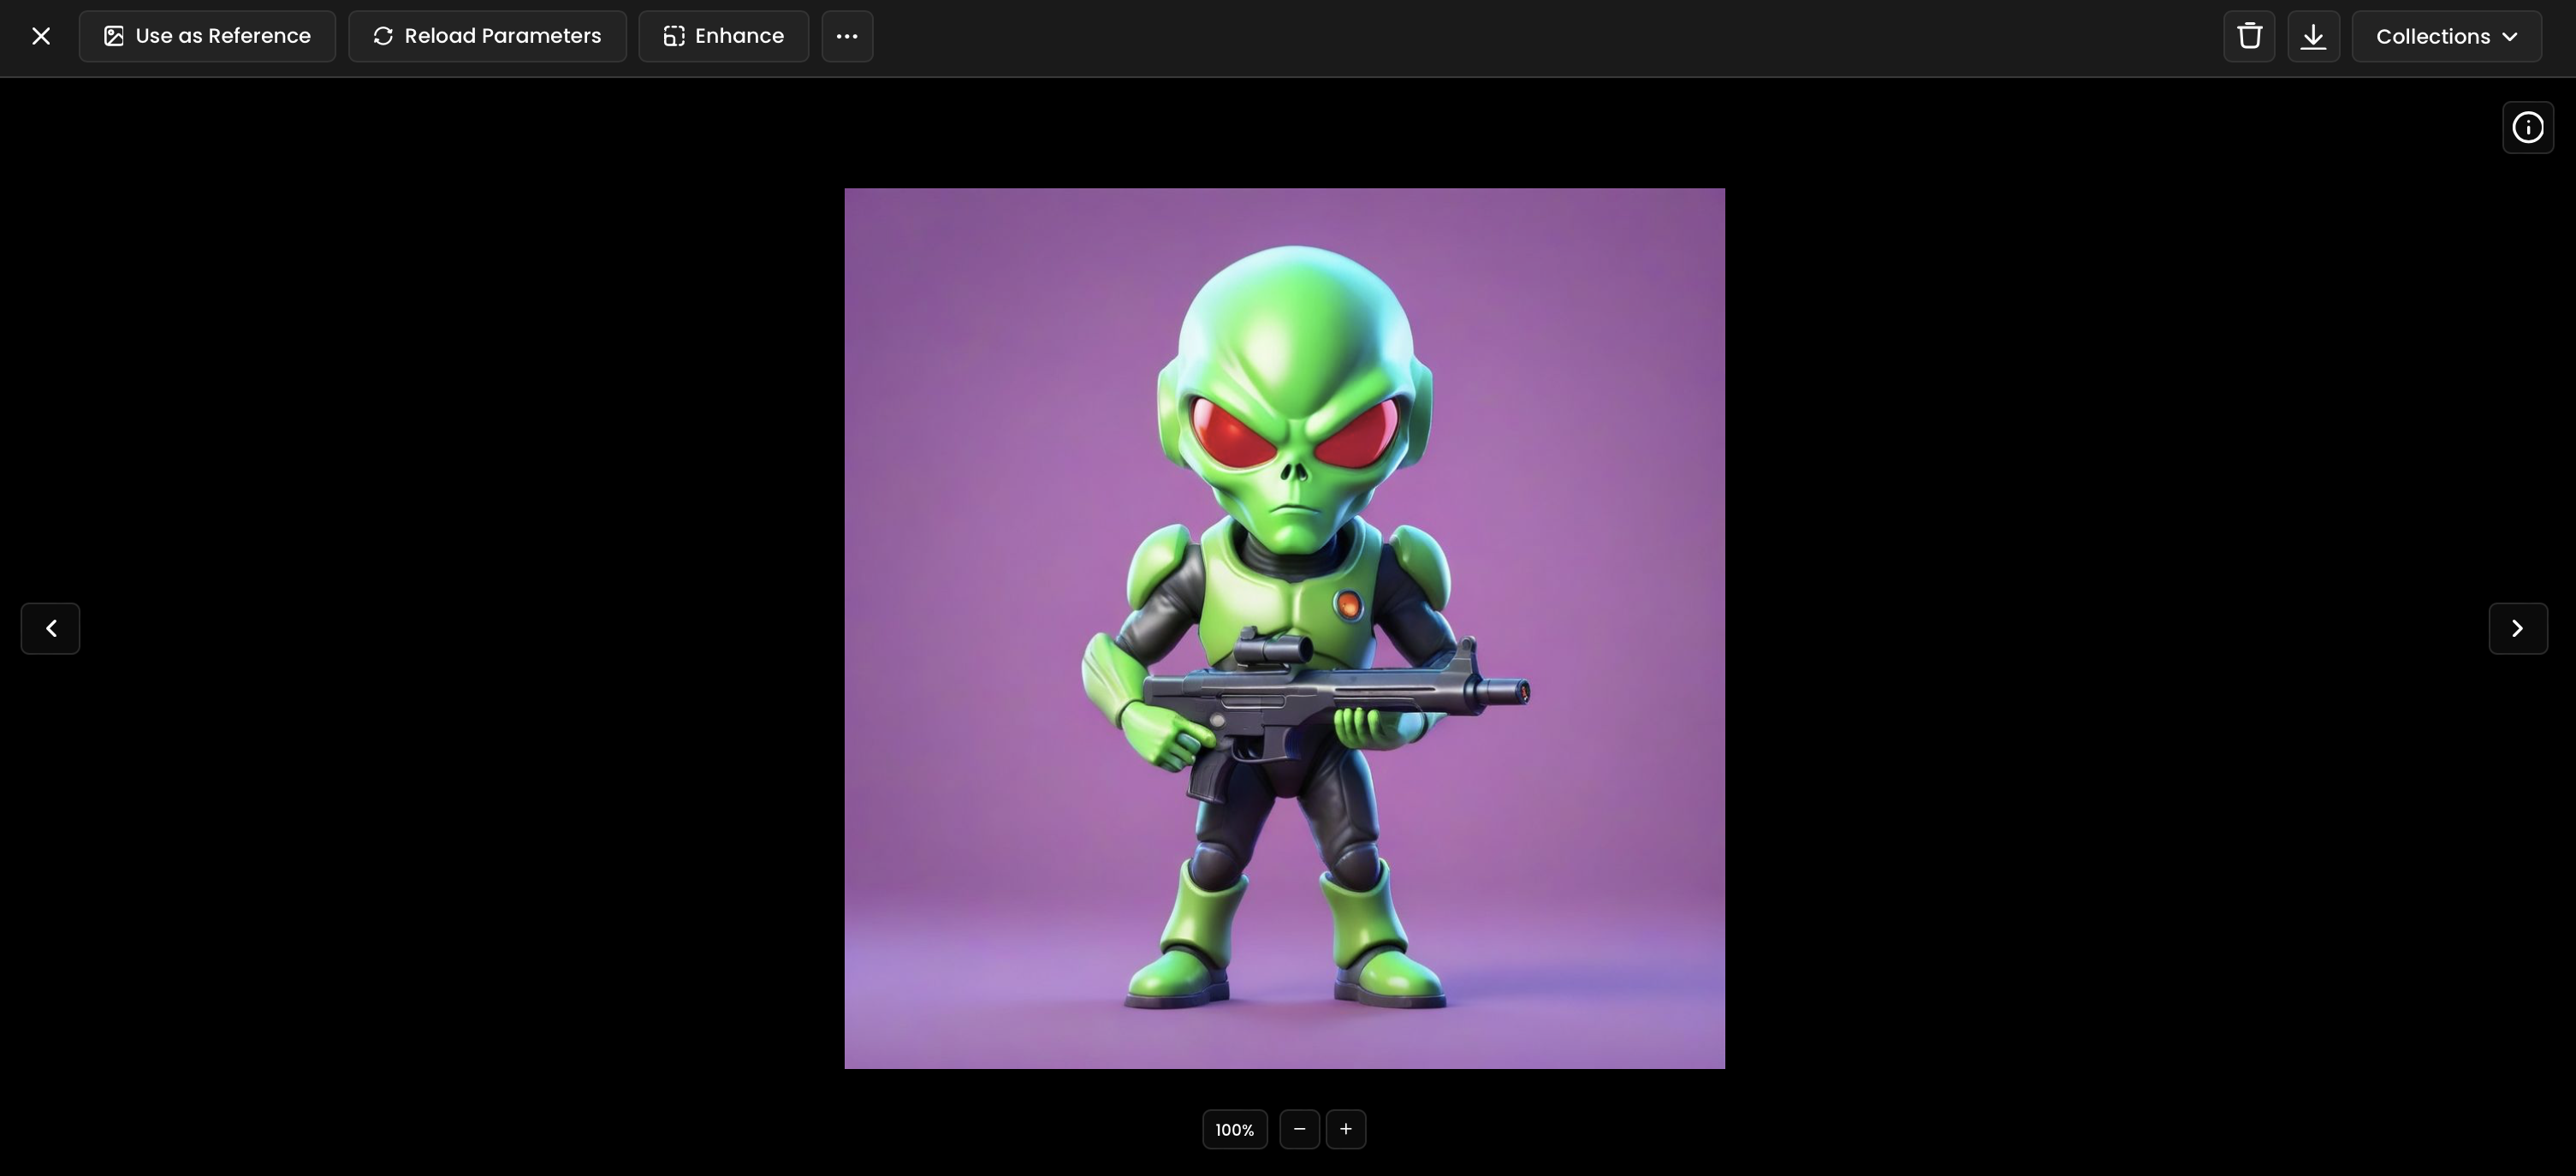
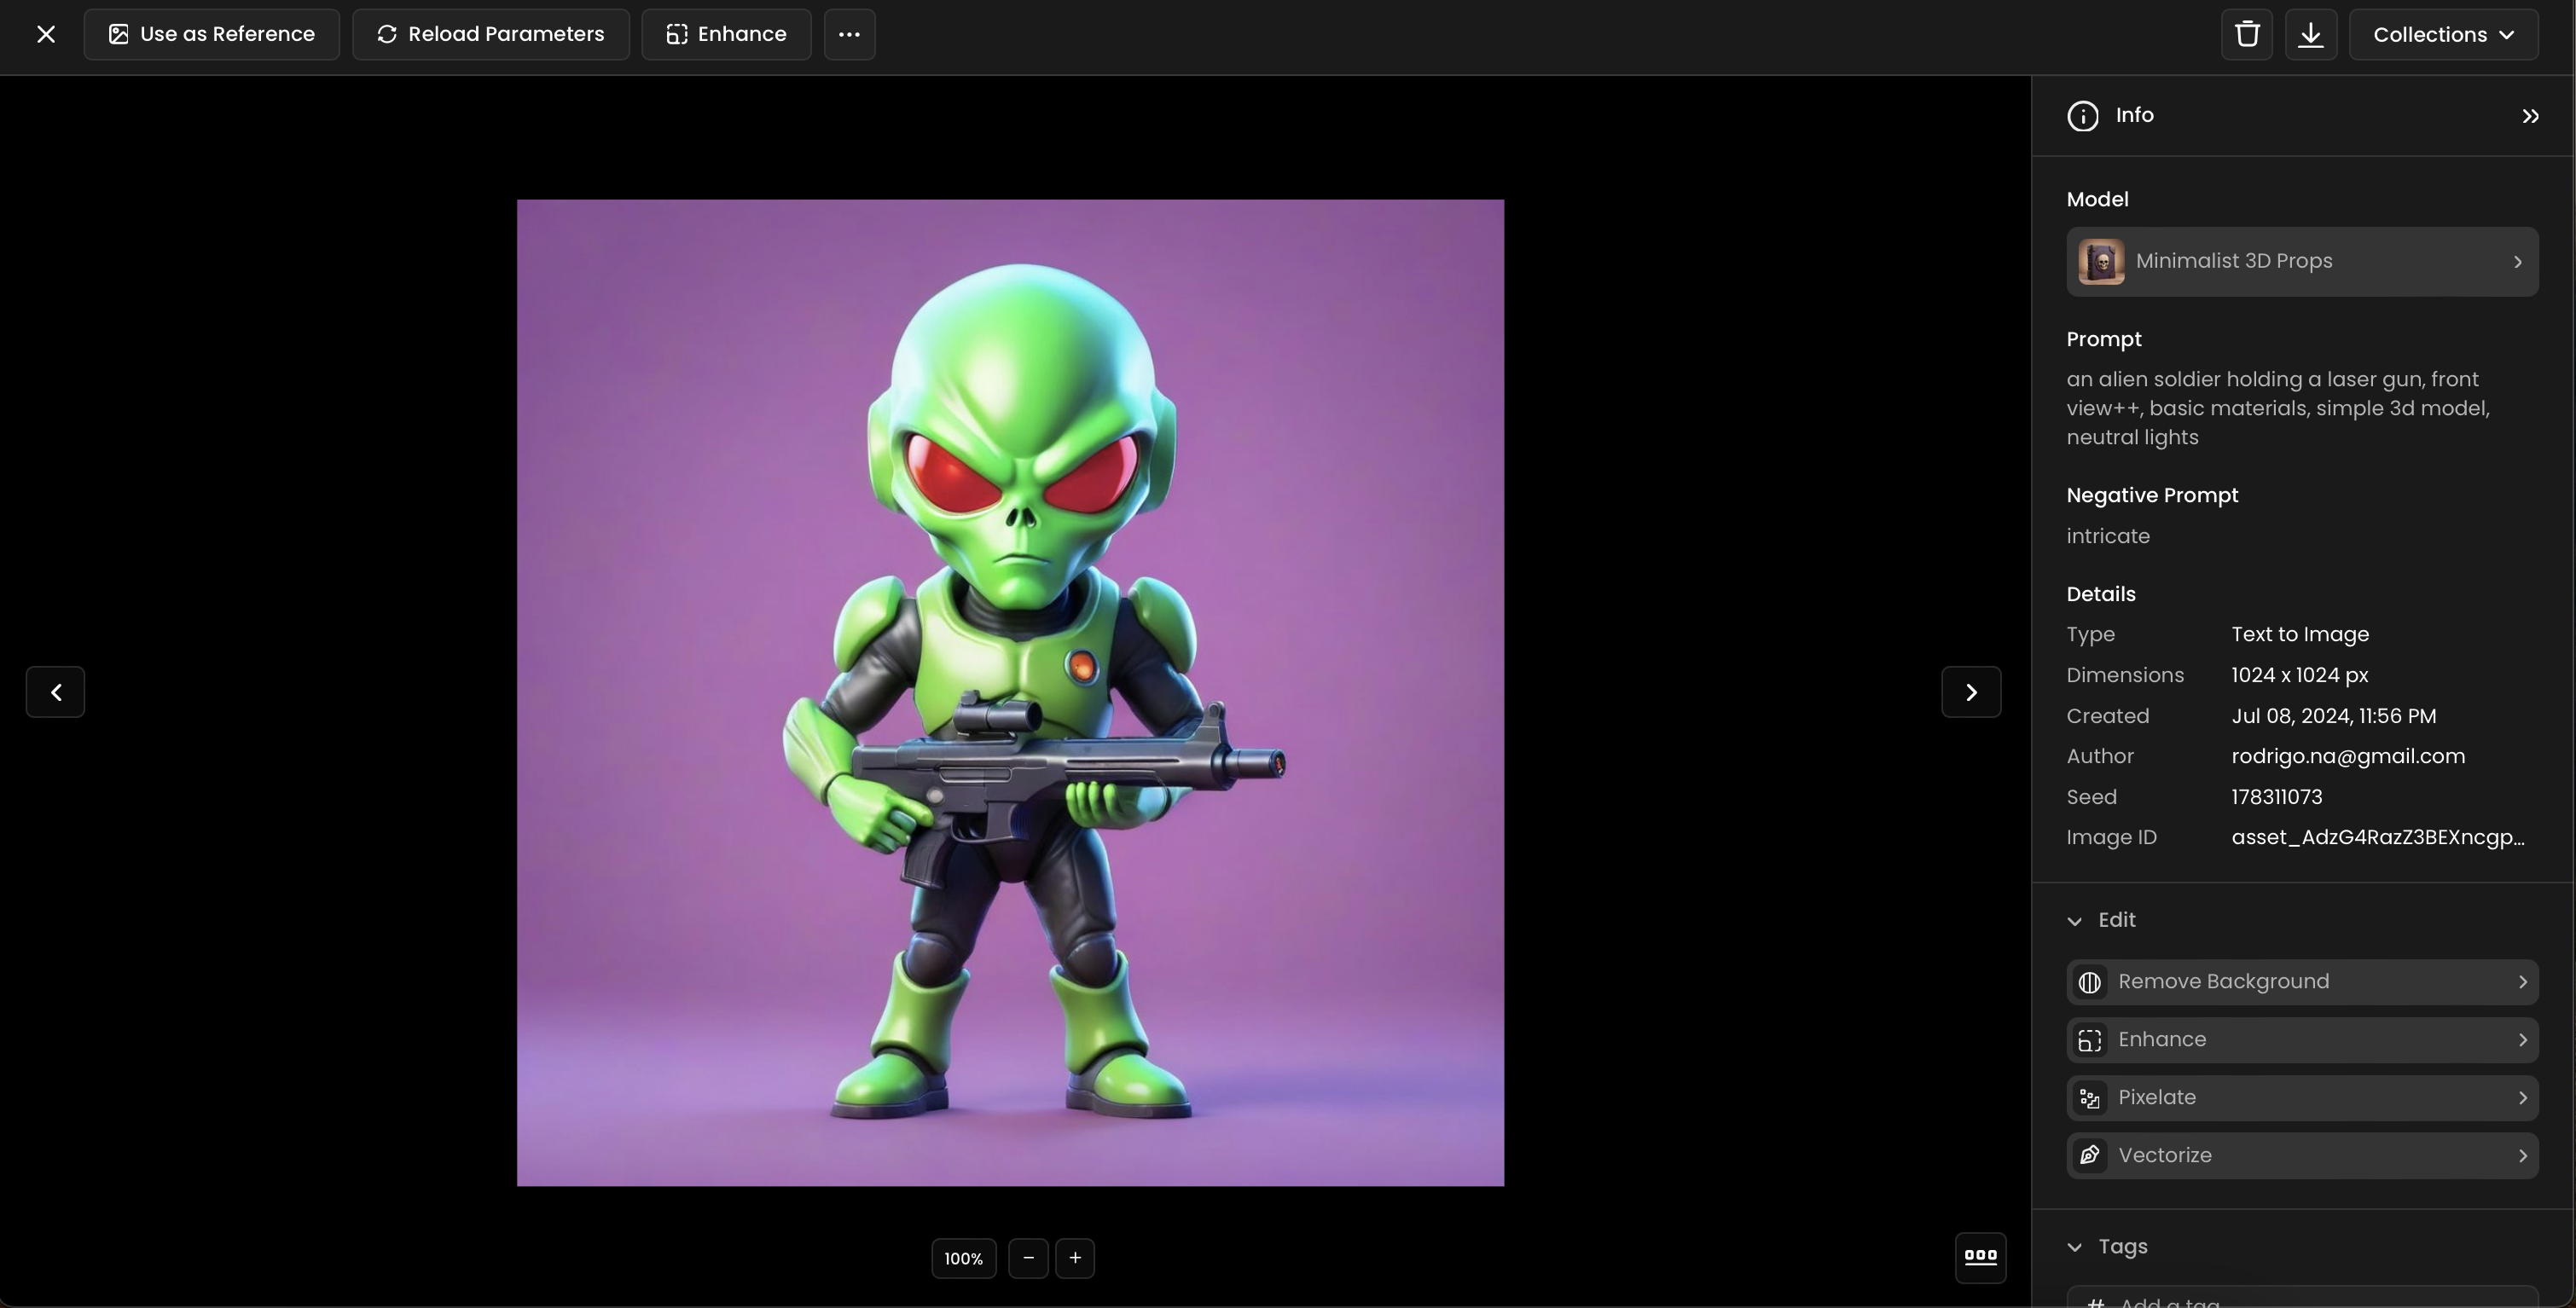
You can directly send your generated content to Unity from Scenario.
Start by generating or selecting the image you want for your project. Ensure the image meets your project requirements before proceeding.

To prepare your image for Unity, you may need to remove its background. Our built-in background removal tools make this process easy and intuitive. Here’s how:
Access the Zoom Side Panel: On your workspace, locate the zoom side panel to get a closer look at the details of your image.

Select Background Removal Tool: Choose the background removal tool from the toolbar. This tool allows you to precisely remove the background, ensuring your asset is clean and ready for use.
Remove the Background: Carefully trace around the subject of your image. The tool will help you eliminate the unwanted background, leaving you with a polished asset.
With your background removed, it’s time to send your asset directly to Unity.
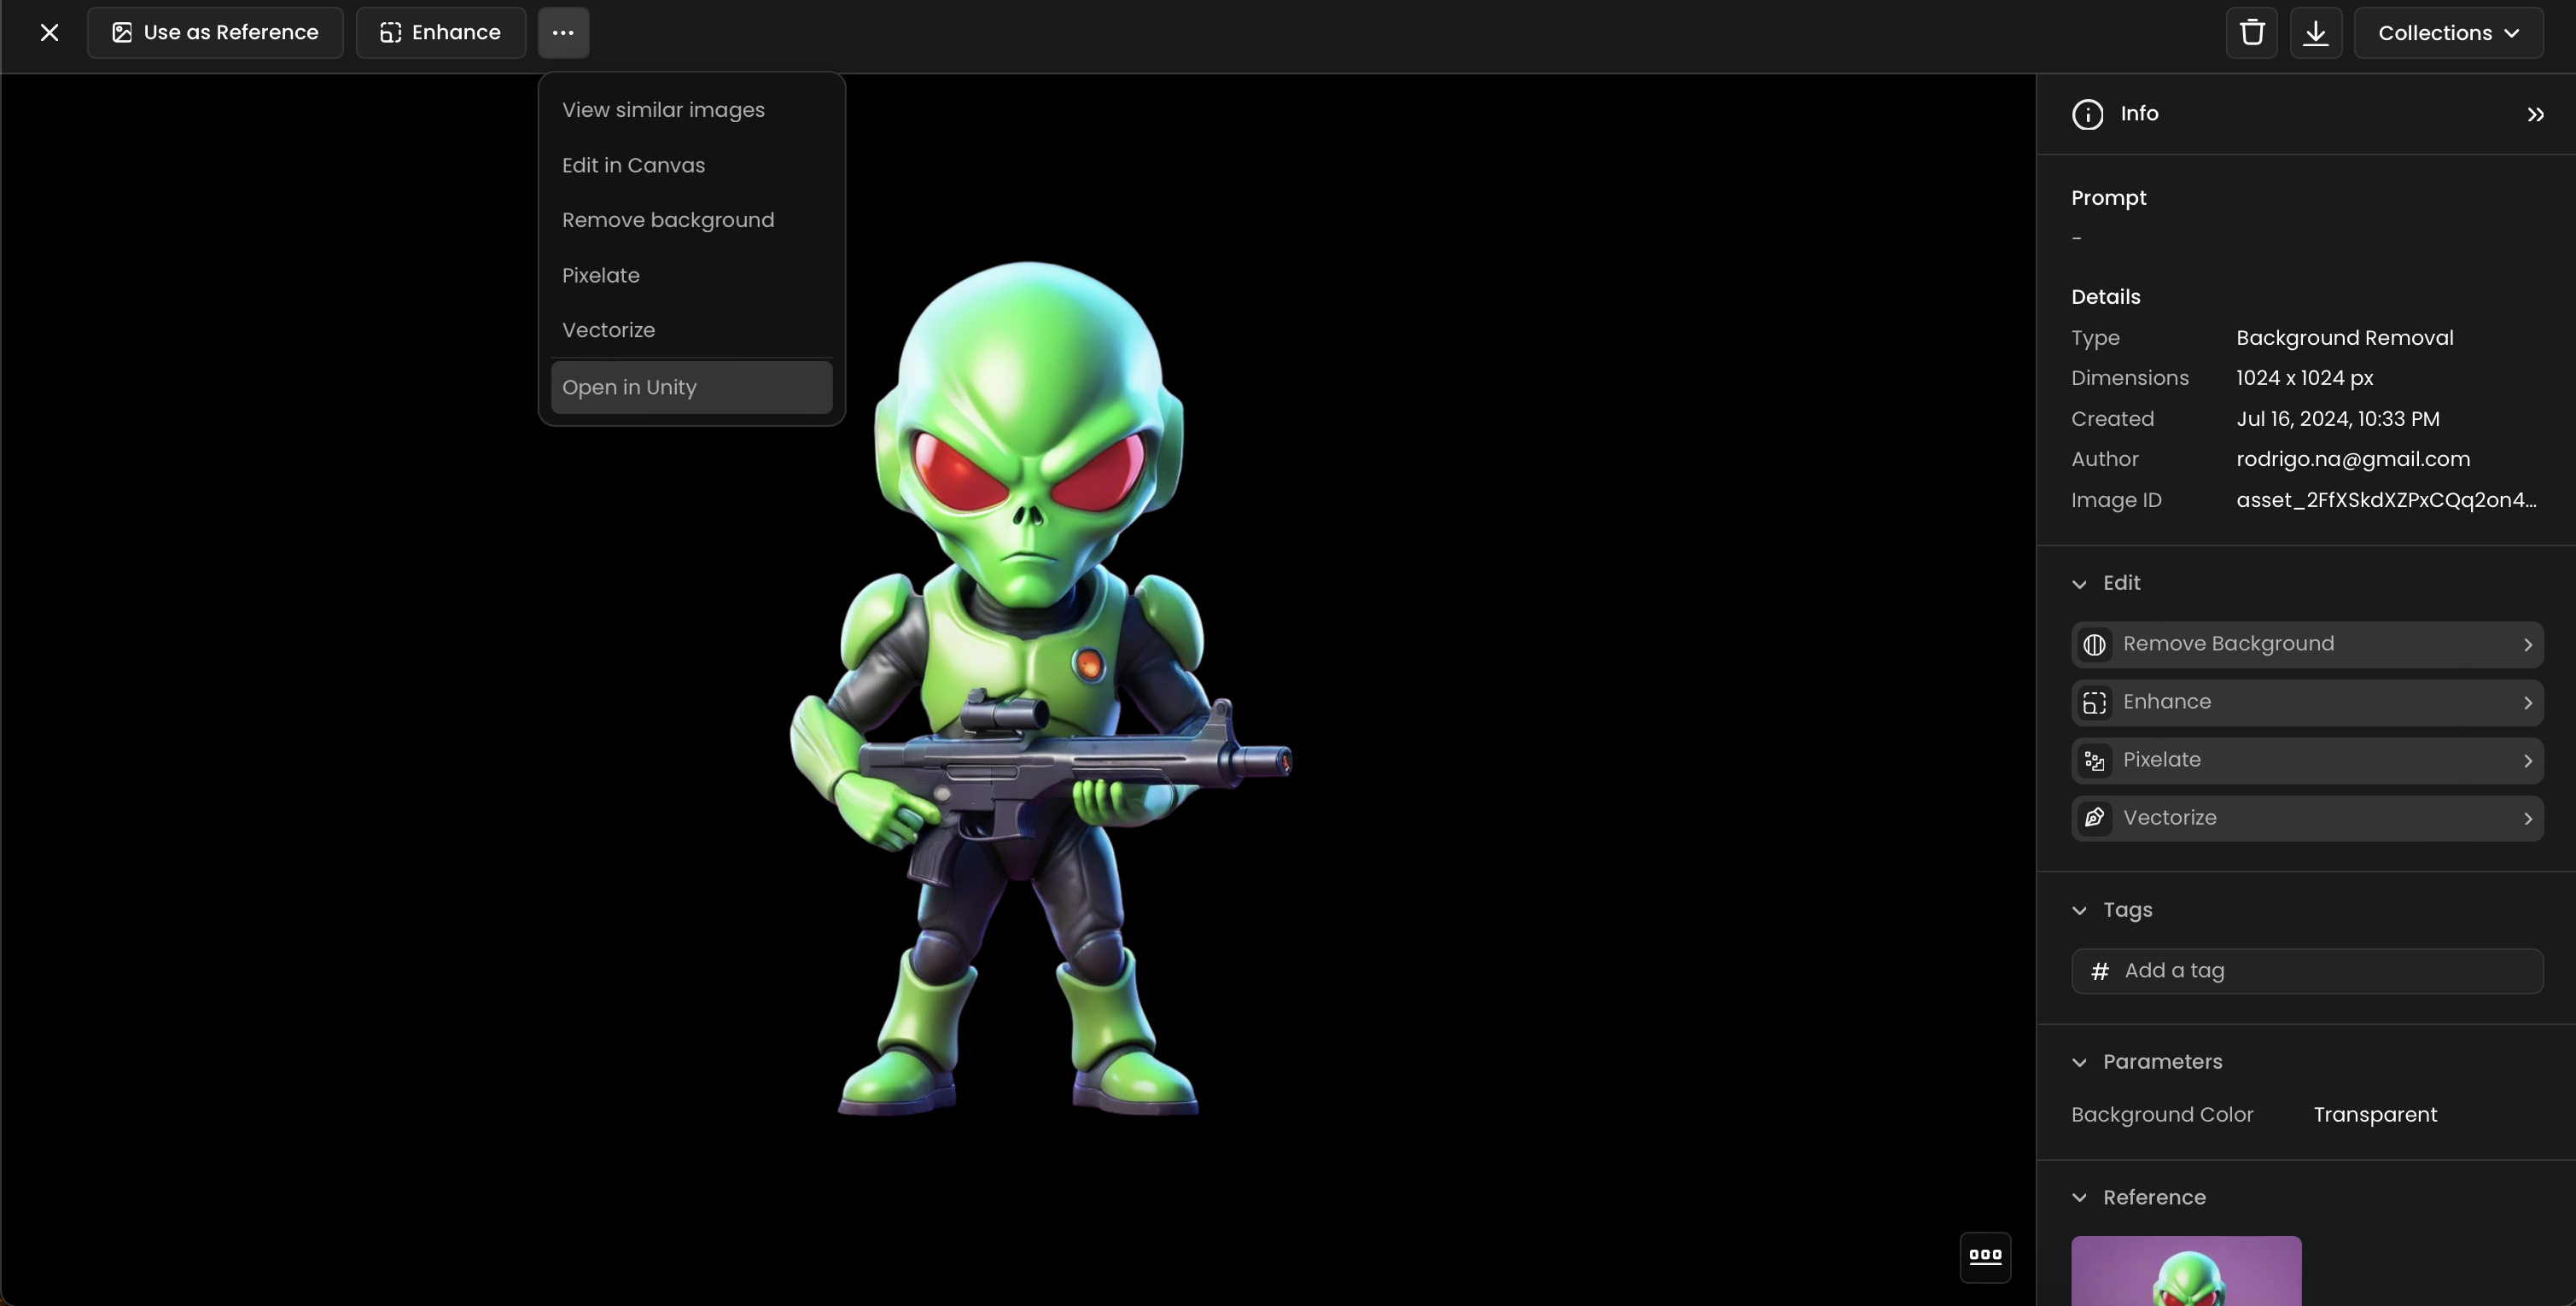
Click the More Options "..." Button: On the right-hand side of your edited image, find and click the More Options button, represented by three dots (...).
Select "Open in Unity": From the dropdown menu, choose the "Open in Unity" option. This action will send your asset directly to Unity, ready for integration into your project.

Streamlined Workflow: By sending assets directly to Unity, you save time and effort, eliminating the need for manual import processes.
Enhanced Productivity: Focus more on the creative aspects of your project, knowing that asset integration is seamless and efficient.
Consistency and Quality: Maintain the integrity of your assets by using our built-in tools to ensure they are prepared and optimized for Unity.
High-Resolution Images: Start with high-resolution images to ensure the best quality after background removal and integration into Unity.
Was this helpful?

Quentin