Pixelate
Last updated: April 9, 2026
This guide walks you through using the “Pixelate” tool in Scenario to transform your images into pixel art. Whether you're creating game assets or retro-style illustrations, Pixelate offers precise control for consistent, customizable results.
What is Pixelate?
The Pixelate tool transforms standard images into a blocky, retro style reminiscent of classic video games or pixel art. It reduces image detail into distinct pixel grids while allowing you to customize the color palette, creating a consistent, stylized look perfect for retro/nostalgic designs.
Accessing the Pixelate Tool
You can access the Pixelate tool in several ways. Open any image and select "Pixelate" from the three-dot menu in the top-right corner, or navigate to the left sidebar menu and click "Pixelate" under the "Images" section.

You can also go directly to https://app.scenario.com/pixelate or select "Pixelate" from the main menu (left sidebar), under the “Images” section.
How to Use Pixelate: Step-by-Step
Step 1: Select or Upload Your Image
Begin by choosing the image you want to pixelate. Click "Select from Library" to use an existing image, or simply drag and drop an image from your computer. For best results, start with a high-resolution image (1024x1024 pixels or higher) that has clear subjects and good contrast.
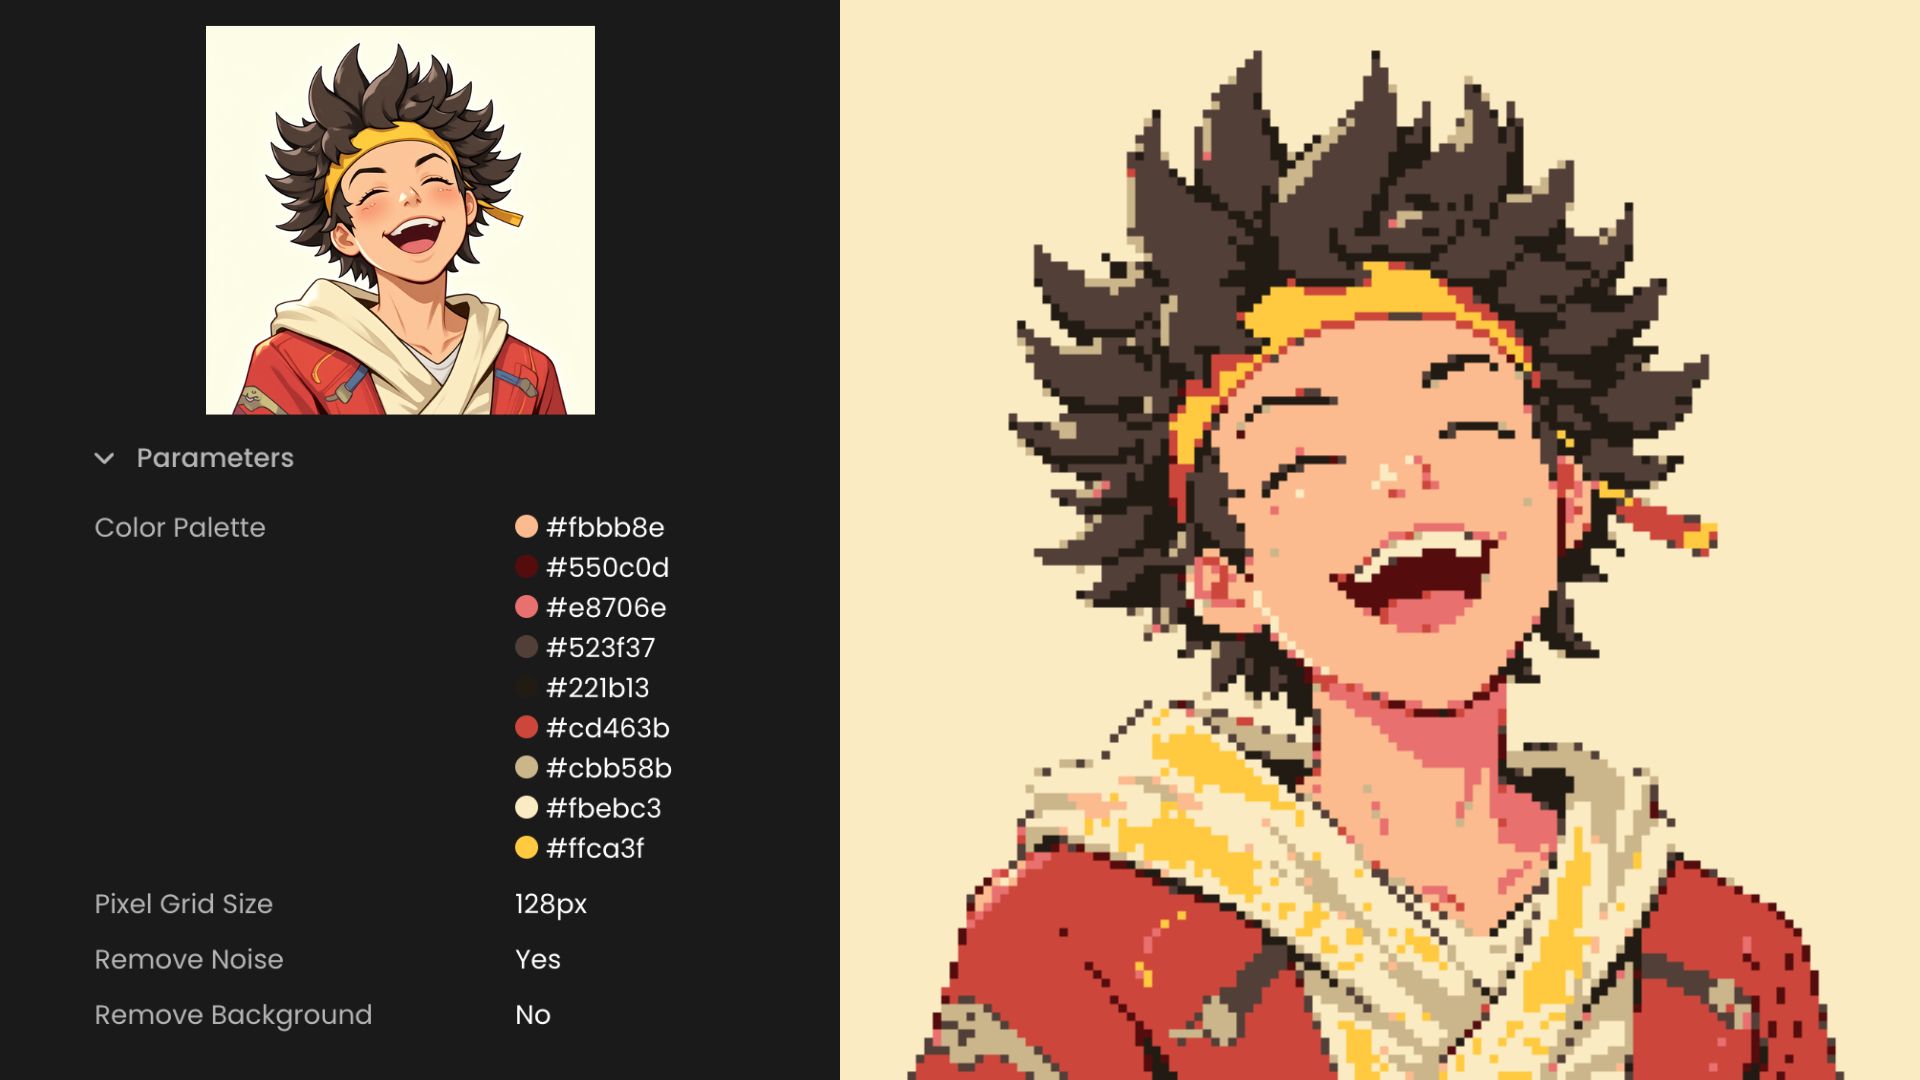
Step 2: Adjust Your Color Palette
The color palette determines the range and variety of colors in your pixelated image. By default, the Pixelate tool automatically extracts colors from your image, but you can toggle "Custom Color Palette" to create your own color scheme.

When using a custom palette, you can add colors by clicking the "+" button, enter specific hex codes, or use the color picker to select colors manually. Save your palette for future use (“floppy disk” icon), and access saved palettes via the small image icon at the top of the sidebar.

Adjust the number of colors using the Color Palette Size slider. Smaller palettes (4-8 colors) create a more simplified, classic 8-bit look, while larger palettes (16+ colors) maintain more detail. The "Auto" setting automatically determines an optimal number based on your image.
Tip: A limited color palette (8-12 colors) often creates the most authentic retro pixel art look.
Step 3: Set Your Pixel Grid Size
The pixel grid size determines how blocky and abstracted your image becomes. Choose from presets like 16px, 32px, 64px, 128px, or 256px. Smaller grid sizes (16px, 32px) create more pixelation and a stronger retro effect, while larger sizes (128px, 256px) maintain more detail.

This setting has the most impact on your final result. Generally, 16-32px creates heavy pixelation perfect for classic 8-bit style or game sprites, 64px offers moderate pixelation with a good balance between detail and retro effect, and 128-256px maintains more of the original image details with light pixelation.
Step 4: Apply Additional Options
Fine-tune your pixelated image with additional settings. The "Remove Noise" option smooths out rough edges and eliminates small, isolated pixels, creating a cleaner, more polished pixel art style especially useful for complex images. The "Remove Background" option isolates your subject by clearing the background, which is particularly helpful when creating game sprites or assets that need transparent backgrounds.

Step 5: Generate Your Pixelated Image
When you've configured all settings to your liking, click the "Generate" button to process your image. Review the result in the content panel on the left. If needed, adjust your settings and generate again until you achieve your desired look. You can then download your pixelated creation or save it to your Scenario library.
Practical Examples
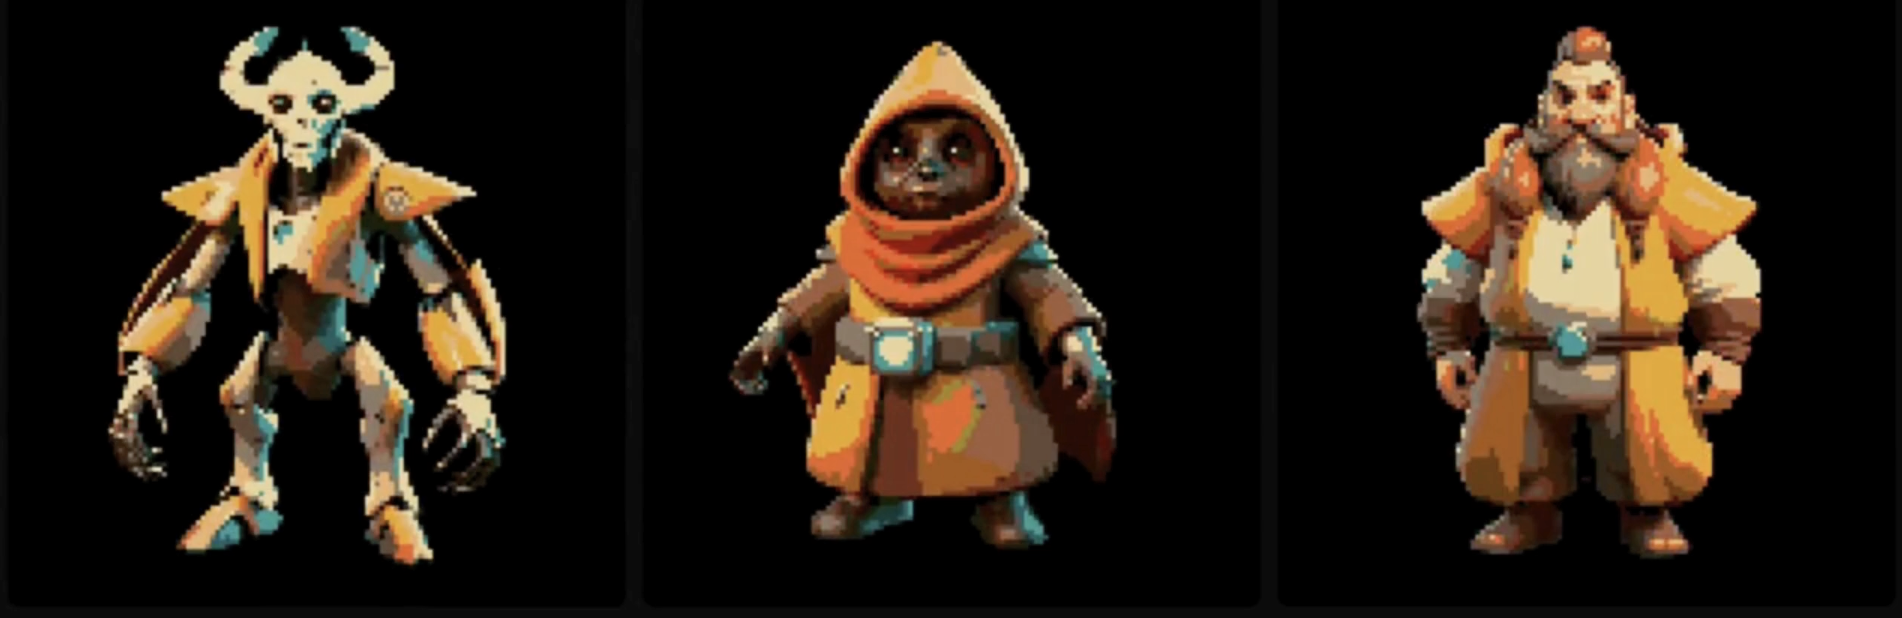
Creating Game Assets
Using a 32px grid with an 8-color custom palette and Remove Background enabled creates clean game sprites with transparent backgrounds, ready for implementation in your projects.

Retro Poster Design
A 64px grid with a 16-color vibrant palette and Remove Noise enabled produces eye-catching pixel art suitable for marketing materials and posters with a nostalgic feel.

Stylized Portraits
Try a 128px grid with a custom color palette matching your brand and Remove Noise enabled to create unique, recognizable avatars with a consistent style for social media or team pages.
Quick Tips for Better Results
If you’re unsure about which grid to use, start with 64px and adjust higher or lower based on your desired retro effect and detail level.
For cohesive project styles, save and reuse custom palettes across multiple images.
Enable "Remove Noise" when pixelating complex images to avoid strange pixel groupings, and use "Remove Background" when creating assets that need to be placed over different backgrounds.
For consistent results across a series of related images (like character animations), use the same grid size and color palette for all assets in the set.
Advanced Techniques: Creating Pixelated Animations
For consistent animations, pixelate each frame using identical settings. Maintain the same color palette and grid size across all frames and use "Remove Background" for seamless frame transitions. Export as individual PNGs for assembly in animation software.
Final Notes
The Pixelate tool in Scenario offers a simple yet powerful way to create consistent, stylized pixel art from any image. By adjusting color palettes, grid sizes, and additional options, you can achieve results ranging from classic 8-bit style to more sophisticated pixel art designs.