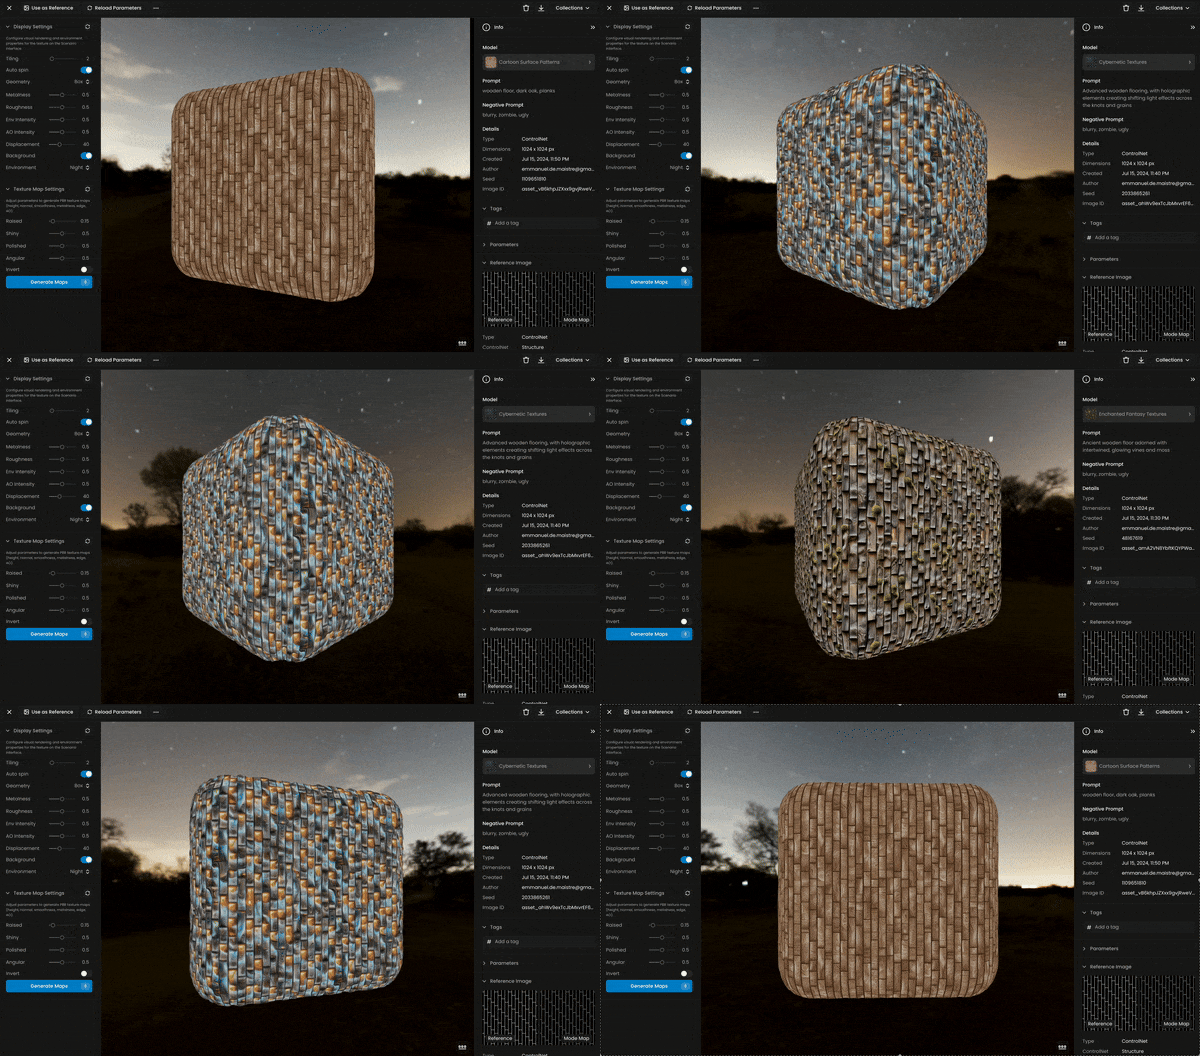
Scenario allows you to generate endless custom seamless textures using AI models. You can use either the platform's models (provided by Scenario) or your own custom-trained models, giving you unmatched creative control.
For example:
The custom model used defines the overall style of the texture.
The prompt defines the details and the subject (floor, wall, etc).
Optionally, a reference image can shape the structure and composition (grid pattern, color tones, etc).
First, generate an albedo map, which provides the base color information of the material without any lighting effects. Once the albedo is generated, it can be visualized on Scenario, and parameters can be adjusted to generate a complete set of PBR (Physically Based Rendering) texture maps, creating a production-ready, detailed texture.
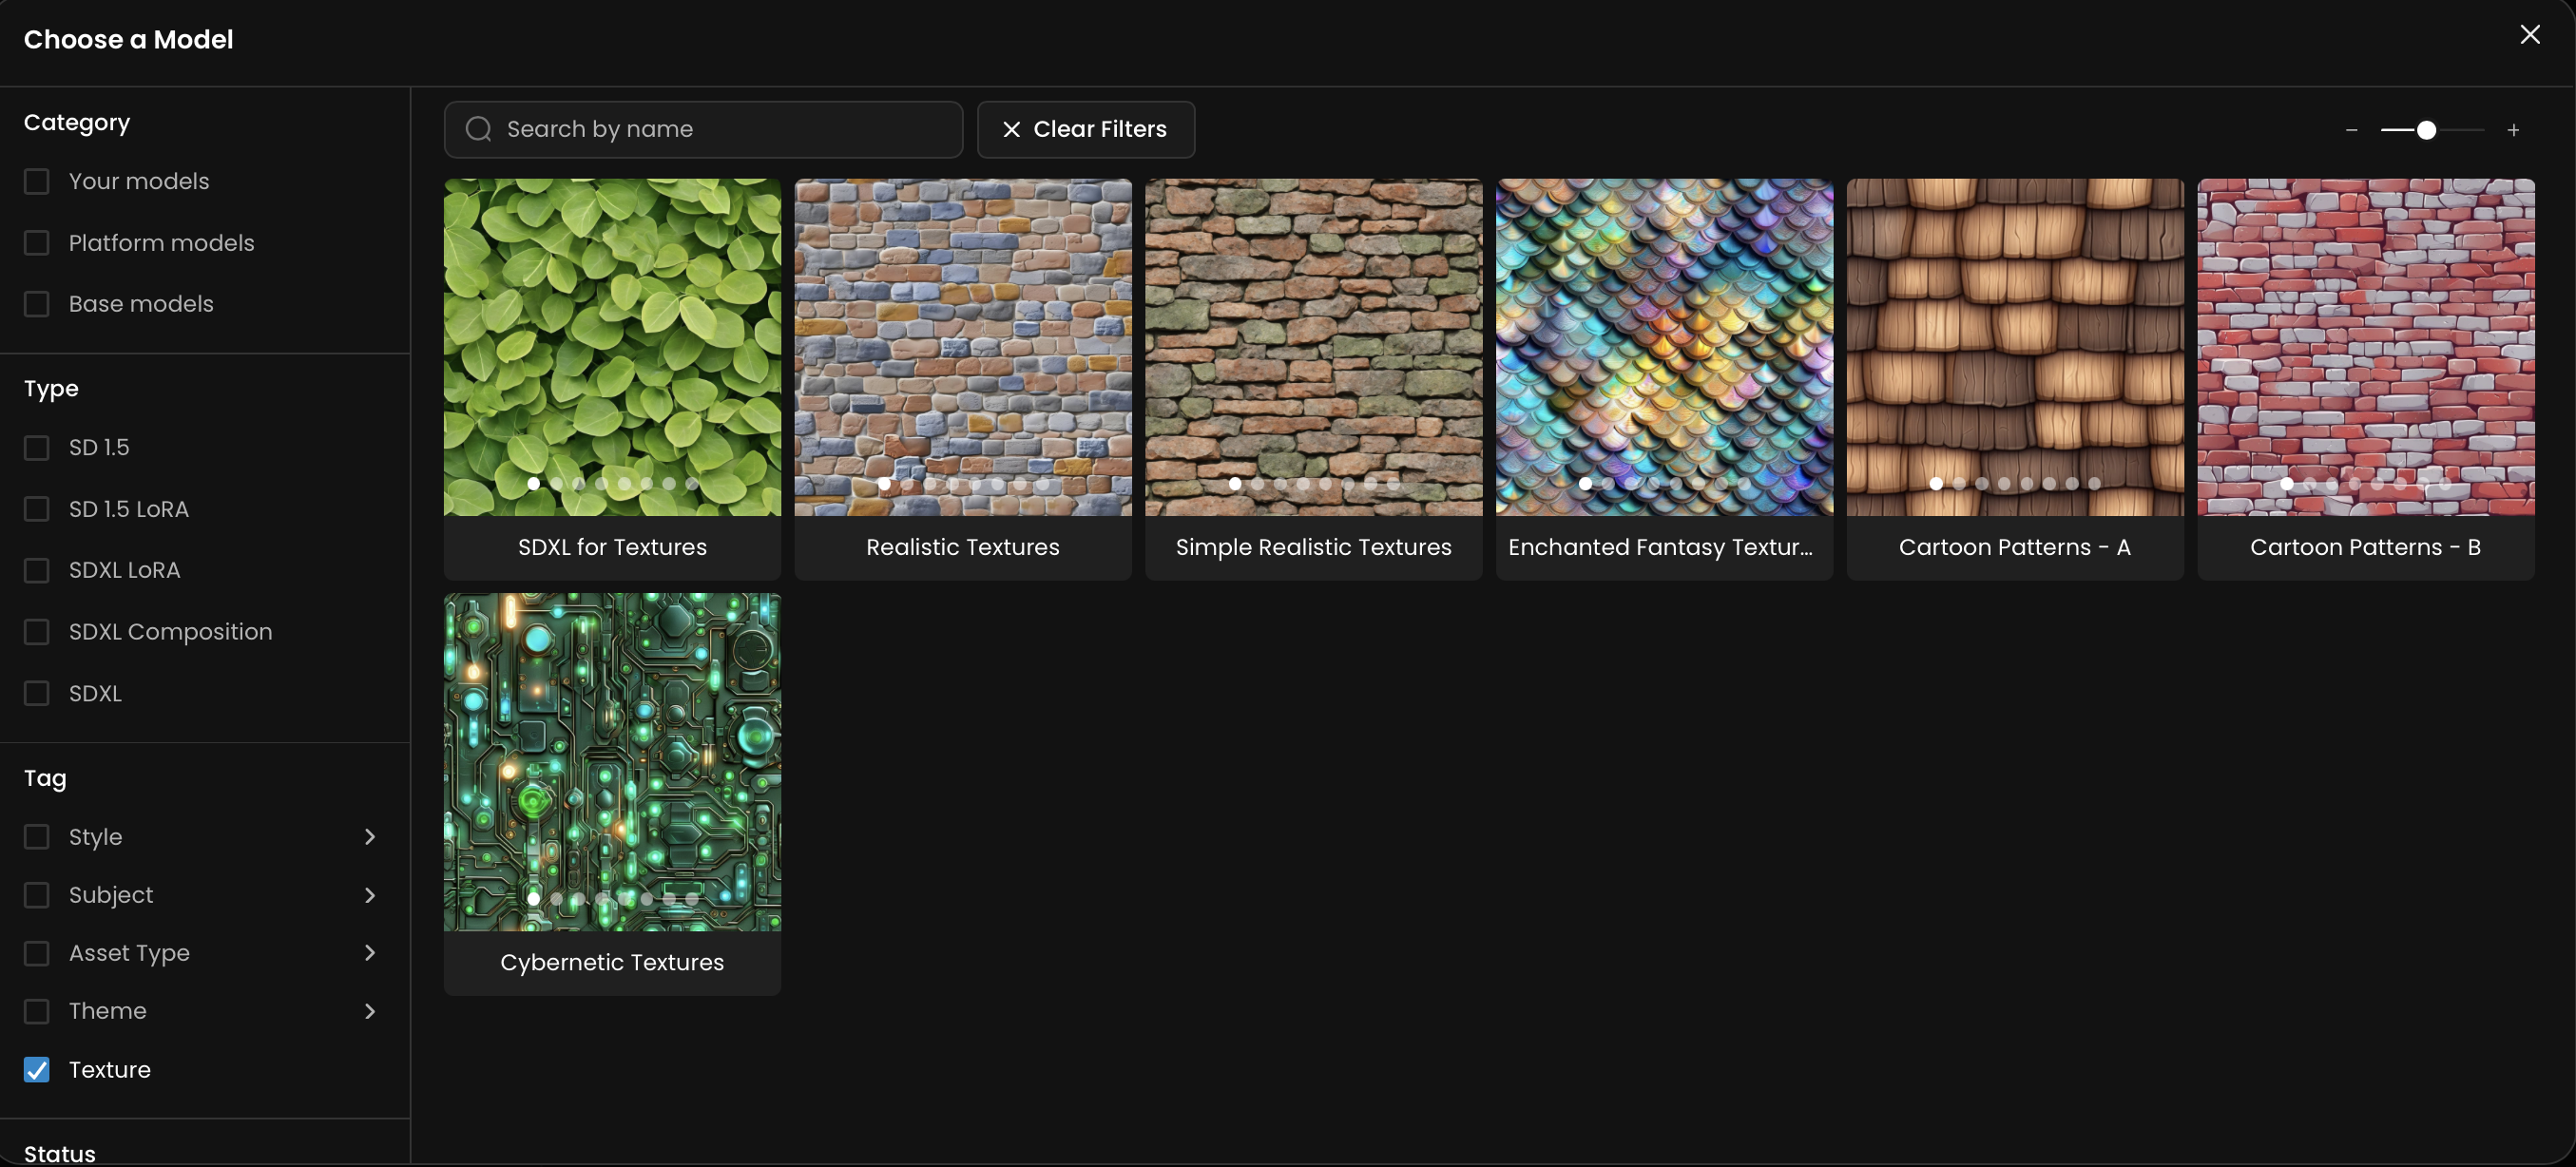
To generate an Albedo texture, start by selecting a model. Several options are available:
Generic Models (e.g., SDXL for texture): Versatile and suitable for a wide range of textures.
Style Specific Models (e.g., Cartoon, Cybernetic): Tailored to specific styles and will yield textures with distinctive characteristics.
Other Custom-Trained Models: Personal models can be used, assuming they are adapted for textures (i.e., more style-focused rather than character-focused). Models tagged with "Texture" on Scenario will work best for this purpose.
Next, write a prompt describing the texture to be generated. For example:
"A rough stone wall with moss growing in the crevices."
"Smooth, shiny metal surface with scratches and dents."
The AI will create an Albedo texture based on the description.
A reference image can guide the texture generation with two options:
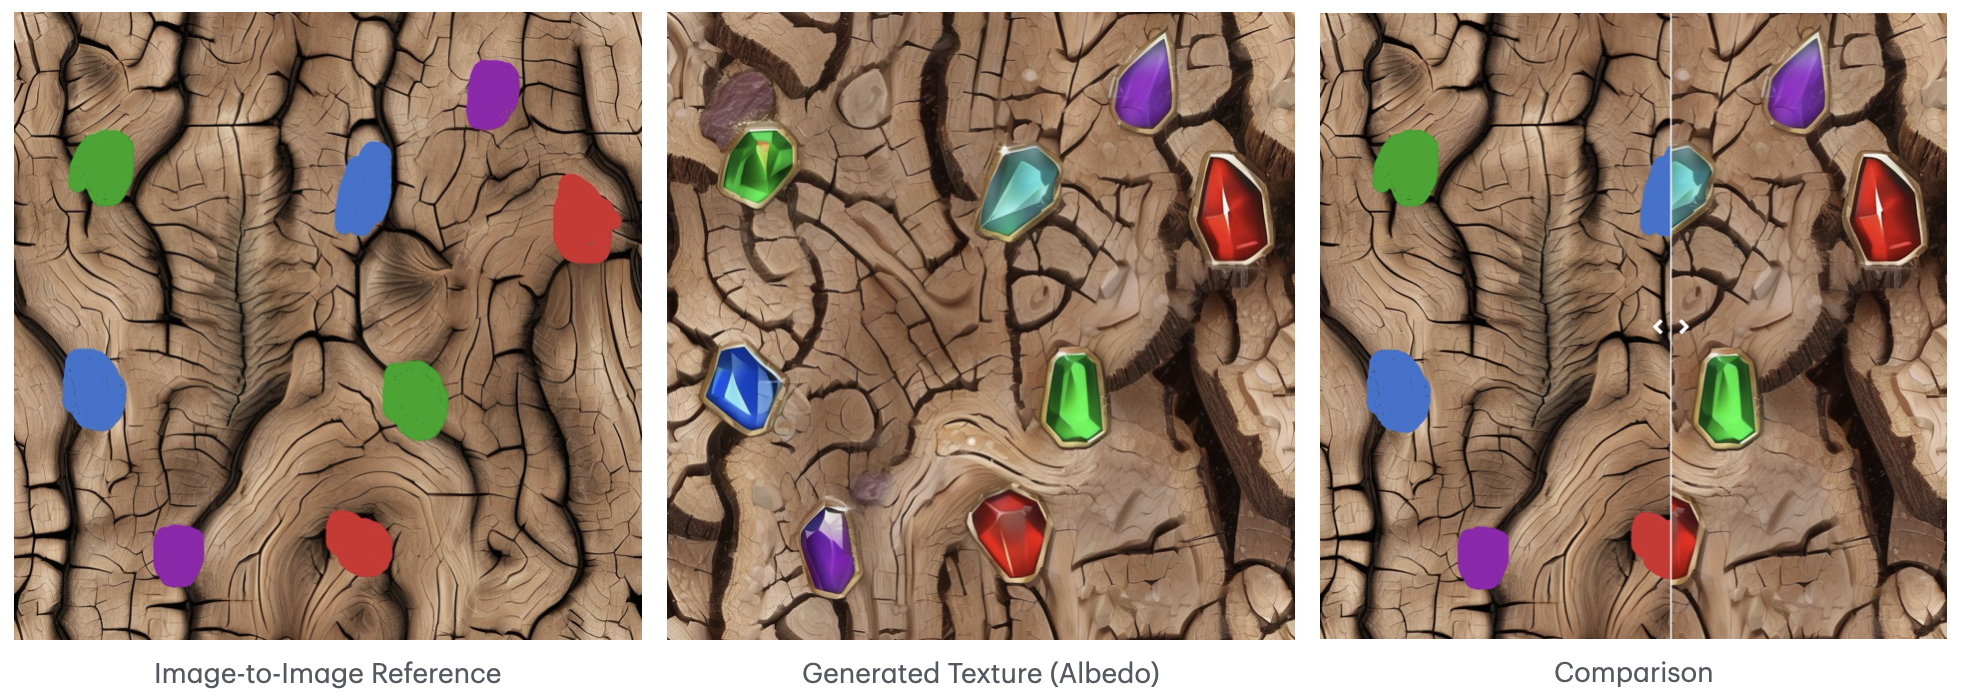
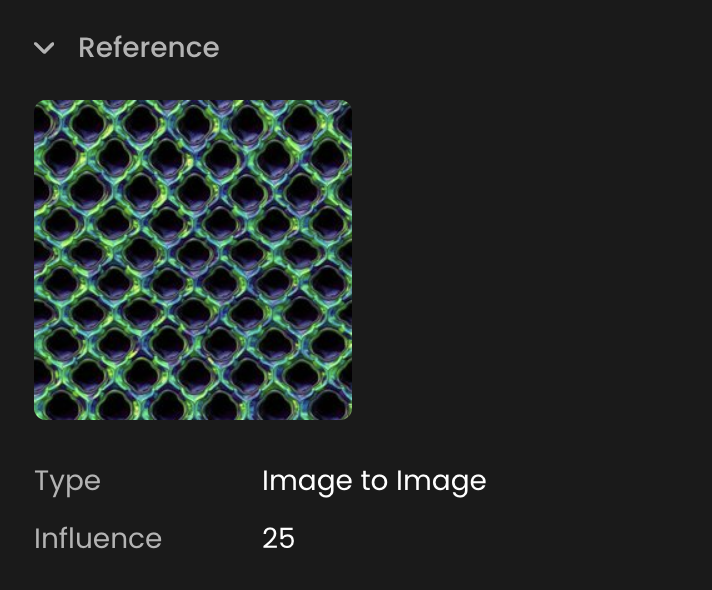
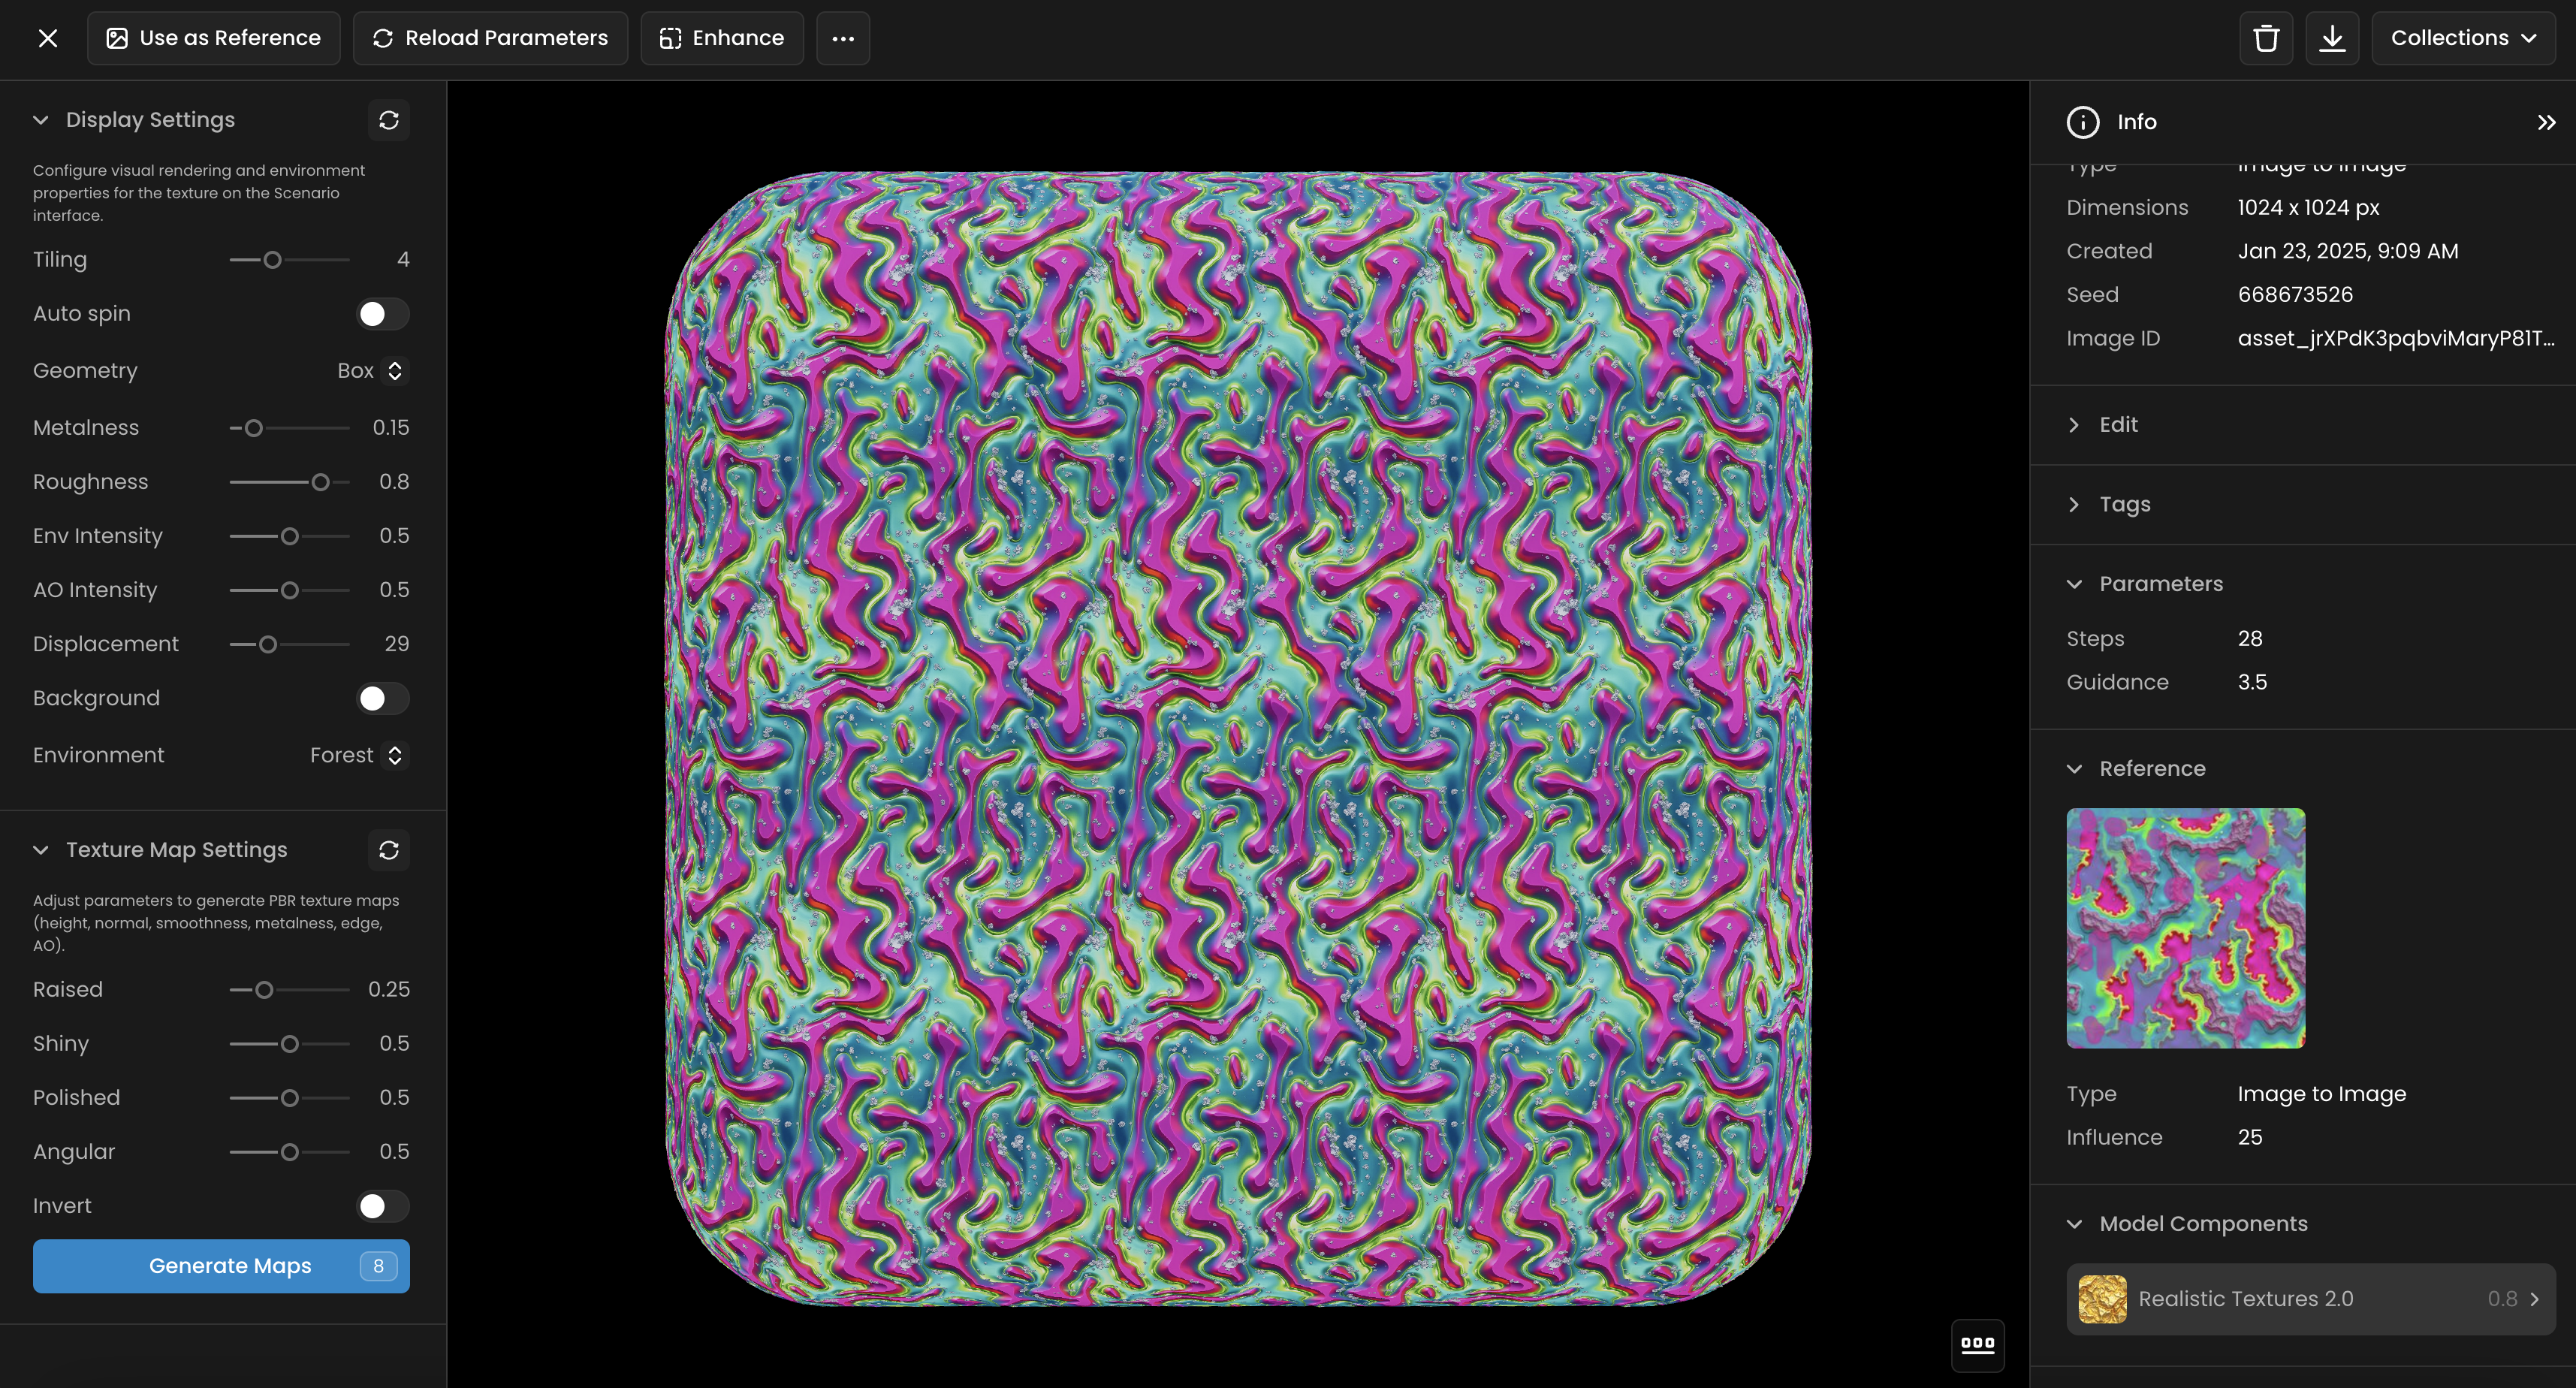
Image-to-Image: This mode uses the colors and patterns from the reference image to create the Albedo texture, with adjustable influence levels.
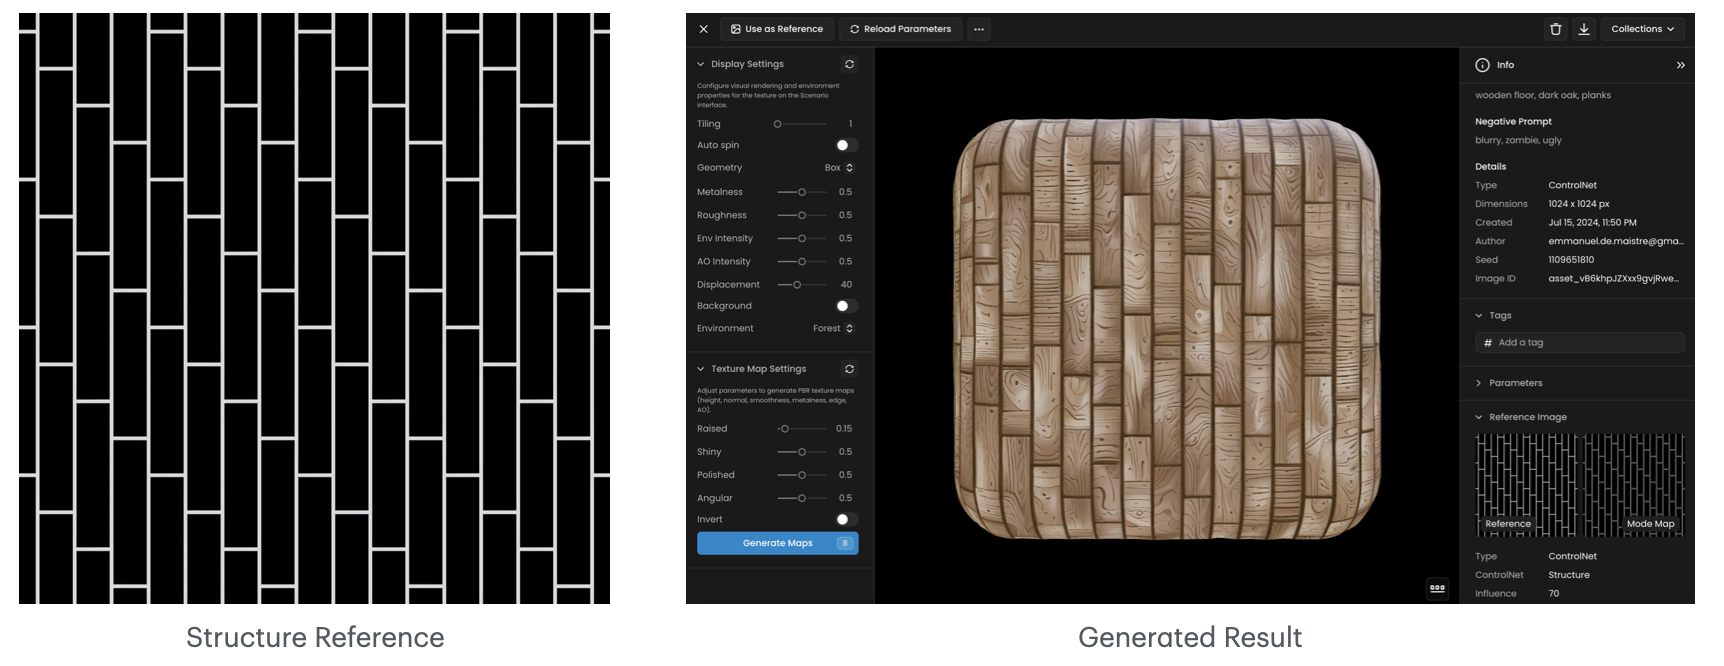
Structure Mode: This mode uses the structural features (lines) of the reference image, but ignores the colors, to shape the Albedo texture.
Once the Albedo texture is generated, it can be visualized within Scenario. This allows for inspection of the base color and overall appearance of the texture before proceeding to generate the additional PBR maps. The display settings allow for fine-tuning of the visual rendering and environmental properties of the texture. The available parameters include:
Tiling: Adjust the repetition of the texture on the surface to ensure it tiles seamlessly.

Auto Spin: Enable automatic rotation of the model to view the texture from different angles.
Geometry: Choose the geometric shape or model to apply the texture on (e.g., sphere, cube).
Metalness: Control the metallic properties of the texture, affecting how shiny and reflective it appears.
Roughness: Adjust the surface roughness, influencing the texture’s matte or glossy finish.
Env Intensity: Set the intensity of the environment lighting, which impacts how the texture is illuminated.
AO Intensity: Adjust the intensity of Ambient Occlusion, simulating shadowing in crevices and corners.
Displacement: Configure the height displacement effect on the texture to add depth and detail.
Background: Choose to display a background for the 3D preview, enhancing the context of the texture.
Environment: Select the environmental lighting setup for the texture preview to see how it looks under different lighting conditions.
Before finalizing and exporting, adjust the texture map settings to generate a complete set of PBR texture maps. This step is crucial for creating highly detailed and realistic textures by simulating how light interacts with surfaces. Adjust the parameters to generate the various PBR texture maps. These settings allow for the creation of highly detailed and realistic textures by simulating how light interacts with surfaces. The available parameters include:
Raised: Enhance the texture's height for a more pronounced effect.
Shiny: Increase the texture's reflectiveness for a glossy appearance.
Polished: Smooth the texture's surface for a polished look.
Angular: Adjust the angles and edges of the texture to define its shape.
Invert: Invert the texture details for a different visual effect.
Click on the "Generate Maps" button to create the necessary PBR maps, which include: Height Map, Normal Map, Smoothness Map, Metallic Map, Edge Map, AO Map


After generating the PBR maps, it's still possible to visualize the texture using different display settings. This step allows for the inspection of the texture's final appearance under different conditions and further fine-tuning of the visual rendering properties if needed.
Once satisfied with the visualization and adjustments, the generated maps can be downloaded for use in 3D projects. This ensures seamless integration of the textures into various applications, meeting the specific needs of the project.
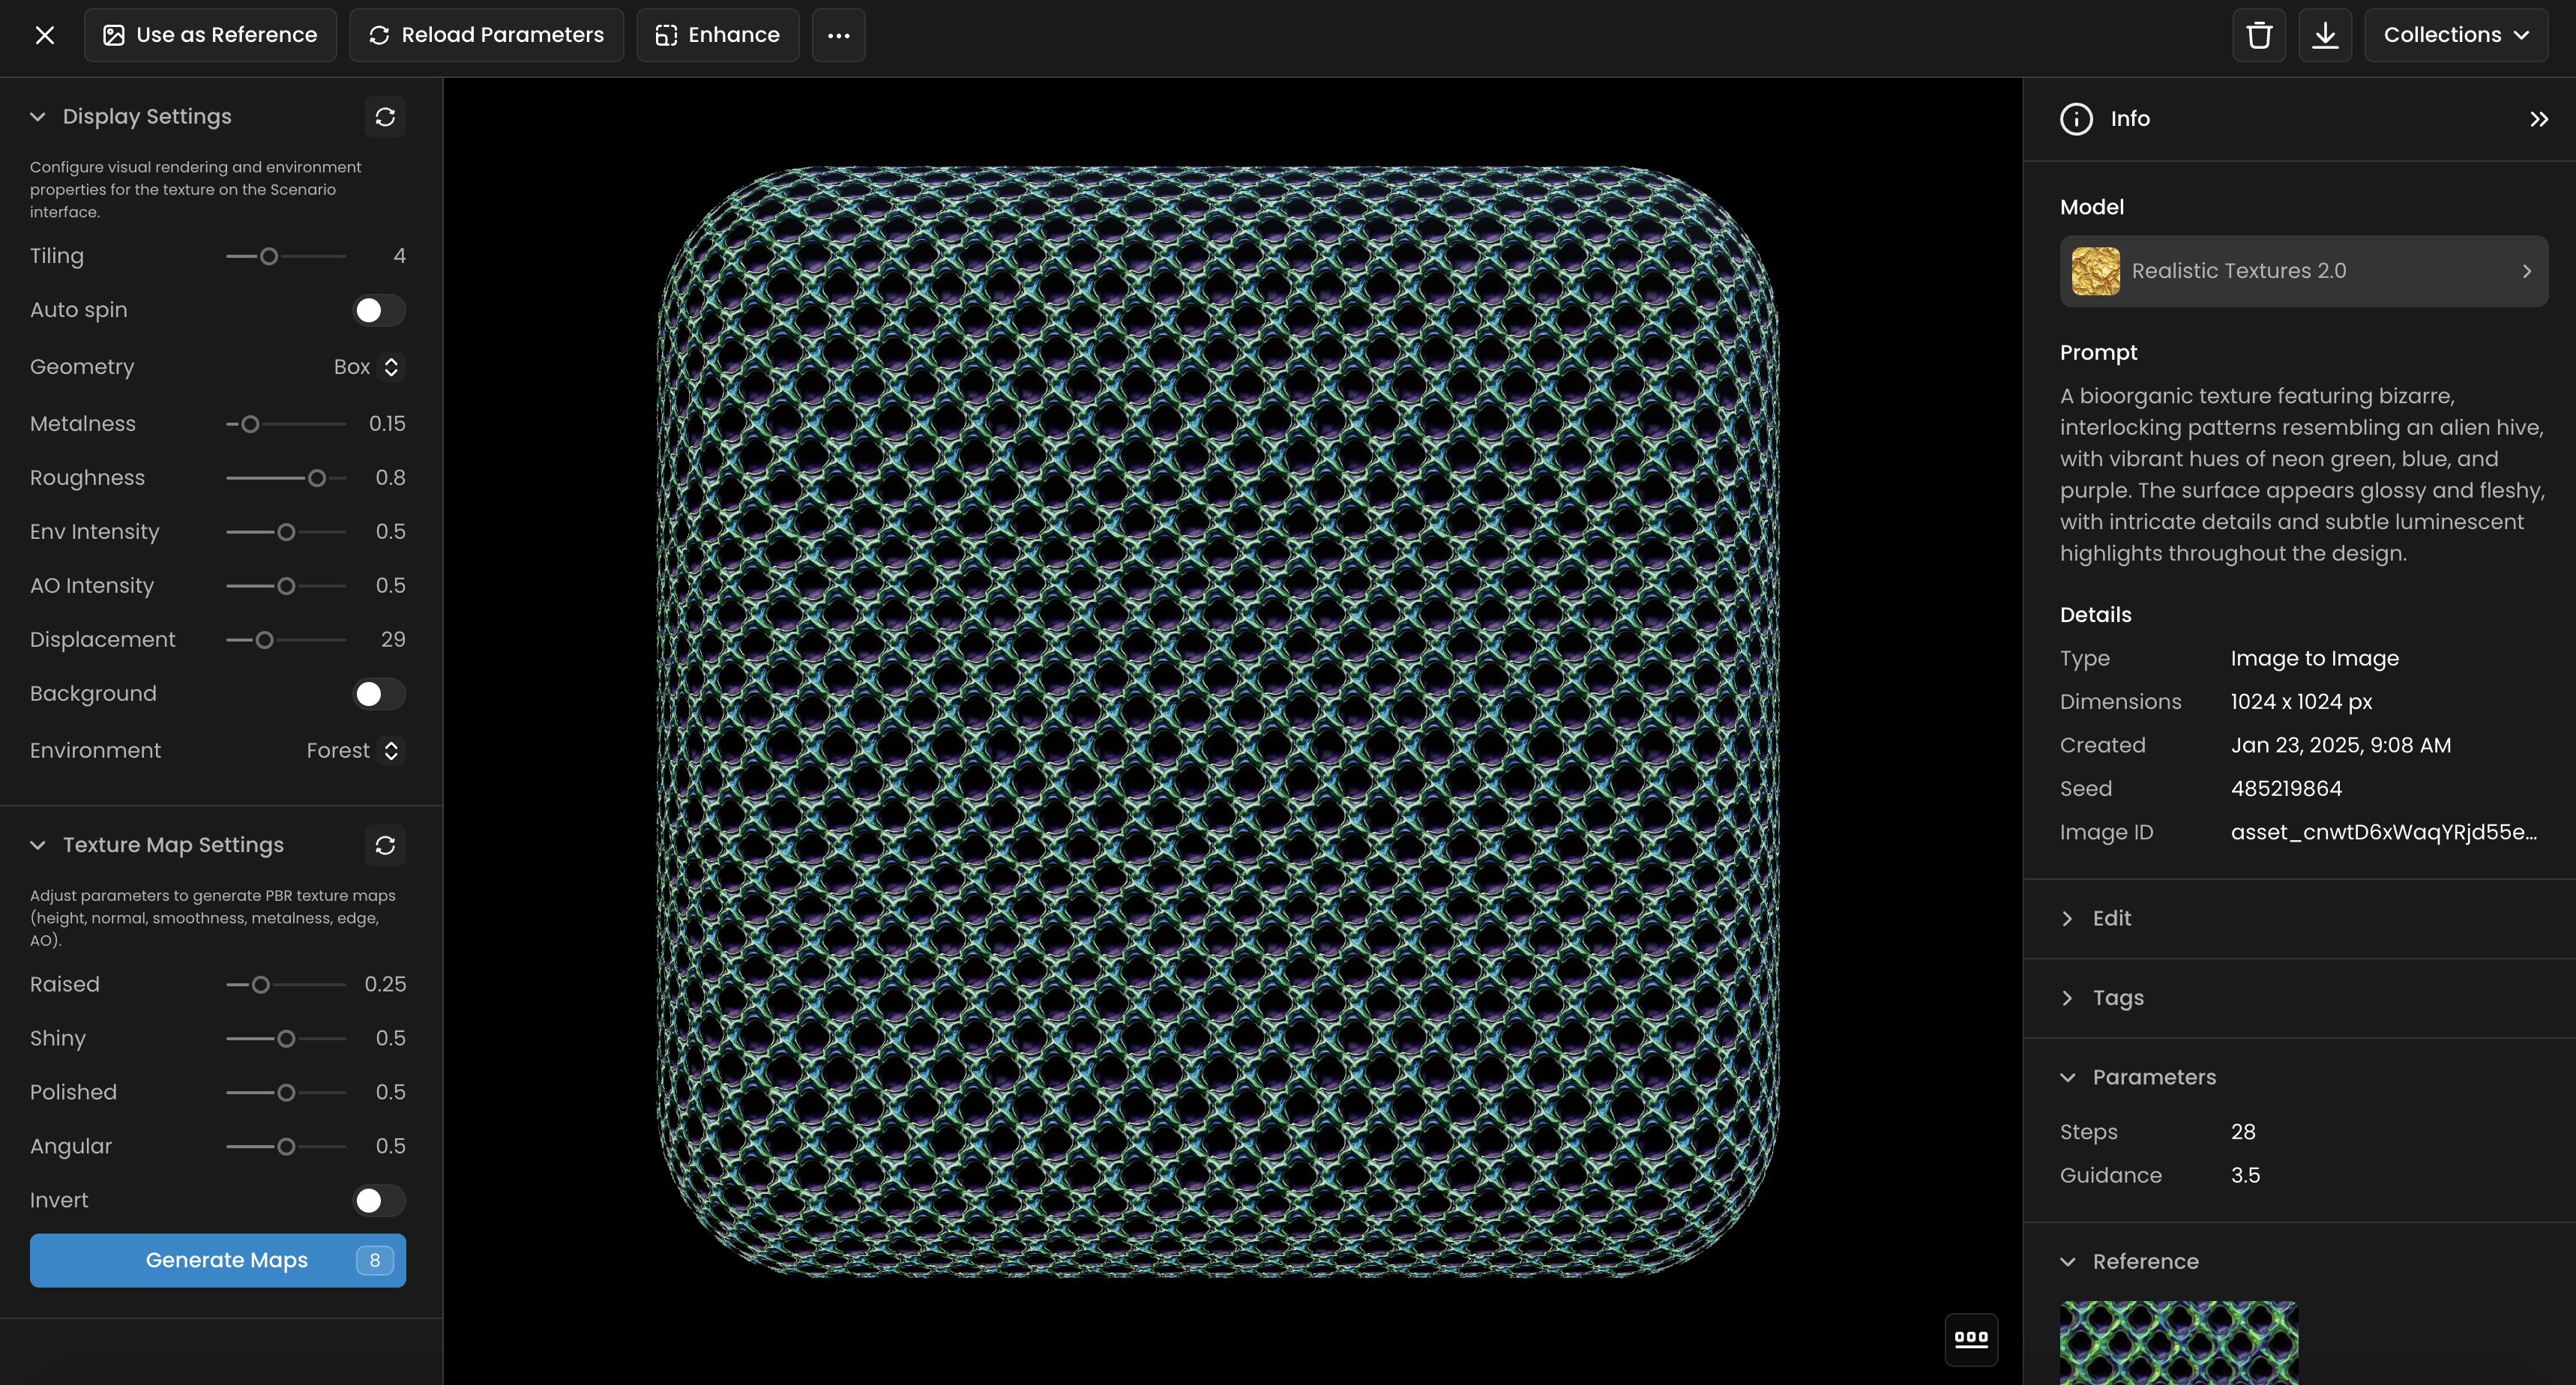
Occasionally, textures may display unwanted "patterns," in this example: a noticeable "blue grid." To resolve this, use an image-to-image reference with a setting of 25 (a good starting point), applying the same prompt. Then, relaunch the process; this often resolves the issue.
Grid pattern:
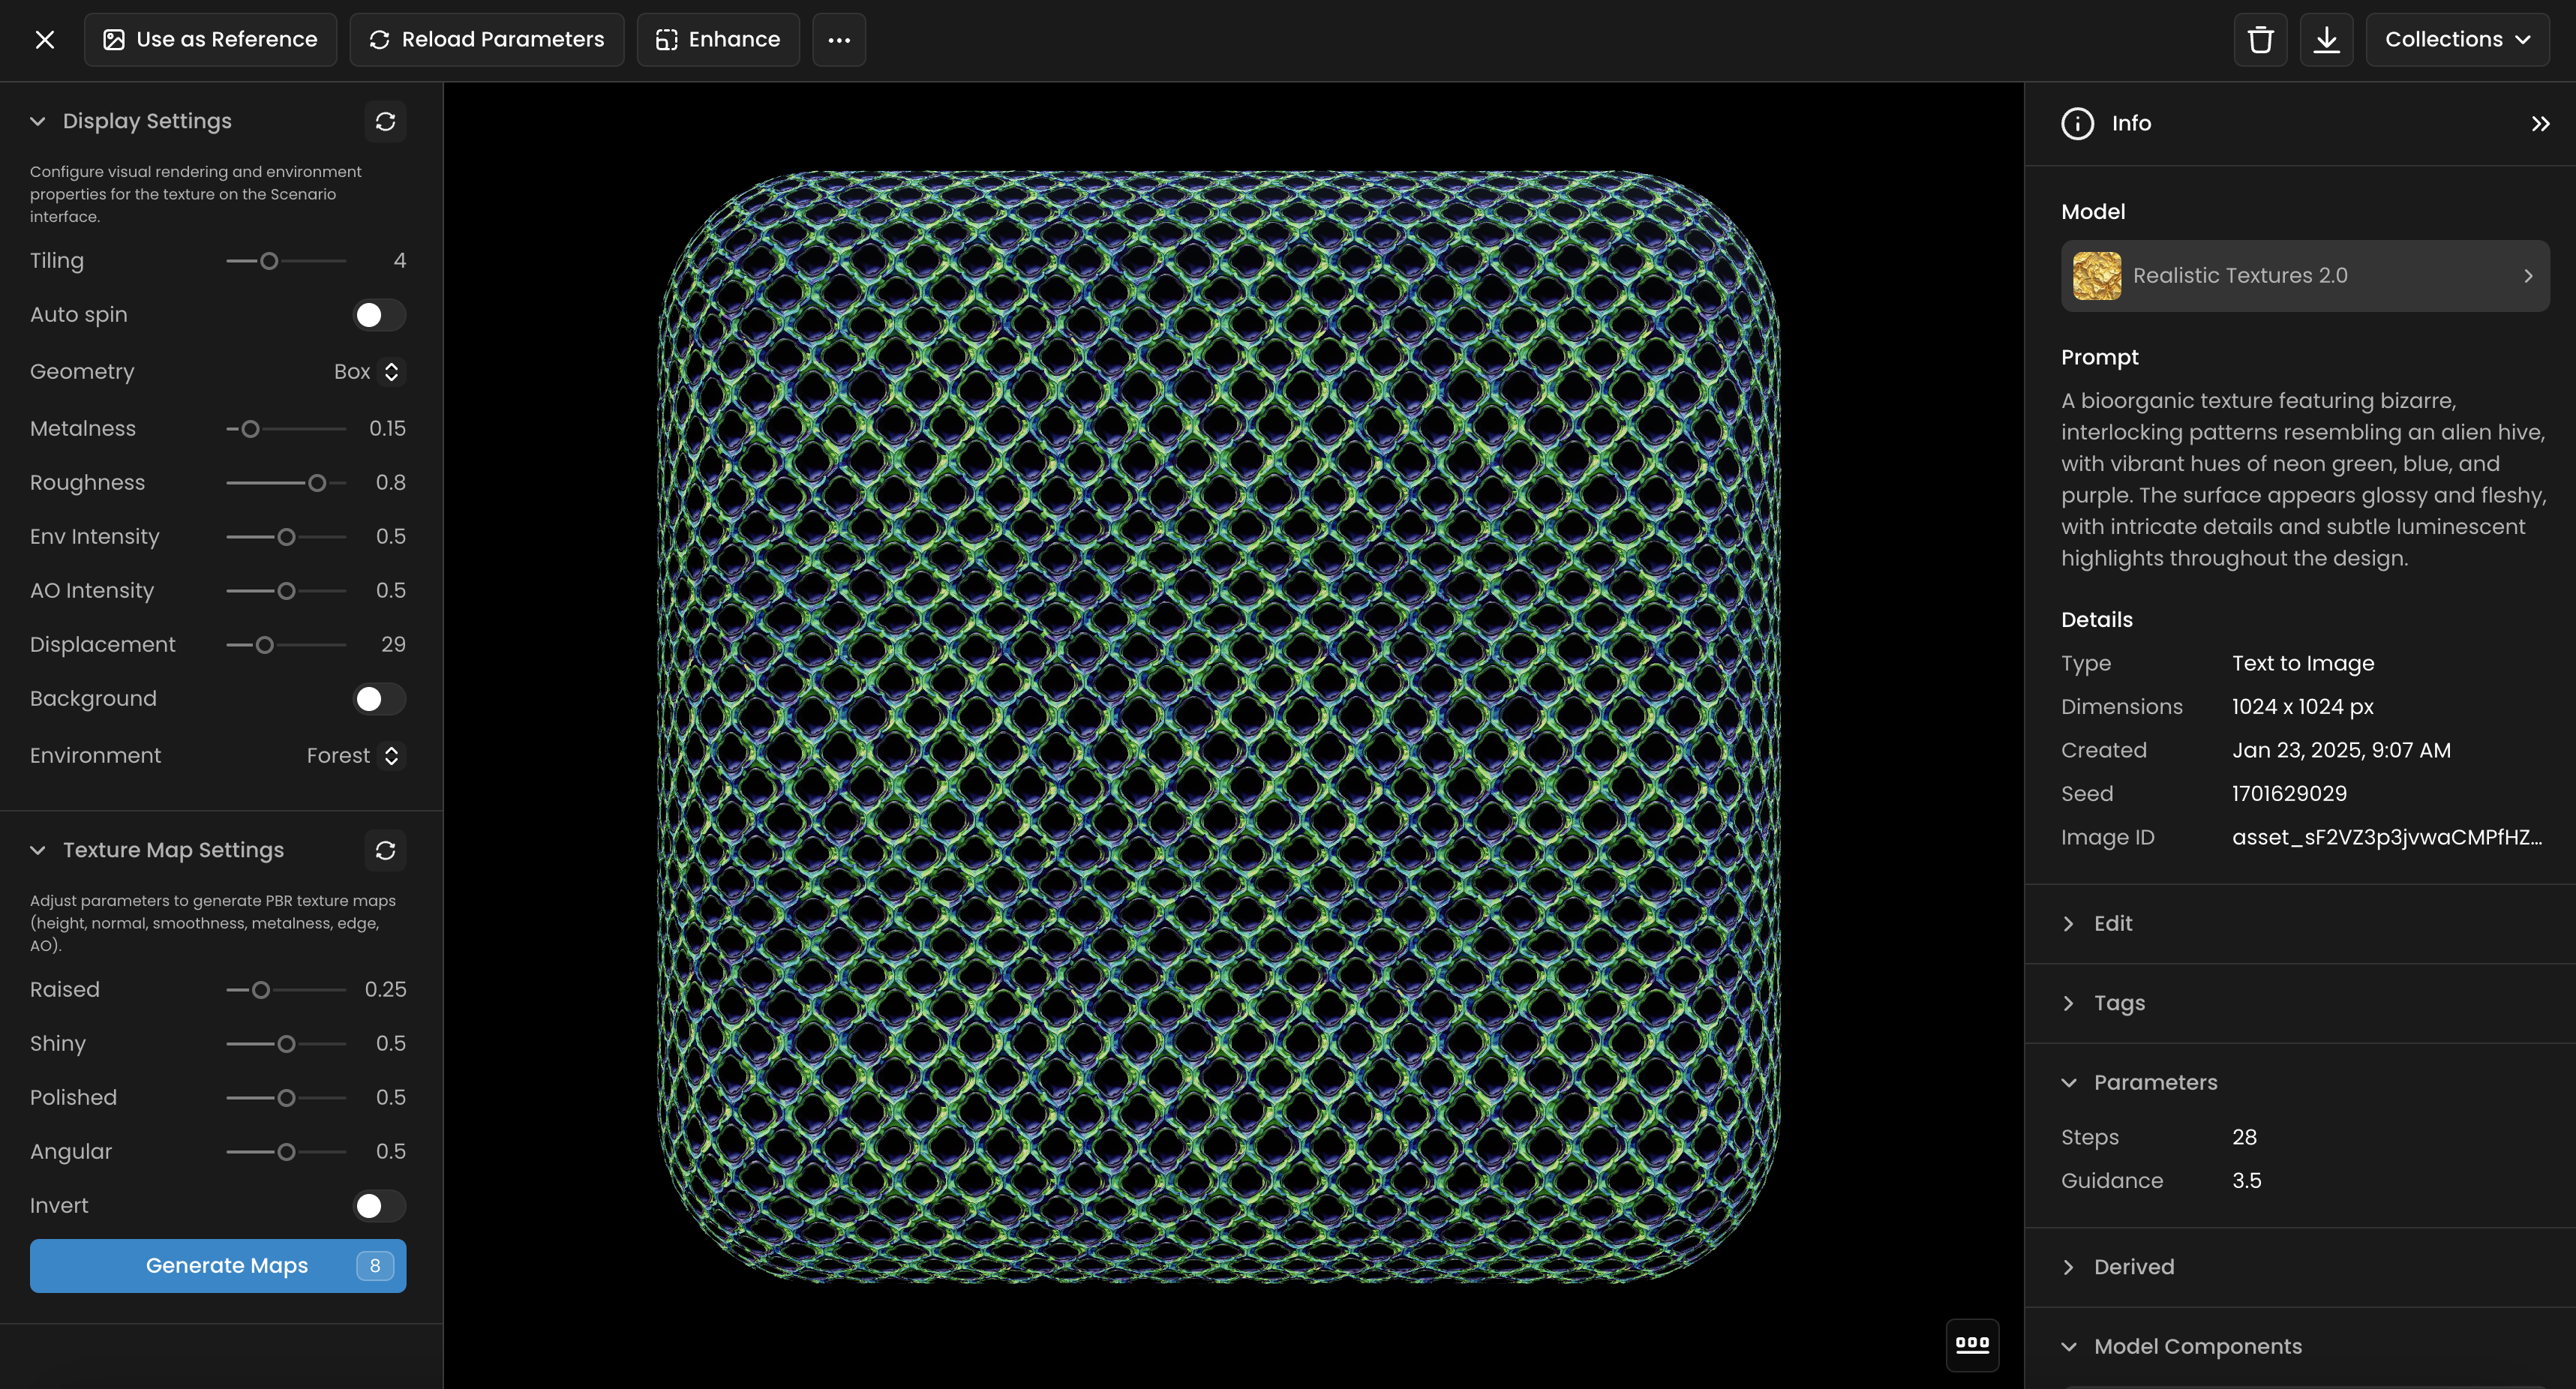
Image to Image 25 Influence - Result:
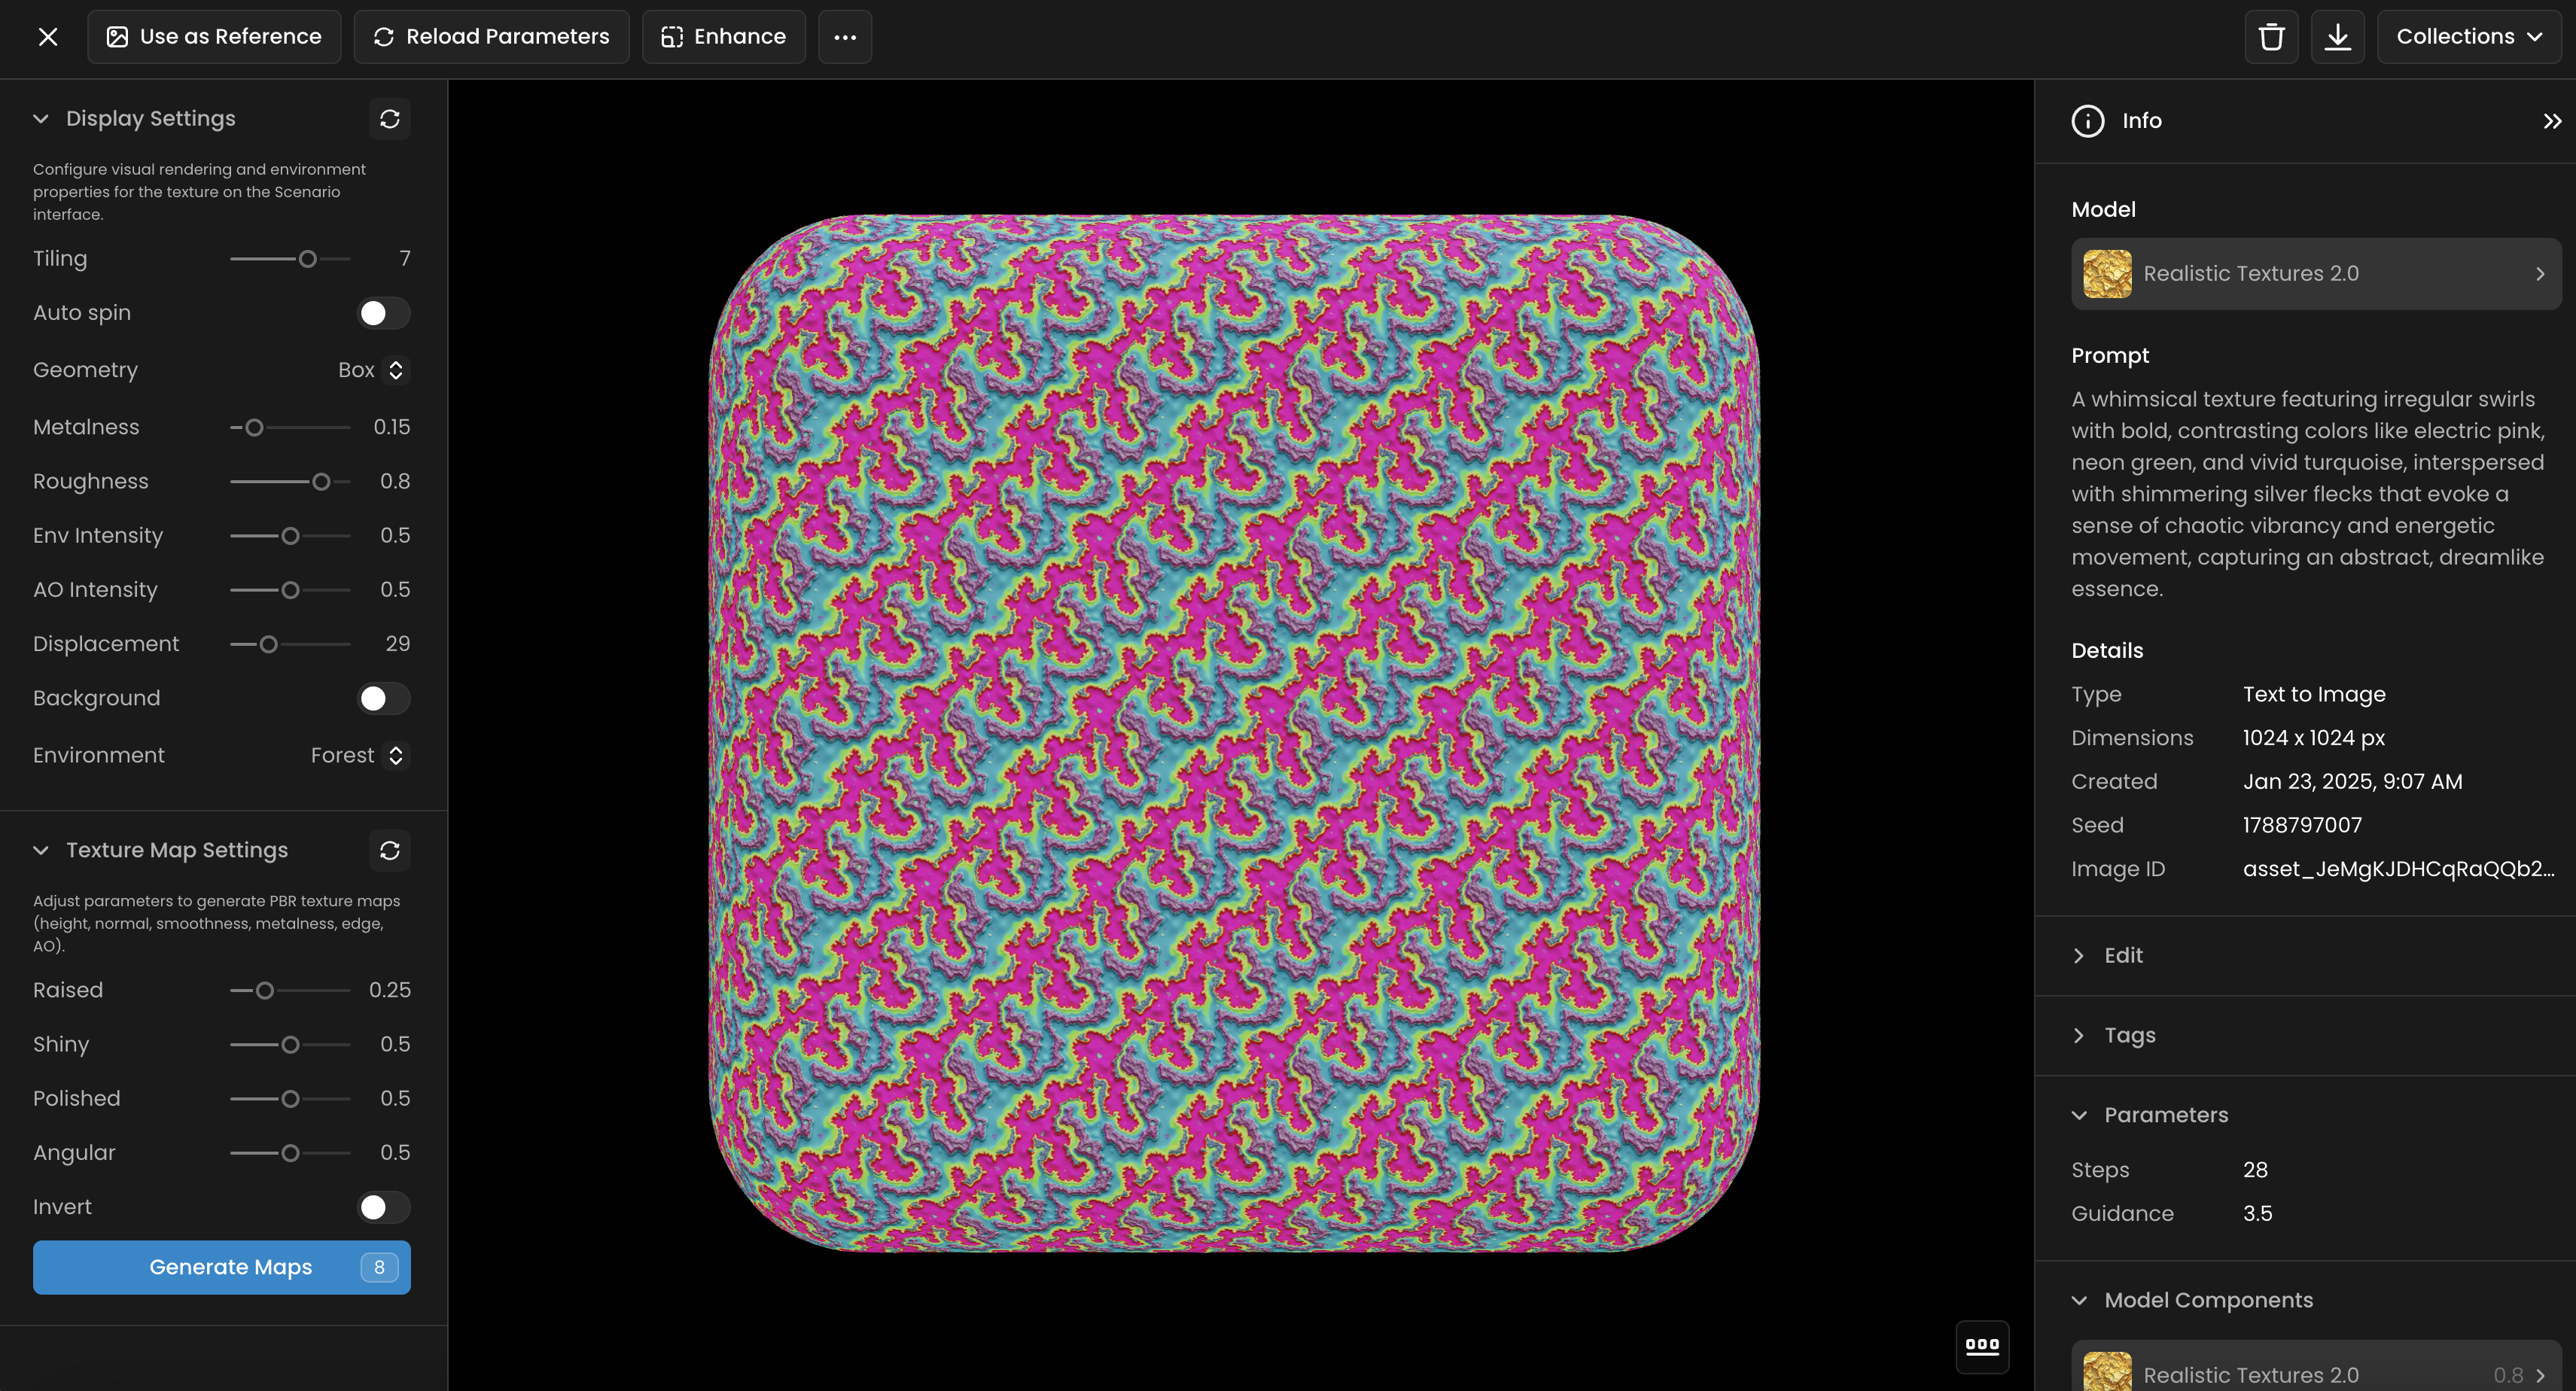
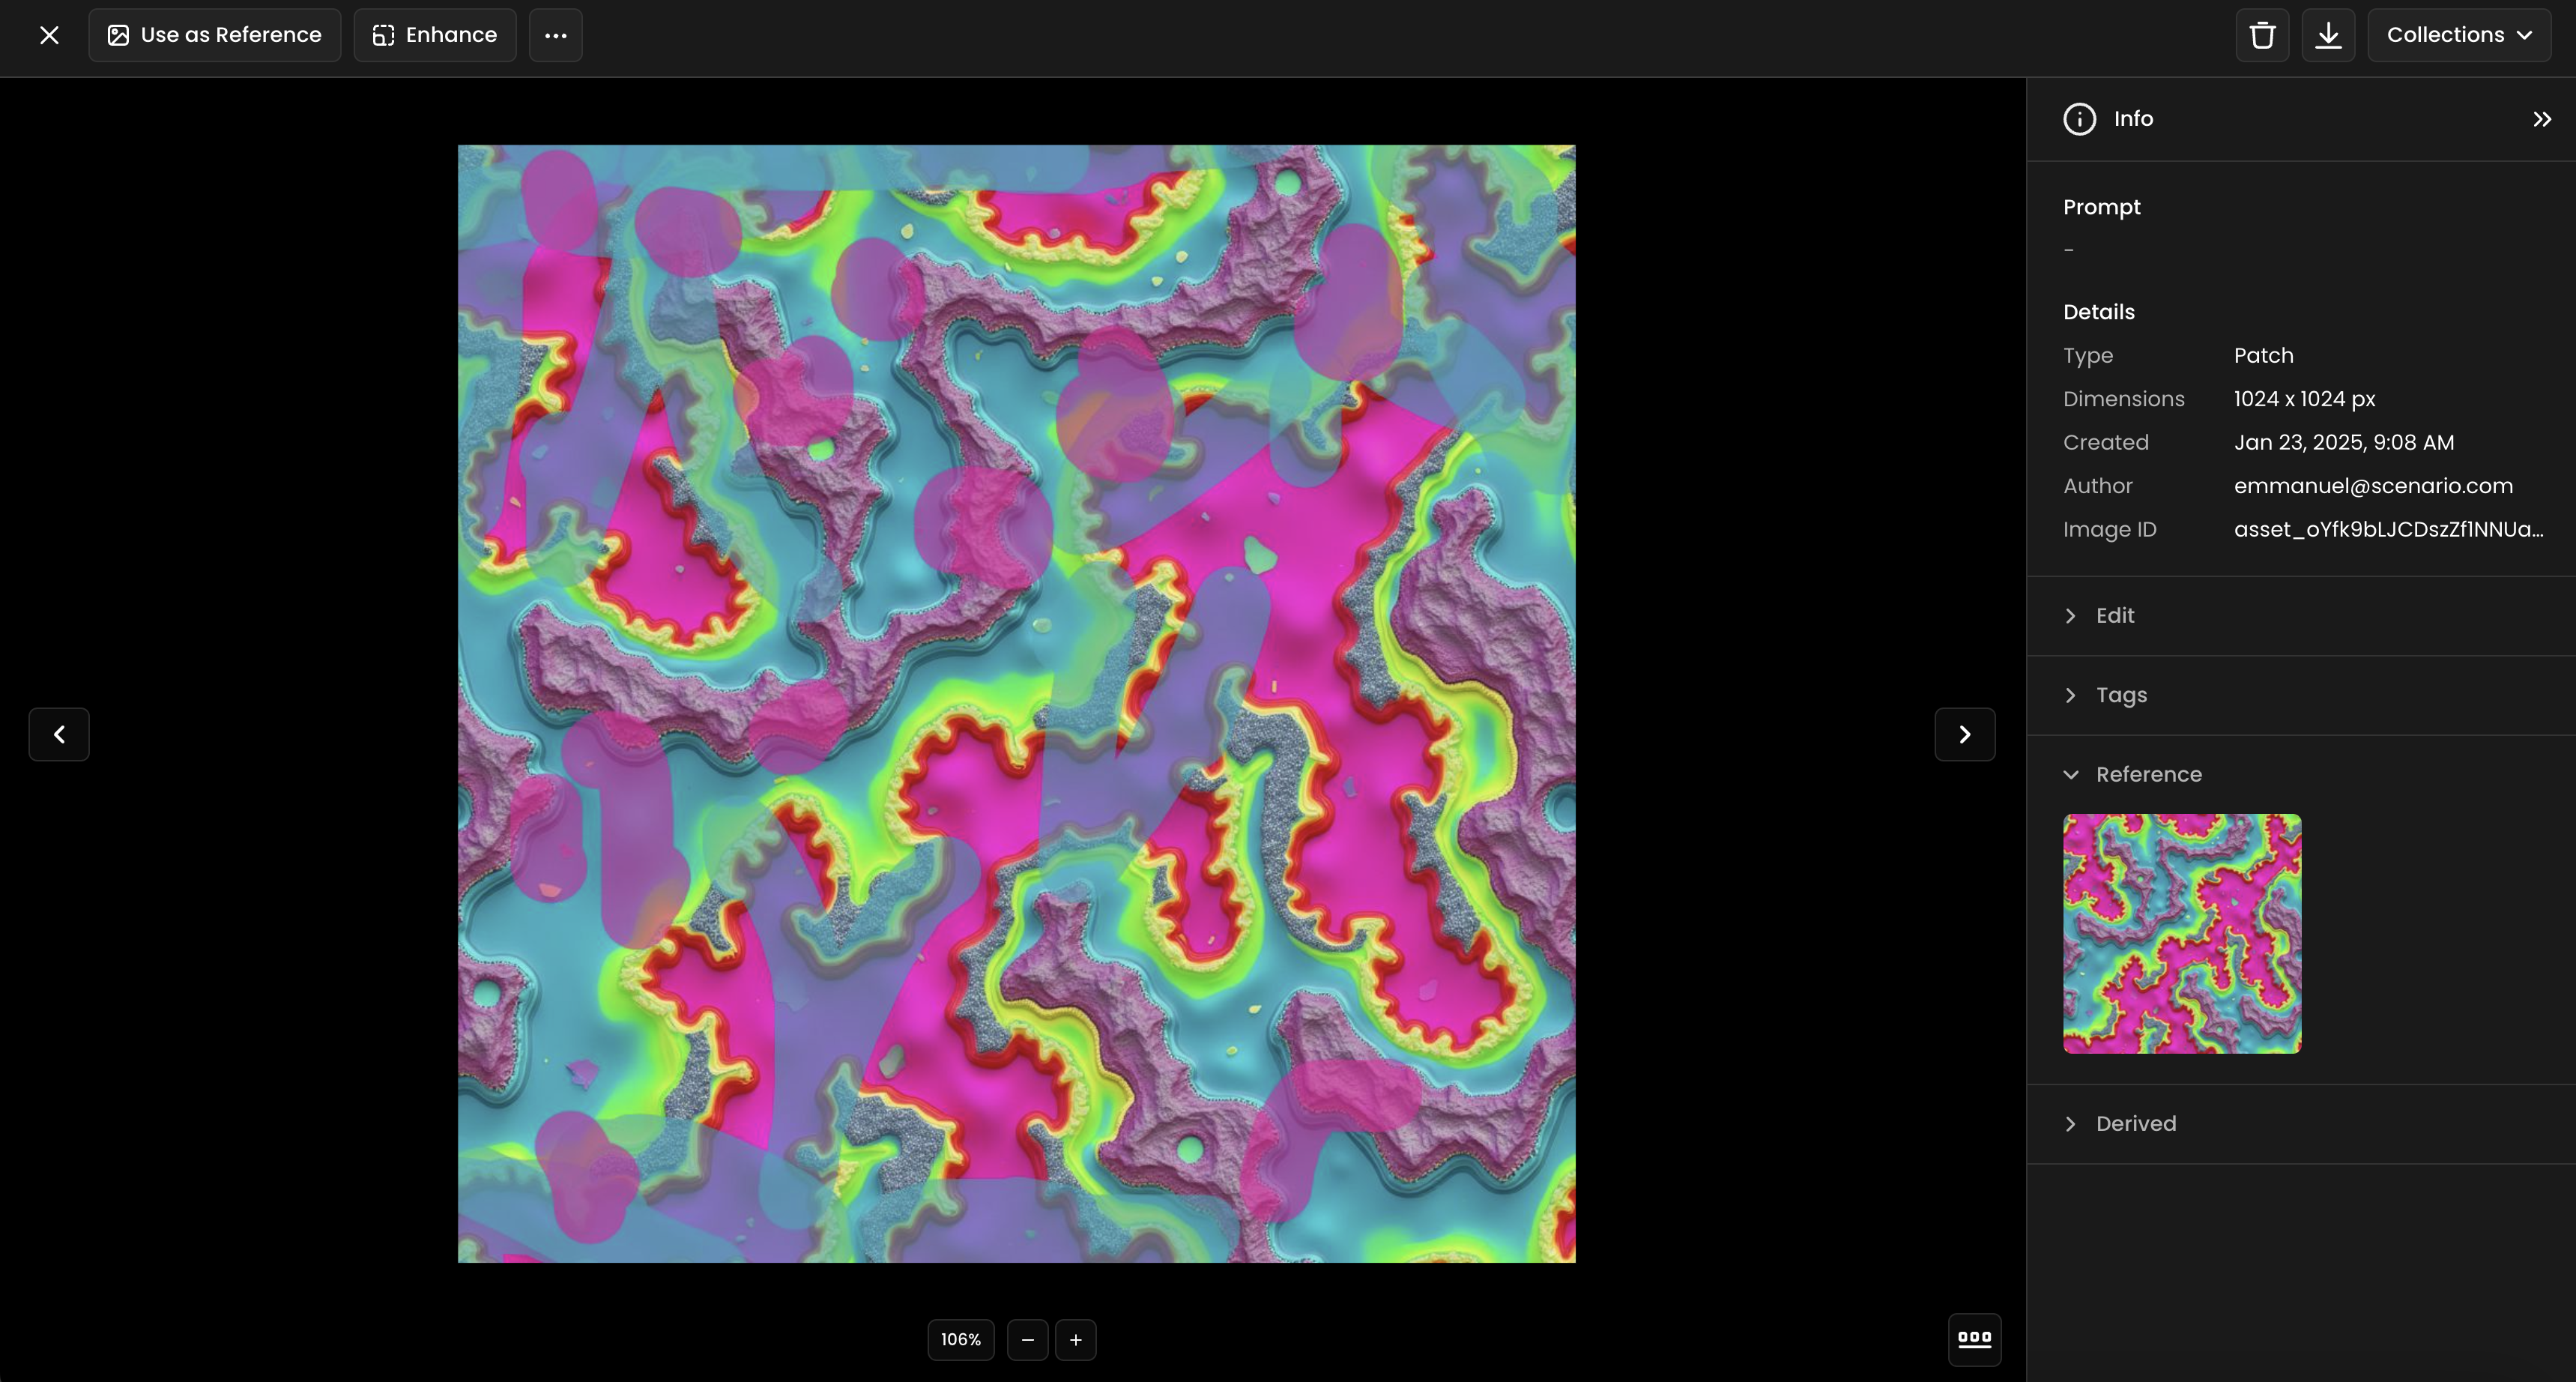
If a diagonal pattern appears, follow the same tip as with the grid pattern: use image-to-image, but make sure to sketch on your reference image before generating.
A diagonal pattern appears:
Reference Image + Sketch:
Result:
Was this helpful?

Quentin