Bringing your custom textures into Unity enhances the visual quality of your 3D models. This guide covers exporting textures from Scenario and applying them correctly in Unity.
Exporting Your Textures
There are two ways to get your textures from Scenario:
Download the albedo and PBR maps via the email link sent to you
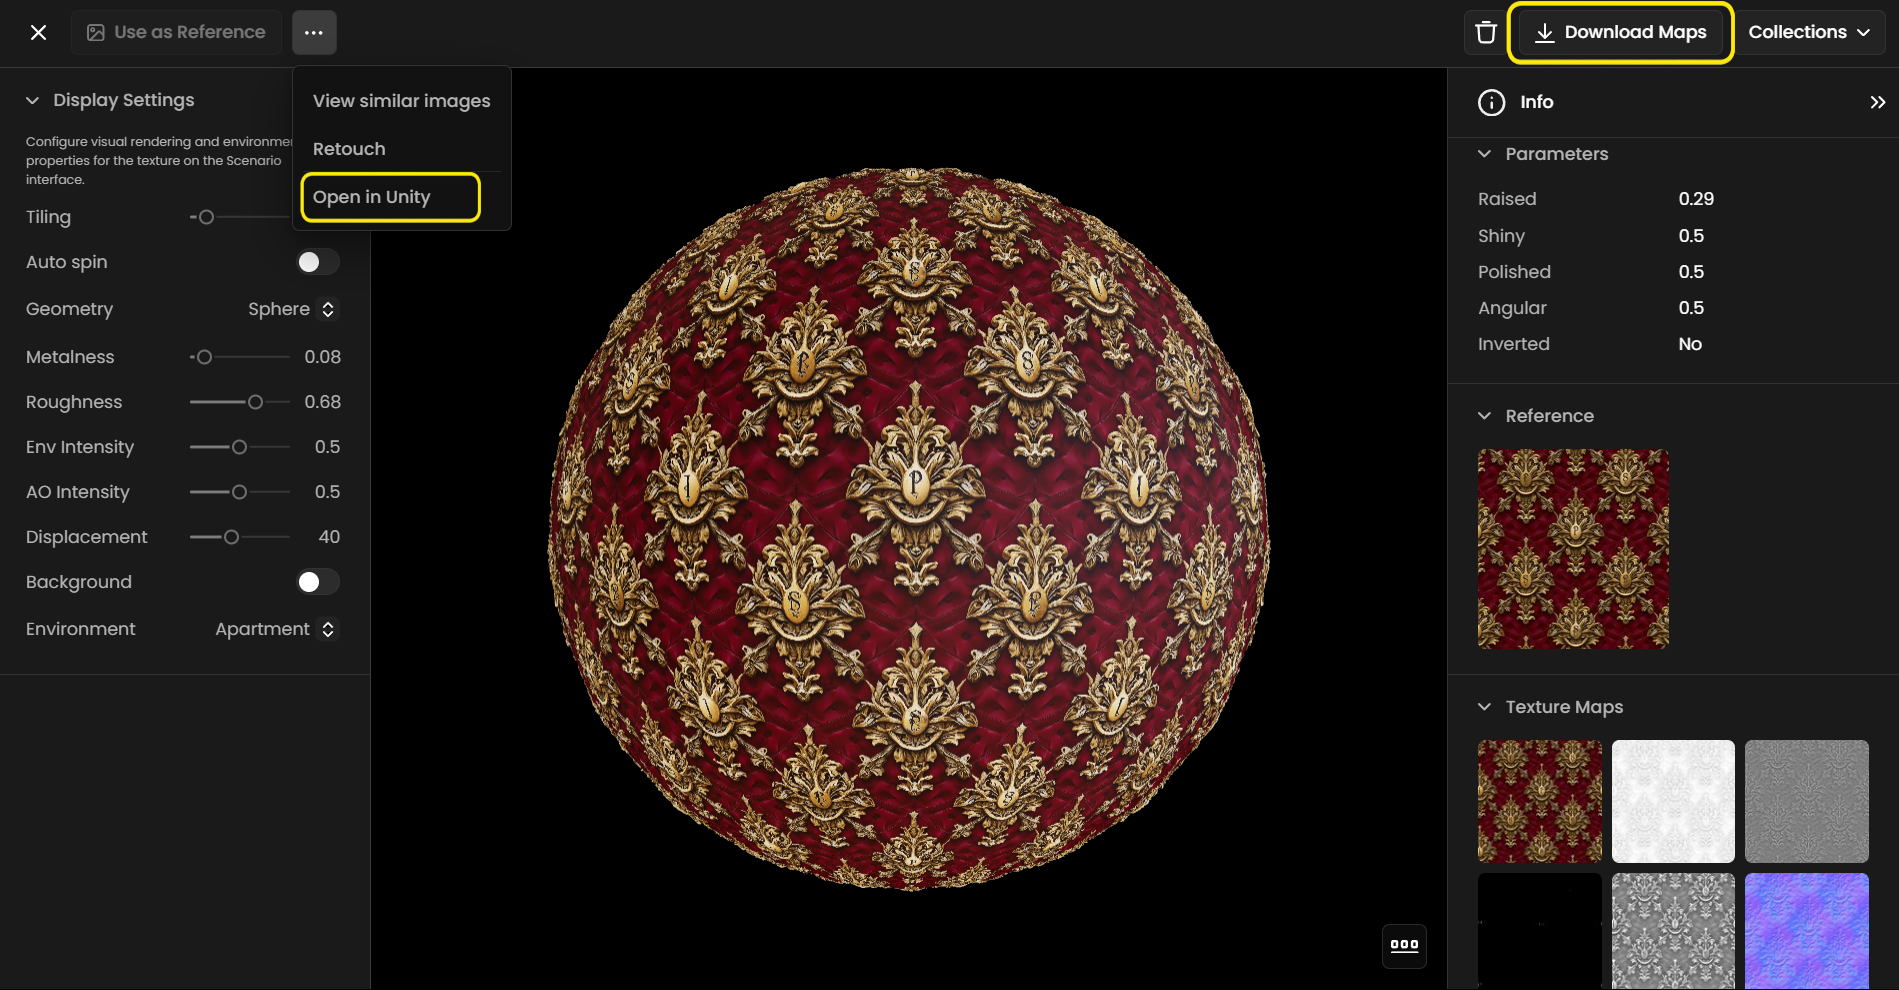
Use the "Open in Unity" option from the 3-dot menu (requires Scenario plugin)
Setting Up in Unity
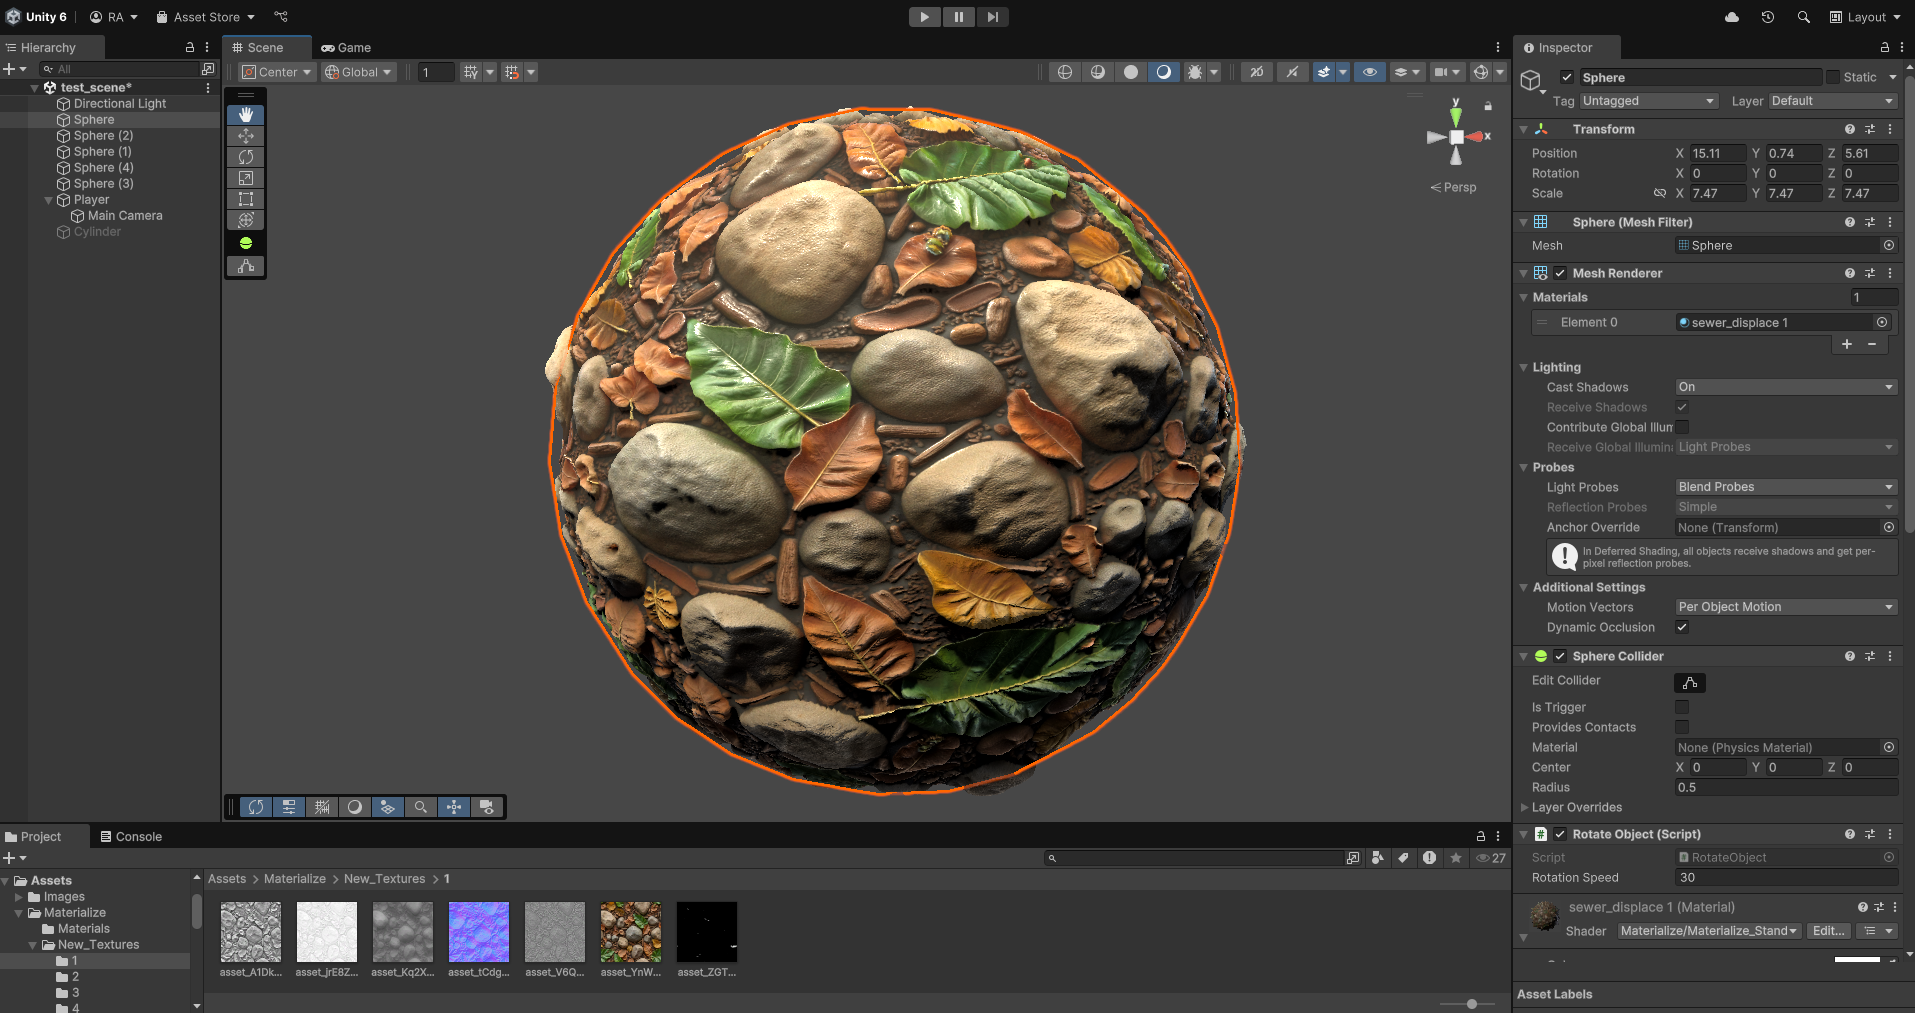
Importing Textures
Import textures into your Assets folder by dragging them in or using Import New Asset
Setting Up the Shader
Download the Materialize shaders package
Import the unity_shaders.unitypackage file into your Unity project
Click Import in the Import Unity Package window
Creating Materials
Right-click in your Assets folder
Select Create > Material
Name your material
Configuring the Material
In the Inspector, click the shader dropdown
Select Materialize > Materialize_Standard_Displace
Assign your maps to the appropriate slots:
Albedo map to Base Map slot
Normal map to Normal Map slot
Metallic map to Metallic slot
Other maps to their respective slots
Applying the Material
Drag the material onto your 3D model in the scene
Or assign it in the model's Mesh Renderer properties under Materials
Testing and Adjusting
Test the tiling in Unity to ensure proper appearance. If you notice stretching or seams, adjust the Tiling settings in the material's Inspector for a seamless result.
Was this helpful?