Achieve excellent results training your style with ease
.
Training a custom style model in Scenario allows you to consistently generate visuals based on a specific aesthetic. This guide walks you through the steps for creating a style model, whether you're focused on game assets, illustrations, or design projects. The key to success lies in building a high-quality, varied dataset and properly managing the training process.
The foundation of a good style model is the dataset, and its quality and variety are crucial.
Image Quality: Ensure that all images are high-resolution (1024 pixels or higher) to allow the model to capture fine details like textures and brushstrokes. If your images are too small, the Enhance tool can upscale them.
Consistency in Style: Your images should reflect a consistent visual style, whether through color palette, lighting, or artistic techniques. This ensures the model learns to replicate the aesthetic across different contexts.
Variety in Context: While maintaining a consistent style, your dataset should include varied subjects, environments, and angles. For example, different objects, scenes, or perspectives within the same style help the model apply the style more flexibly. A poor dataset contains repetitive images that limit the model’s versatility.
More information on our dedicated article: Curating a Training Dataset
If you're new to the training process, we recommend starting with a small dataset of 10 to 15 high-quality images. Once you become more comfortable, you can gradually expand your dataset to refine the model’s ability to capture more complex details. Remember: less is more—starting small often yields better results.
Images should be cropped to a square format before uploading. Alternatively, you can adjust the cropping directly in Scenario’s interface during the upload process.
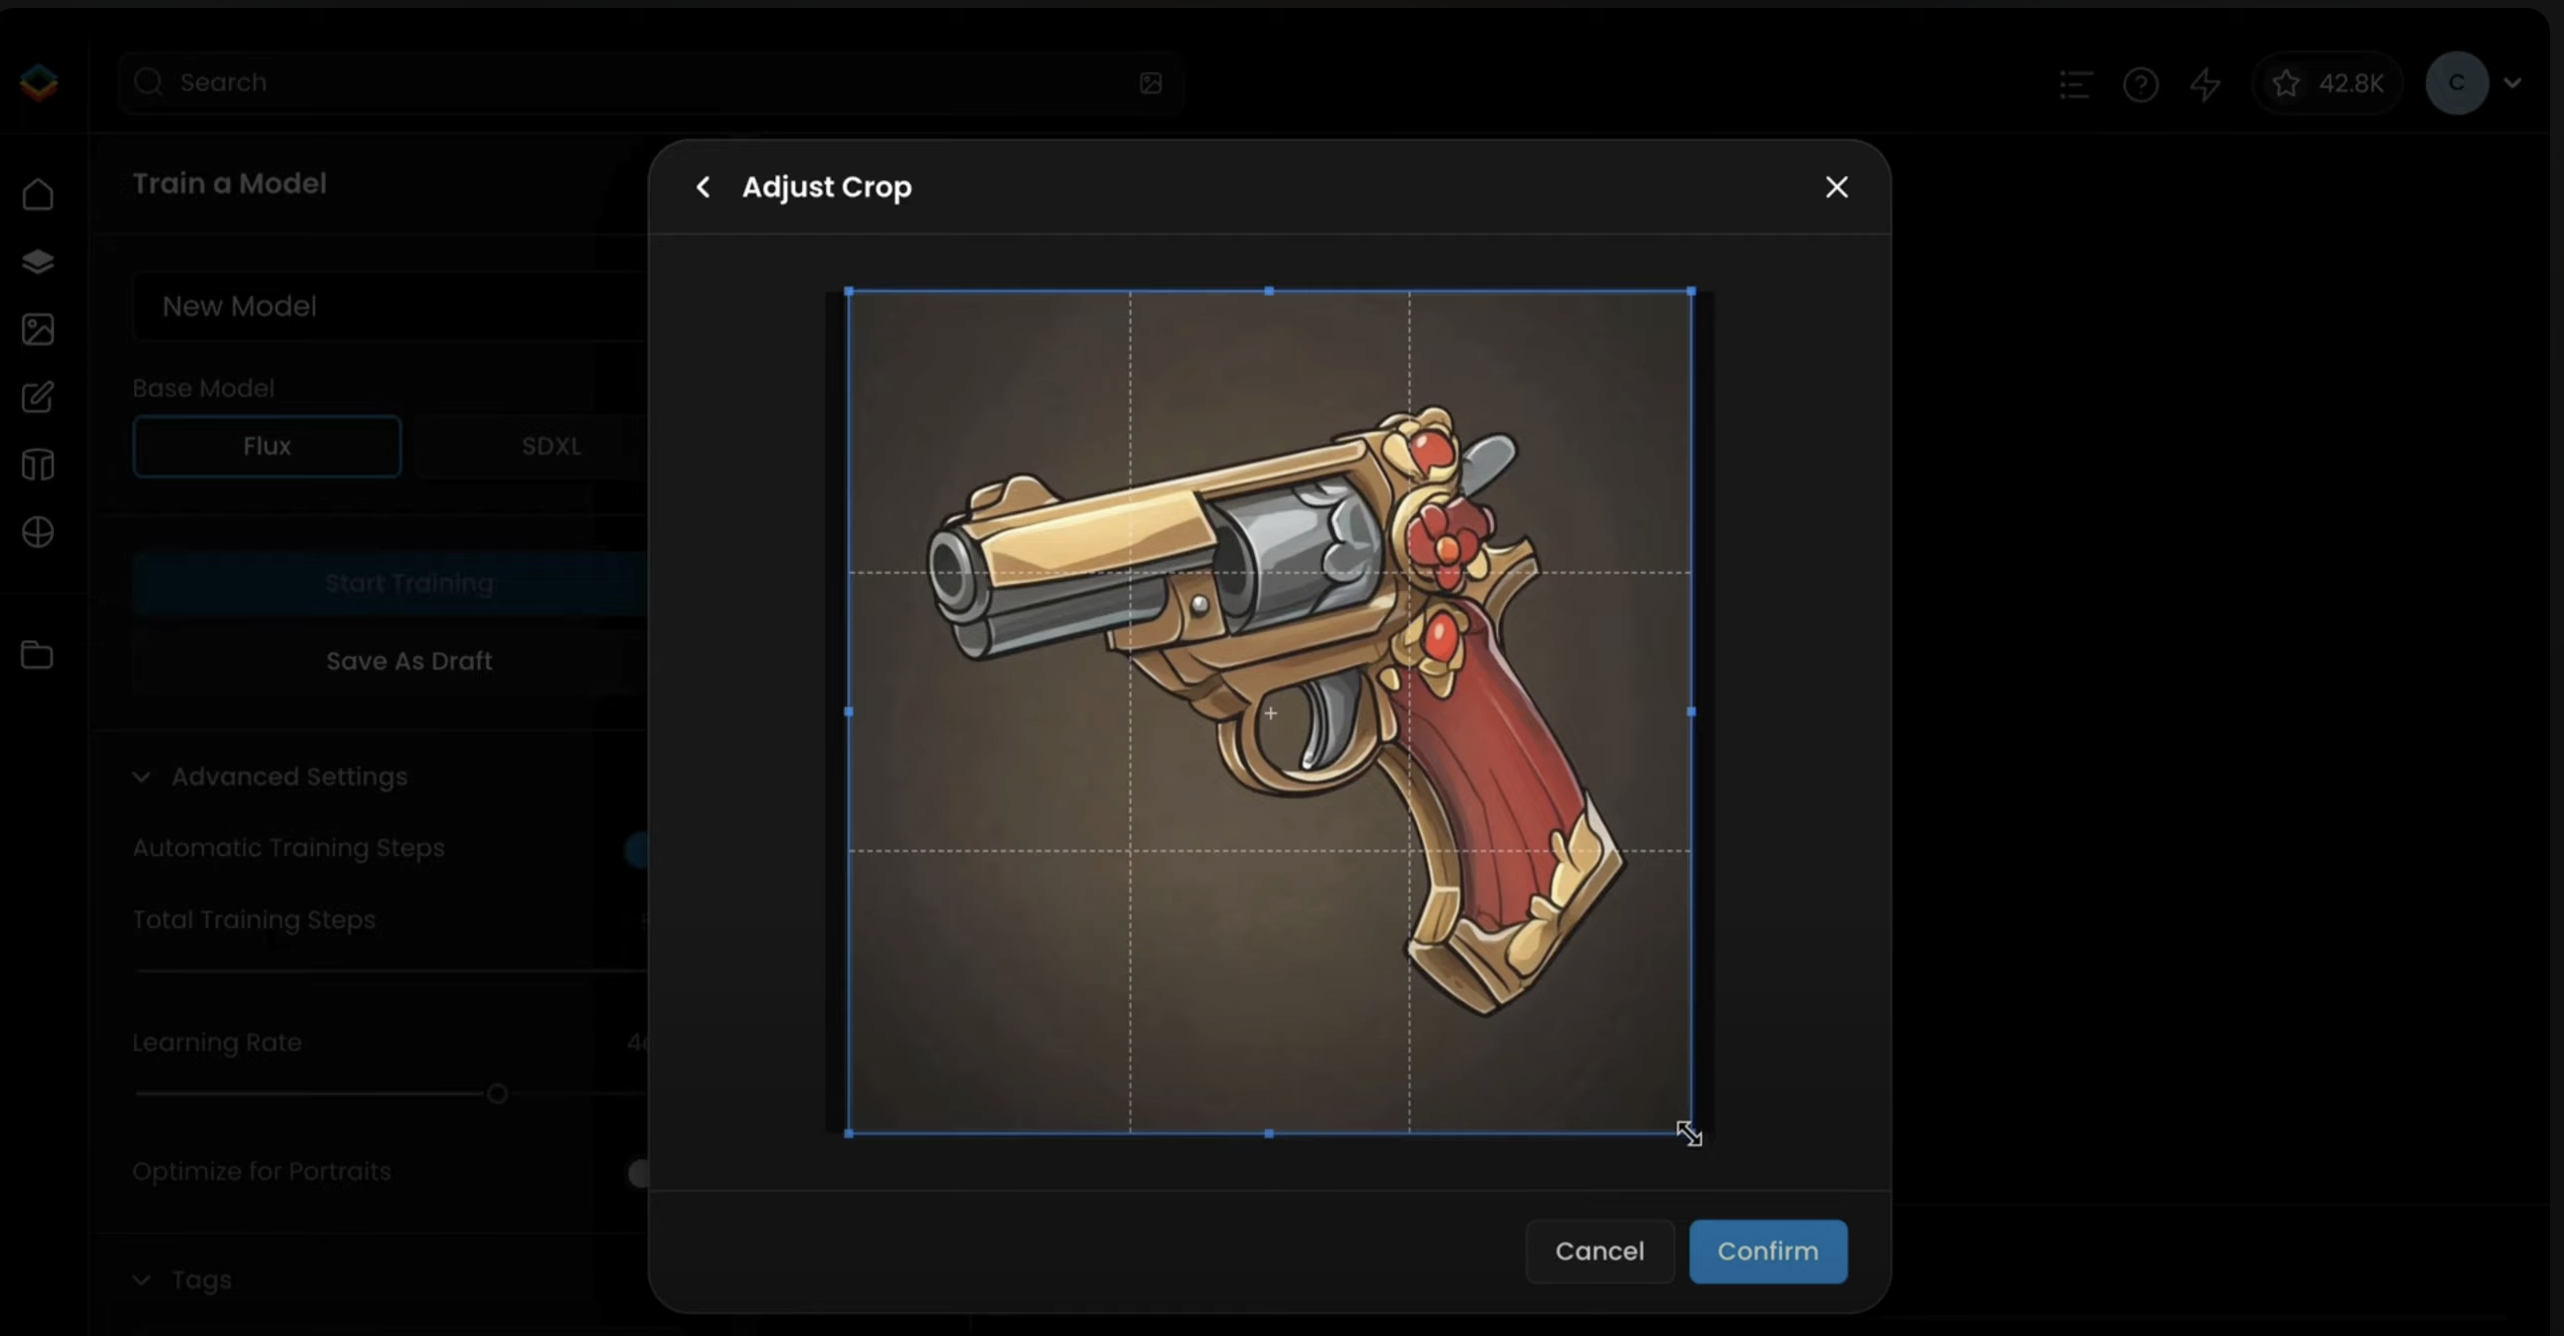
Once your dataset is ready, head to the Models page and select 'Train New Model'.
You’ll have the option to choose between the Flux and SDXL base models:
Flux is ideal for generating consistent style elements across different assets.
SDXL is suitable for more complex or varied outputs.
Upload your dataset and, if you're using SDXL, ensure all your images are accurately captioned.
Adding captions to your images is essential. Captions provide context and help the AI understand specific elements of your style, such as textures, lighting, or colors. If you're unsure how to write captions, refer to Scenario’s captioning guide to get started.
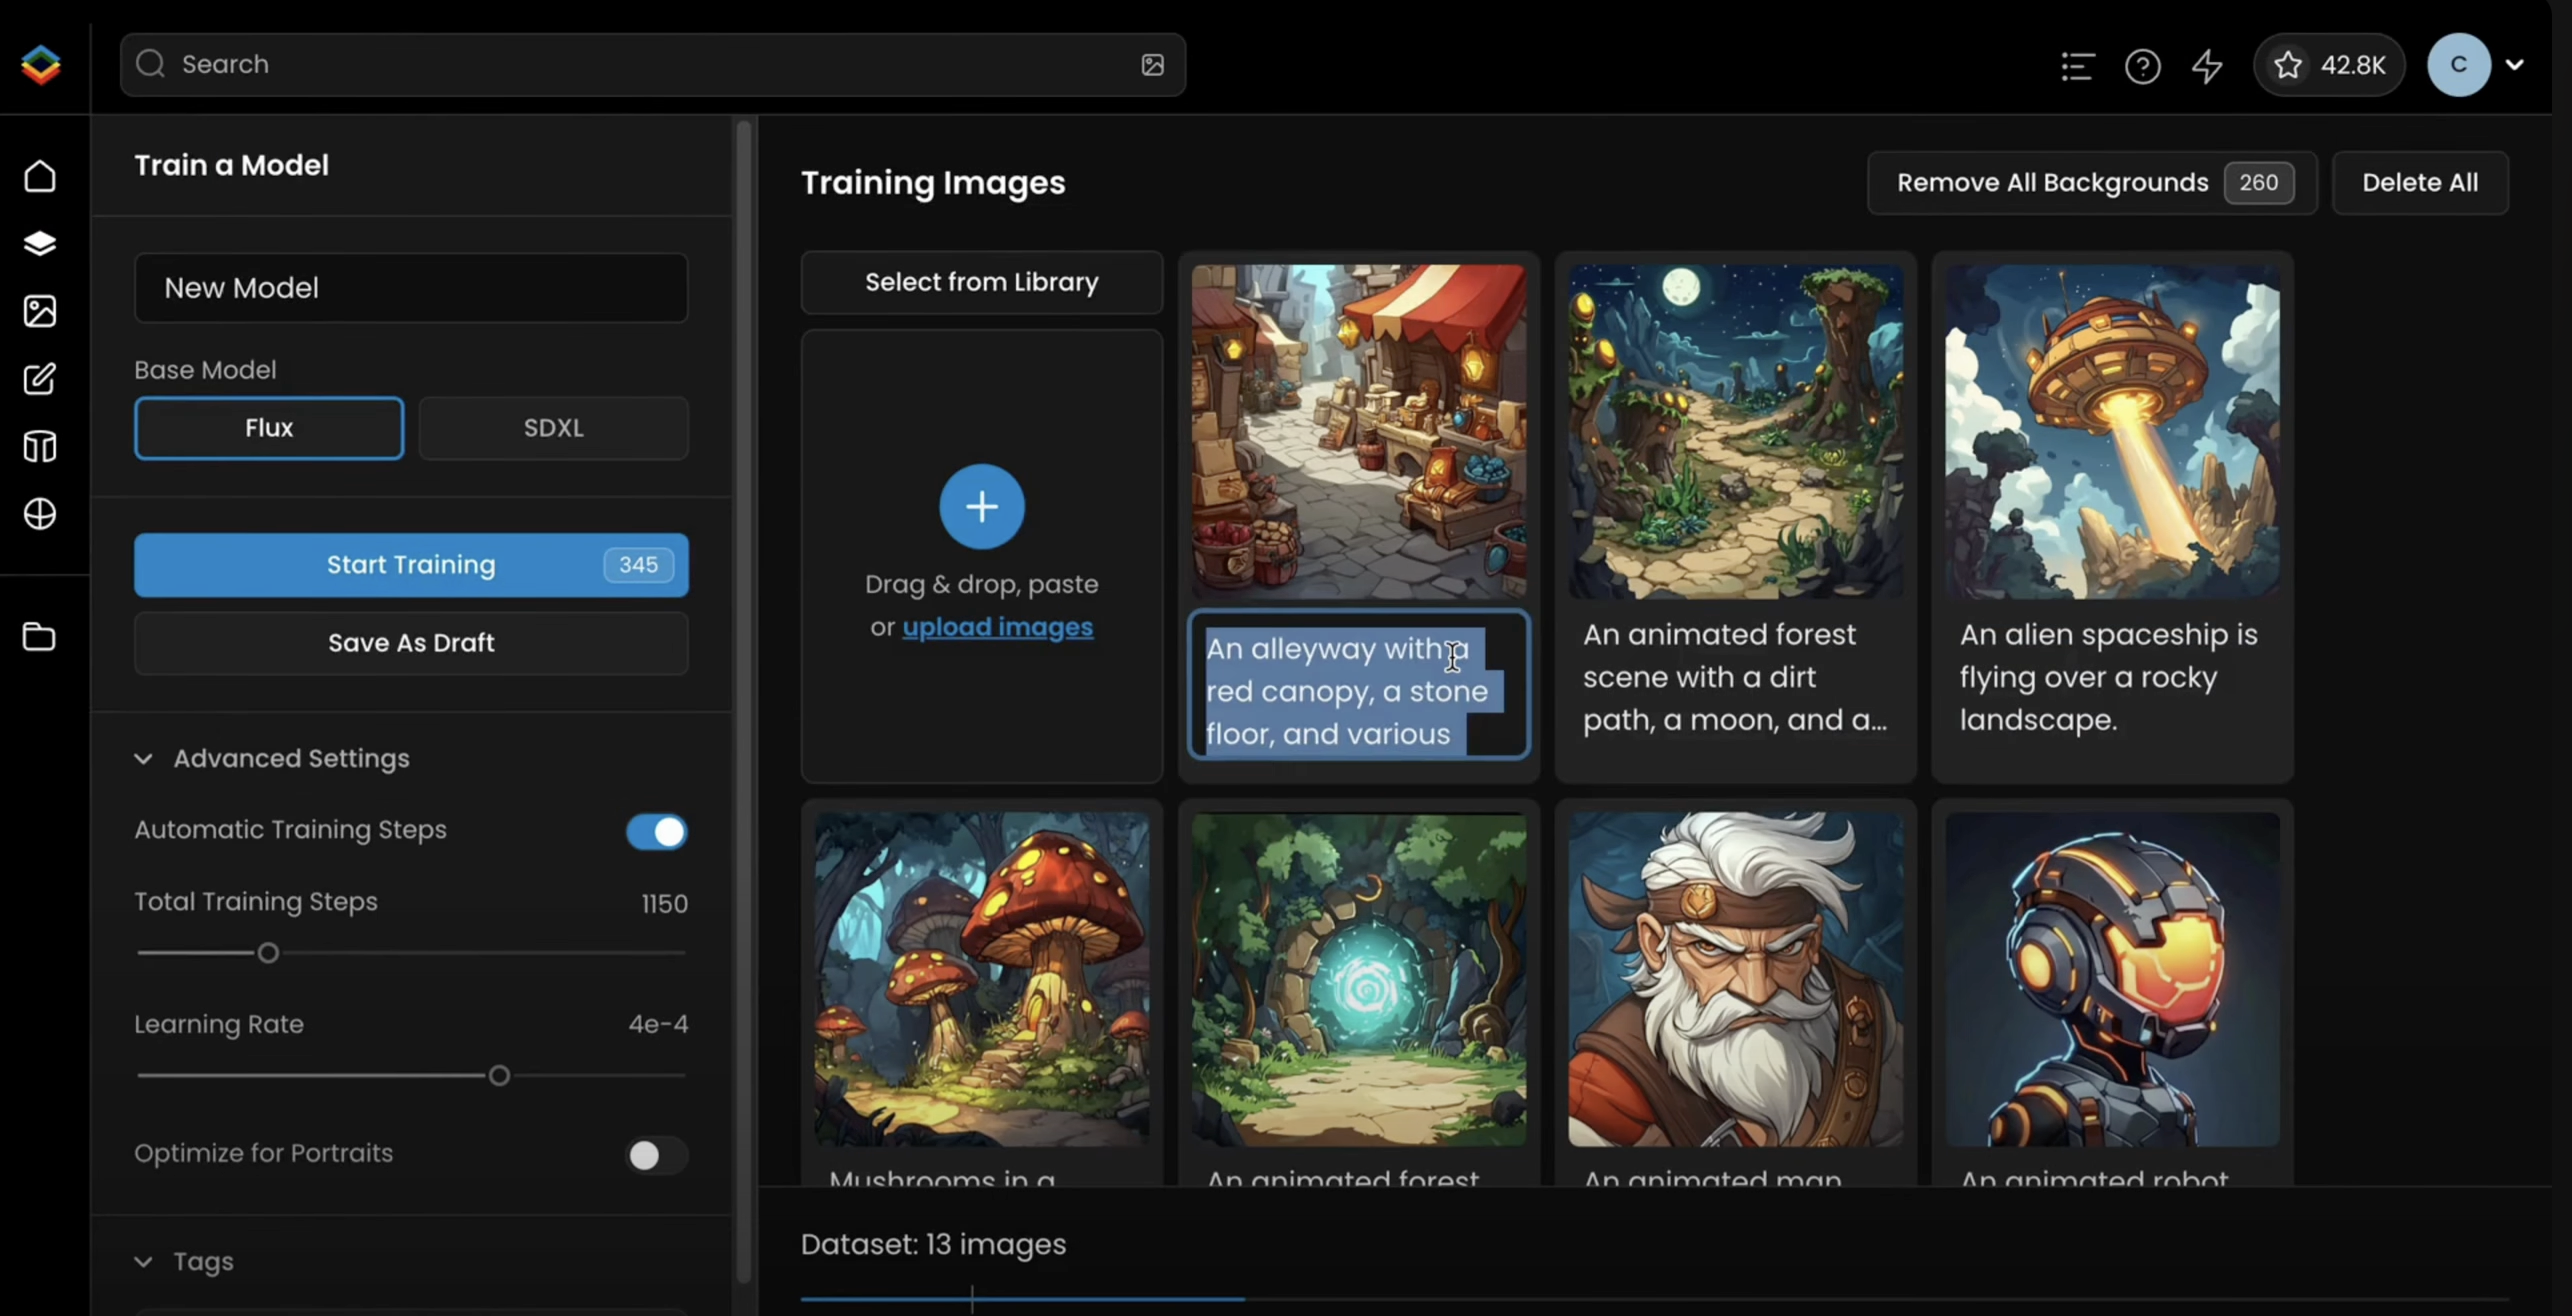
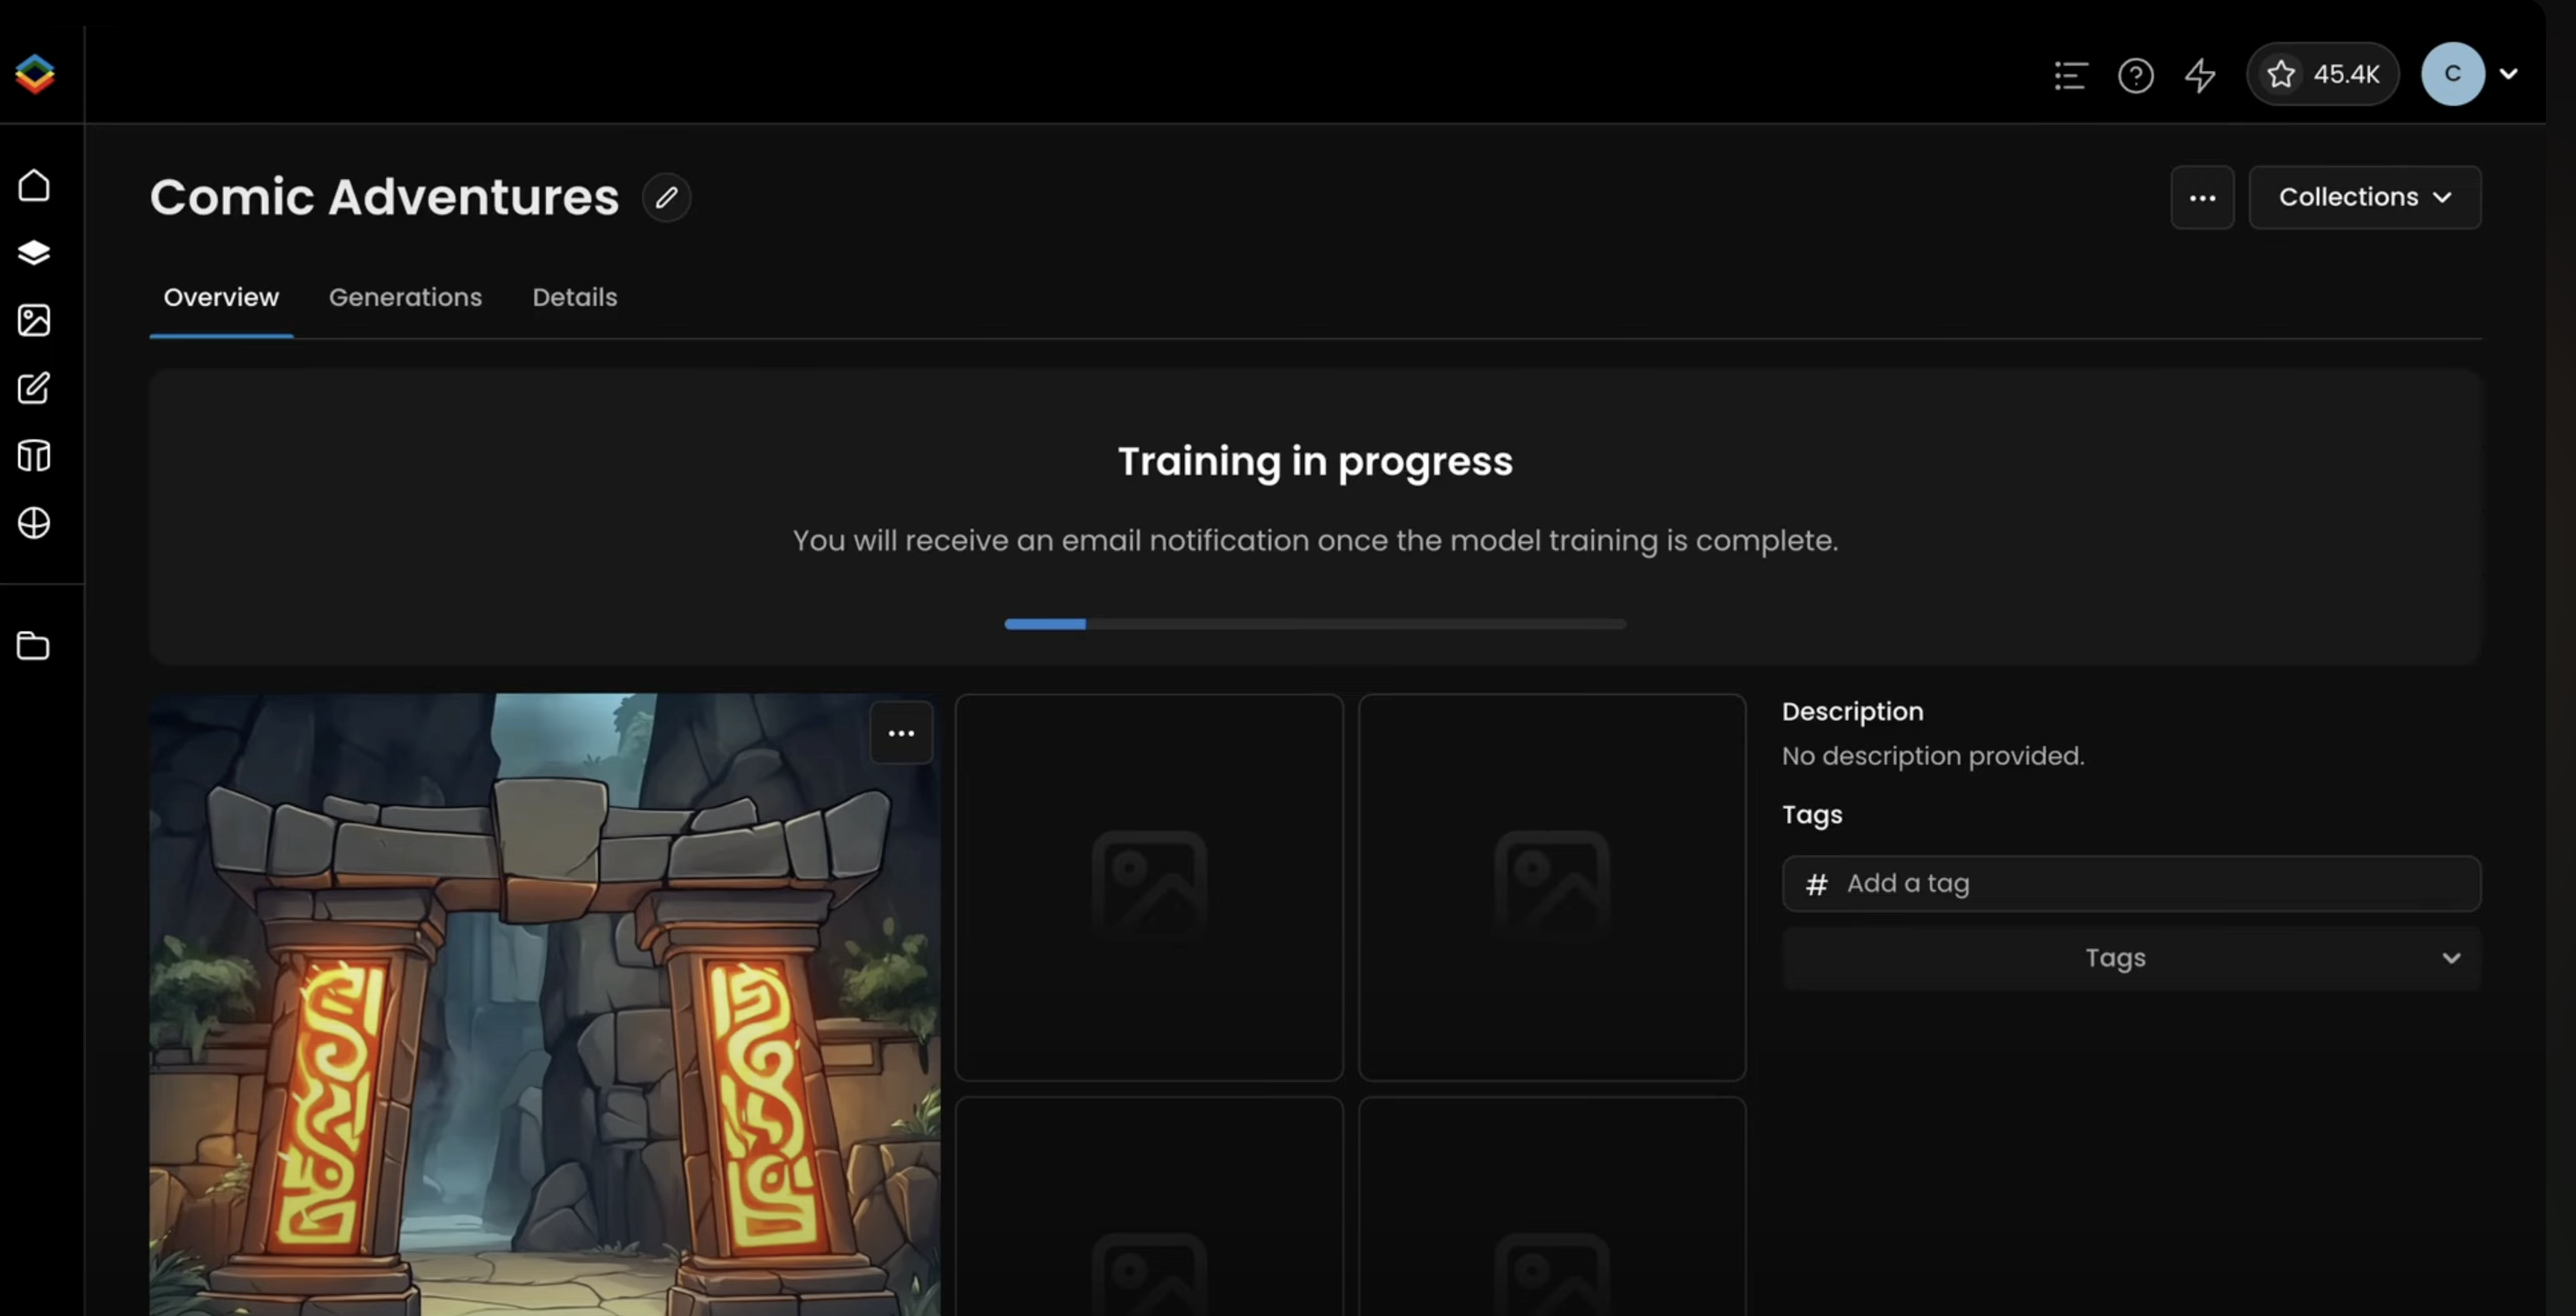
When ready, click 'Train' and wait for the training process to complete. The time required depends on your dataset size and the model you selected.
Once the training is done, test the model using a simple prompt that highlights the core features of your style.
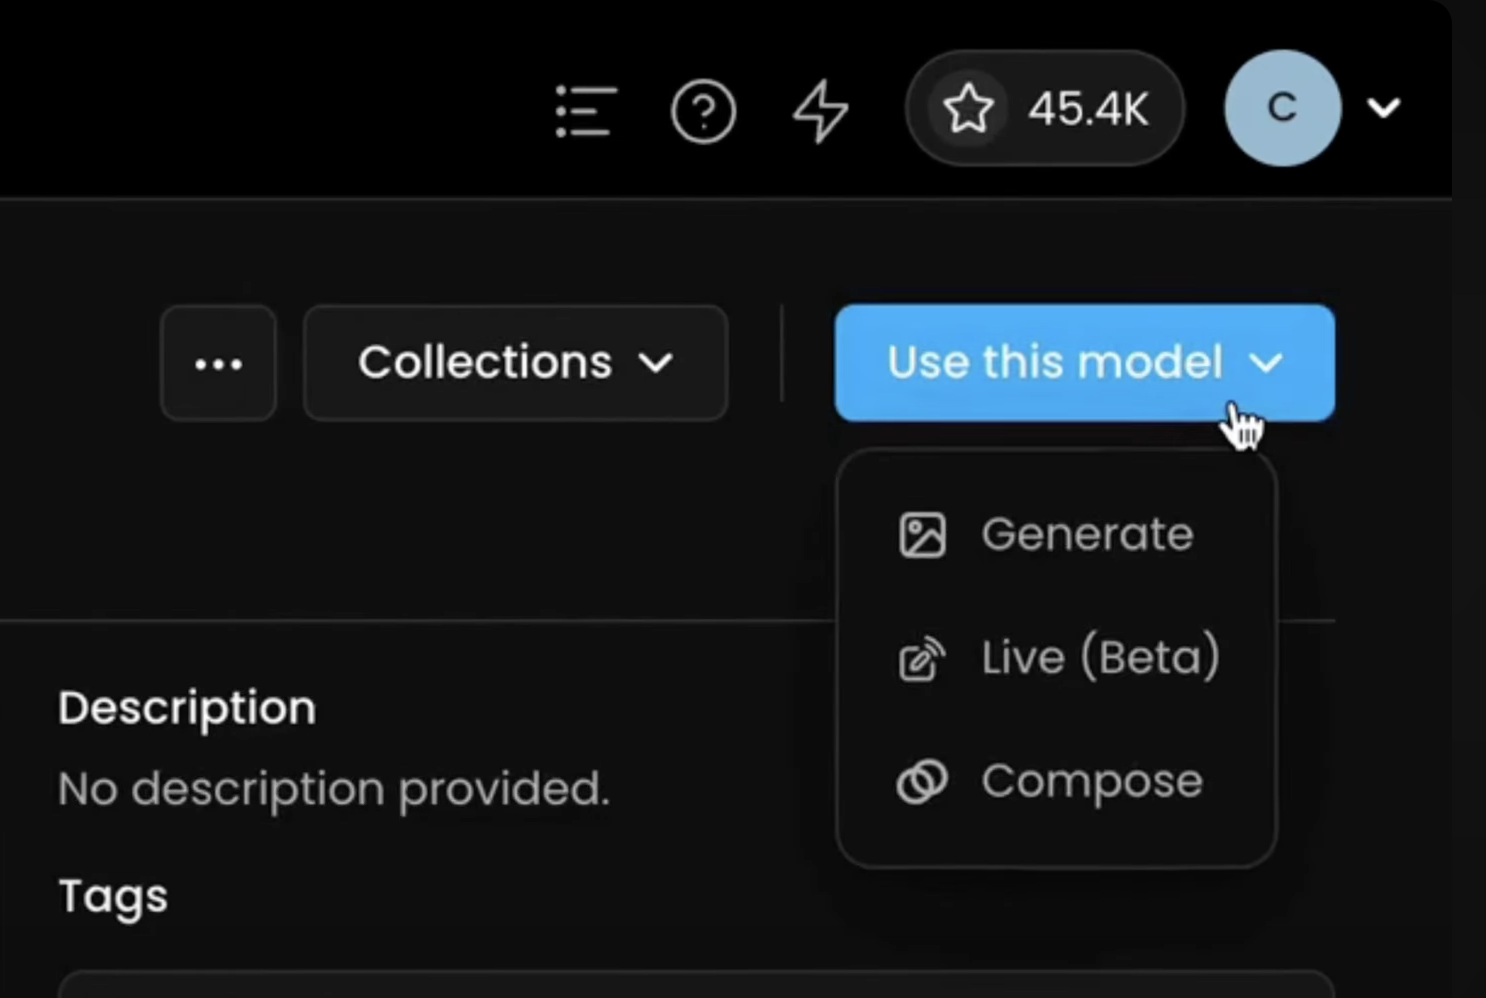
Try experimenting with different prompts to see how the style adapts to various subjects or scenes. If you're unsure where to start, use the Prompt Spark feature, which generates prompt suggestions based on your dataset captions.
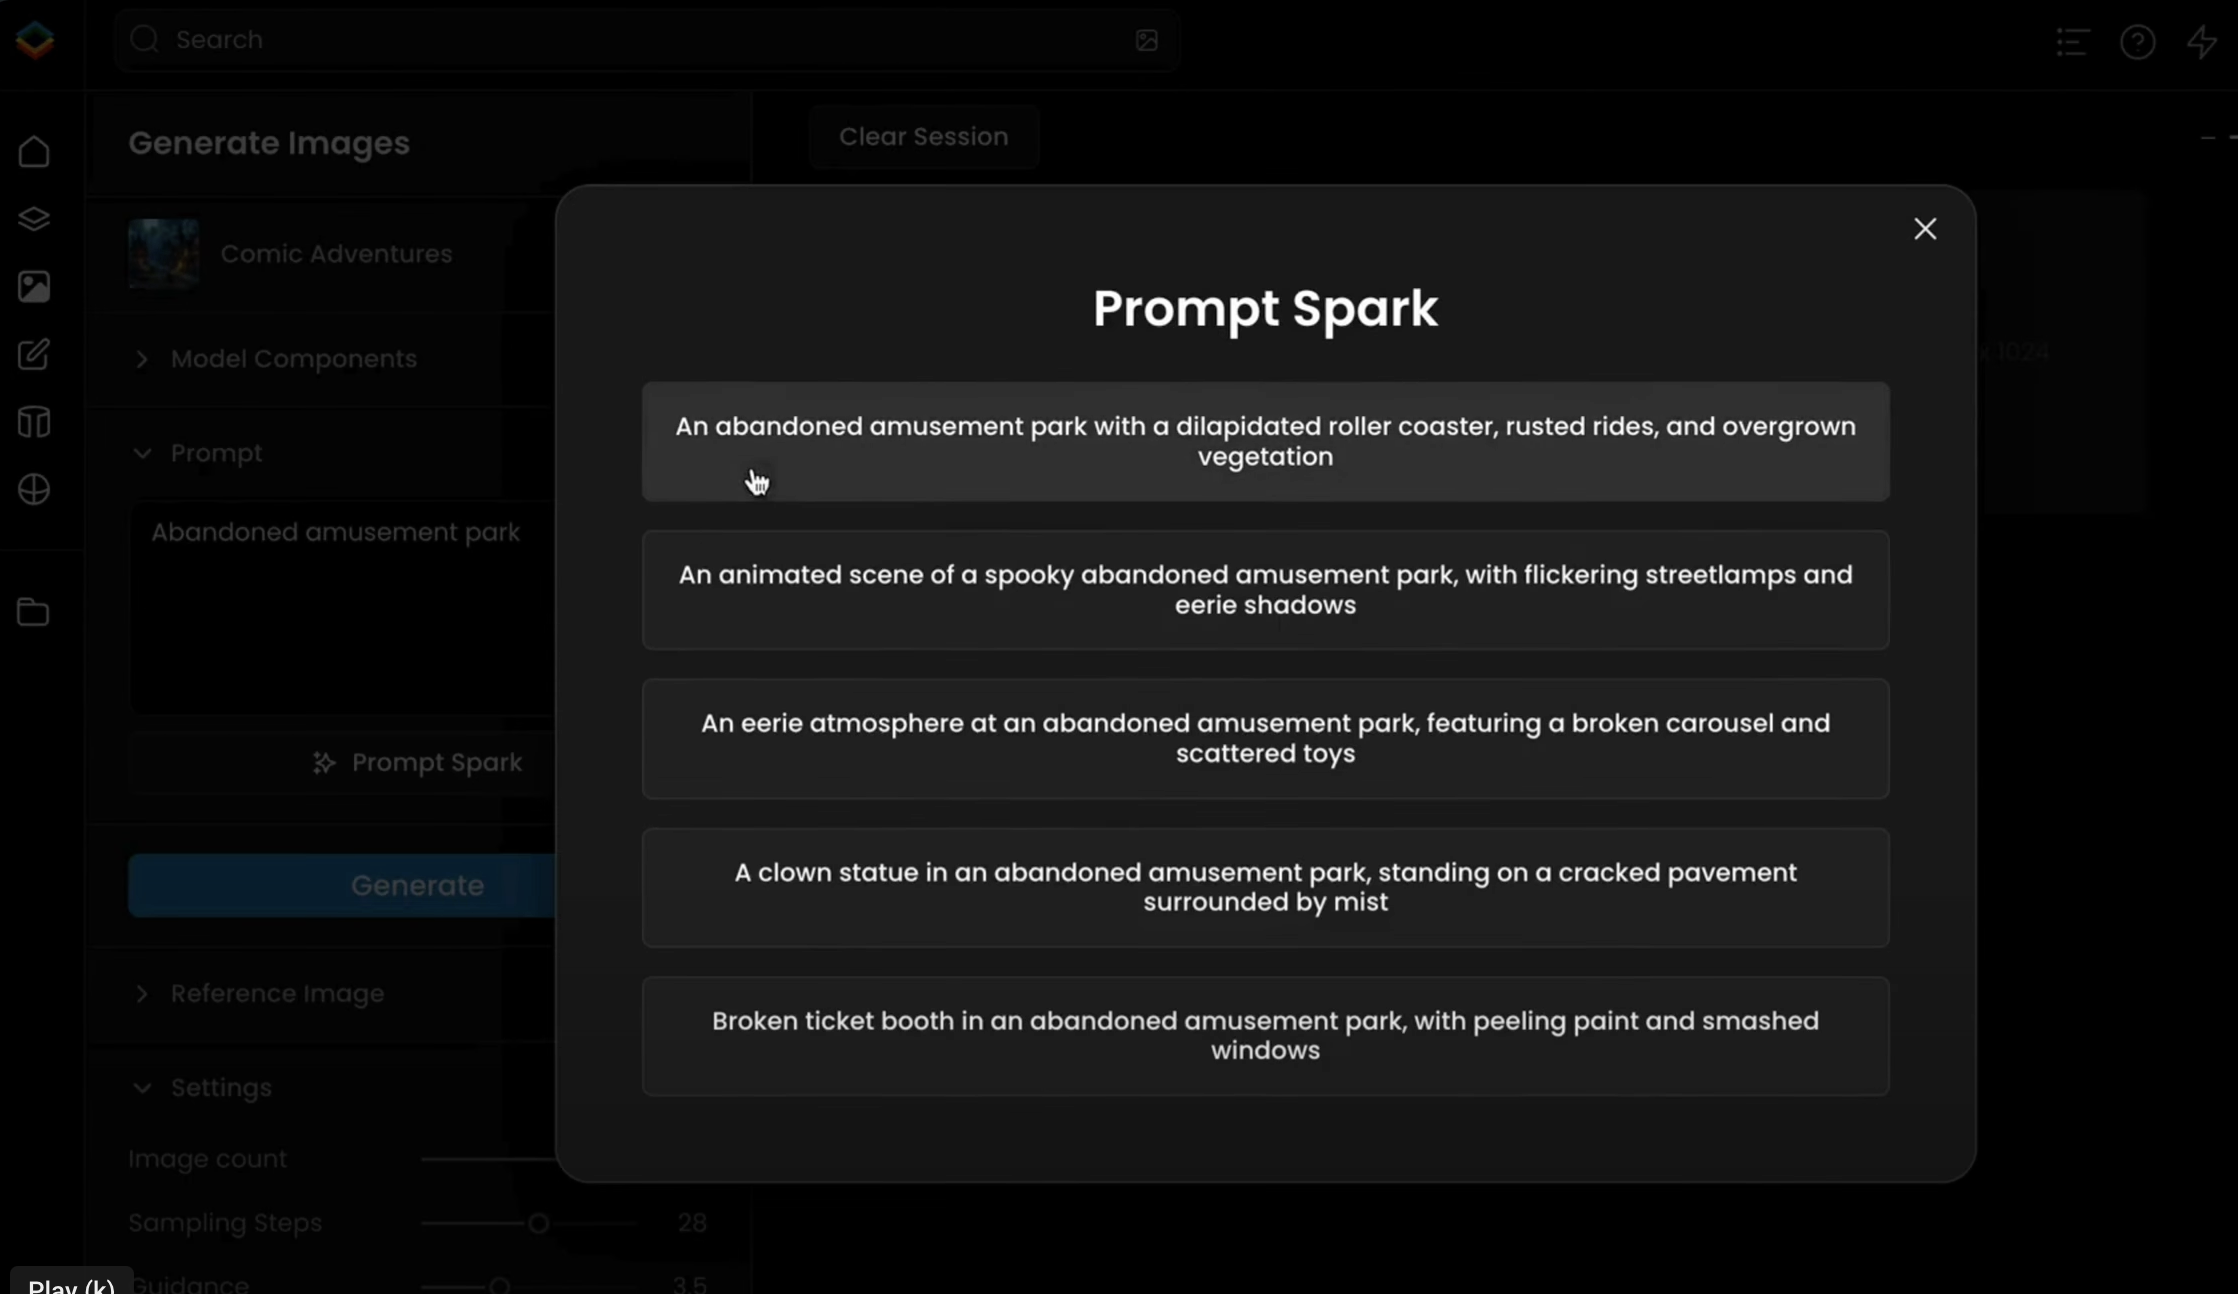
To fine-tune the model’s future outputs, you can pin your favorite images. This teaches Prompt Spark your preferences, helping it refine future generations to better match your expectations.
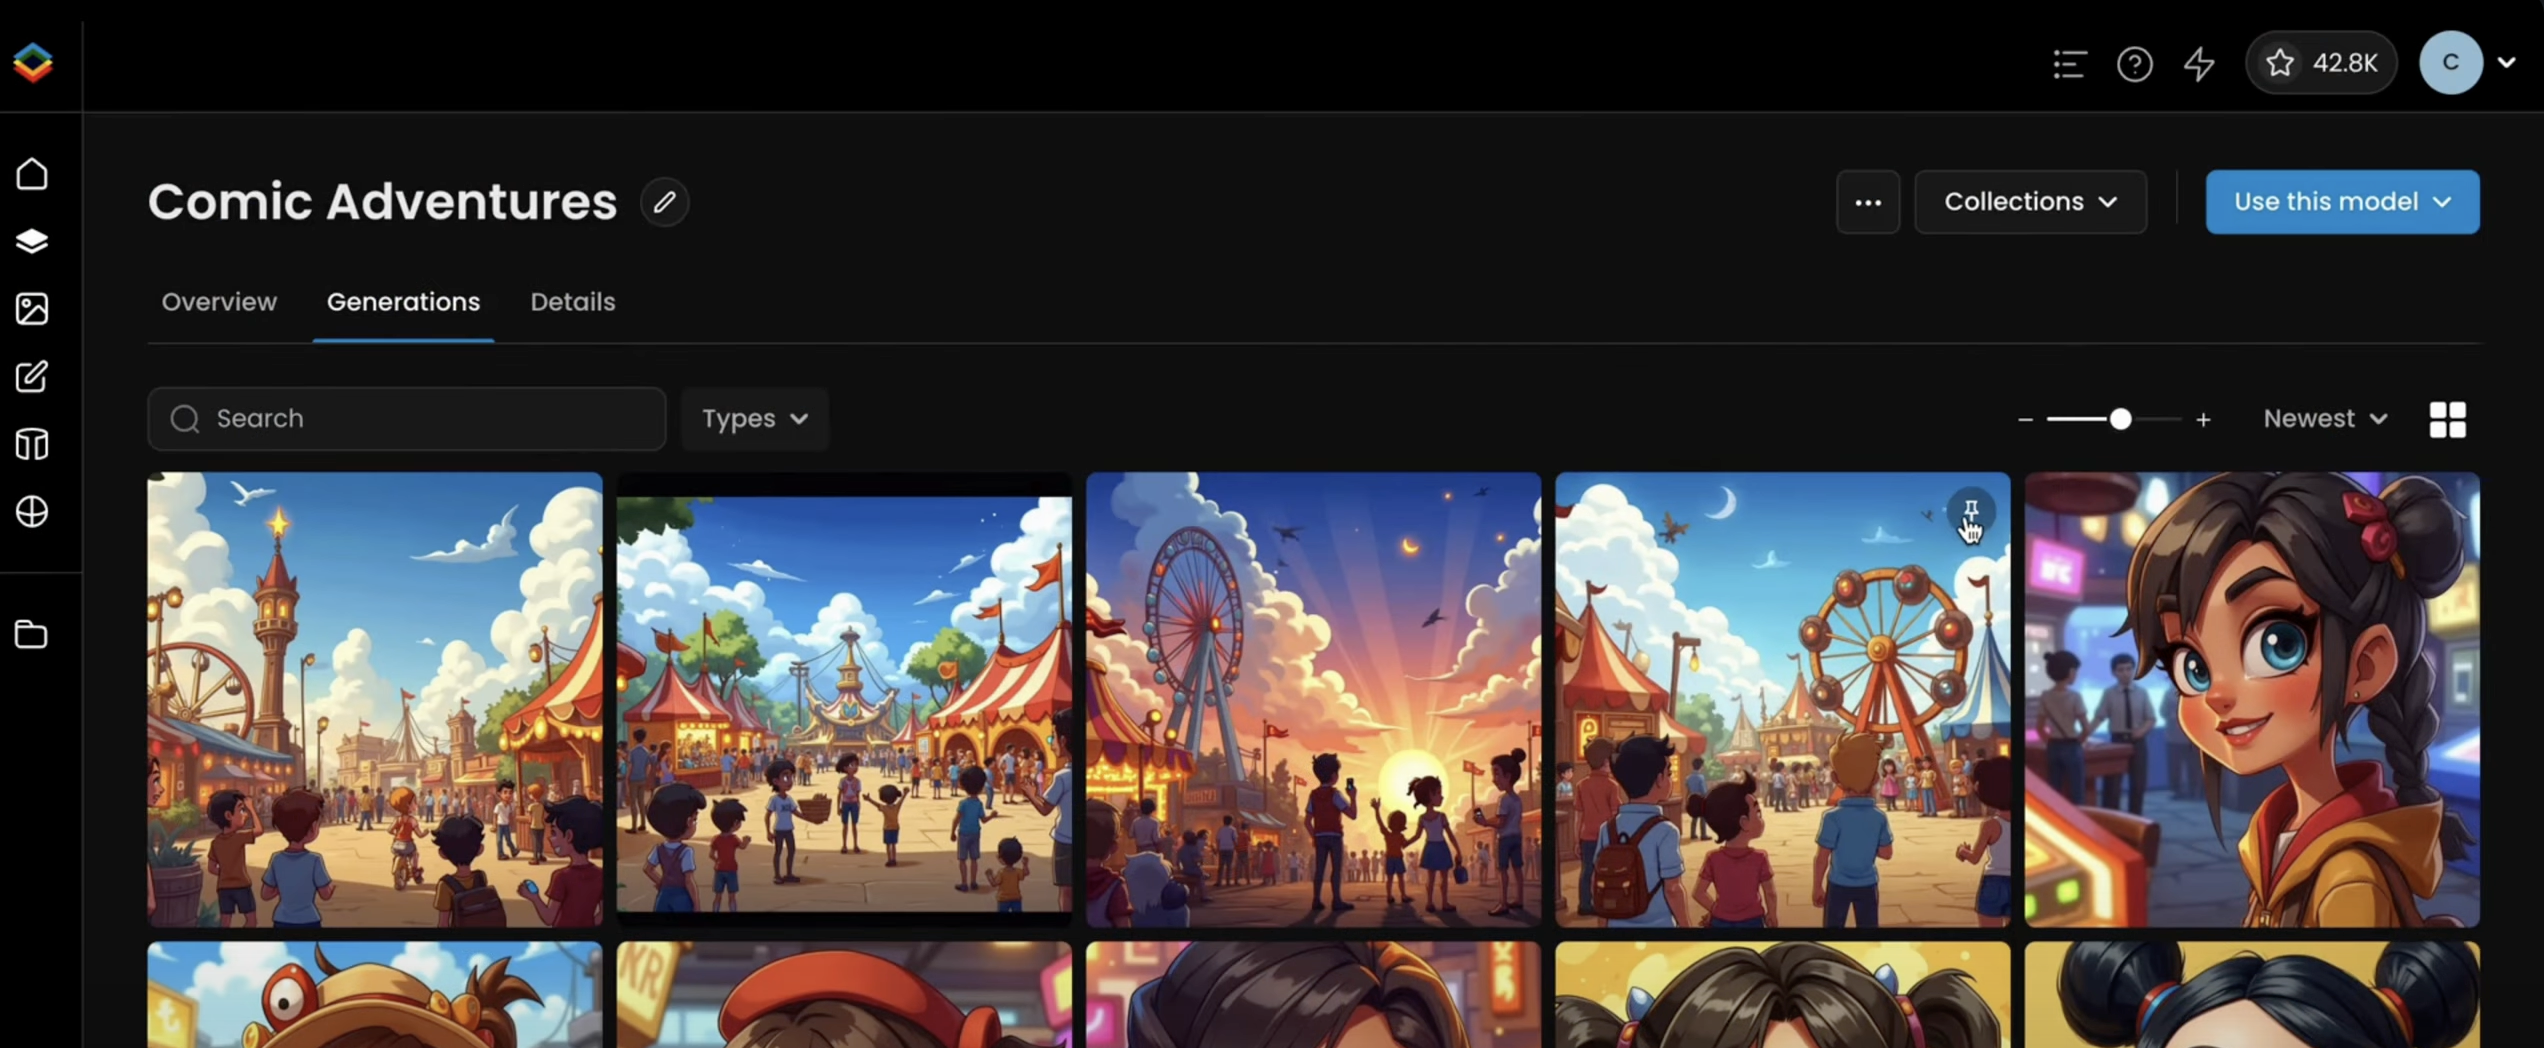
After training and testing, finalize your model:
Description: Provide a clear description outlining the key features of the style.
Thumbnail: Upload a thumbnail image that visually represents the style.
Tags and Collections: Tag your model and place it in a relevant collection for easy access and organization.
More information on our dedicated article: Managing your Model.
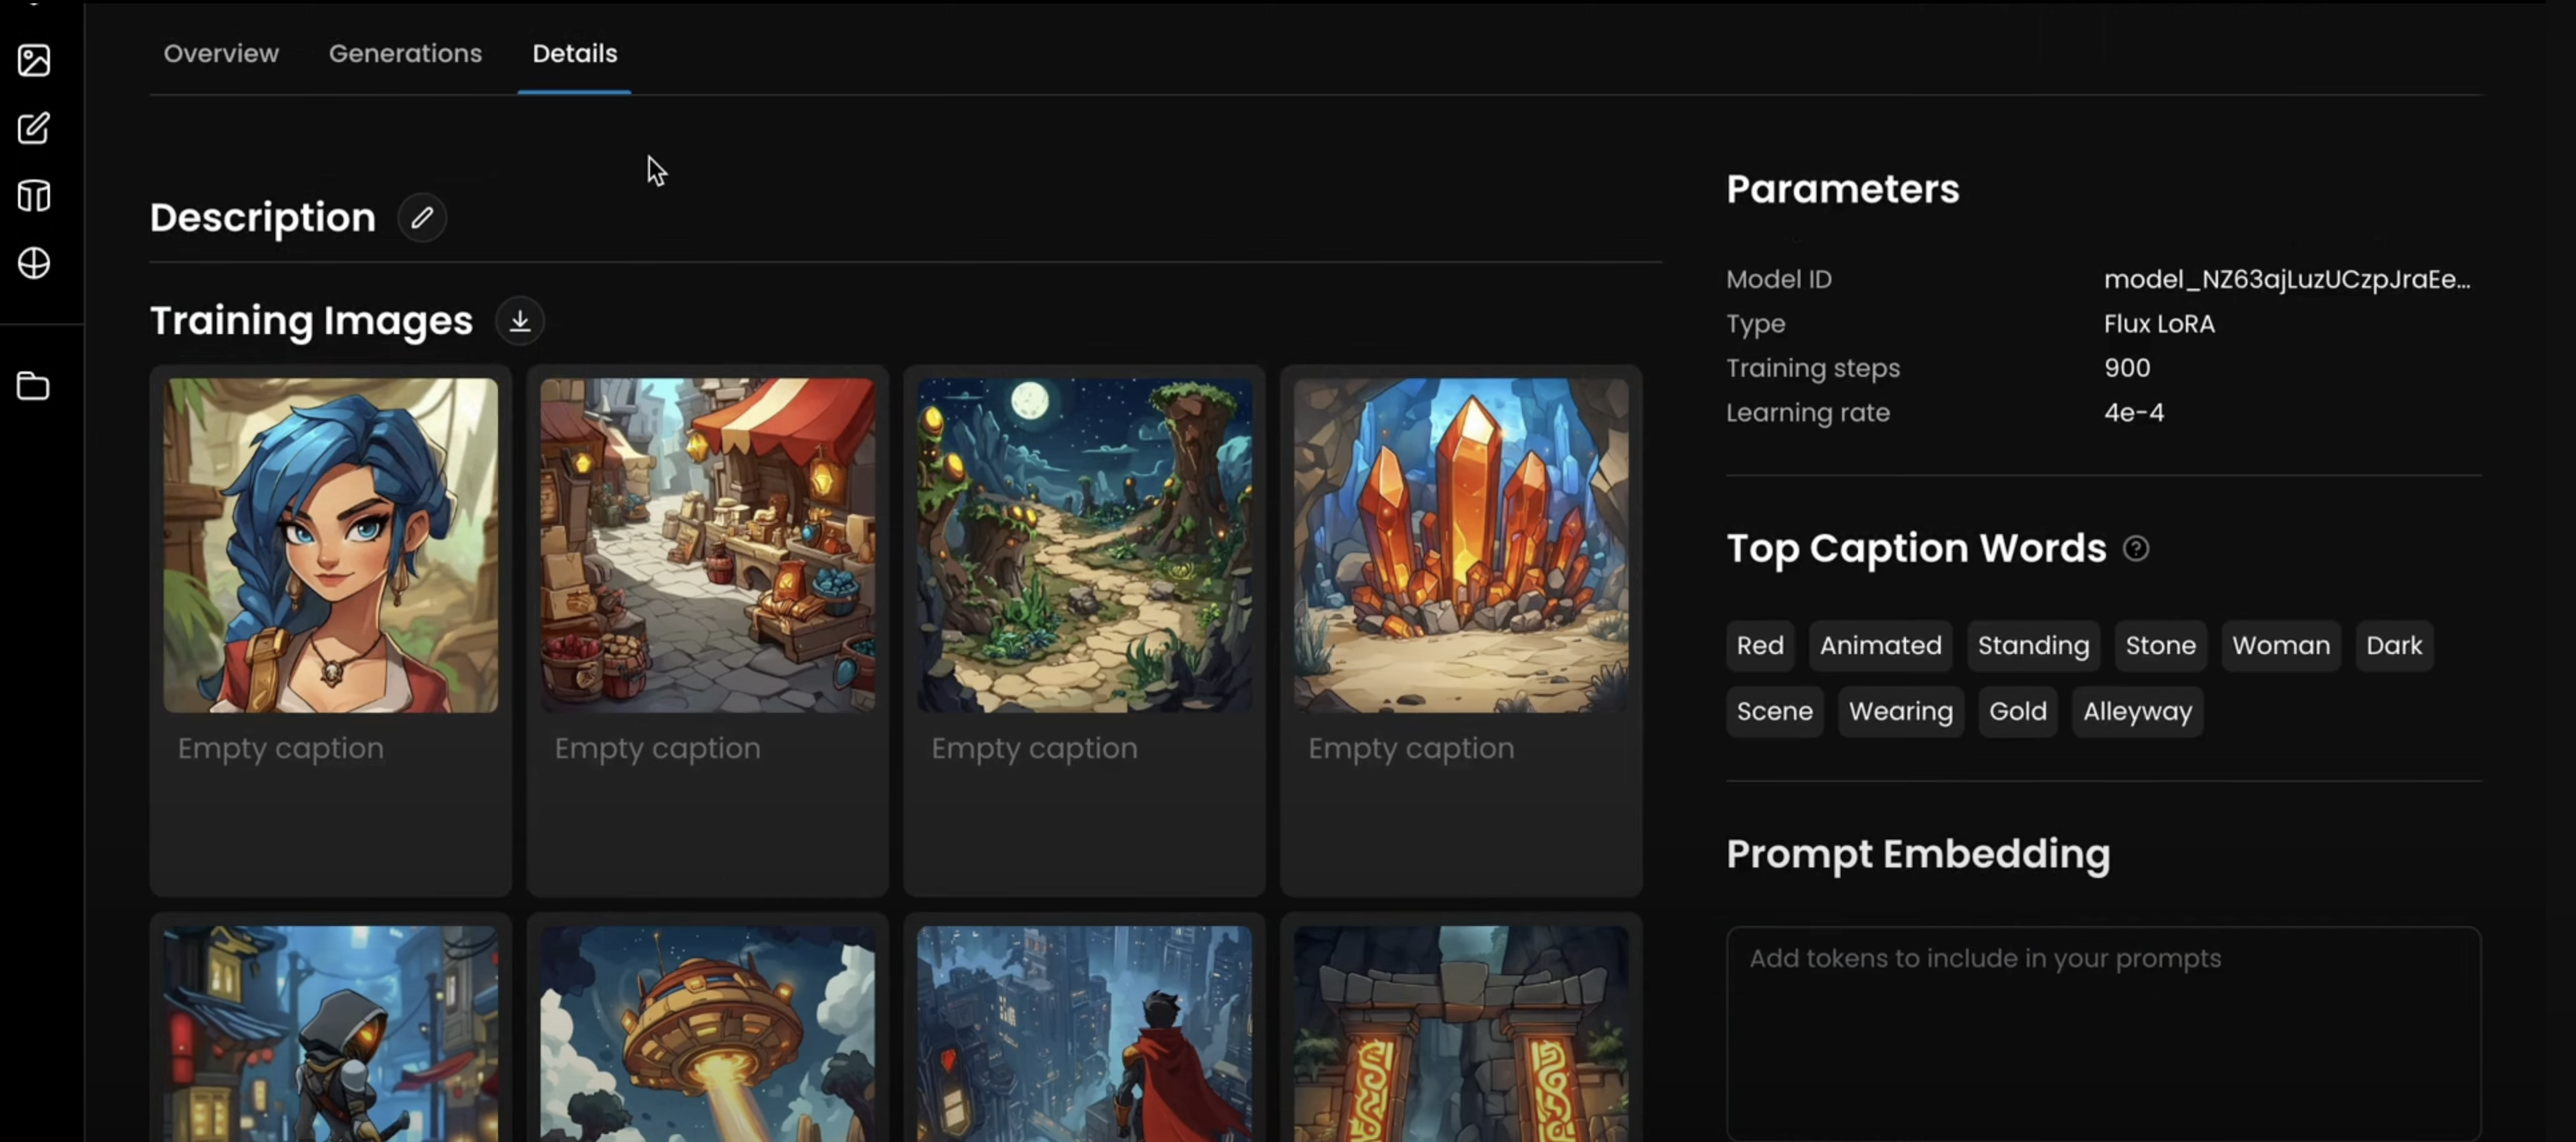
By following these steps, you’ll have a fully trained style model that can streamline the creation of assets for games, illustrations, or other media projects. Be sure to explore additional resources and tutorials available in the Scenario Knowledge Center to keep enhancing your creative workflows.
Was this helpful?

Quentin