Uploading a custom model on Scenario is easy and offers multiple methods.
Navigate to the Upload Option:
Use the left-hand menu to go to Model > Upload.
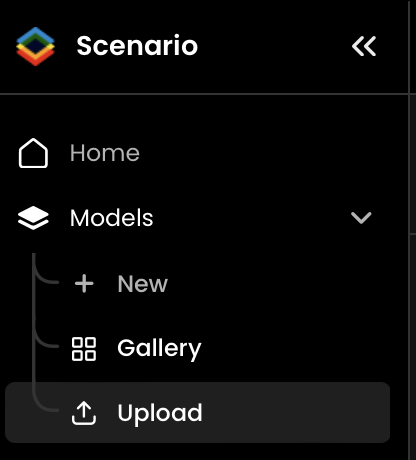
Alternatively, you can select Model > New and then choose Upload.
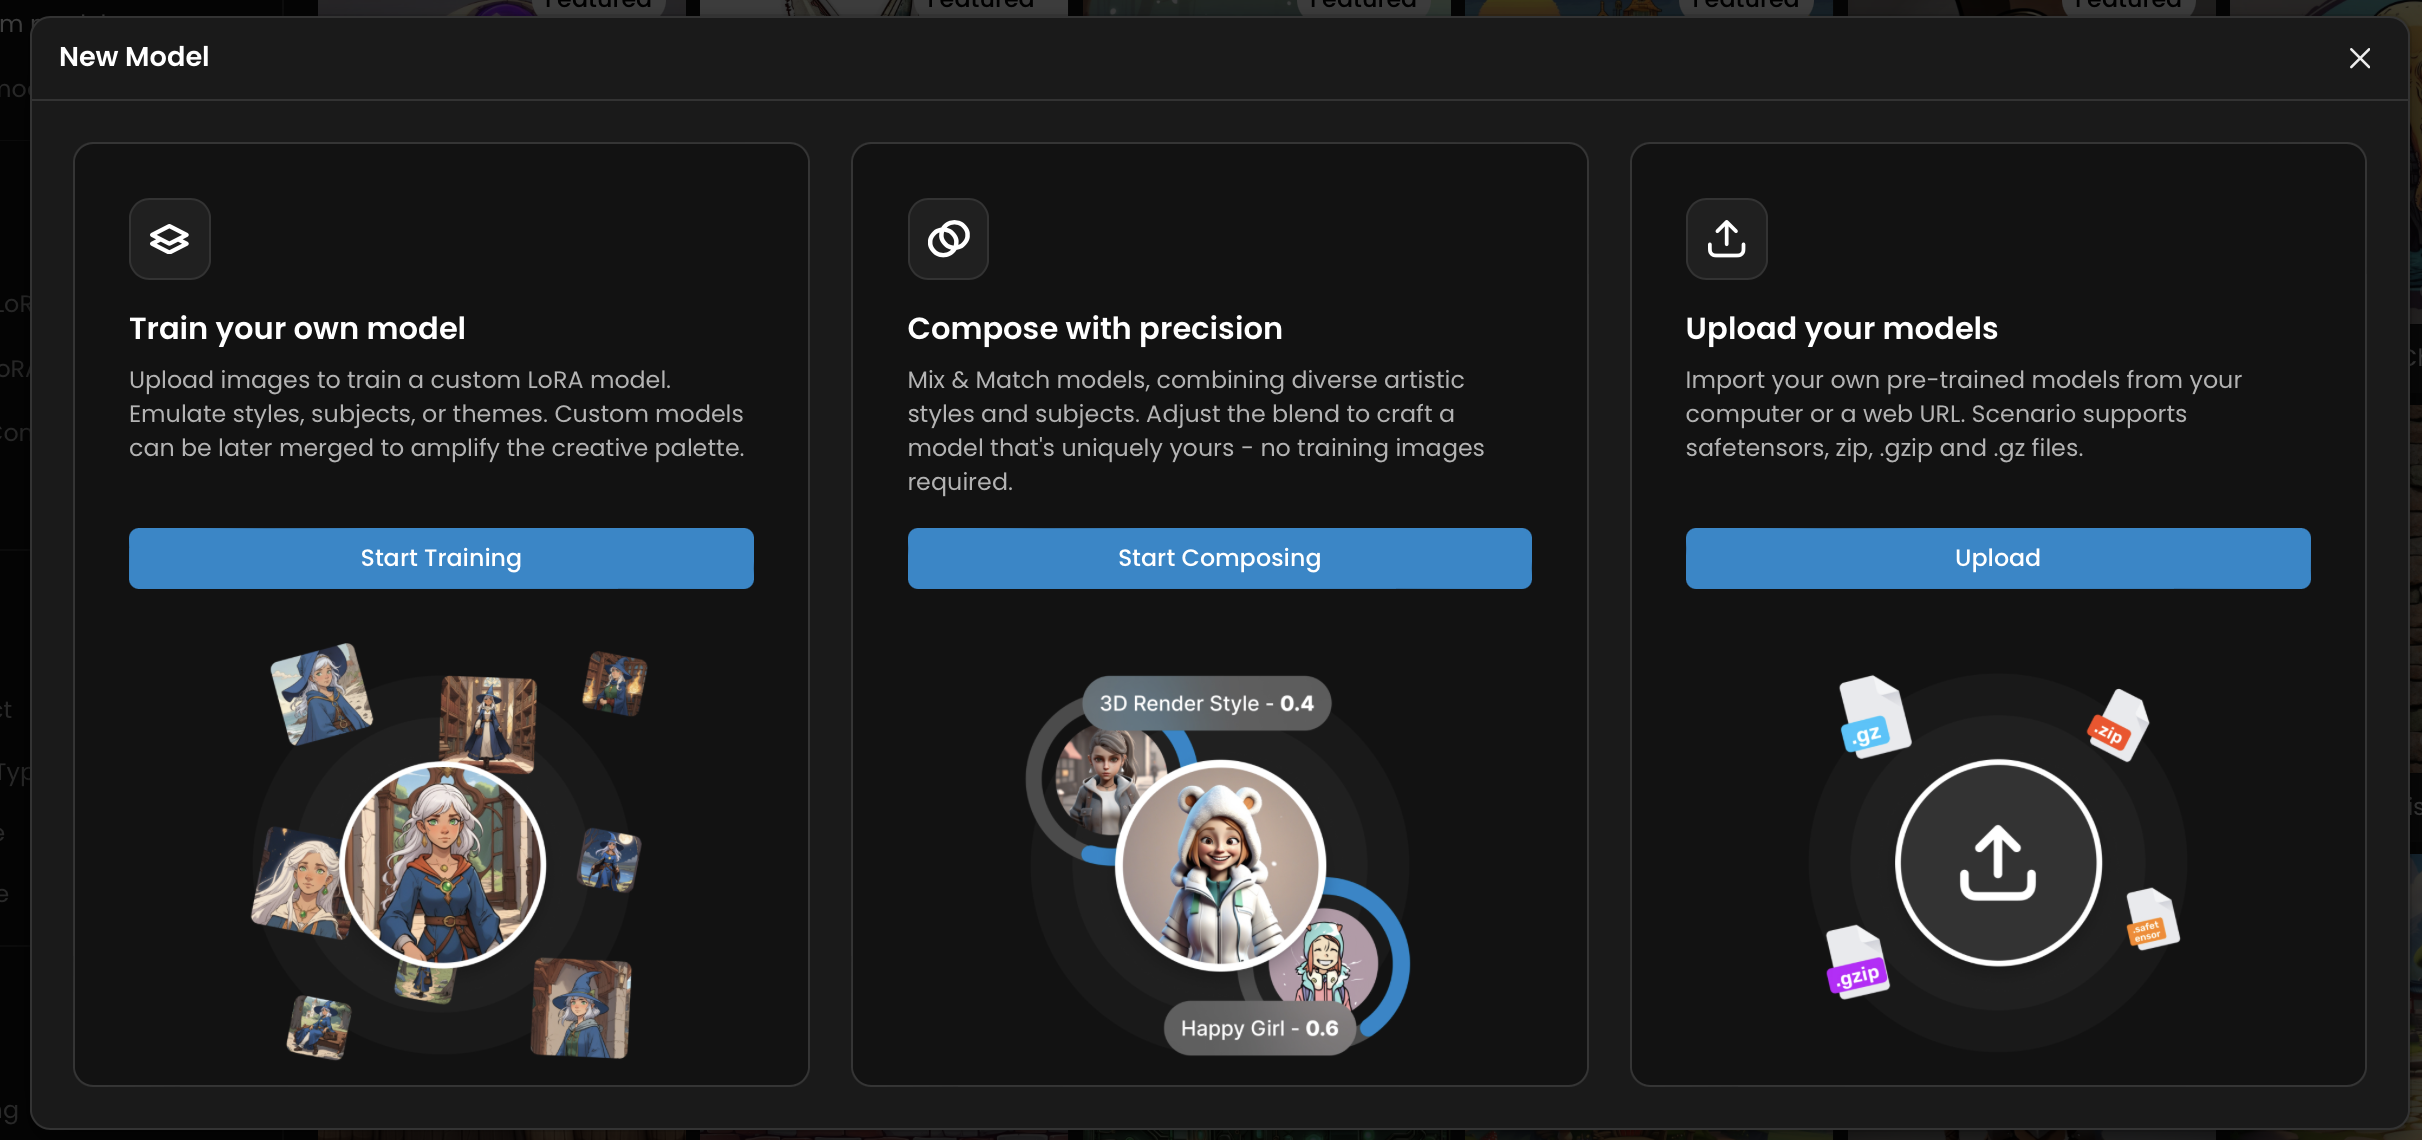
Once you're on the upload page, you have several options for uploading your model:
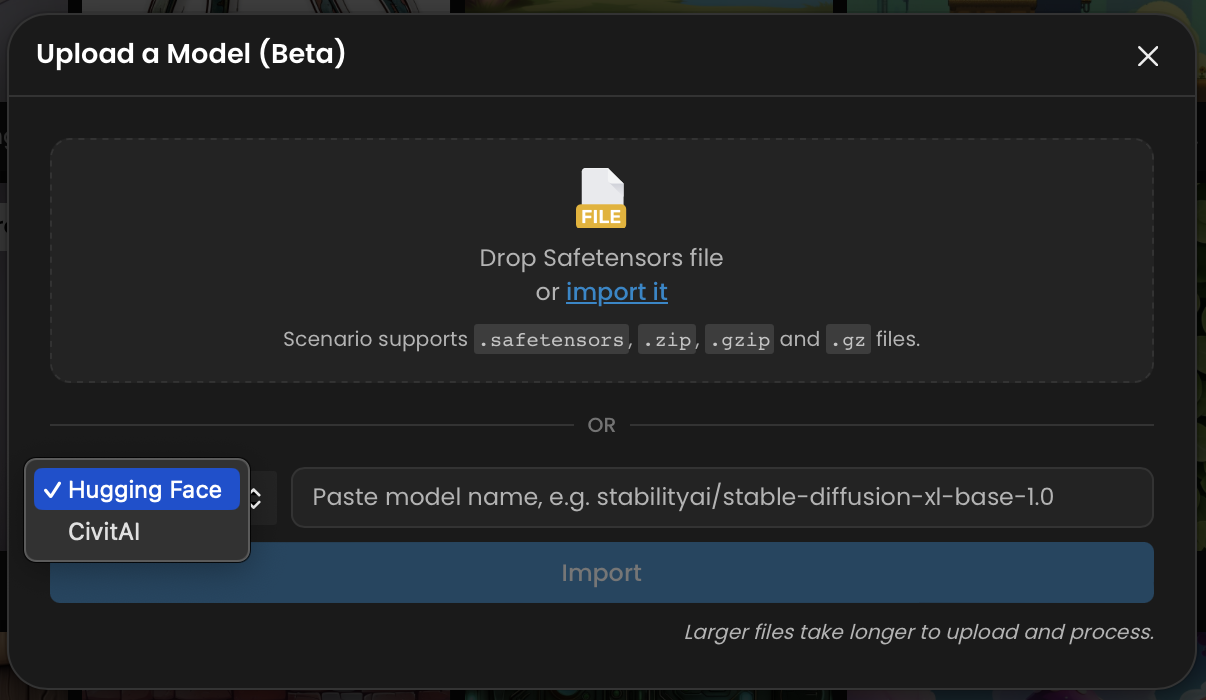
Hugging Face: Enter the model name to upload directly from Hugging Face.
CivitAI: Paste the model URL to upload from CivitAI.
Direct Upload: You can also upload your model by directly selecting a safetensor file from your device.
Scenario currently supports the following uploaded model types:
SDXL LoRA
SD1.5 LoRA
Flux LoRA
SDXL/SD1.5 Checkpoints
Ensure your model fits one of these formats before uploading.
After selecting your upload method, click on the Import button.
A background job will handle the upload process.
You will be notified when the upload is complete:
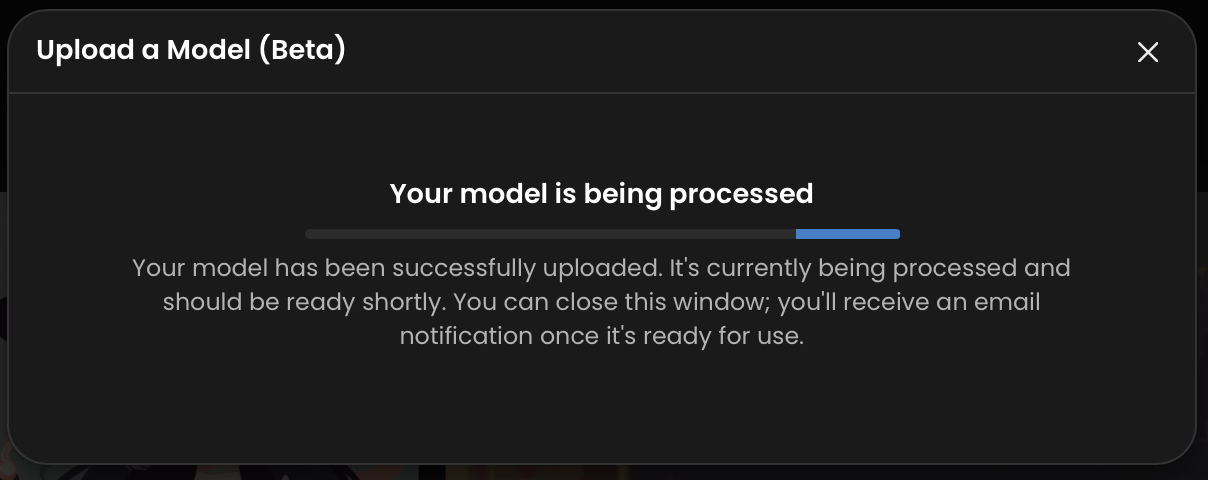
Email Notification: You’ll receive an email once your model has been successfully uploaded.
Pop-up Notification: The on-screen pop-up will update to indicate that the upload is complete.
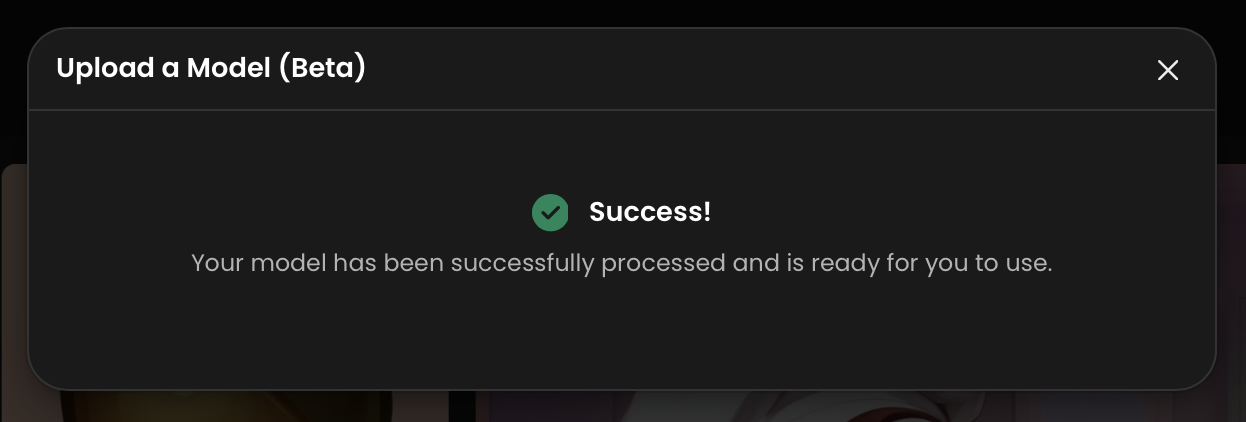
After the upload, you can easily find your model by going to the Model Gallery:
Open the Model Gallery.
Use the Filter option and select Your Models to view the models you've uploaded.
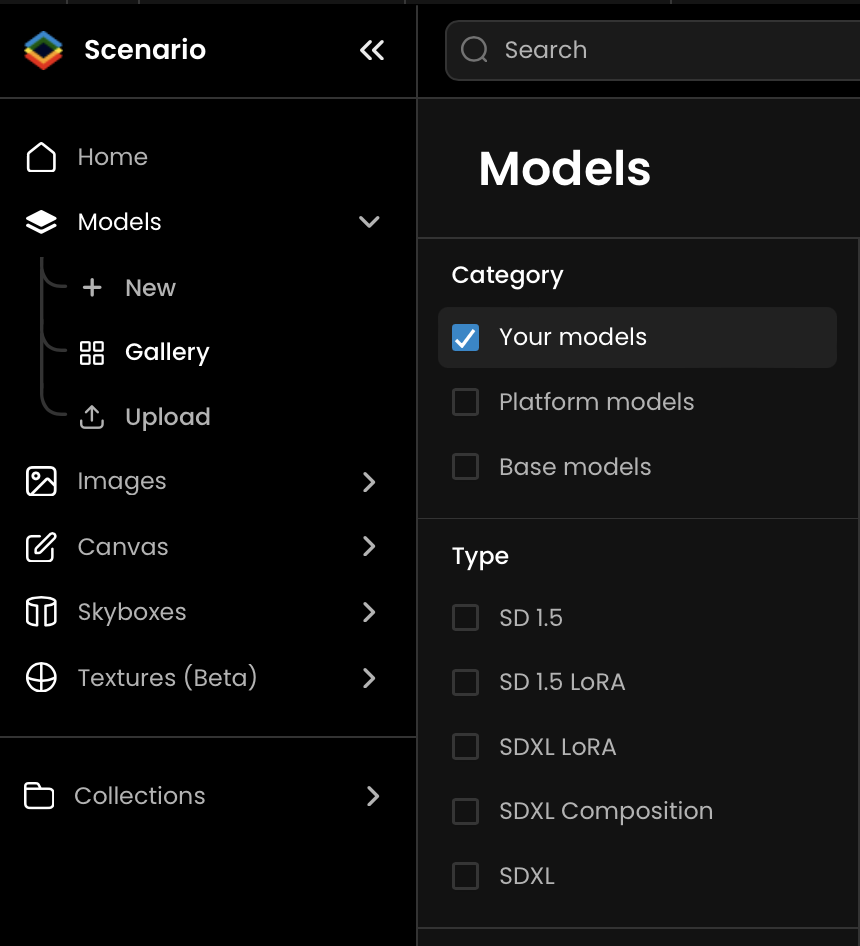
This section will display all your custom models.
Uploading a model to Scenario is straightforward, with options to import from Hugging Face, CivitAI, or directly from a safetensor file on your device.
Was this helpful?

Quentin