Adaptive Fill is an AI-powered feature designed to help you remove unwanted objects from your images and fill the space with context-aware generated content. Here’s a step-by-step guide to using it:

Option 1: Create a new Canvas project and upload your image into it.
Option 2: Simply use the “Retouch“ option to load an existing image to Canvas. Retouch can be found behind the “three dot" menu” to the top of the asset page.
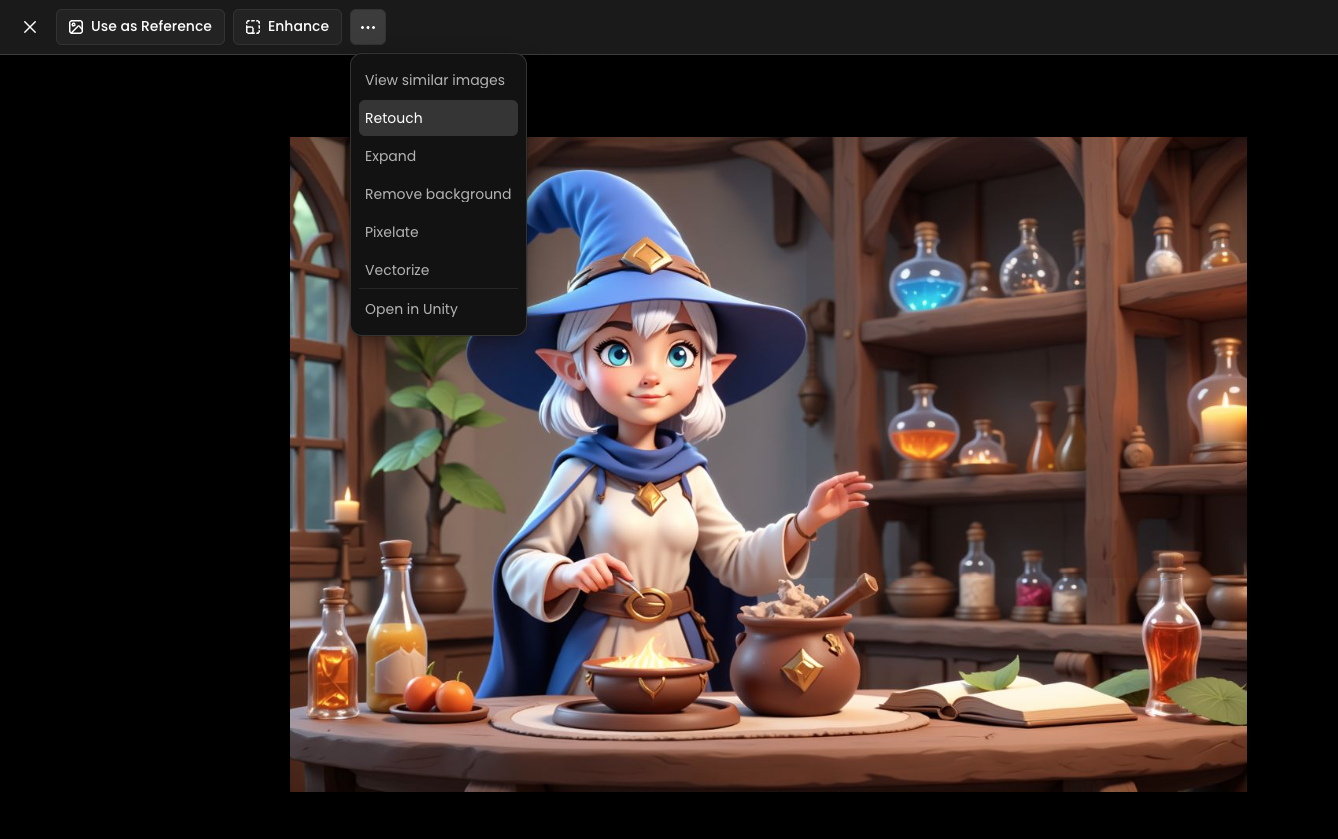
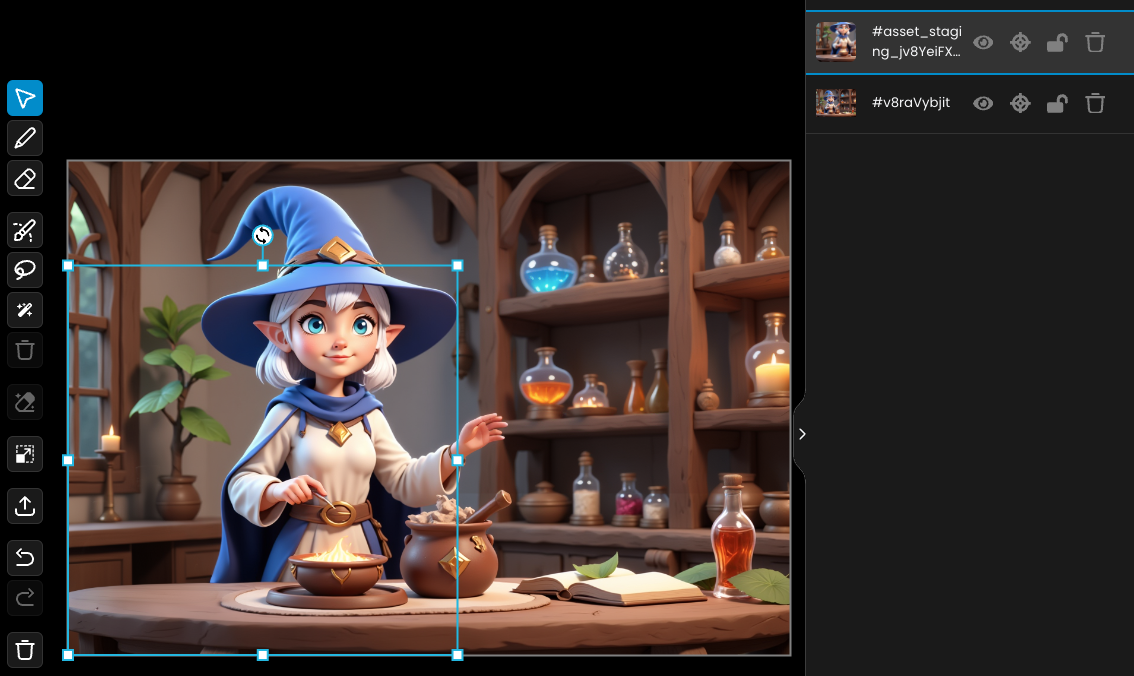
Once your image is open in Canvas, mask the object you want to remove:
Use the manual mask drawing tool for custom selection.
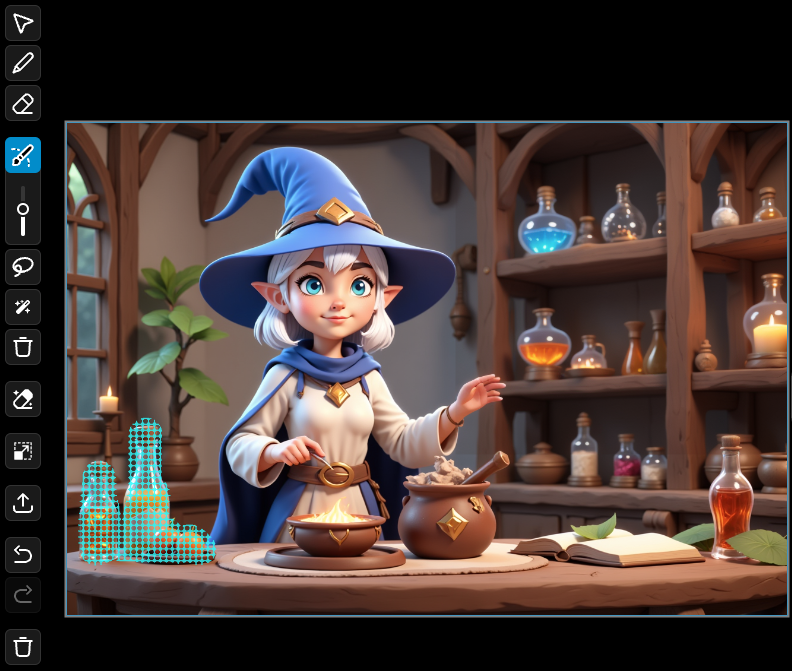
Or use the Smart Selection tool to select the element more quickly.
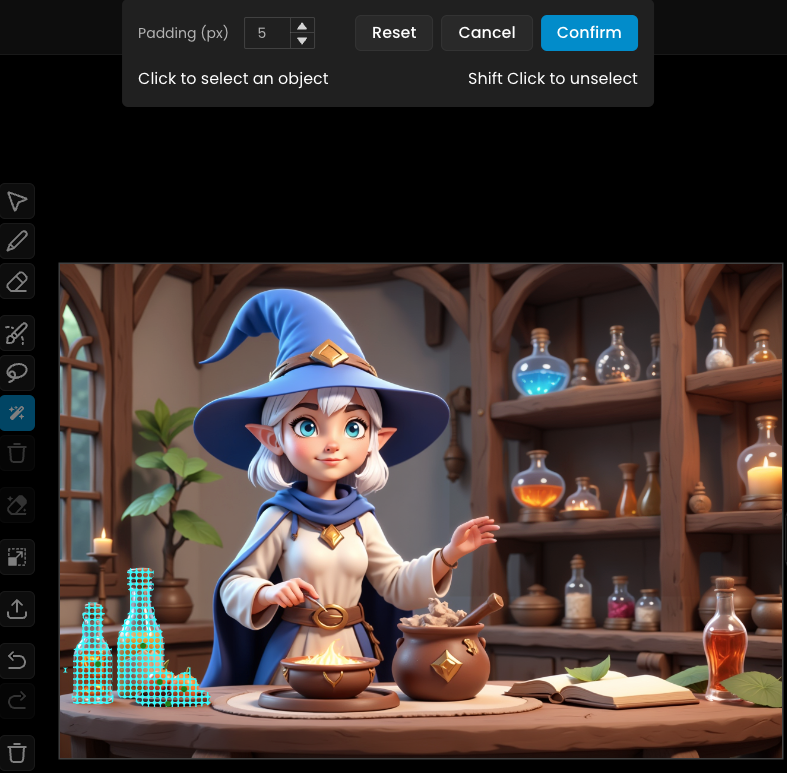
Click on the Adaptative Fill button or use the shortcut Shift+E. The generation’s cost (credits) is displayed in the tooltip.
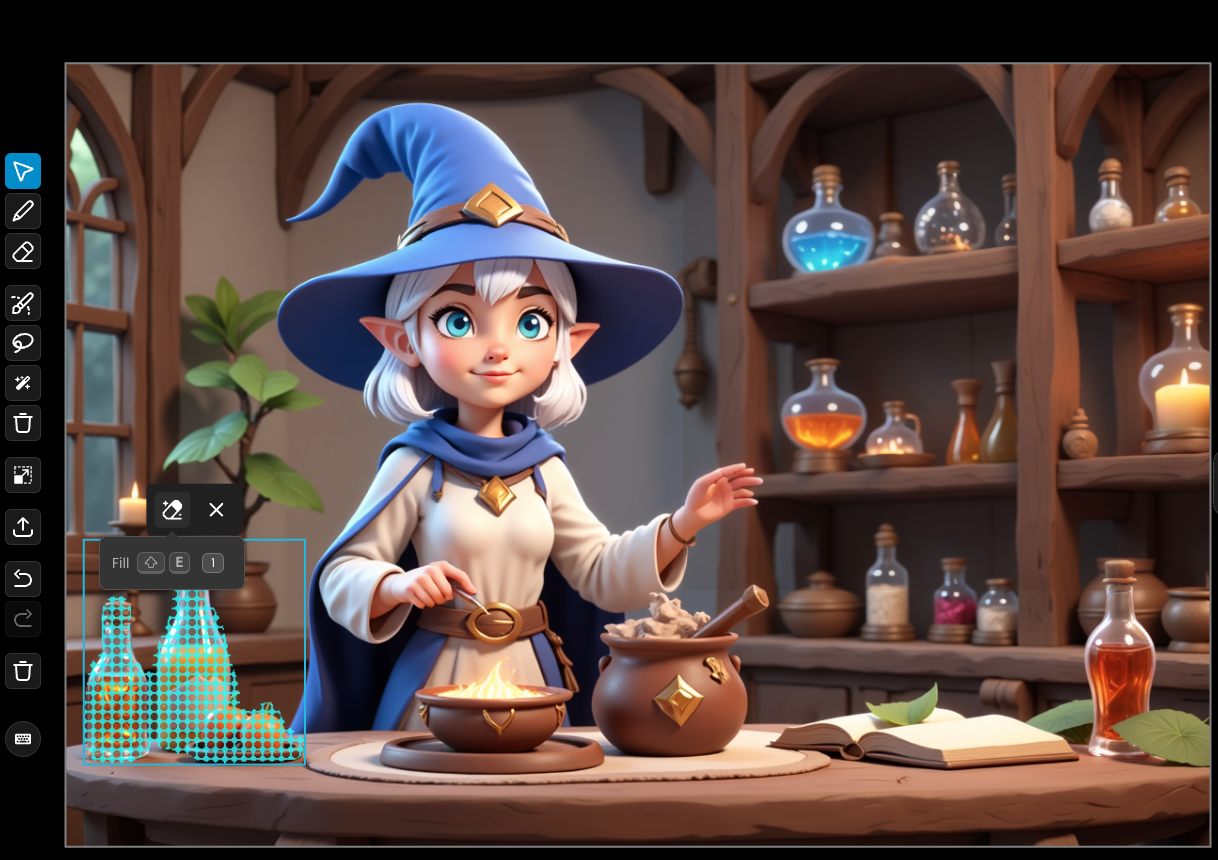
The AI will analyze the masked area and fill it with content that matches the colors, textures, and patterns around the mask, ensuring a seamless blend.
When the Eraser tool is used:
A new layer is automatically generated without the masked object.
Review this layer to ensure the AI fill matches your expectations.
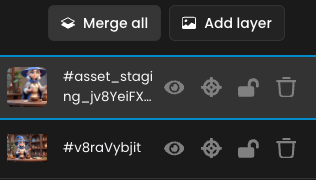
If you're satisfied with the results:
Merge the layers to finalize your image.
Congratulations! You now have a clean, edited image without the unwanted object.

Be precise with your masking for accurate object removal.
Use layers to experiment without permanently altering the original image.
Adaptive Fill simplifies retouching by saving time and enhancing your creative workflow. Try it out and take your image editing to the next level!
Was this helpful?

Quentin