Our Pixelate tool makes it easy to create pixelated versions of your images.
Follow these simple steps to get started:
Select Your Image: Choose the image you want to pixelate from your image gallery or inference window.
Access the Tool: Click on "Pixelate" in the edit tab on the right-hand info bar.
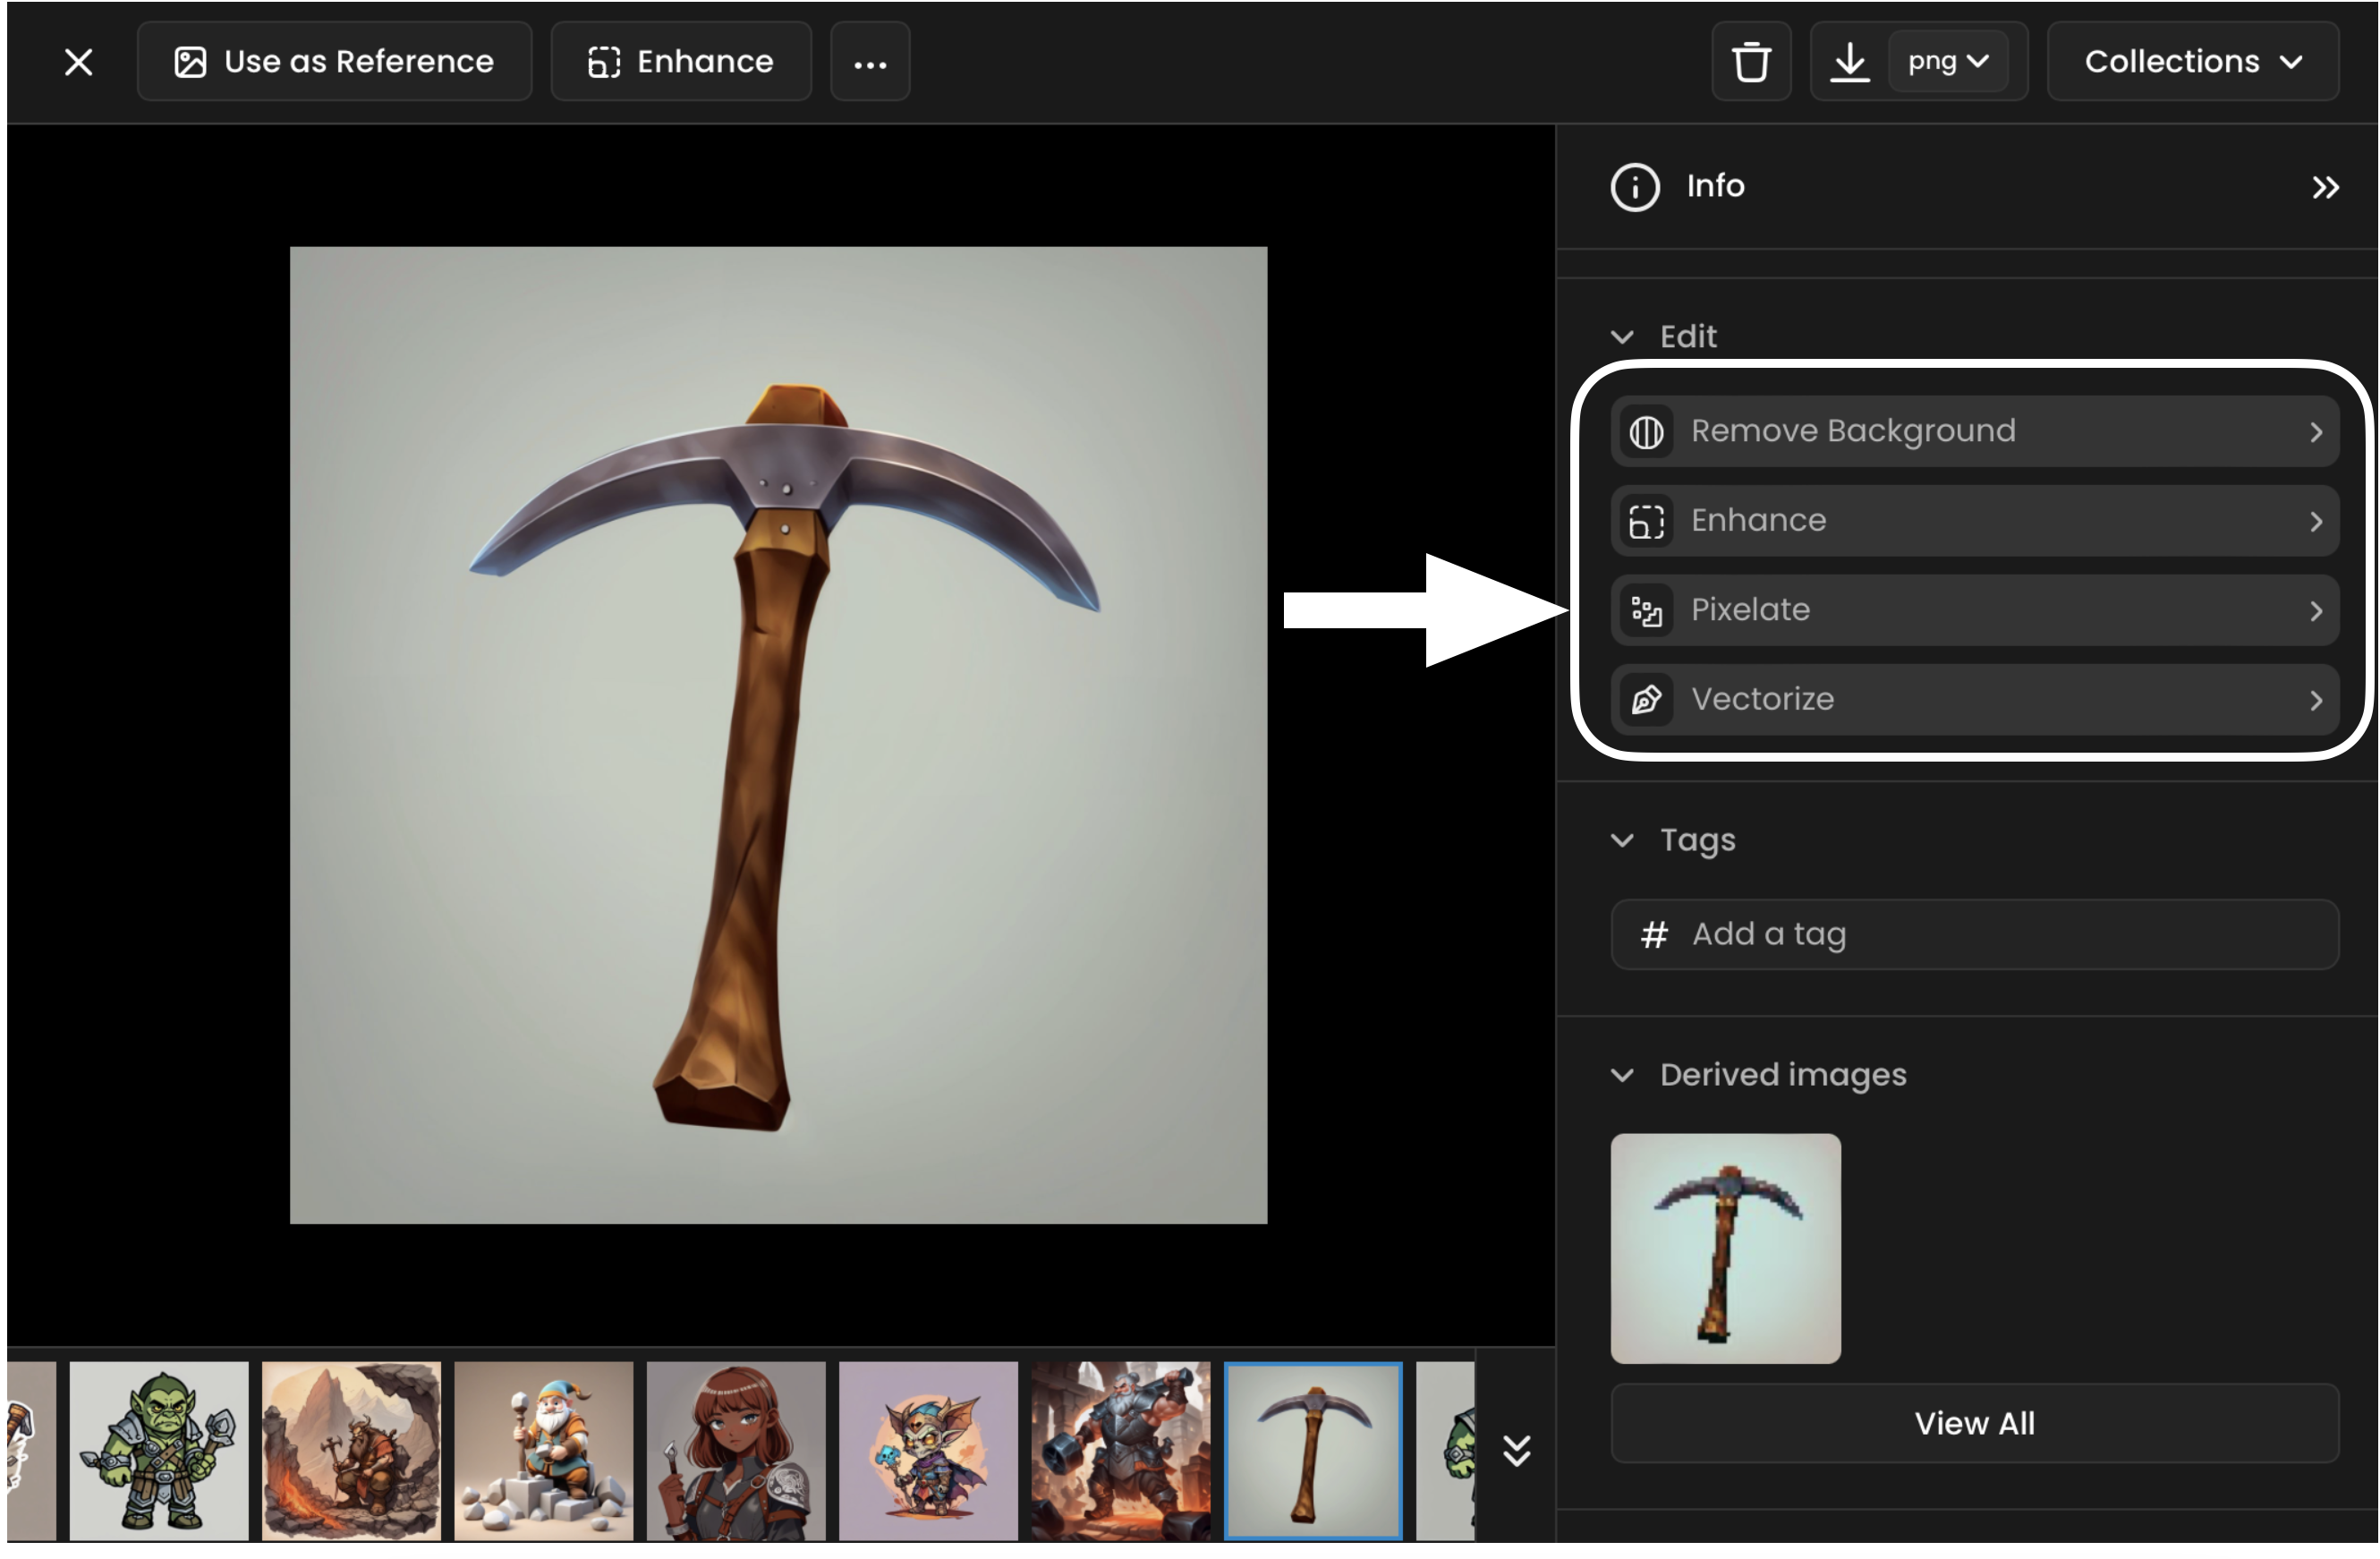
Alternatively, you can:
Click "Pixelate" on the left-hand Navigation Bar.
Load an image from your hard disk or clipboard.
Select an image from your Scenario library.
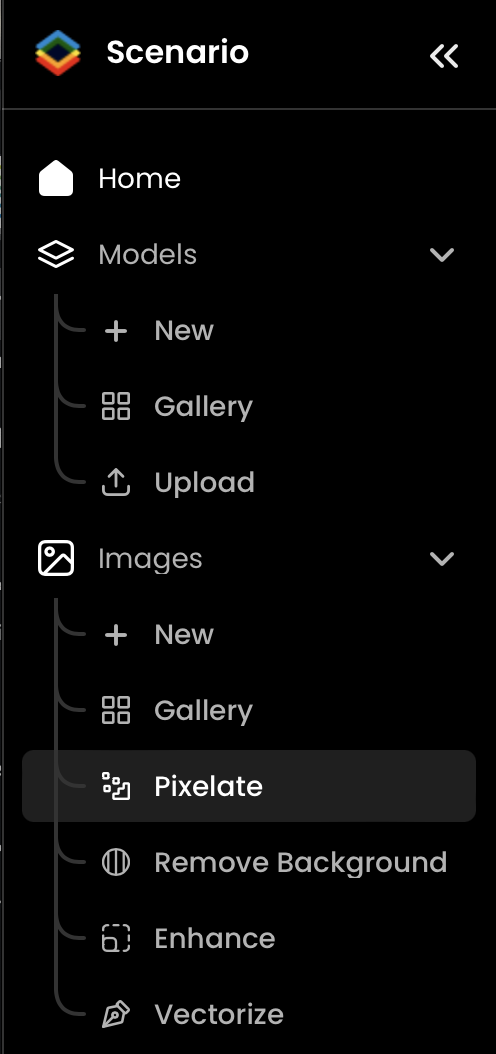
You’ll have several options to customize your pixelation.
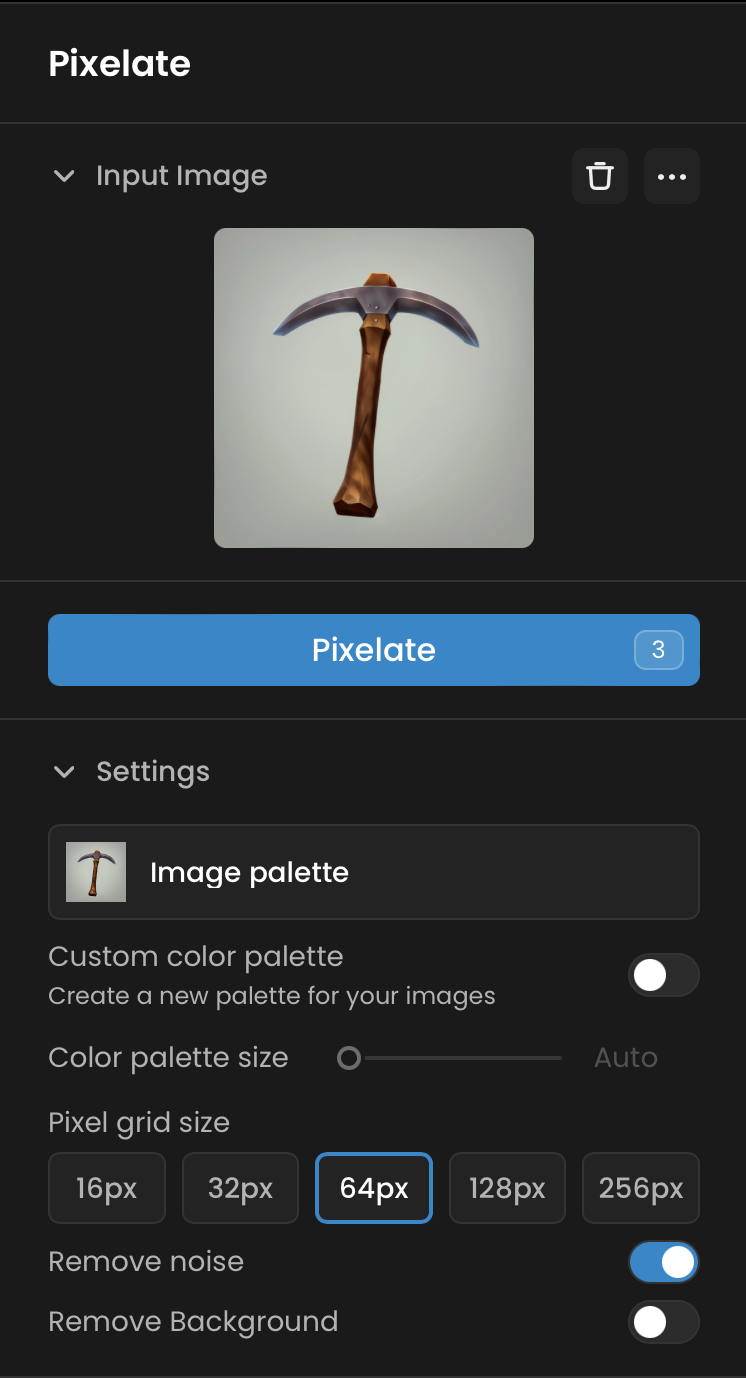
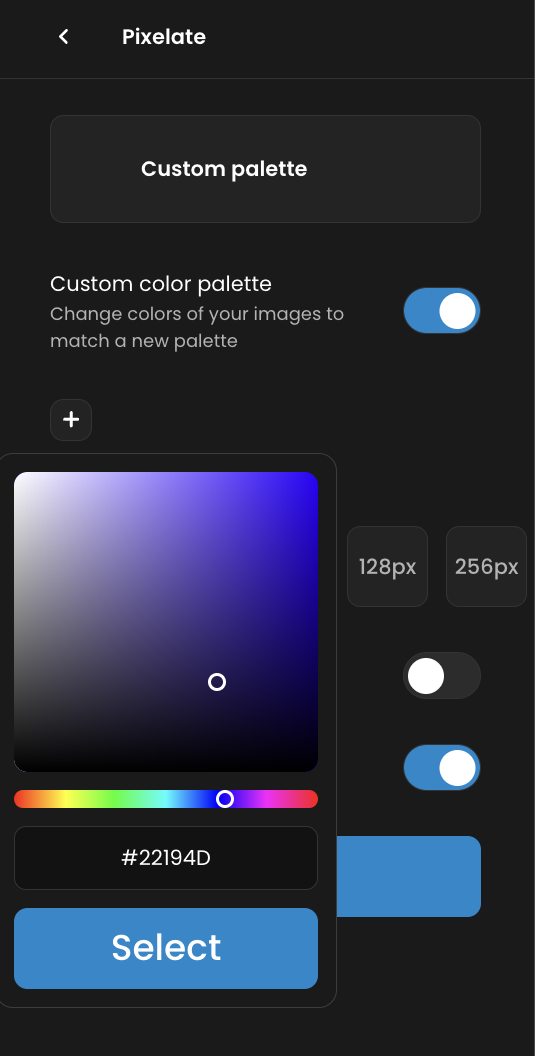
Use Default or Custom Palette: Choose to use the default color palette based on your image or create a custom palette.
Create Custom Palette: Click the "+" button to add colors. Enter a hex code or adjust the color manually.
Save Palette: Once satisfied, click the floppy disk icon to save your palette. Access saved palettes by clicking the small image icon at the top of the sidebar.
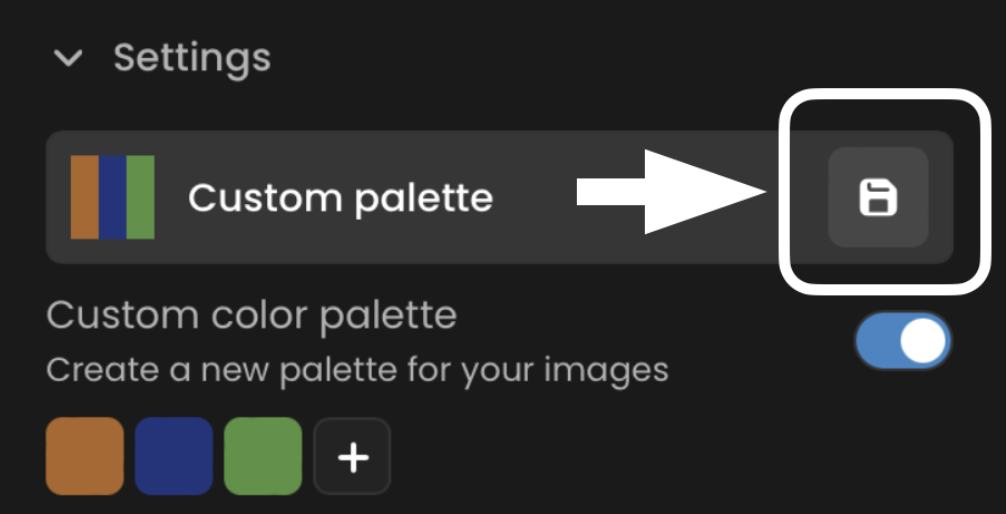
Select Pixel Count: Below the color selector, choose your desired pixel count from the provided options.


Remove Noise: Toggle the switch to remove noise, which is useful for complex images to avoid strange pixel groupings and clean up edges.
Remove Background: Toggle the switch to remove the background if needed.
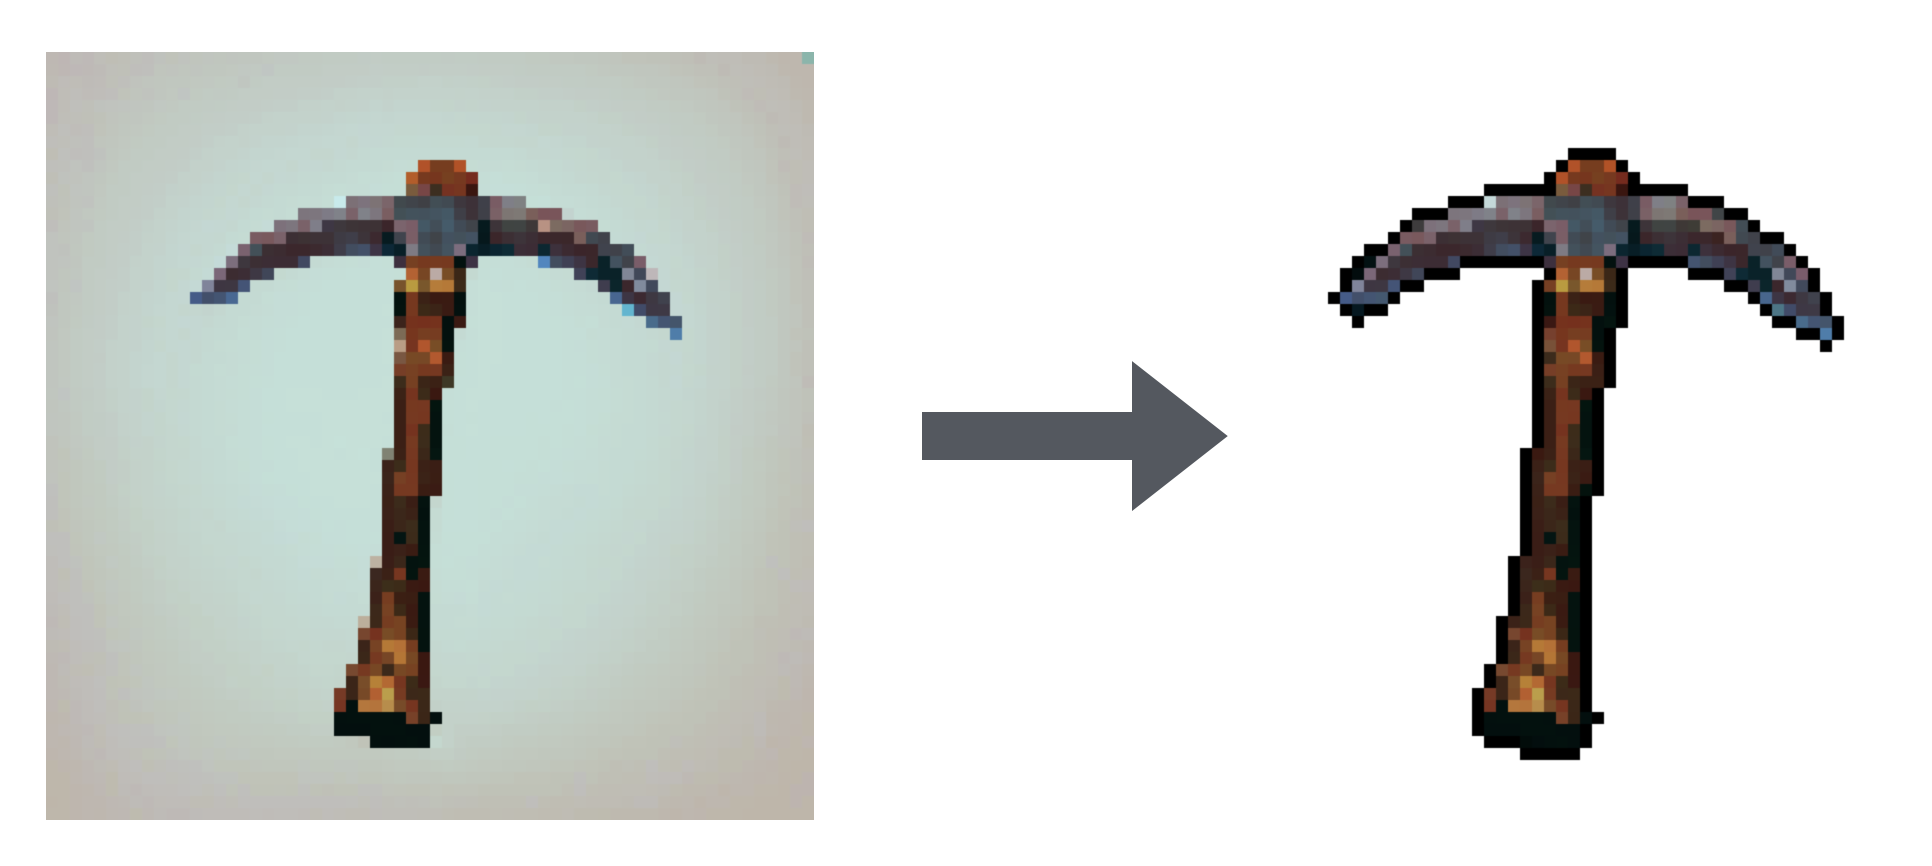
With our Pixelate tool, you can achieve true pixelization effortlessly. We look forward to seeing your pixelated creations!
Was this helpful?

Quentin