The Complete Guide to Upscaling & Enhancing
Last updated: April 22, 2026
Last updated: April 13, 2026

Introduction
Enhance (Upscale) is Scenario's comprehensive tool for image enhancement and upscaling. It is designed to refine visuals while preserving or elevating quality. With multiple models available, it supports a wide range of goals: from balanced versatility and high fidelity to artistic flexibility and creative transformations.
By combining high-resolution upscaling with support for LoRA models and Style Images, Enhance enables everything from subtle touch-ups to bold creative transformations with refined control. This guide covers all available upscaling models on the platform, including Scenario's native models, Magnific, and P-Image.
This video covers Scenario Upscale V3:
How to Access Enhance
You can launch the Enhance tool in two ways:
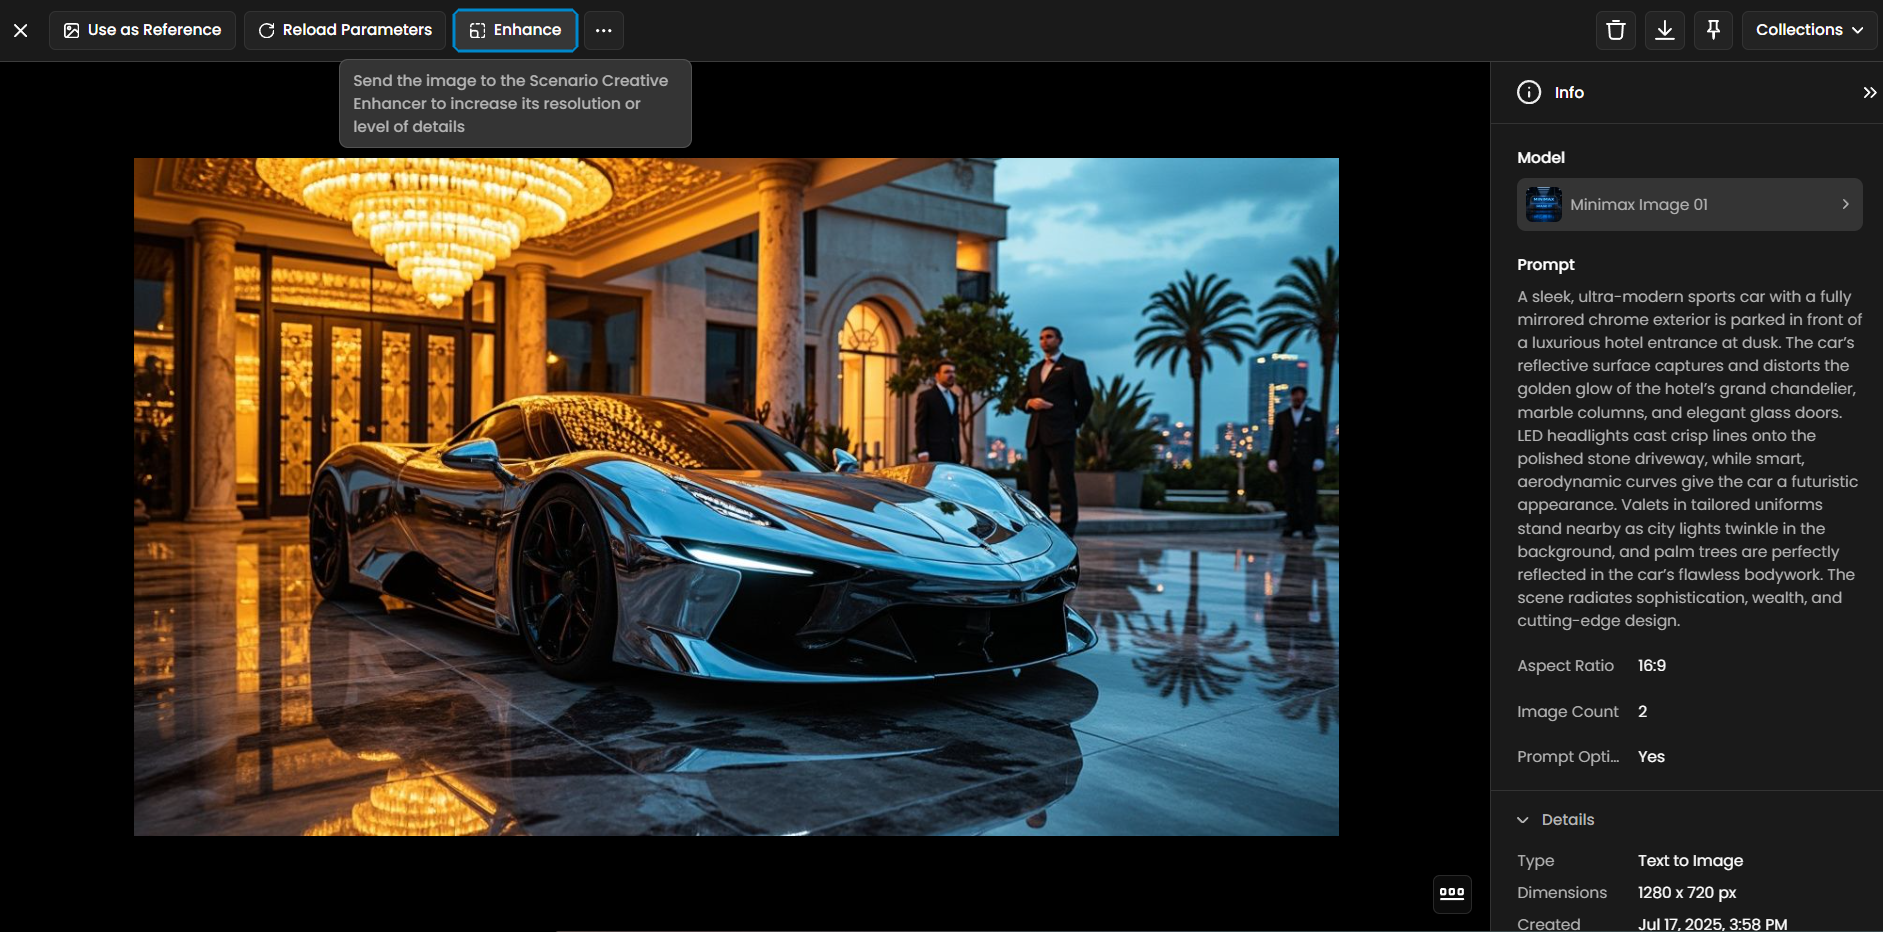
From an image generated in Scenario: Click Enhance in the top menu.
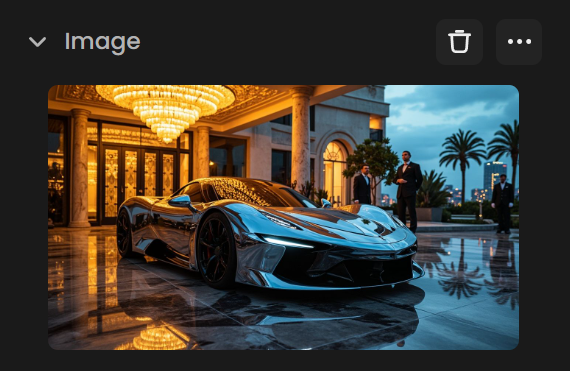
From any image thumbnail: Open the three-dot menu and select Enhance.
Available Enhance Models
With Scenario, you can choose from several upscaling models, each designed for different needs and workflows.
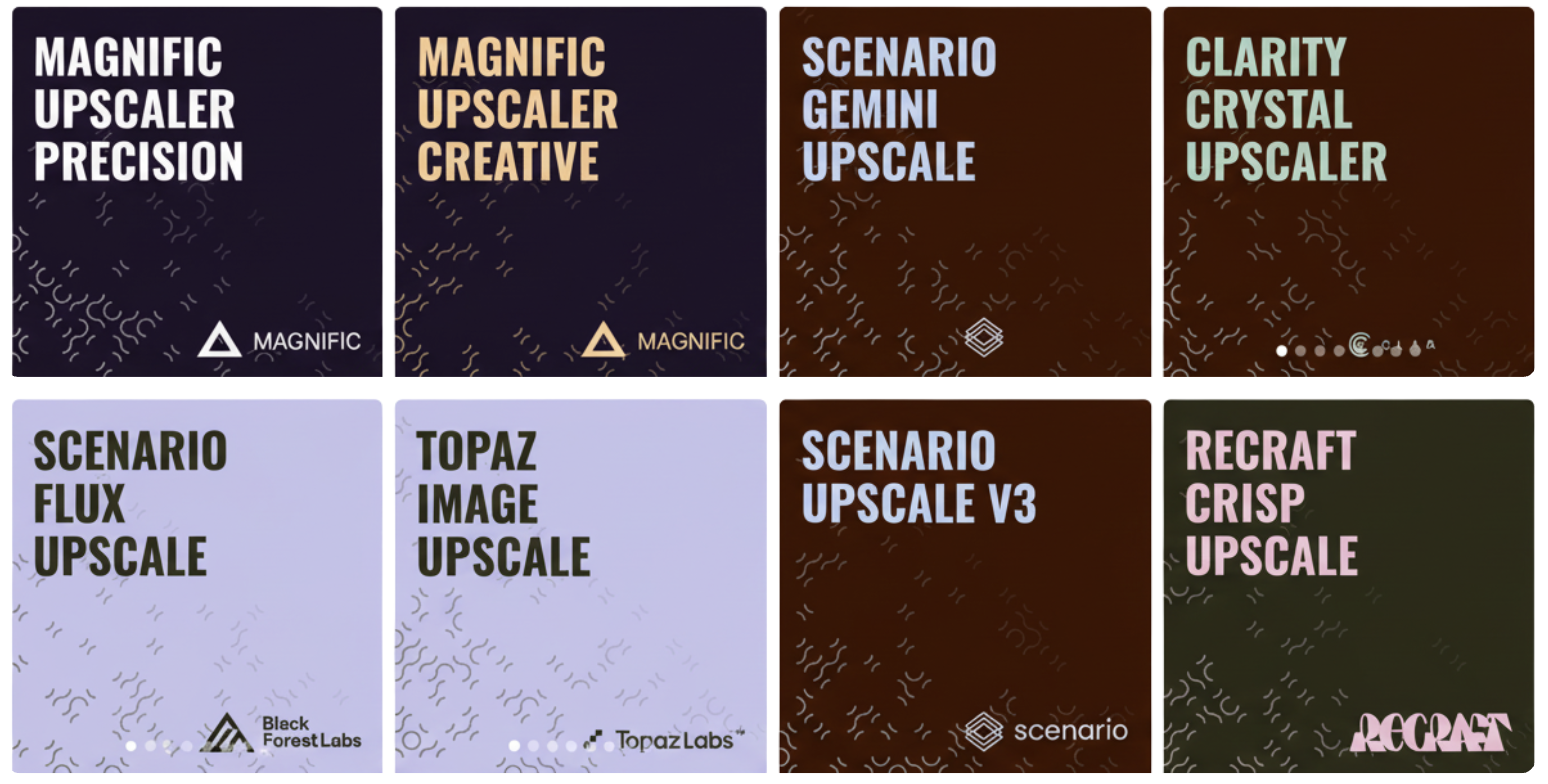
Scenario Native Models
Scenario Flux Upscale: our recommended default. It produces high-quality, detailed images and supports LoRA models for consistent styles or characters. You can also add Style Images to transfer visual features, and use natural language prompts or advanced parameters for fine-tuned results.
Scenario Upscale V3 (SDXL based): a previous-generation model focused on speed and efficiency, designed for high-quality artistic and illustrative results. Great for quick upscaling tasks.
Scenario Texture Upscale: focuses on enhancing surface details and material textures.
Scenario Skybox Upscale: tailored for panoramic or 360° backgrounds, maintaining consistency across wide scenes.
Professional & High-Fidelity Models
Topaz Image Upscale: optimized for fidelity, detail preservation, and realism. Particularly effective on photographs, renders, or images with noise and complex textures.
Crystal Upscaler: a high-precision AI image upscaling model purpose-built to enlarge and enhance visual assets with minimal quality loss.
SeedVR2 Upscale Image: supports upscaling from 2x to 10x with target resolution options up to 2160p (4K). Two modes are available: Factor mode multiplies the image by a chosen factor, and Target mode upscales to a fixed resolution (720p, 1080p, 1440p, or 2160p).
Scenario Gemini Upscale: a model leveraging Google's Gemini technology, used for its strong comprehension of prompts and graphic or stylized details. Outputs at 4K. Includes a Creativity slider (0 to 100) to control how much the model reinterprets the image during upscaling.
Magnific Models
Magnific models are professional AI-powered enhancement tools designed to transform low-resolution images into high-fidelity, production-ready assets. Both support scaling from 2x to 16x.
Magnific Upscaler Precision: built to increase resolution while strictly adhering to the original composition. Ideal for professional workflows (E-commerce & Archviz) where preserving the integrity of the source image is paramount.
Magnific Upscaler Creative: combines high-resolution upscaling with generative reimagining, allowing the AI to "hallucinate" new details. Best for digital art, concept art, and game illustration.
P-Image Upscale
Developed by Pruna AI, P-Image Upscale uses learned priors to reconstruct missing details rather than just smoothing over blurriness. It is suited for use as a final polish stage in the creative pipeline.
Target Mode (Default): upscale to a fixed output size in megapixels (1 MP to 8 MP). Best for workflows requiring consistent output resolution.
Factor Mode: multiply each side of the image by a chosen multiplier (1x to 8x, capped at 8 MP).
Enhancement Options: stack Enhance Details and Enhance Realism for a professional finish.
Recraft Models
Recraft Crisp Upscale: fast and budget-friendly, emphasizing sharpness and clean edges.
Recraft Creative Upscale: applies a more interpretive and stylized enhancement approach, adding unique artistic touches automatically.
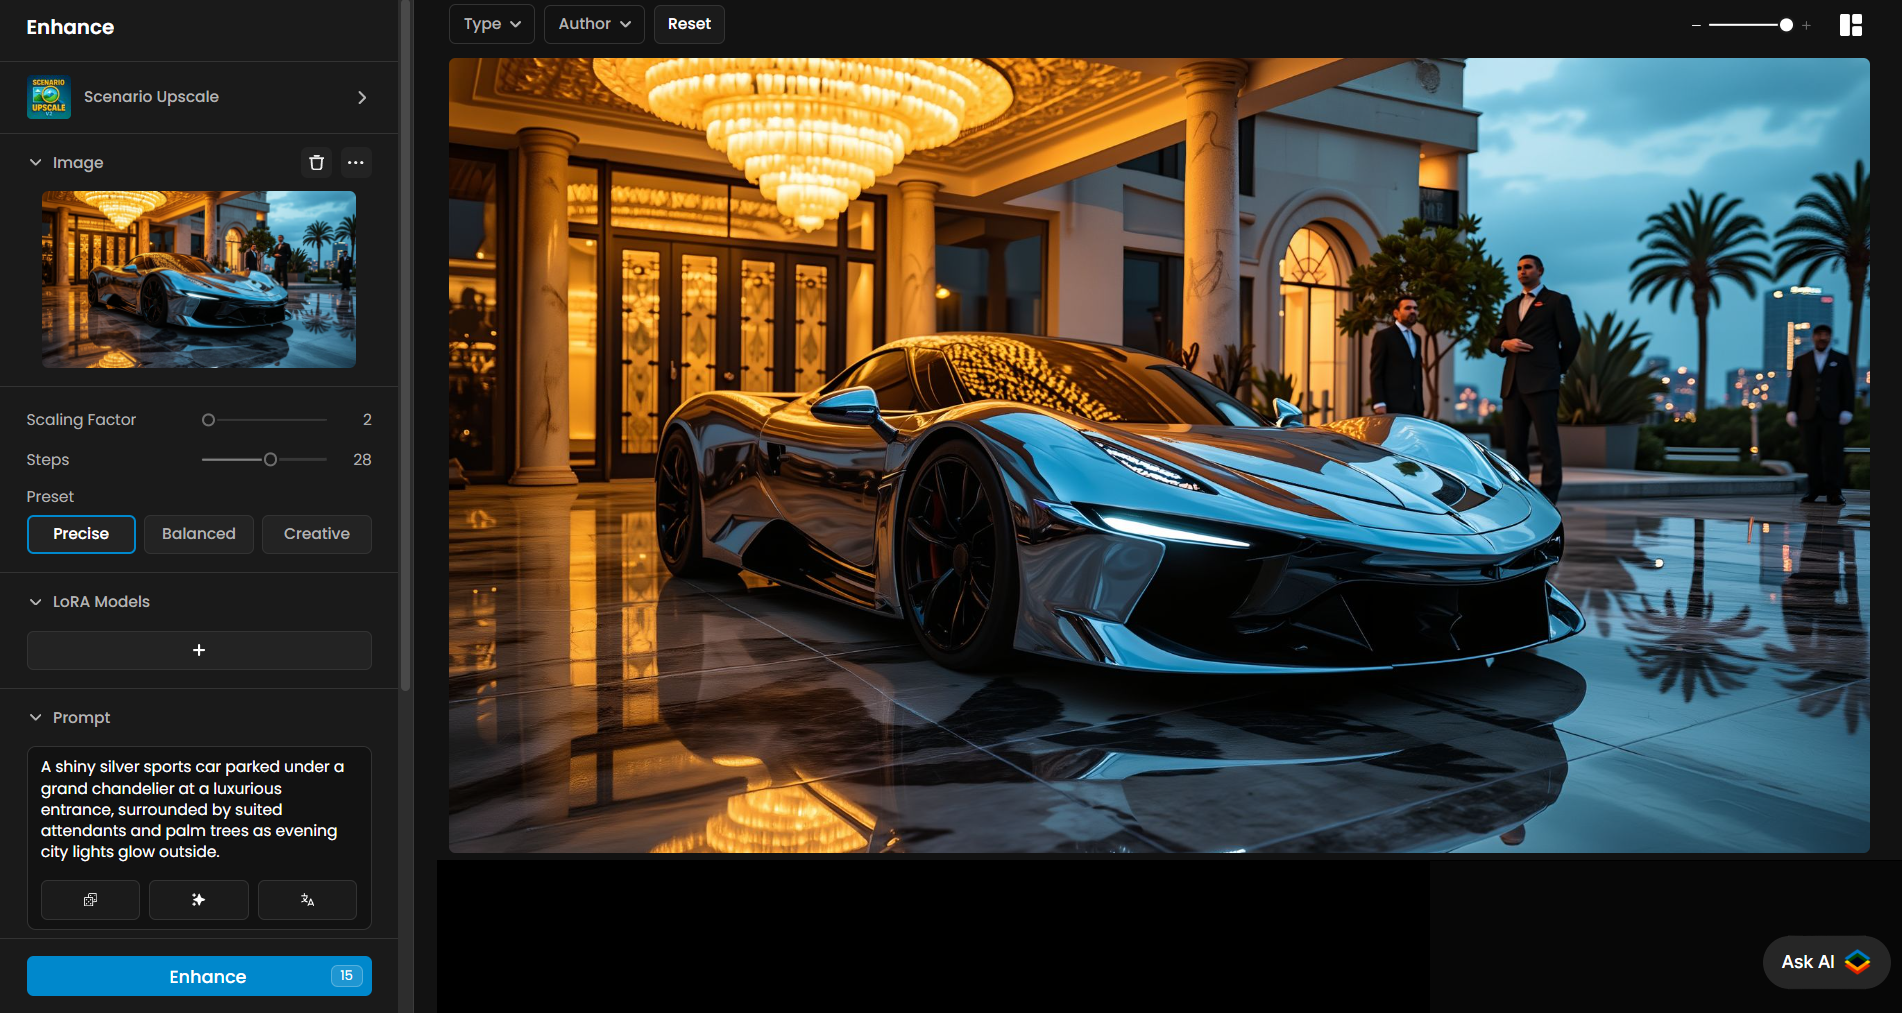
How to Use Enhance: Step-by-Step
Step 1: Select Your Image
In the Input Image area, select from your library, or drag & drop, paste, or upload a new image. If the image was generated in Scenario, its original prompt will load automatically.
Step 2: Select Your Model
Choose the Enhancing model that best fits your needs from the list above.
Step 3: Set a Scaling Factor
The available scaling factor depends on the model you choose:
Scenario Flux Upscale: 2x to 8x
Magnific Models: 2x to 16x
P-Image Upscale: 1x to 8x (Factor)
For most cases, it’s recommended to start at 2x to evaluate results before increasing to higher values.

Step 4: Choose a Preset (Scenario Models Only)
Precise: Maintains the integrity of the original image.
Balanced: Harmony between preserving the original and adding creative enhancements.
Creative: Adds substantial details to transform simple images.

Step 5: Upscaling Prompts (Scenario Models Only)
Use prompts to guide the enhancement process:
Natural Language Prompts: Describe exactly what you want (e.g., "add more dramatic lighting").
Style Tokens: Include style keywords (e.g., "oil painting").

Step 6: Choose LoRA Models (Scenario Flux Upscale)
Apply LoRA models during upscaling to guide the output with specific styles or character consistency. Adjust the influence setting (recommended between 0.50 and 0.75).

Step 7: Add Style Images (Scenario Models Only)
Upload up to 10 reference images to guide the upscaling process. Use the Style Fidelity slider to control the influence.

Step 8: Adjust Advanced Settings (Scenario Flux & V3)
Structure Fidelity: Adjusts how closely the result follows the original layout.
Creativity: Allows more creative reinterpretation.
Steps: Controls how many processing passes are used.

Step 9: Enhance Your Image
Click the blue Enhance button. Use the slider (shortcut: "c") to compare before and after.
Practical Examples
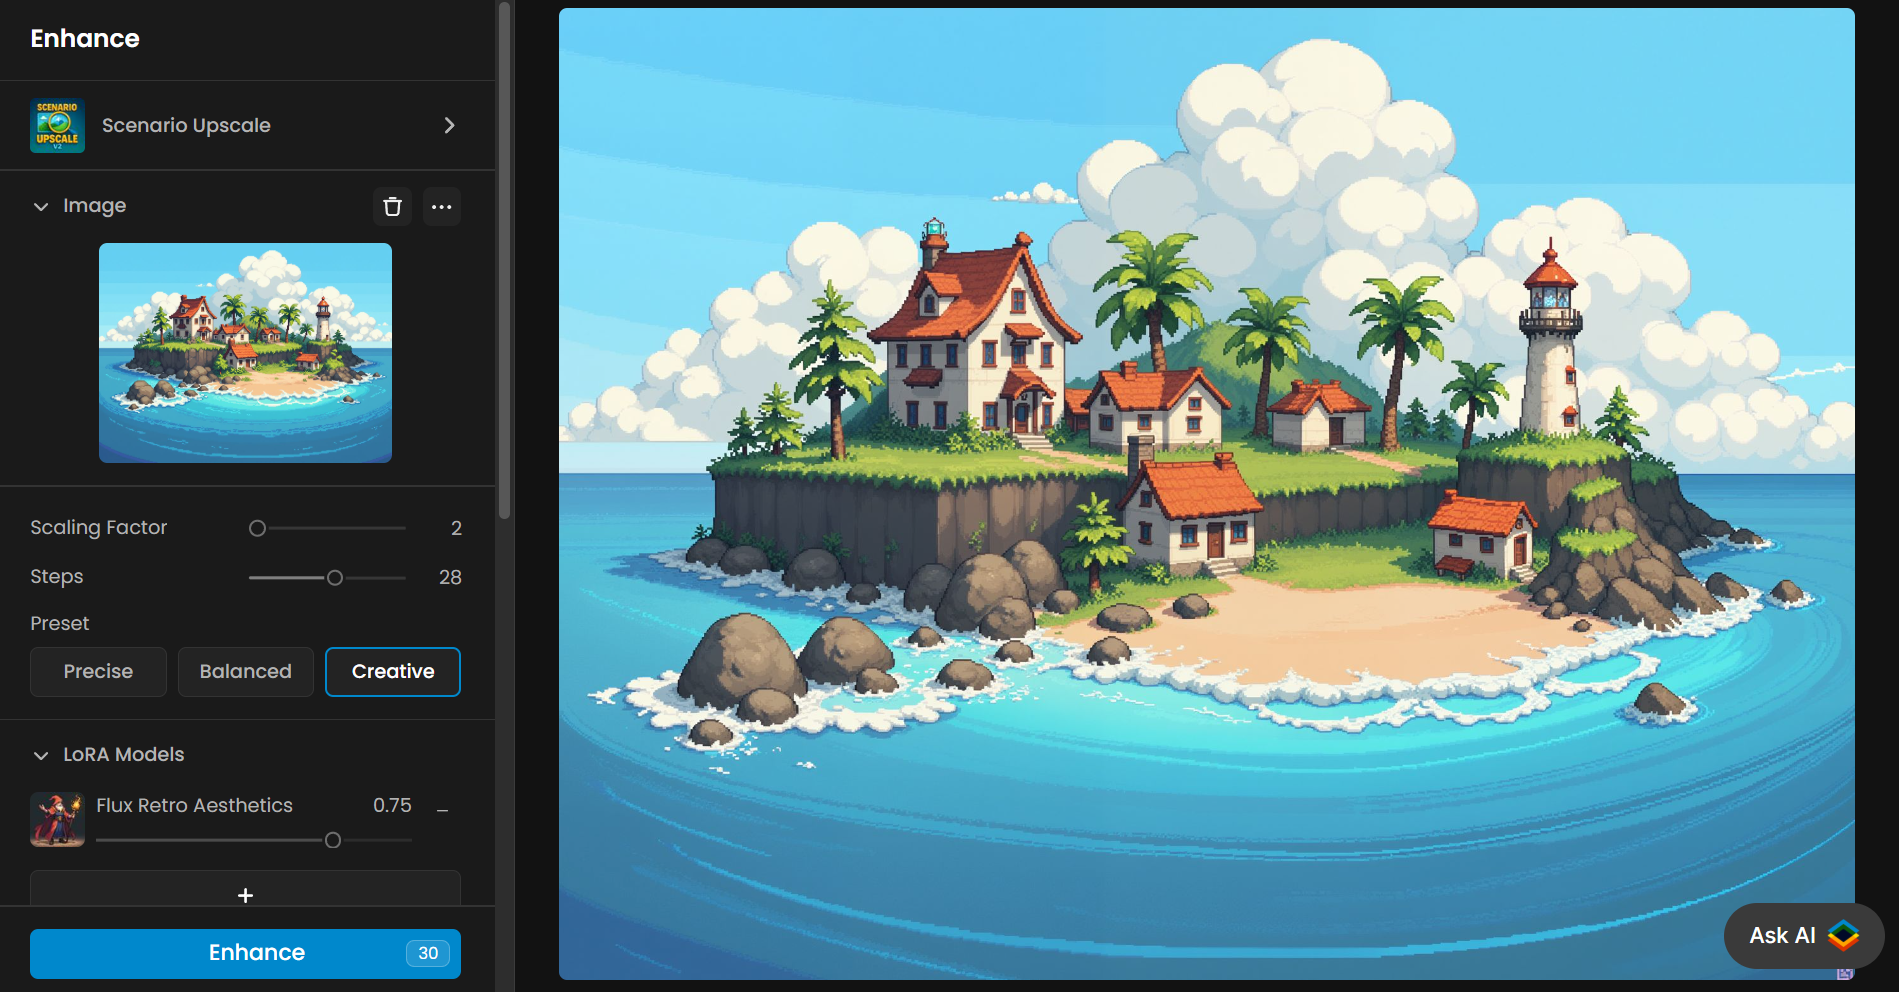
1 - Creative Upscale with LoRA on Pixel Art
In this example, we demonstrate how to upscale a pixelated image creatively while preserving its original style. By using a LoRA trained on the same pixel art style, you can retain stylistic details even while giving the model freedom to generate new elements.

For this process, we’ll use: Structure Fidelity: 0.2 and Creativity: 0.7.
This configuration allows the model to introduce new elements based on your prompt, enabling a creative upscale. Be sure to select the correct model—in this case, Flux Retro Aesthetics, which generated the original image and specializes in pixel art
Below is a comparison between the upscaled image with and without LoRA. With LoRA, the pixel art style is preserved; without it, the style shifts toward a flat 2D cartoon.
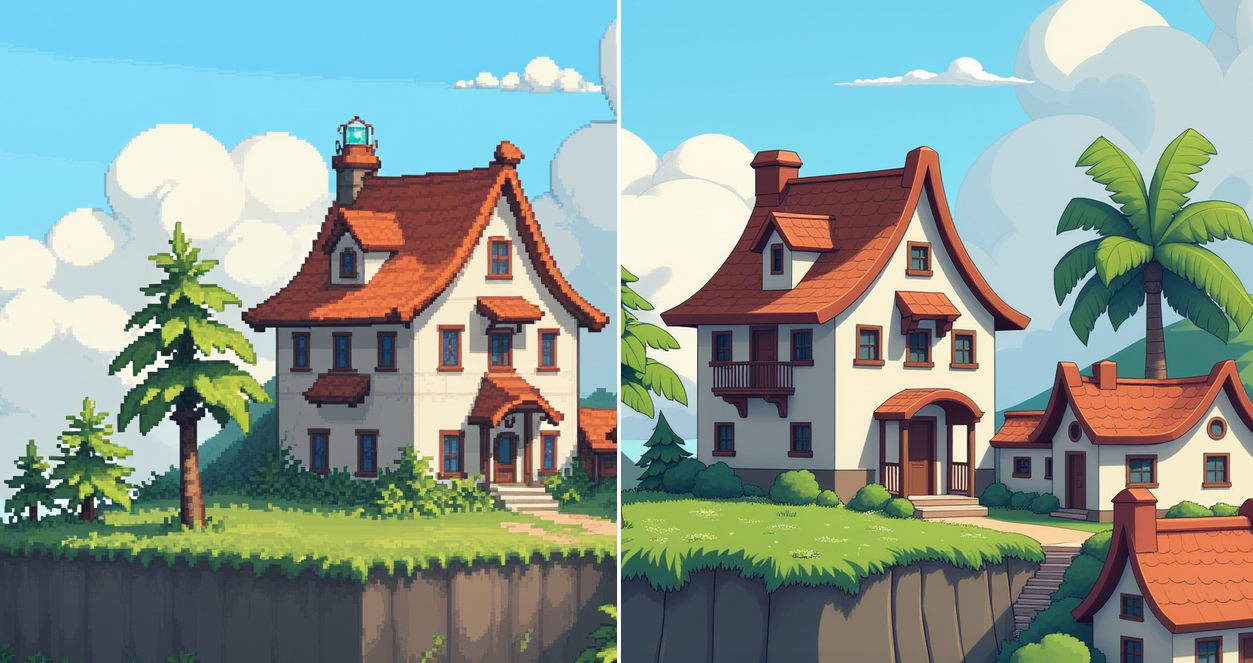
See the detailed comparison in the video below:
2 - Balanced Upscale with LoRA and Detailed Prompt
Here, the Scenario Flux Upscale model enhances a stylized valkyrie character. The prompt provides detailed character description, and a LoRA ensures additional style consistency.
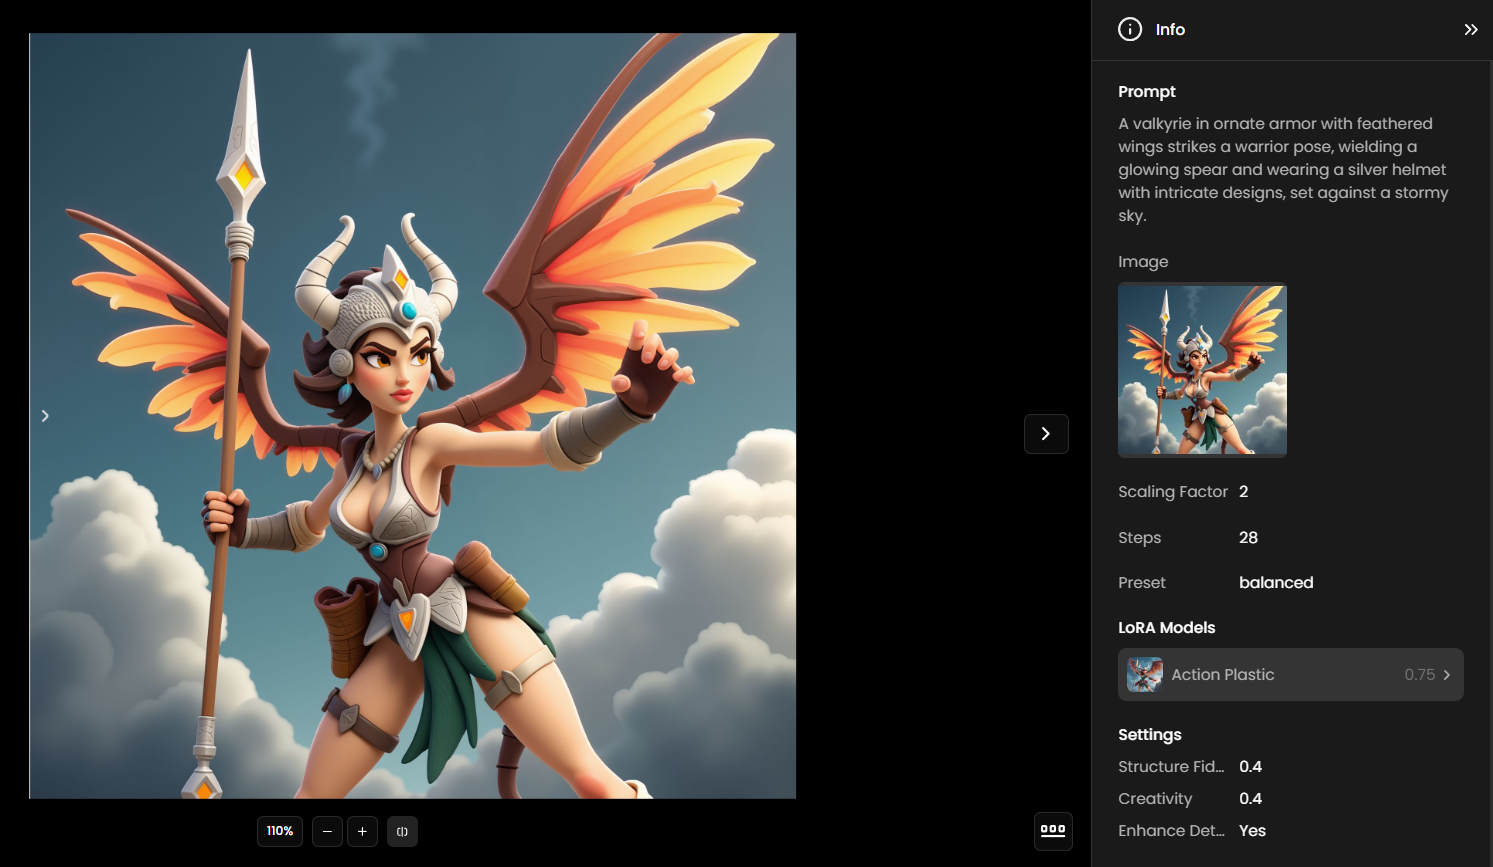
Settings: Structure Fidelity: 0.4, Creativity: 0.4, Balanced preset, and Enhance Details enabled. This setup delivers a high-quality result that remains faithful to the original style while refining detail and clarity.
Watch the full process in the video below.
3 - Blending Styles with Style Images
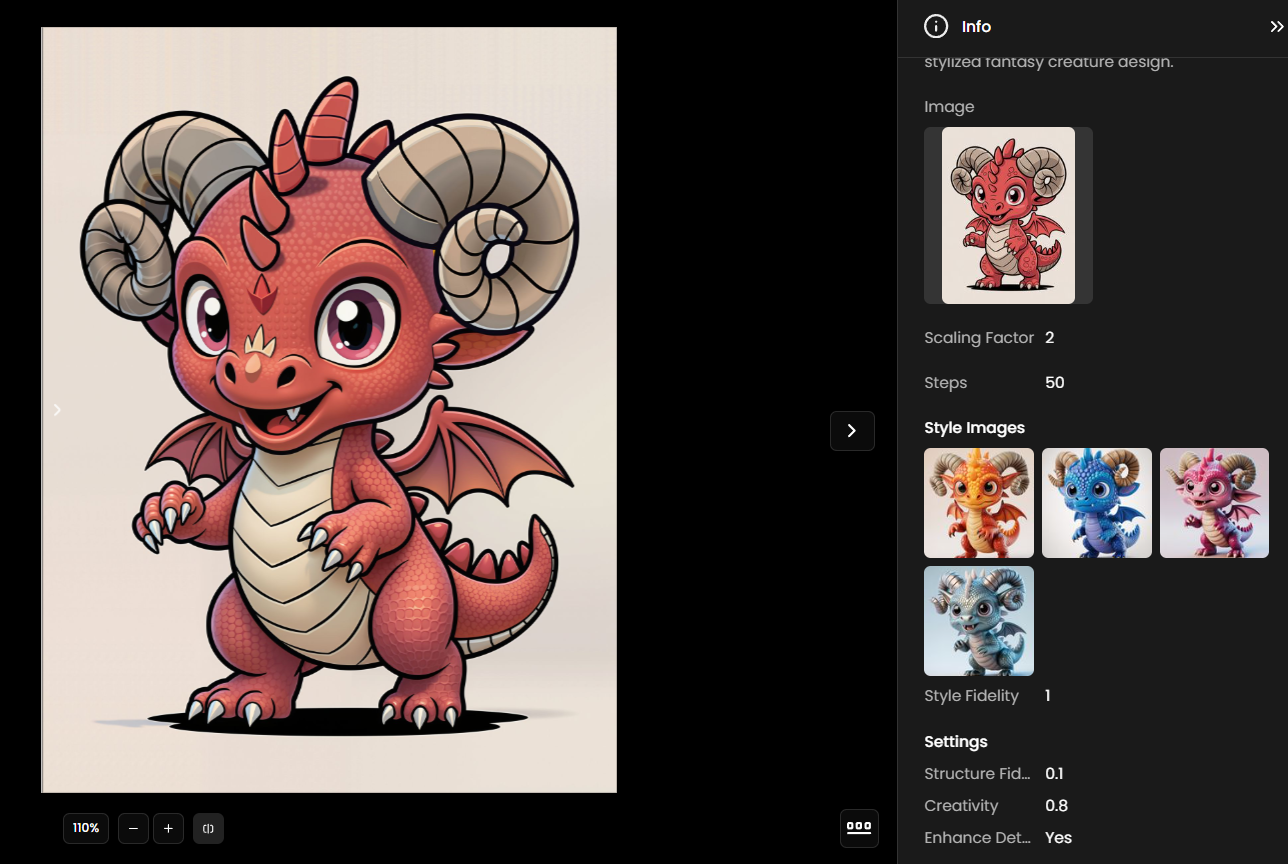
In this example, style images add new details and surface textures to an enhanced dragon character. The original version uses a 2D outlined style; our goal is to introduce a more detailed, volumetric scale texture.
Style images influence texture, colors, and shading effects without fully changing the overall style.
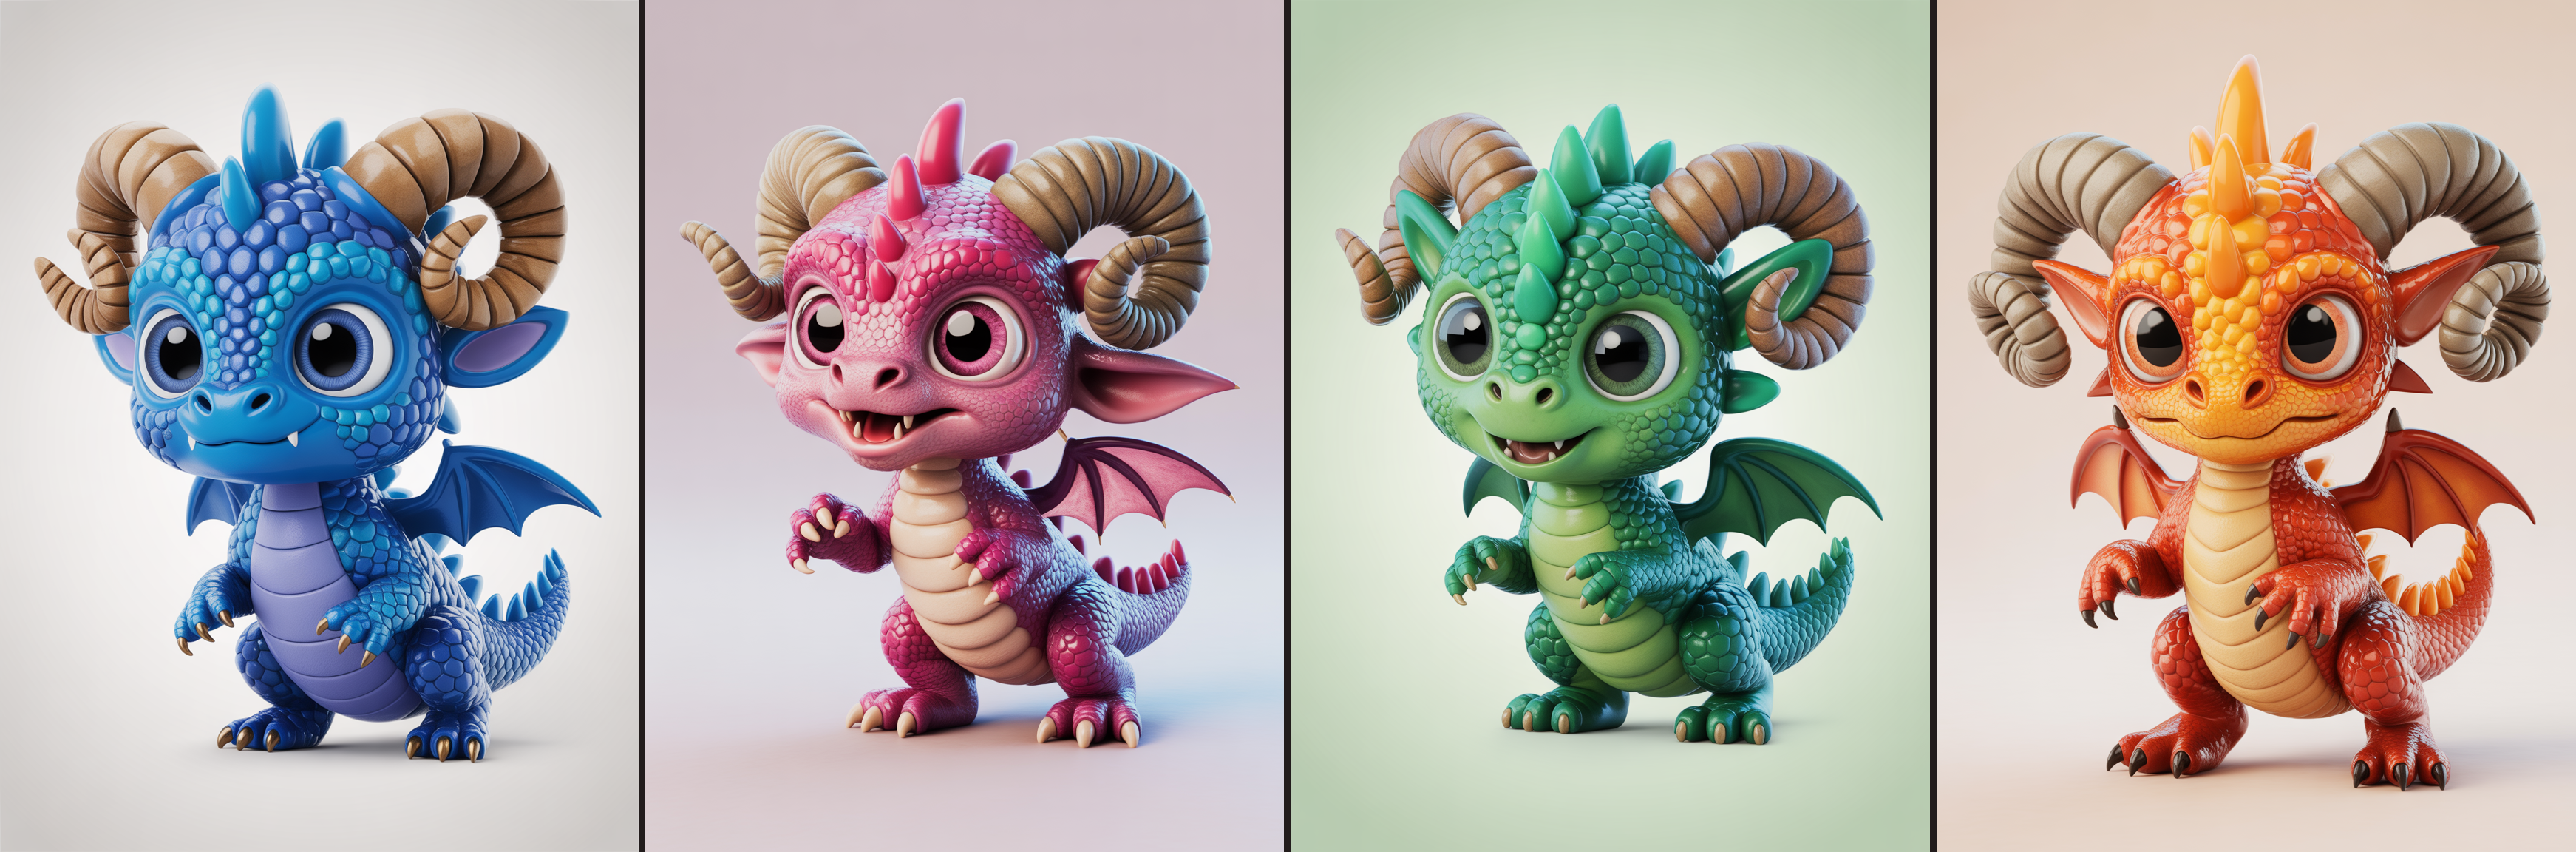
Settings: Structure Fidelity: 0.1, Creativity: 0.8, Enhance Details enabled, Steps: 50, and Style Fidelity: 1.0.
These settings allow for detailed texture transfer from style references, enriching the dragon with consistent color palettes, shading, and volumetric lighting.Style images do not fully change the overall style. Instead, they influence the finish by bringing in different textures, colors, or shading effects from the reference images.
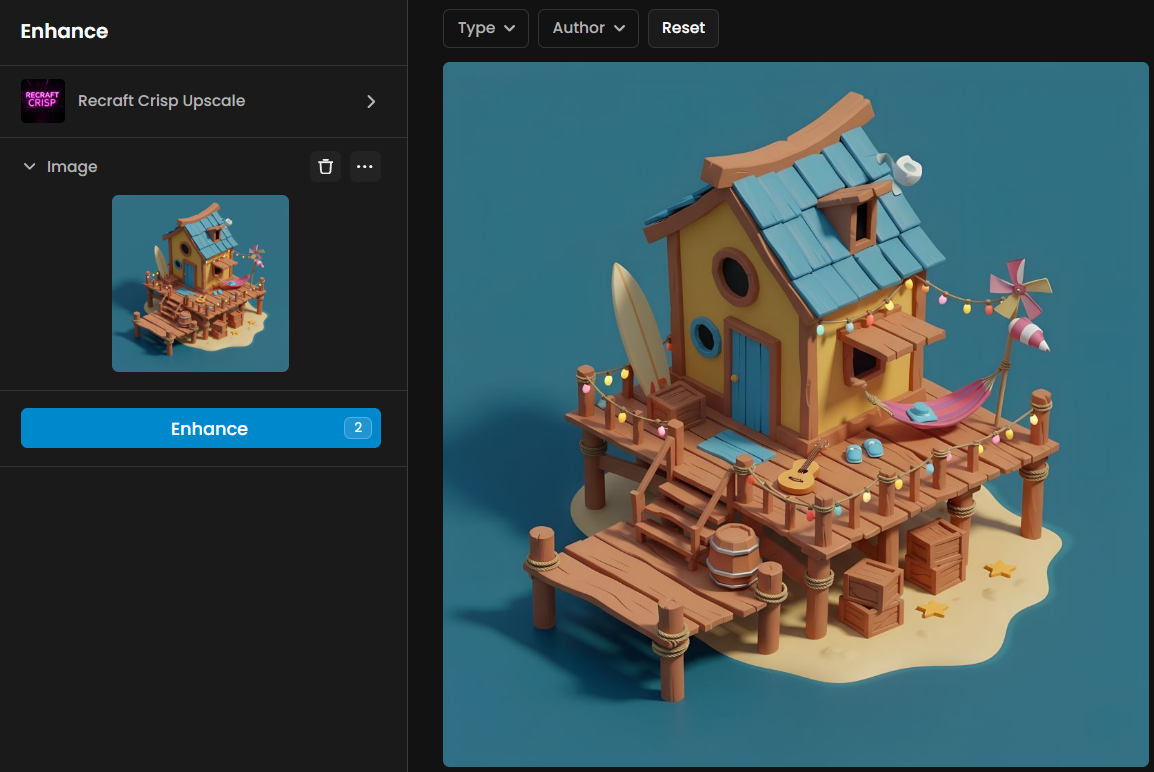
4 - Adding Fine Details with LoRA on an Isometric House
This example shows how LoRA can refine an isometric house illustration by adding small, consistent details. Adjusting the settings and applying a specialized LoRA enhances visual richness without losing the isometric style.
Settings: Scaling Factor: 4, Steps: 28, Creative preset, Structure Fidelity: 0.2, Creativity: 0.5, and Enhance Details enabled. The result is a scene with subtle yet consistent enhancements while maintaining stylistic integrity.em
Final Notes
For best results, enhance your images gradually, starting with simpler adjustments and lower scaling factors before experimenting with more advanced options. Each model offers different strengths, from balanced versatility to high fidelity or creative flexibility, so choose according to your goal and refine step by step. Small, incremental changes usually deliver the most consistent outcomes.
With Scenario Upscale, you can either quickly produce high-quality results or experiment extensively to perfect your style. Developers can also access the Enhance functionality via the Scenario API.