Introduction
Creating high-quality 3D models from images is easier when you provide the AI with multiple angles and accurate poses of your character or item.
In this tutorial, you’ll learn how to use the “Edit with Prompt” tool to adjust poses, camera angles, and other key details to ensure your generated 3D models are consistent and error-free. We’ll cover basic concepts, step-by-step examples, and best practices to achieve the best results—whether you’re working on animation-ready characters or complex objects like vehicles.
Key Concepts Before You Start
Image Proportion Consistency
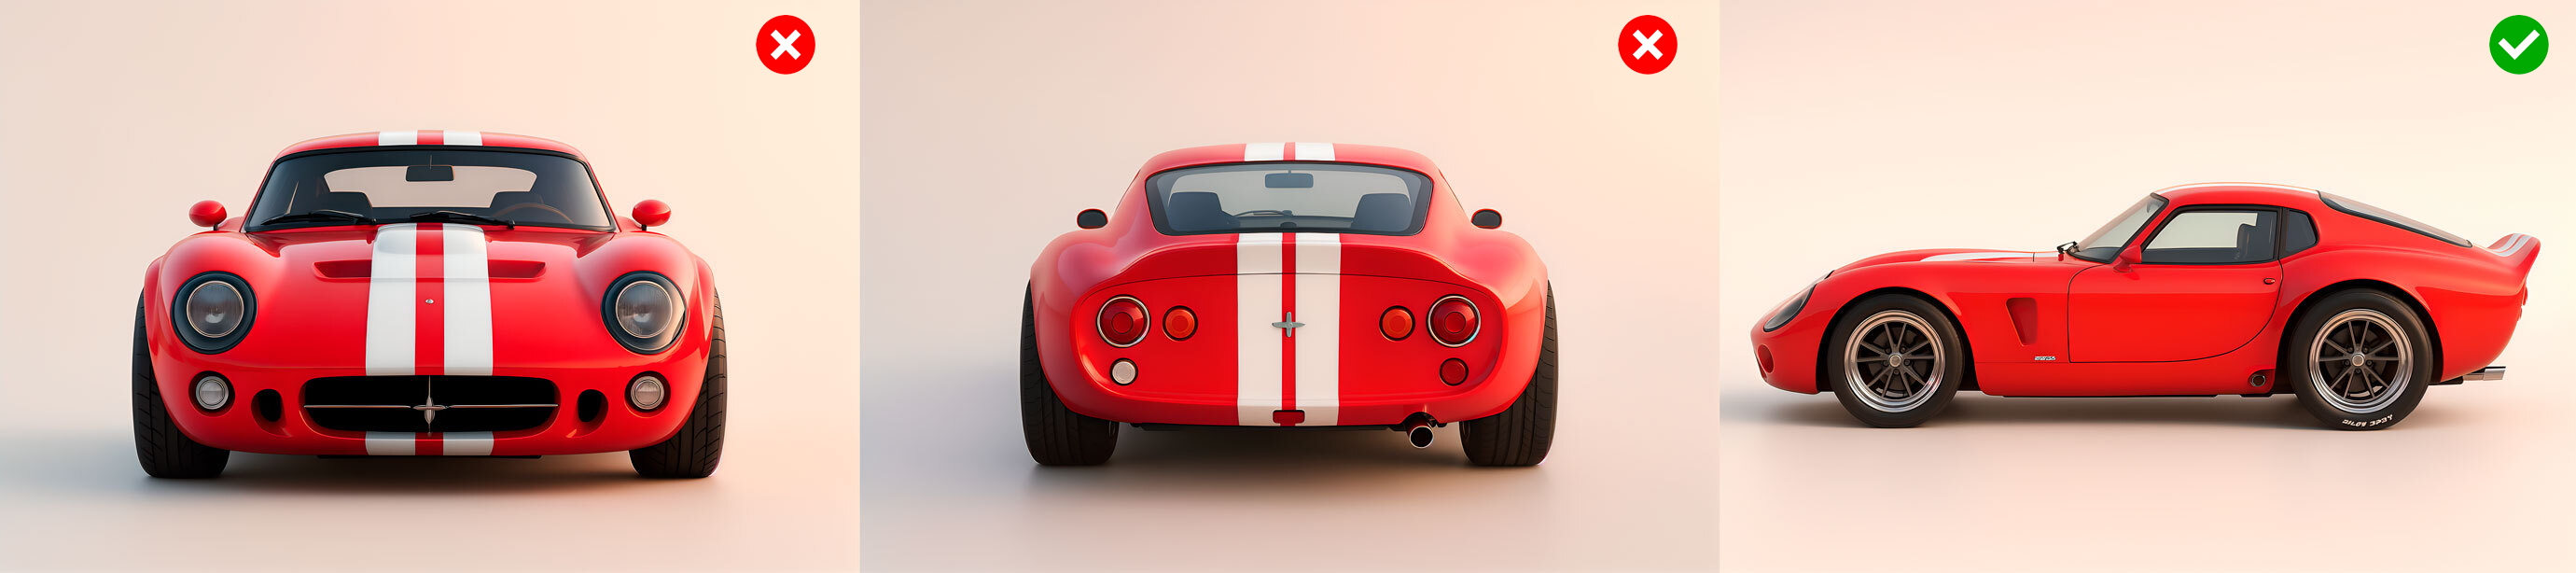
When using multiple reference images, ensure they have the same aspect ratio. Inconsistent proportions can lead to distorted 3D models. In the image below, you can see three views of the same car—but each has a different size.
Now compare this with images using consistent proportions.
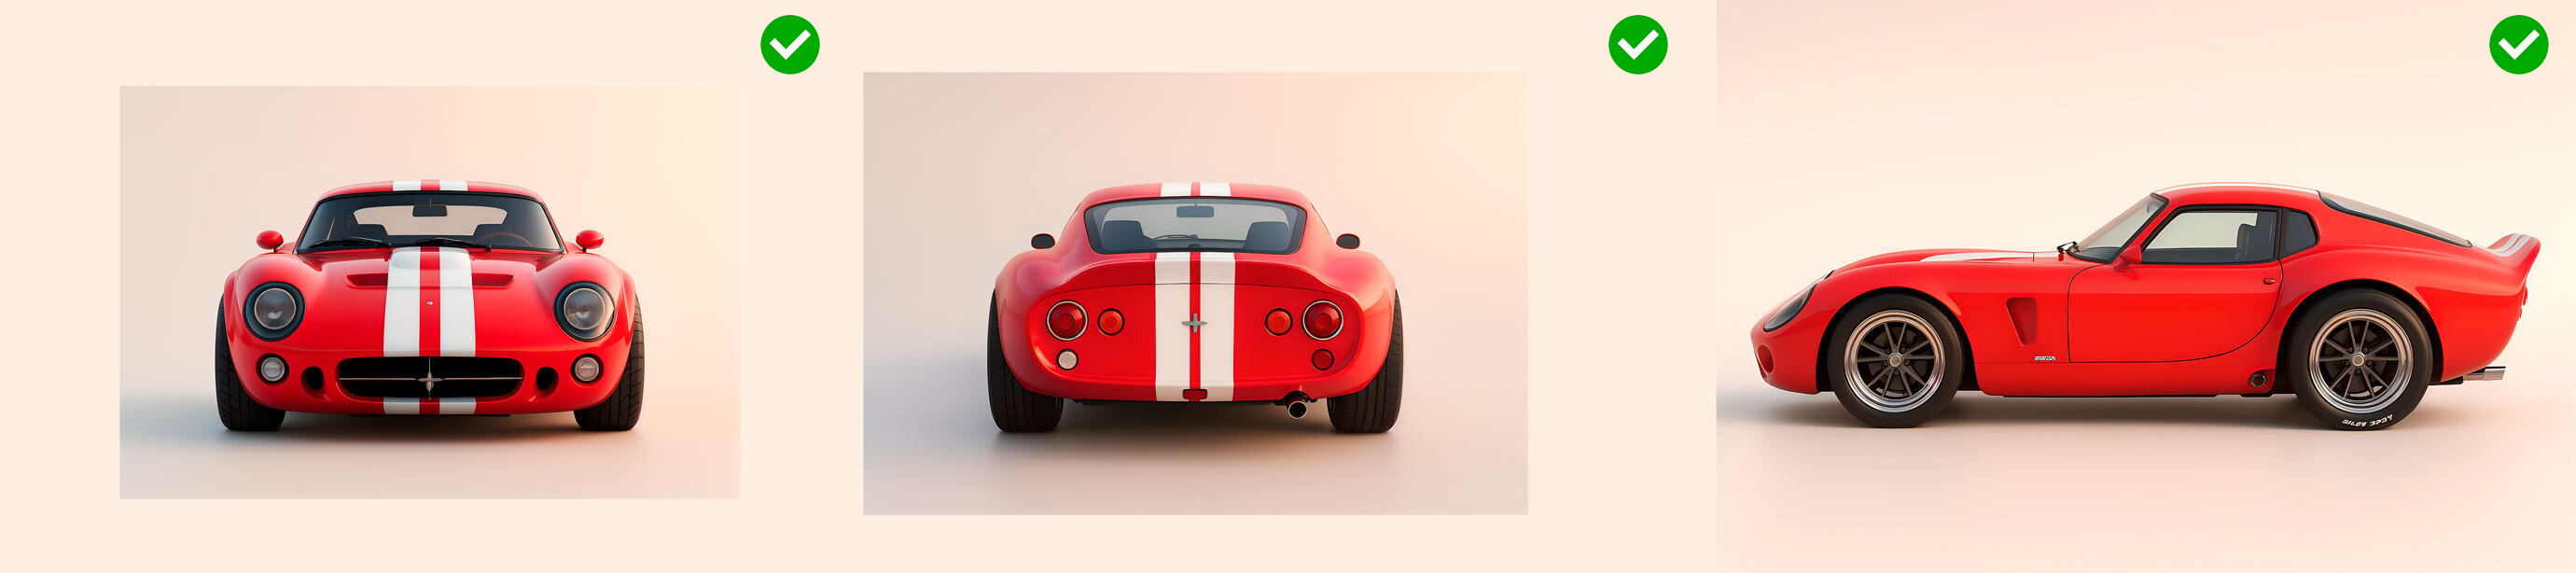
The comparison below shows the difference: the model on the left was generated using “mismatched“ proportions, while the one on the right used correctly aligned reference images.

Poses for Animation
If you're creating a character for animation, choose a pose with arms away from the body (such as a A-pose or T-pose). This minimizes deformation and simplifies the rigging process.
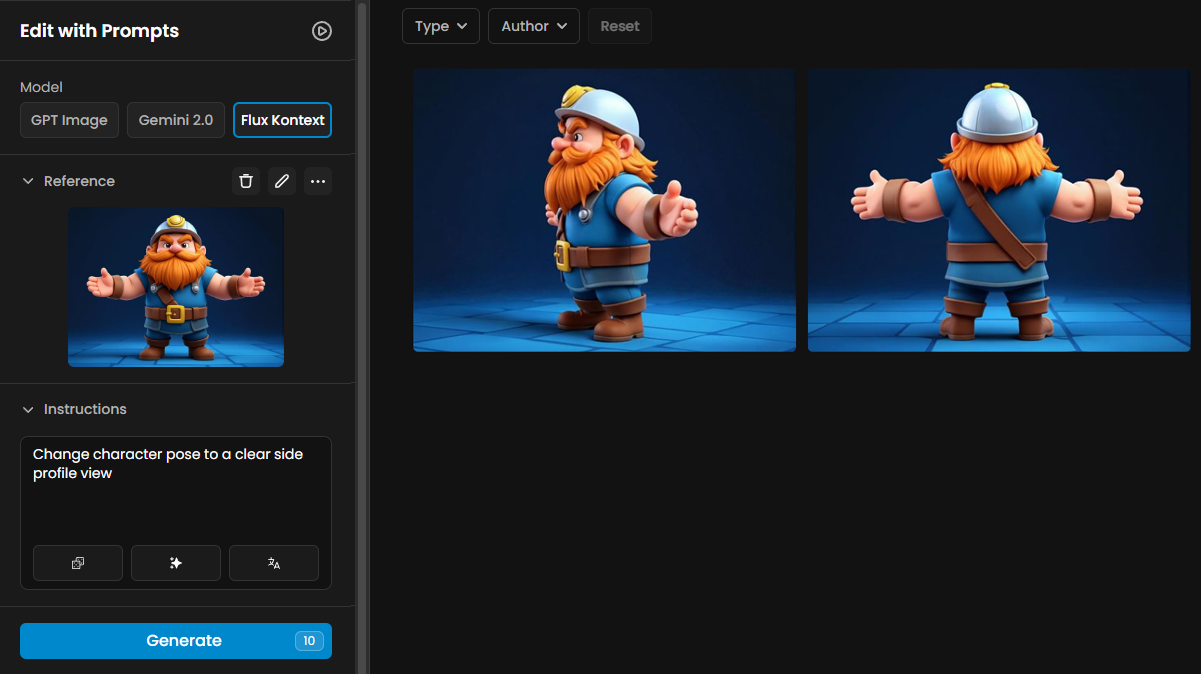
The example below shows the original character image, followed by front and back views of the character in a T-pose (generated via “Edit with Prompts”)
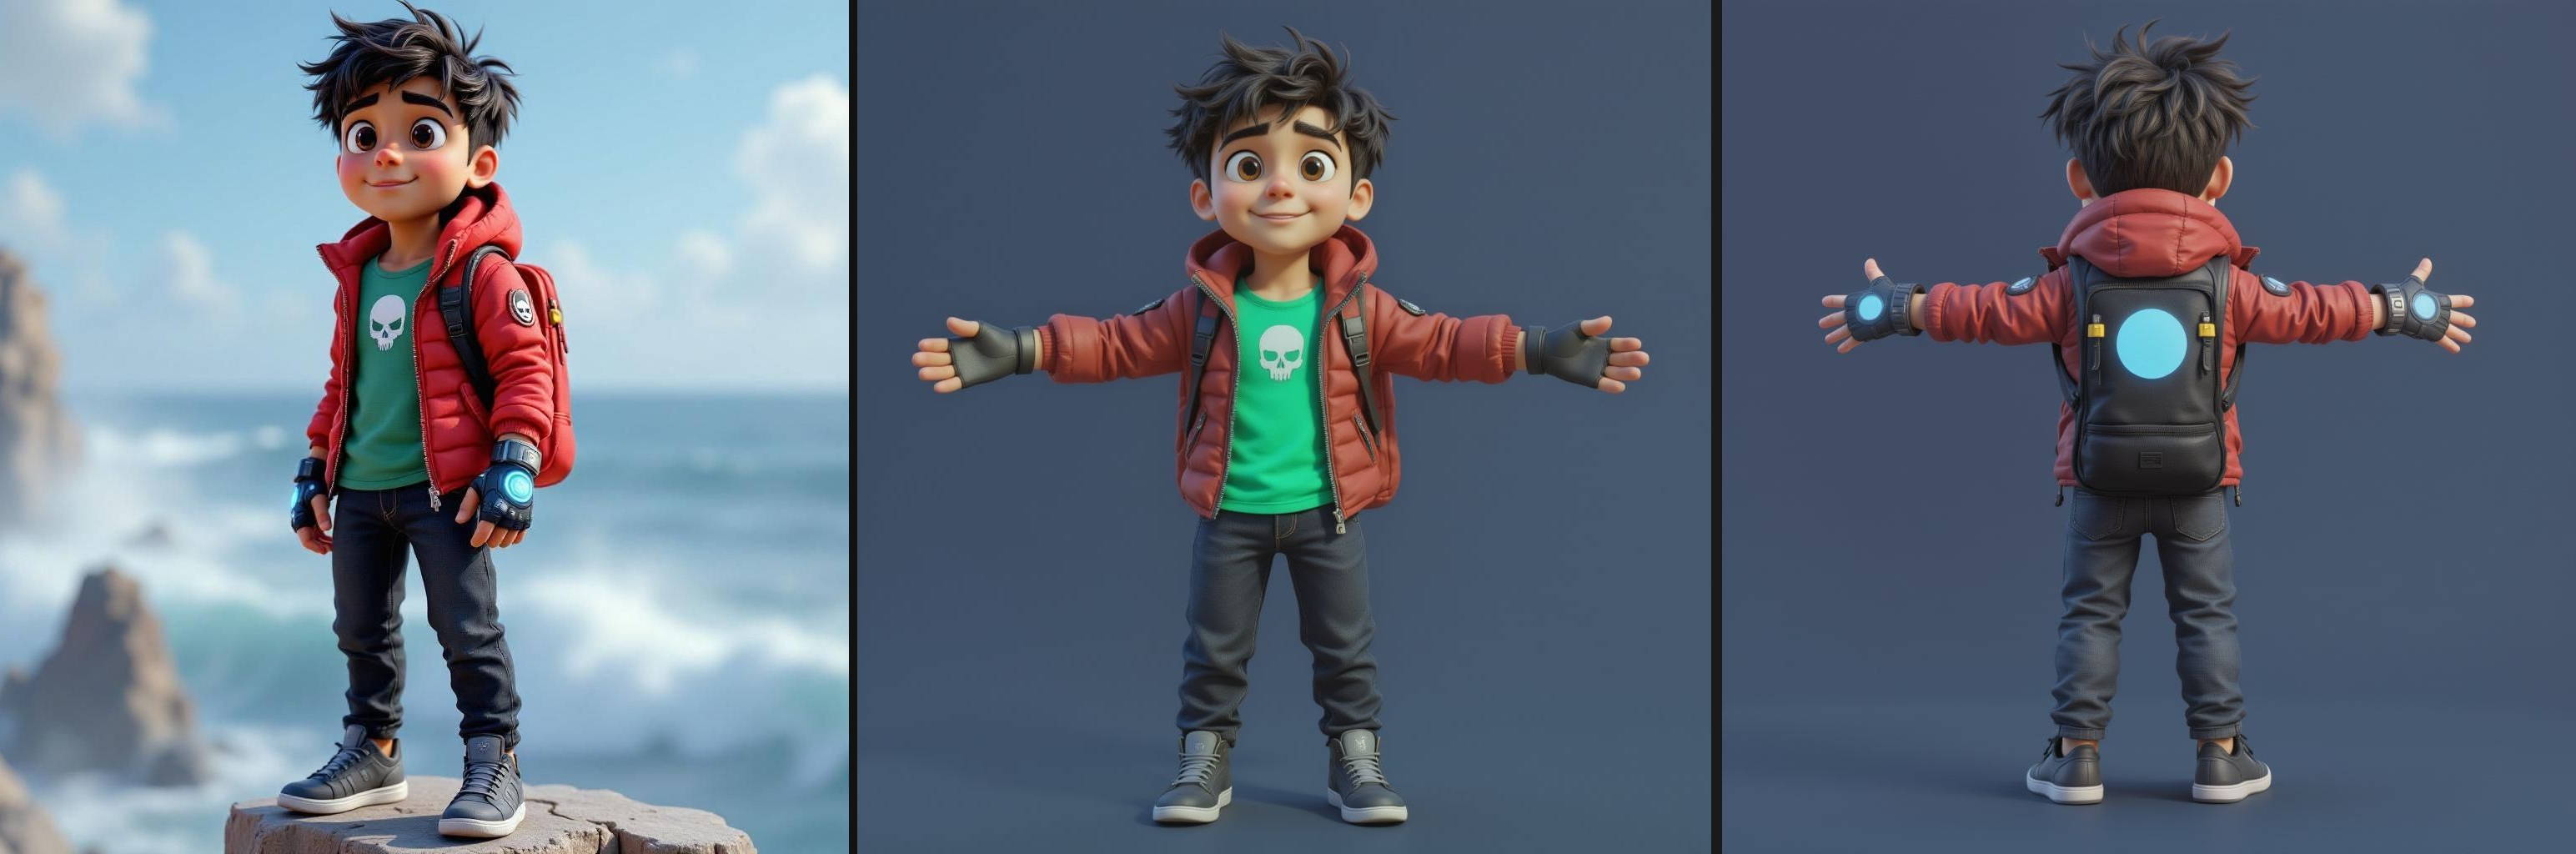
Below is a comparison between the model generated from the original image (left) and the one generated from the T-pose version (right). Both are theoretically usable, but in the first version, the arms are fused with the body. In the second, the arms and backpack have clearly defined geometry, making the model ready for animation.
Example 1: Editing a Character’s Pose
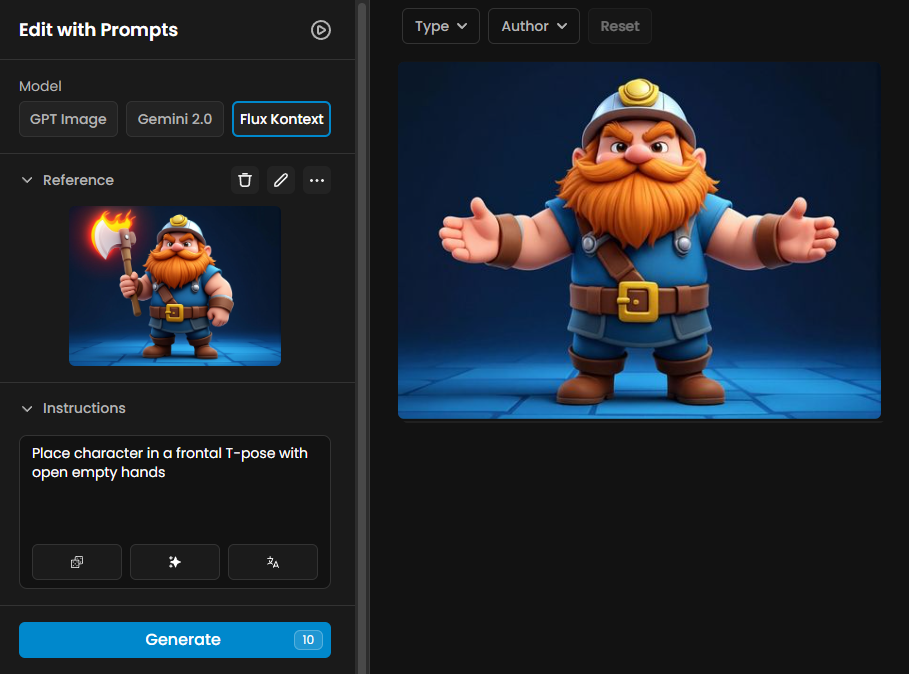
Let’s begin with a simple example: a Dwarf miner character. In the original image, the character is holding an axe close to his body. Ideally, the axe should be removed, and the arms repositioned away from the torso to ensure a clean 3D model and easier rigging.
Open the Edit with Prompts tool and upload your character as the reference image. (You can also access this from the three-dot menu on the image thumbnail or from the image page.)
Select the Flux Kontext model and enter a prompt like: “Place character in a frontal T-pose with open empty hands.” Then click Generate.
Check if the new image matches your desired pose. If not, refine the prompt and try again.
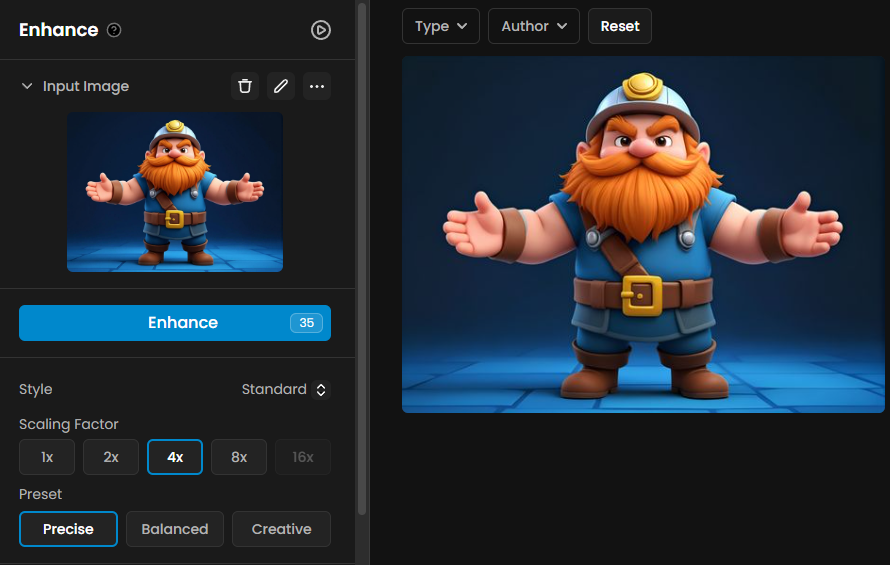
Now your character is in the optimal pose for 3D generation using any model that supports single reference images. For best results, apply Enhance to the reference image before generating—it improves both texture quality and overall model accuracy.
Here’s the result generated using the Hunyuan 2.1 model:
Example 2: Creating Multiple Angles for a Character
Let’s now generate additional views for models that accept multiple reference images, such as Hunyuan 2.1, Trellis, or Hunyuan Multi View.
Start with your front-facing character in a T-pose.
Use Edit with Prompts again to generate a back view. Just copy your previous prompt and change “front” to “back”.
Repeat this process for other required angles—side, top, etc.
With front and back views, for example, you can generate a well-structured 3D model using Hunyuan 3D Multi View.

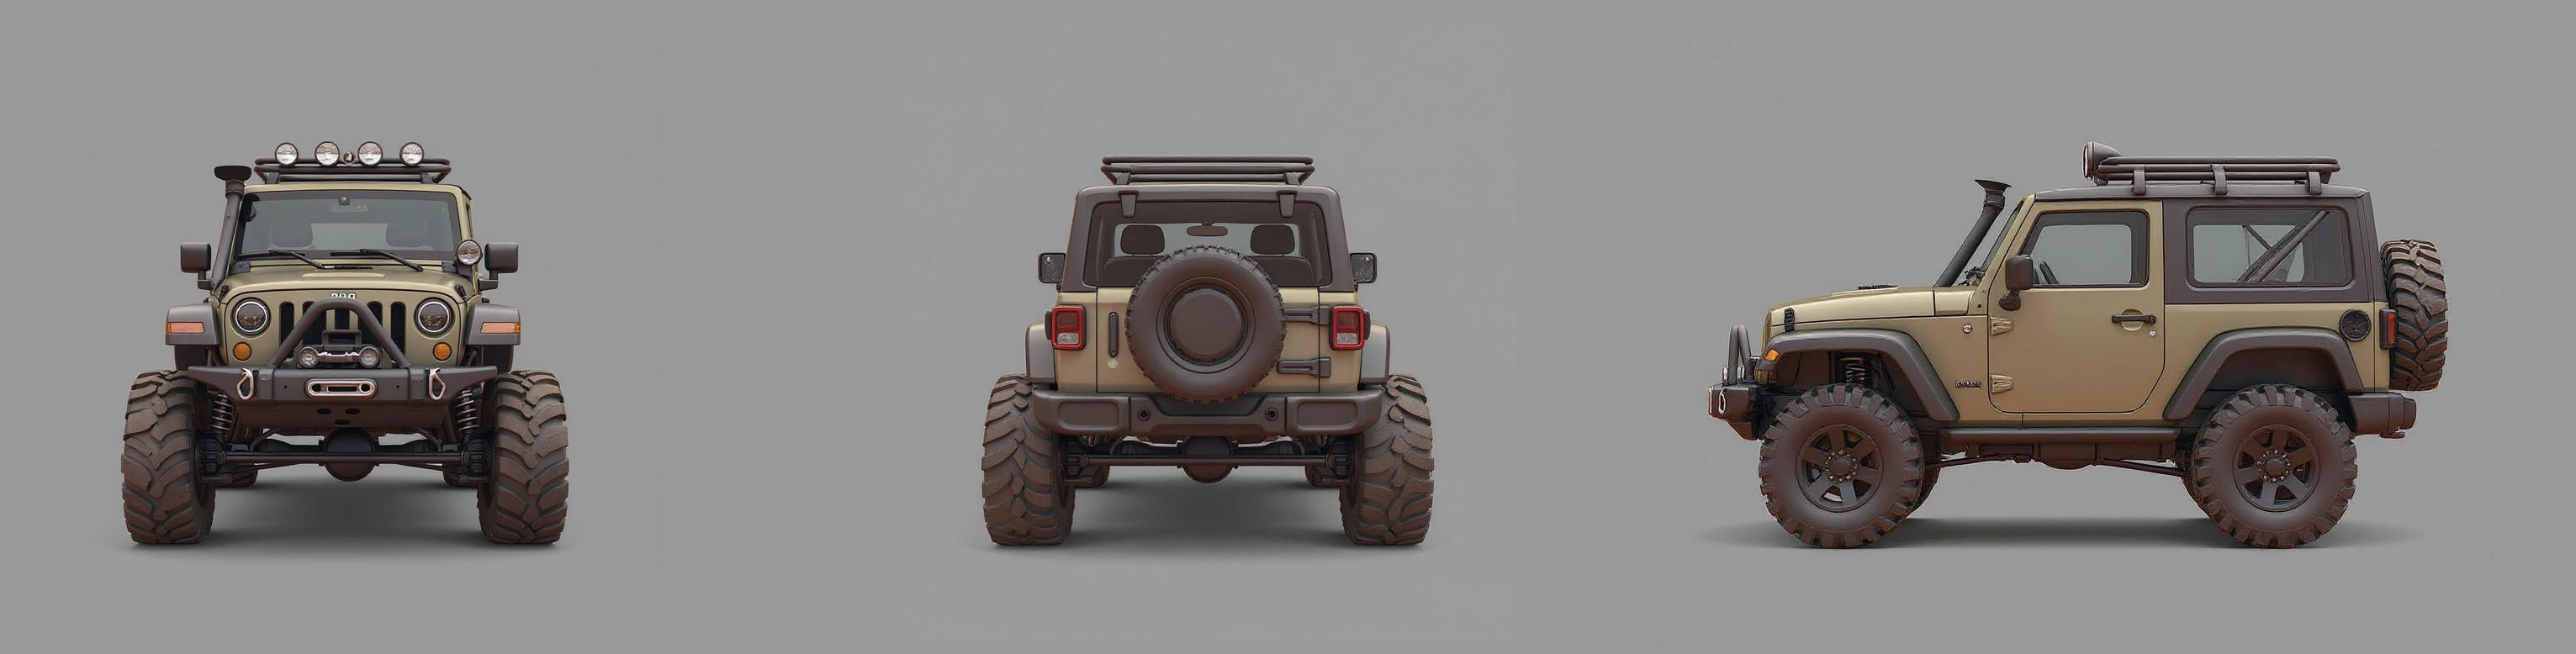
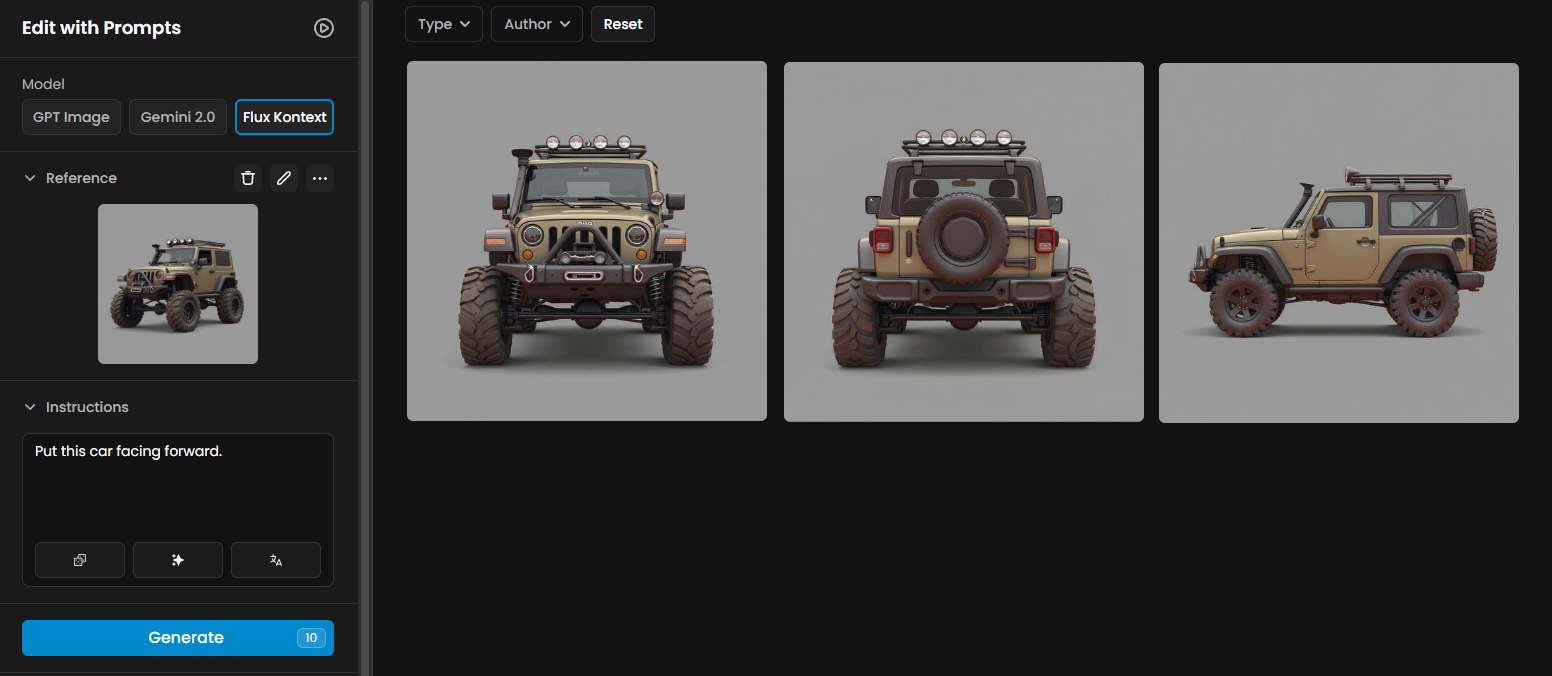
Example 3: Generating Multiple Angles for a Vehicle
For vehicles or mechanical items, capturing multiple angles is essential for consistent proportions and detailed geometry.
Begin by generating a front view, then create a back view, and finally a side view using clear, direct prompts.
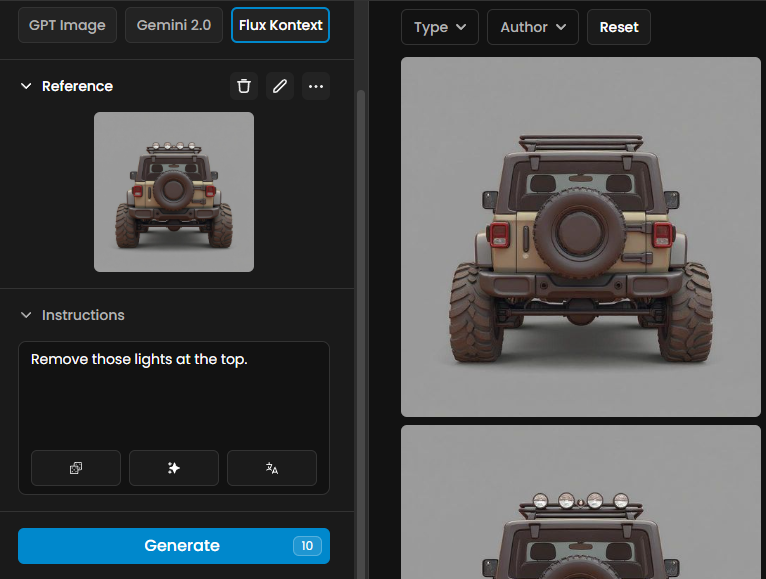
If an image contains visual errors, simply drag it into the reference slot and instruct the Flux Kontext model to correct the issue (e.g., “Remove extra lights from the rear of the vehicle”).
Once you’ve created at least three “clean“ and consistent views, use Trellis to generate the complete 3D model of the vehicle:

Conclusion
Generating accurate 3D models from images requires planning and consistency. By preparing clean, proportionally aligned reference images and using Edit with Prompt for precise adjustments, you can create rig-ready characters and detailed, well-proportioned items.
Experiment with poses and camera angles to optimize your workflow, and evaluate various generative 3D models in parallel, to achieve the best possible results.
Was this helpful?