What is a Style Model?
A Style Model is a custom-trained AI model designed to replicate a specific aesthetic, whether it’s a color palette, brushwork, outlines, cartoon style, 3D rendered, realistic, or more. By learning from a curated dataset with consistent stylistic traits, it generates content that maintains the same visual identity.

The same prompt is applied to a custom-trained model (left) and to a base model (right). The custom-trained model immediately reproduces the style of the training images, even with a short prompt
Style Models have a wide range of applications: they can create uniform backgrounds & environments, generate series of multiple characters with matching proportions and style, design assets for games or animations, produce consistent illustrations for storytelling, or ensure a cohesive look across different scenes and elements in a project.
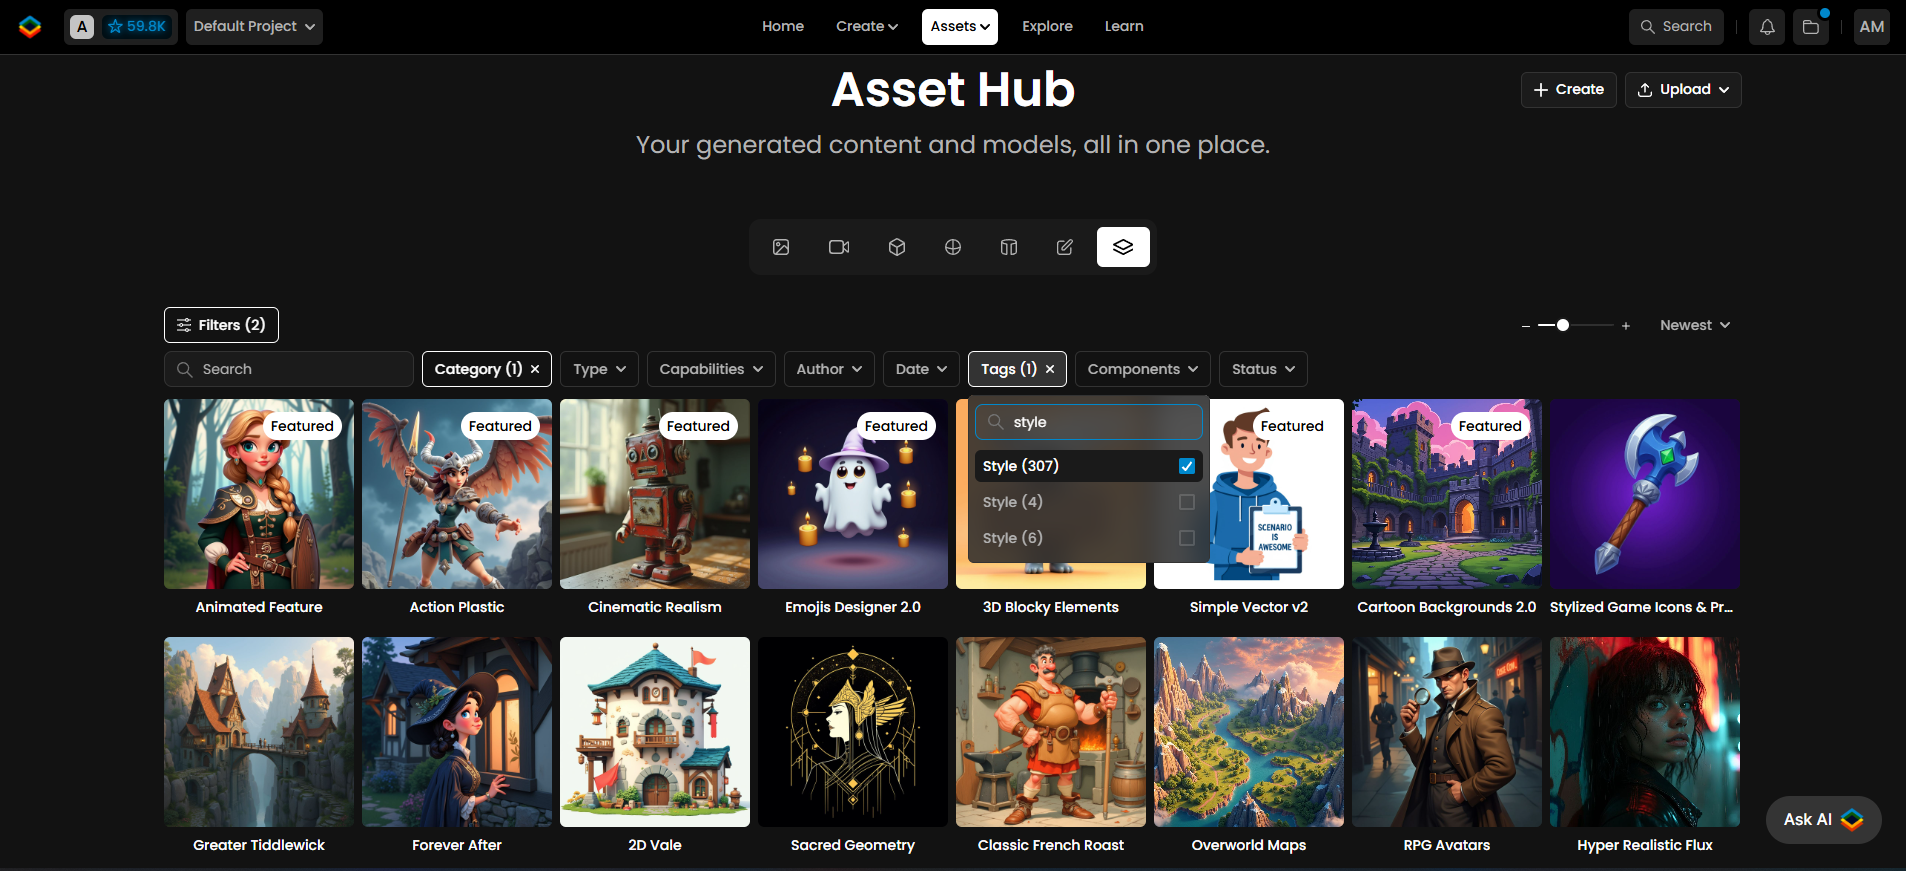
Some examples of Style Models available on Scenario
These models offer powerful control. Instead of relying on unpredictable style prompts, you can focus mostly on the subjects or scene composition, knowing the AI has already "learned" the style and should naturally apply it to every generated image.
Style Models are also the easiest type of custom AI models to train, but following some best practices is key. The most critical factor is curating a high-quality, diverse dataset. The success of your model depends largely on selecting the right images and adjusting training parameters.
A Style Model is essential for maintaining a pre-existing aesthetic from a game or brand, especially when that style isn’t achievable through prompting foundation (base) models.
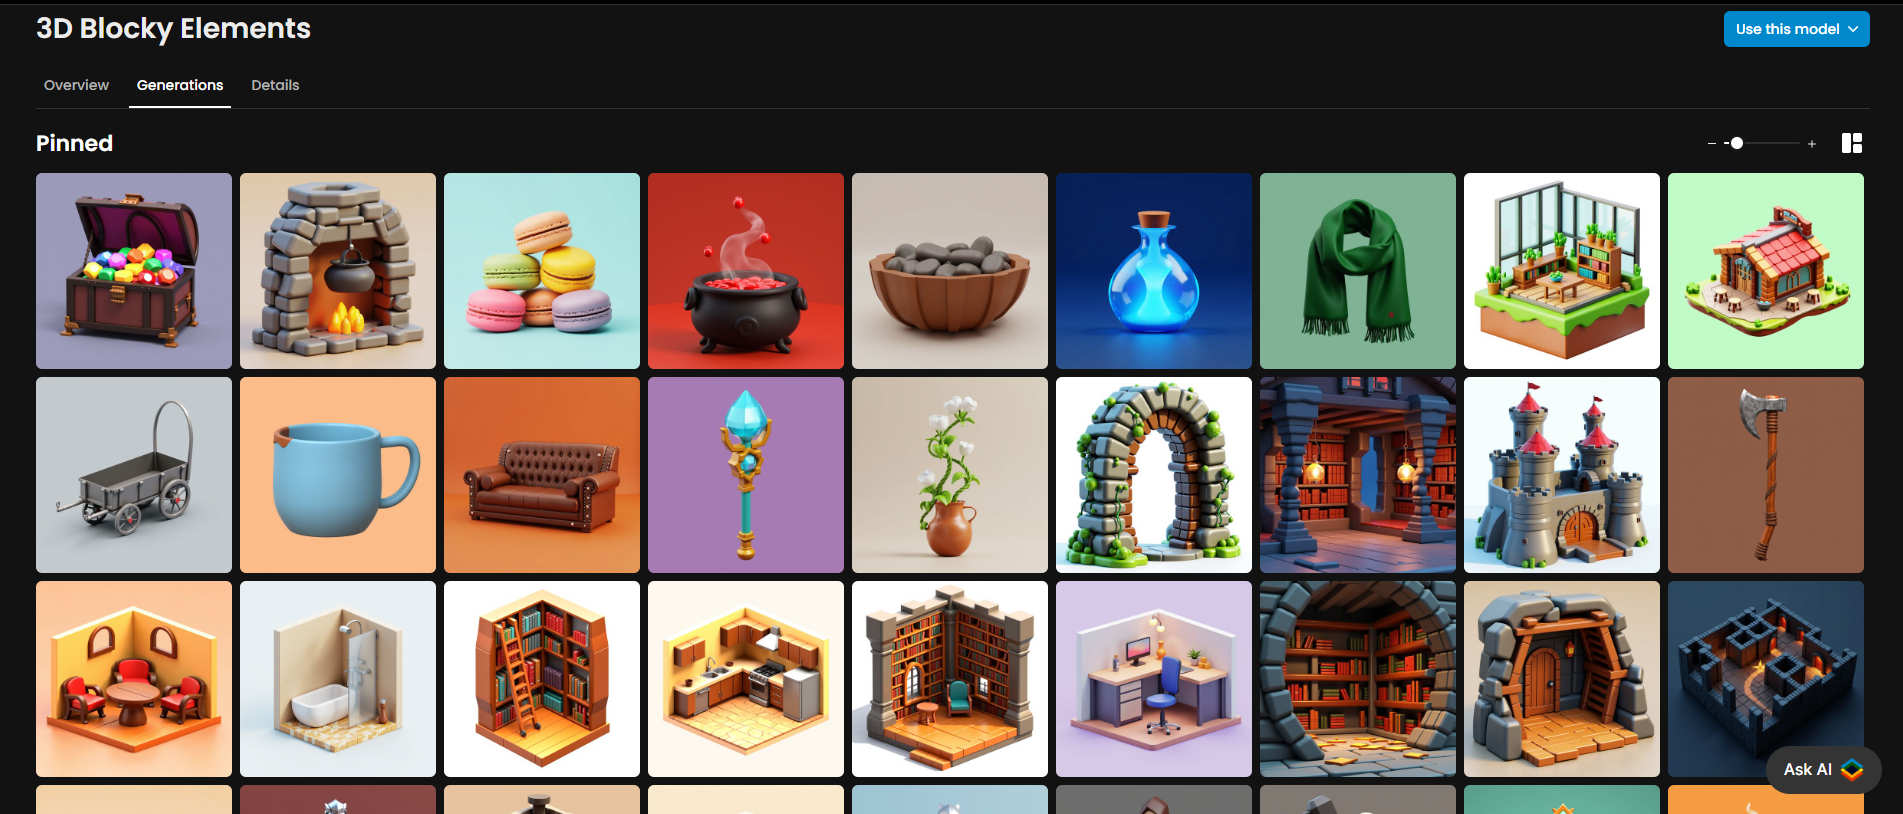
Style-consistent images generated with the “3D Blocky Elements” model on Scenario
This guide walks you through the steps to create high-quality Style Models effectively.
Step-by-Step Guide
Step 1 - Select a Base Model
From the main menu, navigate to Create → Train to open the training interface. Here, you’ll choose a base model for your training session. You can select from Flux, Flux Kontext, SDXL, Krea (coming soon), or Bria (available for enterprise users).
Each base model offers distinct characteristics and behaviors. You may even want to train your dataset on multiple base models to compare their results:
Flux (default)
The most up-to-date and versatile, open source image model. Flux handles a wide range of captions and supports longer prompts with strong consistency. It offers excellent prompt adherence, though it may naturally lean toward realism unless specific stylistic cues are provided.
Flux Kontext
Flux Kontext is an editing model, similar to Gemini 2.5 (aka Nanobanan), GPT-Image, or Seedream. It’s a new model in the Flux series (released in May 2025) specifically designed for instruction-based editing. Kontext focuses on image-to-image transformations, allowing you not only to train on a specific style, but also to teach the AI how to follow explicit transformations between source and target images.
Training is performed on paired examples that describe a clear visual change between the “before” and “after” images. For more details, visit the guide: Train a Flux Kontext LoRA.
SDXL
A legacy model with lower prompt adherence and flexibility compared to Flux. Recommended only for specific use cases or when maintaining compatibility with earlier workflows (see guide).
Krea
Currently in development. Support for this model will be available soon.
Bria
Available to Enterprise users. Please contact our team for more information or activation details.
Step 2: Curate & Upload A Training Set
A well-curated dataset is the foundation of a great Style Model, and you should follow the following rules:
Image Quality:
Use high-resolution images (1024 pixels or higher) to ensure the model captures fine details like textures and brushstrokes. If your images are too small, you can use the Enhance tool to upscale them.
Consistency in Style:
All images should share a cohesive aesthetic, whether through color palette, lighting, or artistic techniques. This helps the model apply the style consistently across different contexts.
Variety in Context:
While keeping a consistent style, include diverse subjects, environments, and perspectives. A strong dataset features different objects, scenes, and angles within the same style, making the model more versatile. Avoid excessive repetition (such as the exact same depth or composition), as it can limit the adaptability of the model.

In this example , the dataset to the left is made with all very consistent images (same style, same proportion, same angle of view). The one to the right has images that do not share the same style
Step 3 - Size Your Training Set
When deciding on the size of your dataset, “less is more”. A small, well-curated set (10-25 images) will usually yield better results than a larger dataset (30-100 images) that lacks enough variety or contains too many similar examples.
For beginners, we recommend starting with 10 to 15 high-quality images. As you gain experience, you can gradually expand your dataset to enhance the model’s capabilities. If your images are both consistent and diverse, it's better to stay on the smaller side (20 max) rather than using an overly large set.

Even just 10 images can give you a great style model, like this training dataset for “Top-down TD Game” on Scenario (link)
Step 4 - Optional: Upscale or Crop Training Images
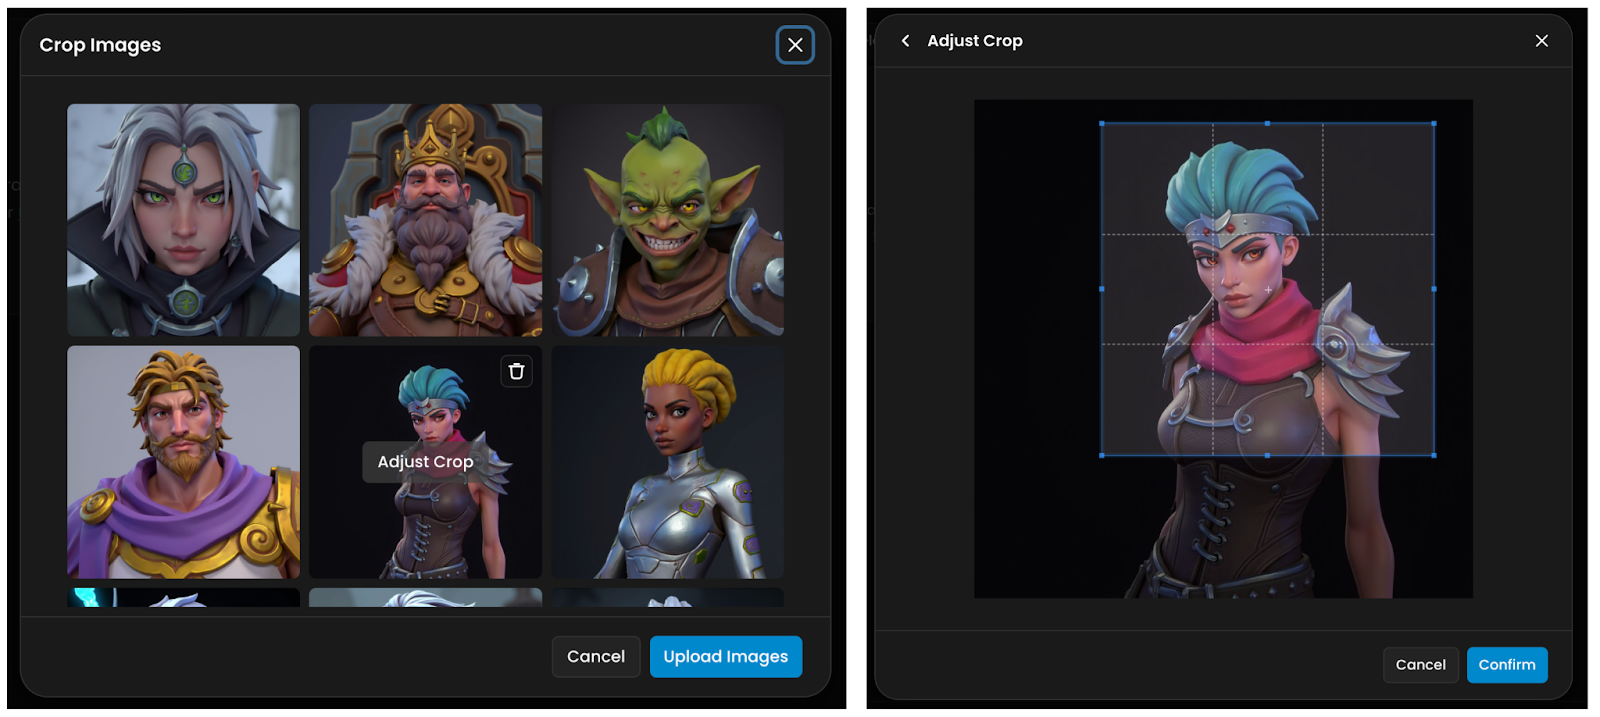
Training images can be uploaded in any format. While square images are optimal, non-square images are also accepted. You have two options: (i) crop your images to a square format before uploading for ideal results or (ii) upload images in any format and adjust cropping directly in Scenario's interface during the upload process.
If you upload landscape or portrait images without adjusting the crop, the system will automatically fit the entire image into a square by default.
For greater flexibility—especially when training a model on a specific character or style—you can mix image formats, combining both square and landscape ratios where appropriate. This approach works particularly well when your dataset includes different poses such as close-up portraits, half-body shots, and full-body views, as shown in the example below.

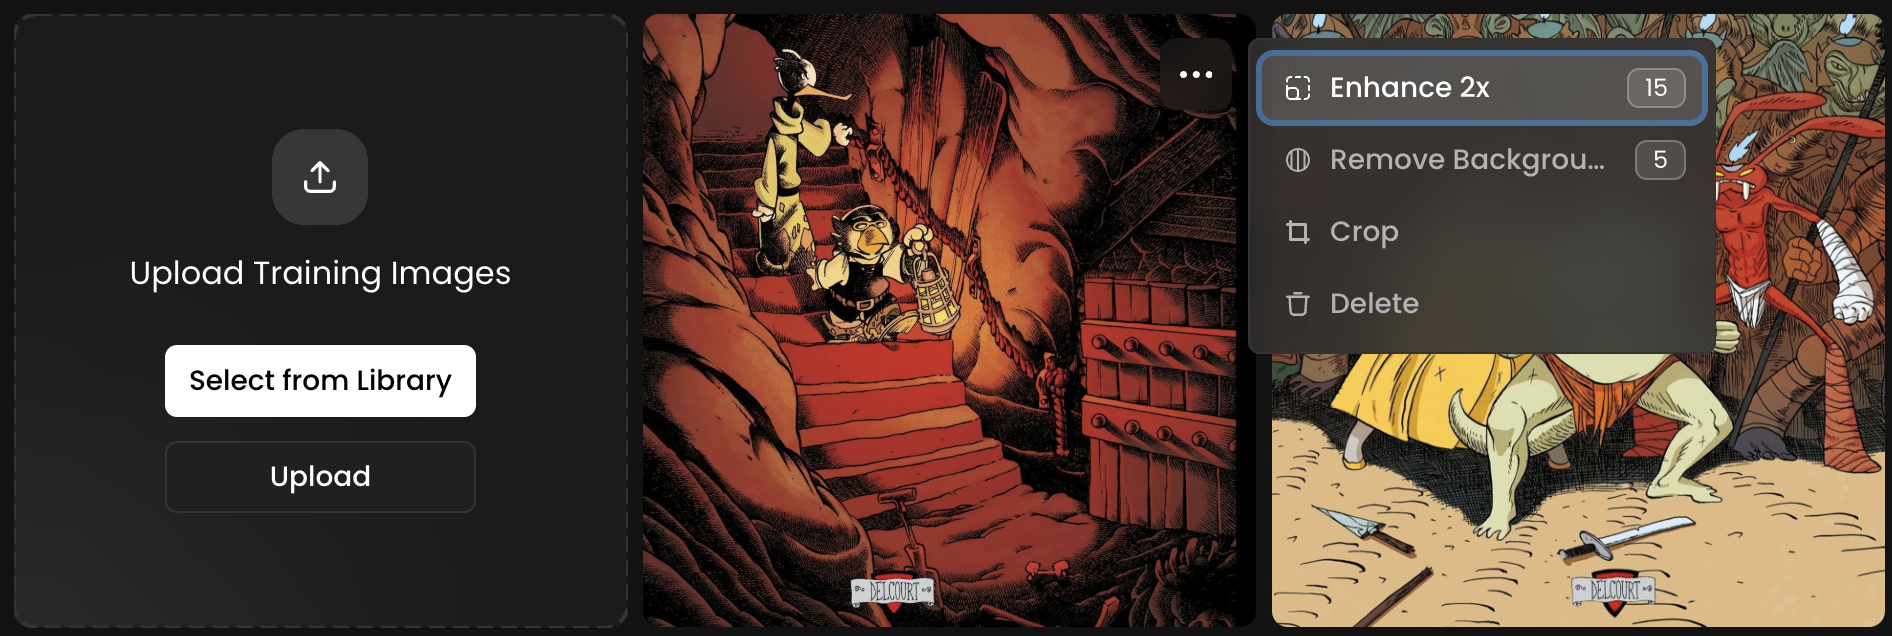
Low-resolution images are automatically detected. You can upscale them 2× in one click before starting training — simply open the three-dot menu and select Enhance 2x.
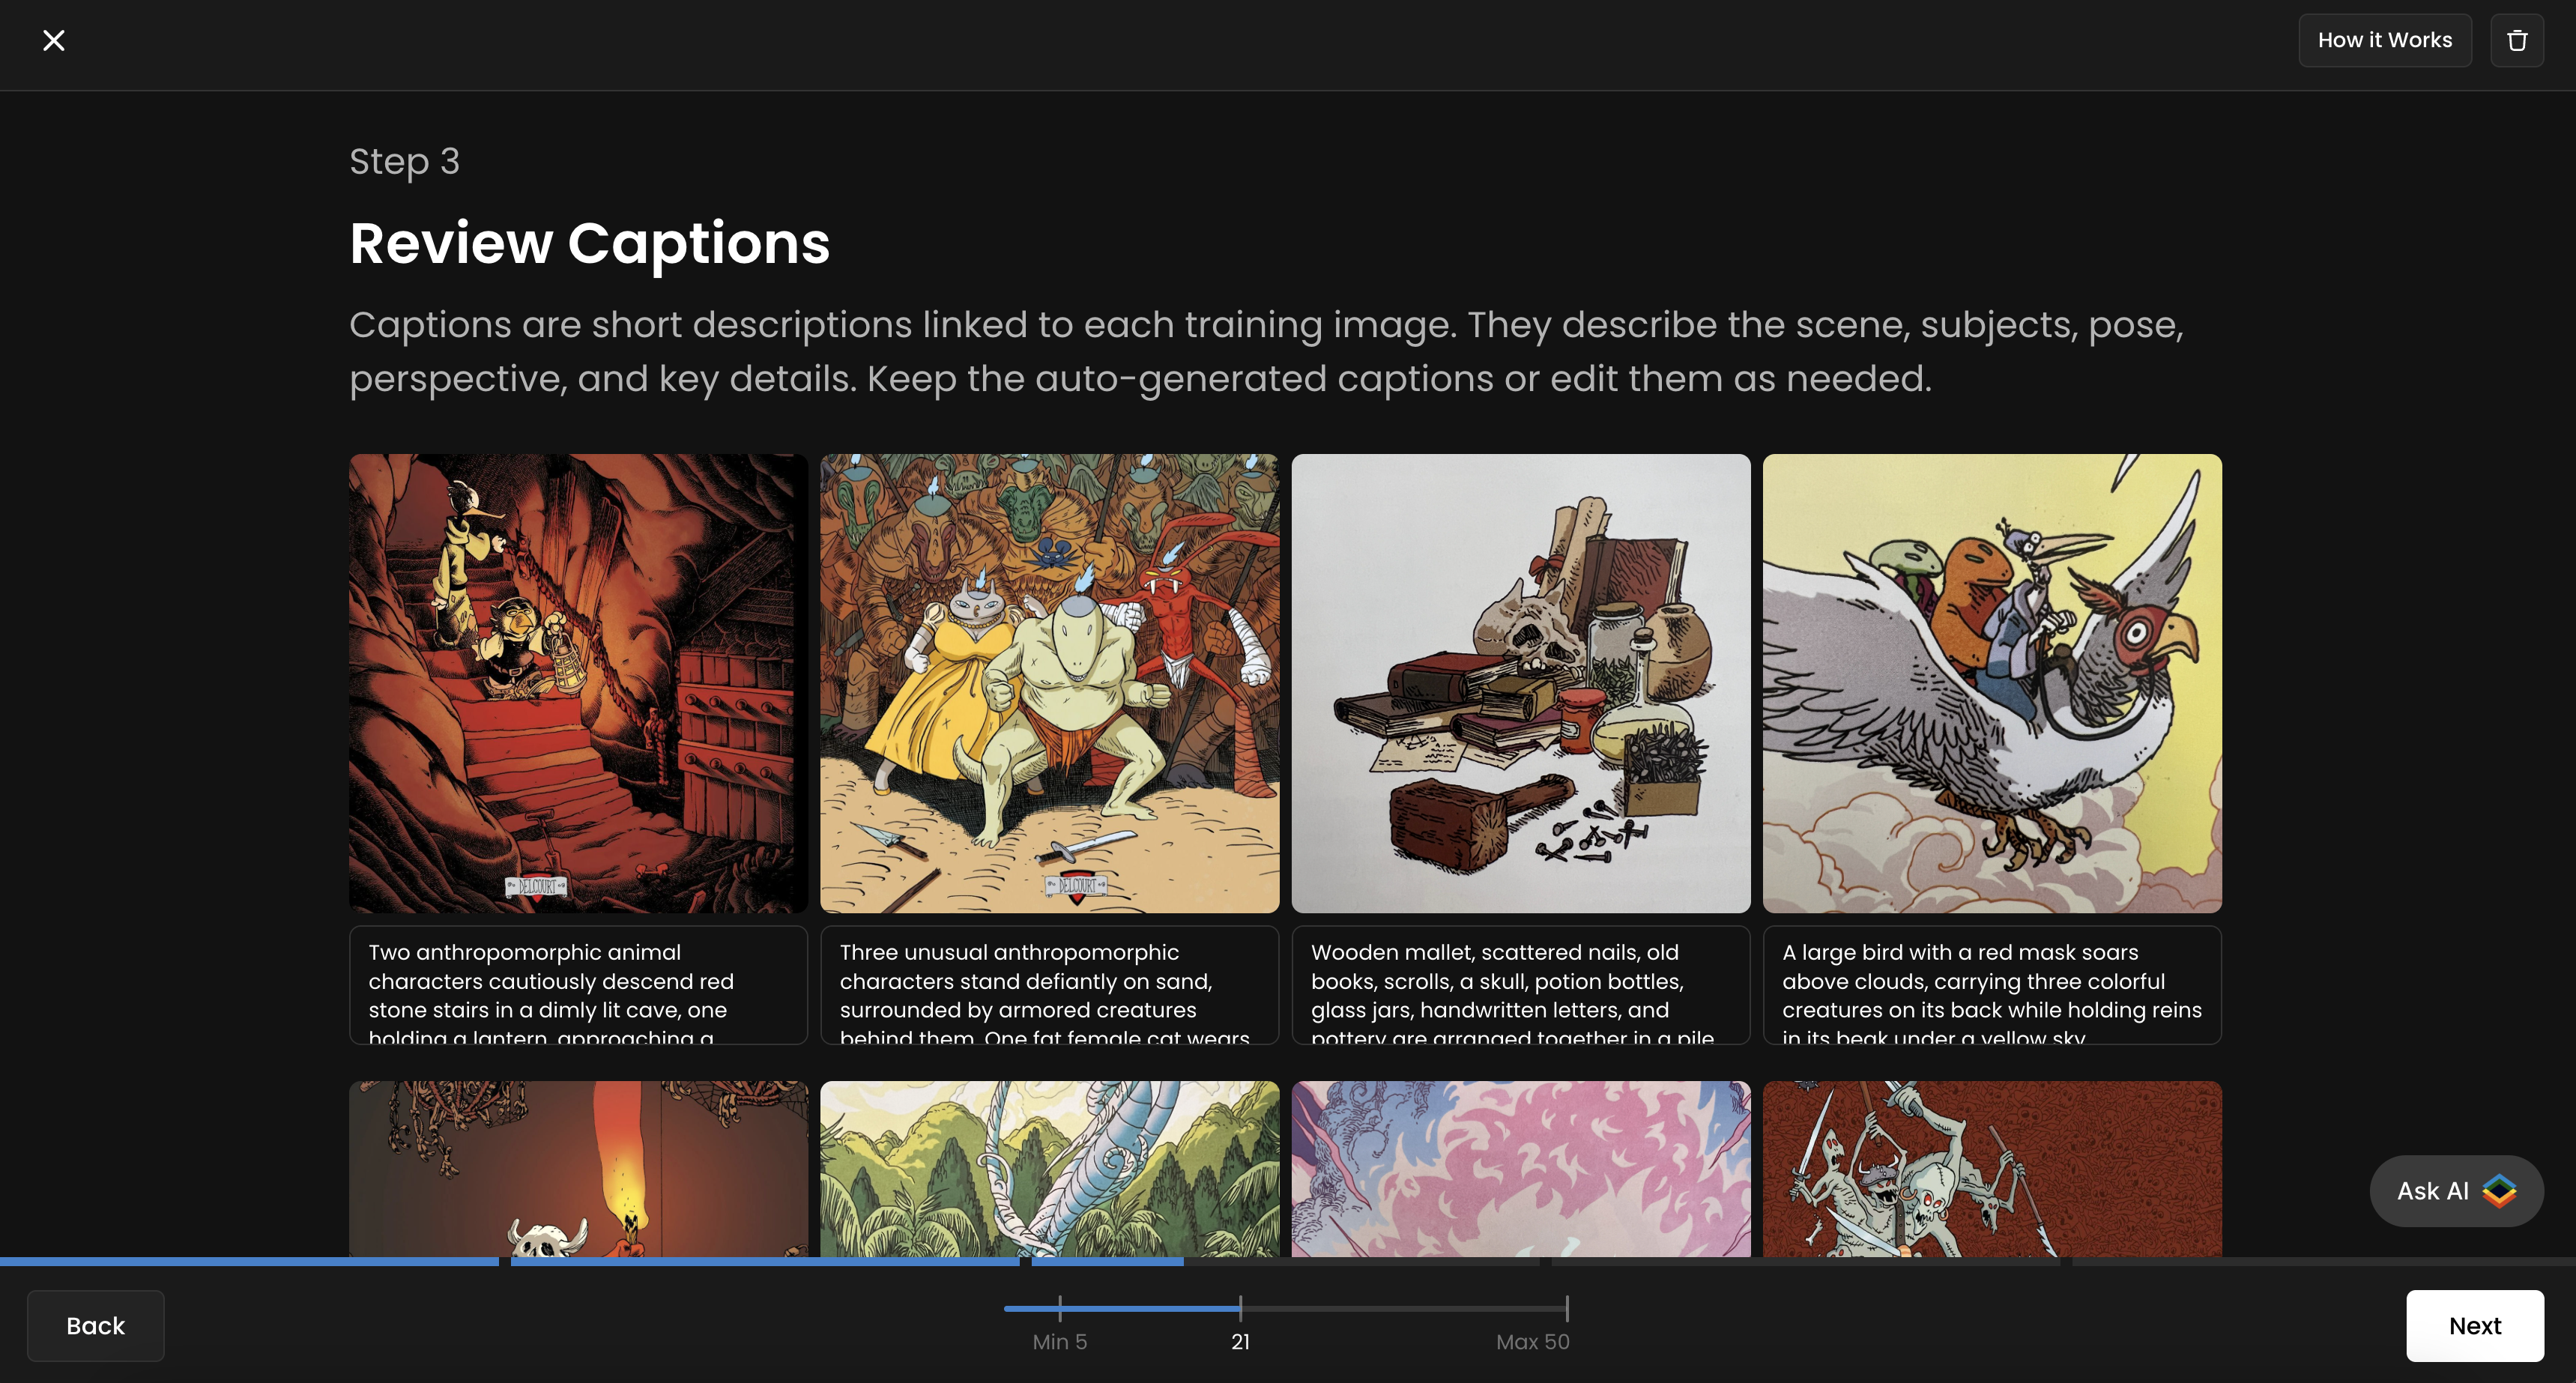
Step 5 - Caption Your Images
Once your dataset is uploaded, caption your images. Captions are short descriptions linked to each training image. They describe the scene, subjects, pose, perspective, and key details. Scenario offers an instant, automated captioning tool, which works well in the vast majority of cases. However, reviewing automated captions is recommended.
You can edit them by clicking on each image individually. For more details on best captioning practices, refer to our dedicated guide.
Step 6 - Set Test Prompts
Before starting your training, you can add up to four test prompts in Scenario to monitor your model’s progress and evaluate the quality of each epoch.
During training, the model will generate one image per test prompt for every epoch. For example, with 4 test prompts and 10 epochs, you’ll receive 40 test images (4 per epoch).
You can easily create these test prompts using Prompt Spark, our built-in prompting assistant (via the buttons to the right). For best results, make sure your test prompts follow a similar structure to your training captions: use the “Generate“ or “Rewrite“ tools to refine them if needed.
It’s best to use all four test slots for more precise tracking throughout the training process.
Step 7 - Initiate and Monitor Training
Once everything is set, click "Start Training" and wait for the process to complete. The training time will depend on your dataset size, number of training steps, and base model. You’ll be notified via email and through the “Recent Tasks“ (three-bar) icon to the top menu, which will display a red dot when training is complete.
During training, you’ll see each epoch generate results using your test prompts, allowing you to track how the model improves over time. Once training is complete, you can compare two epochs side by side to determine which one performs best. While the last epoch is set as the default, you can review earlier ones and select a different version if desired.
To compare, simply select two epochs, click “Compare,” and follow the on-screen options.
Don’t forget to finalize the process by testing your model, making refinements if needed, and adding a description, tags, and pinned images. Please see this guide for more information on how to properly refine and manage models.
Access This Feature Via API
You can follow our API recipe to train a model: https://docs.scenario.com/recipes/train-a-flux-dev-lora-model
Resources:
Create a Model: Scenario API Documentation - Create a Model
Add Training Images: Scenario API Documentation - Add Training Images
Modify Captions: Scenario API Documentation - Modify Captions
Trigger Model Training: Scenario API Documentation - Trigger Model Training
Was this helpful?