Organization Settings
Last updated: October 5, 2026
Introduction
This section walks you through managing your organization in Scenario, from adding team members to tracking usage and configuring essential settings. Whether you're a solo creator or leading a large team, these tools will help keep your Scenario organization organized and running smoothly.
Accessing Organization Settings
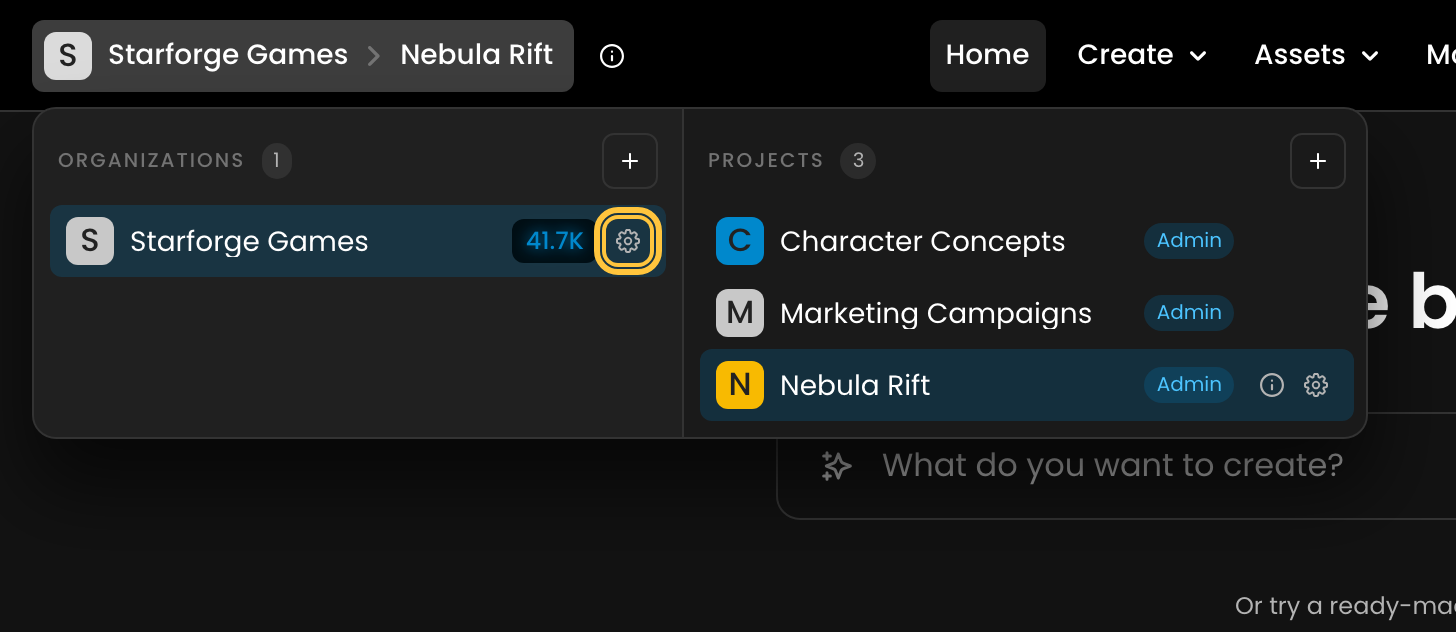
To access your organization settings, click the context switcher in the upper left corner of the interface (it shows your organization and project names). In the Organizations column, click the gear icon ("Organization settings") next to your organization. This opens the Settings page, with a left panel listing a section for each management function under Organization.
If you're checking usage statistics specifically, navigate to the “Organization” section and click Analytics to view your activity metrics.
Set Up General Organization Details
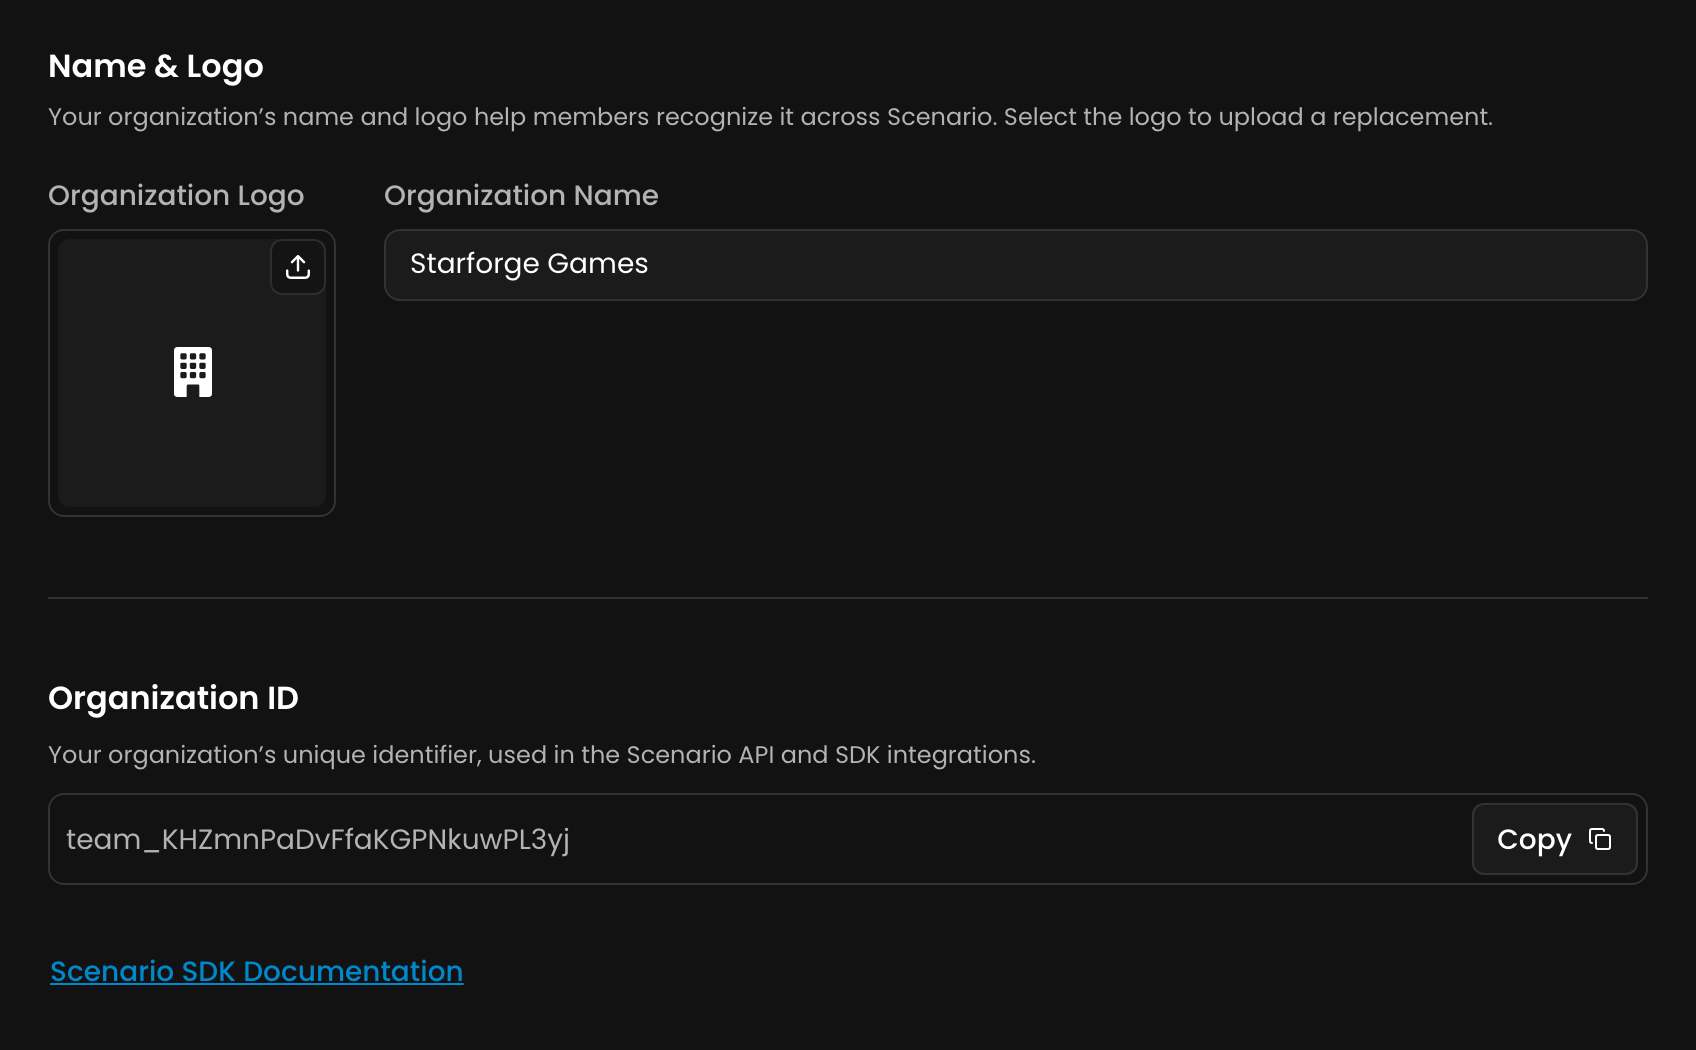
The General section (Settings > Organization > General) starts with the Name & Logo card: type a new Organization Name and click Save to update it. Below it, Organization ID has a Copy button, for support requests, transferring models between organizations and various API functions.
You can also upload or choose from the library a logo for your Organization.
Should you need to delete your organization, you'll find this option (Delete organization) in Settings > Organization > Danger zone. Important: you cannot delete an organization with an active subscription. You must first cancel your paid plan so the organization is on the Free plan, and remove all members and API keys. You cannot delete your only organization. Deleting an organization permanently removes all associated data and cannot be undone, so proceed with caution.
Add and Manage Team Members
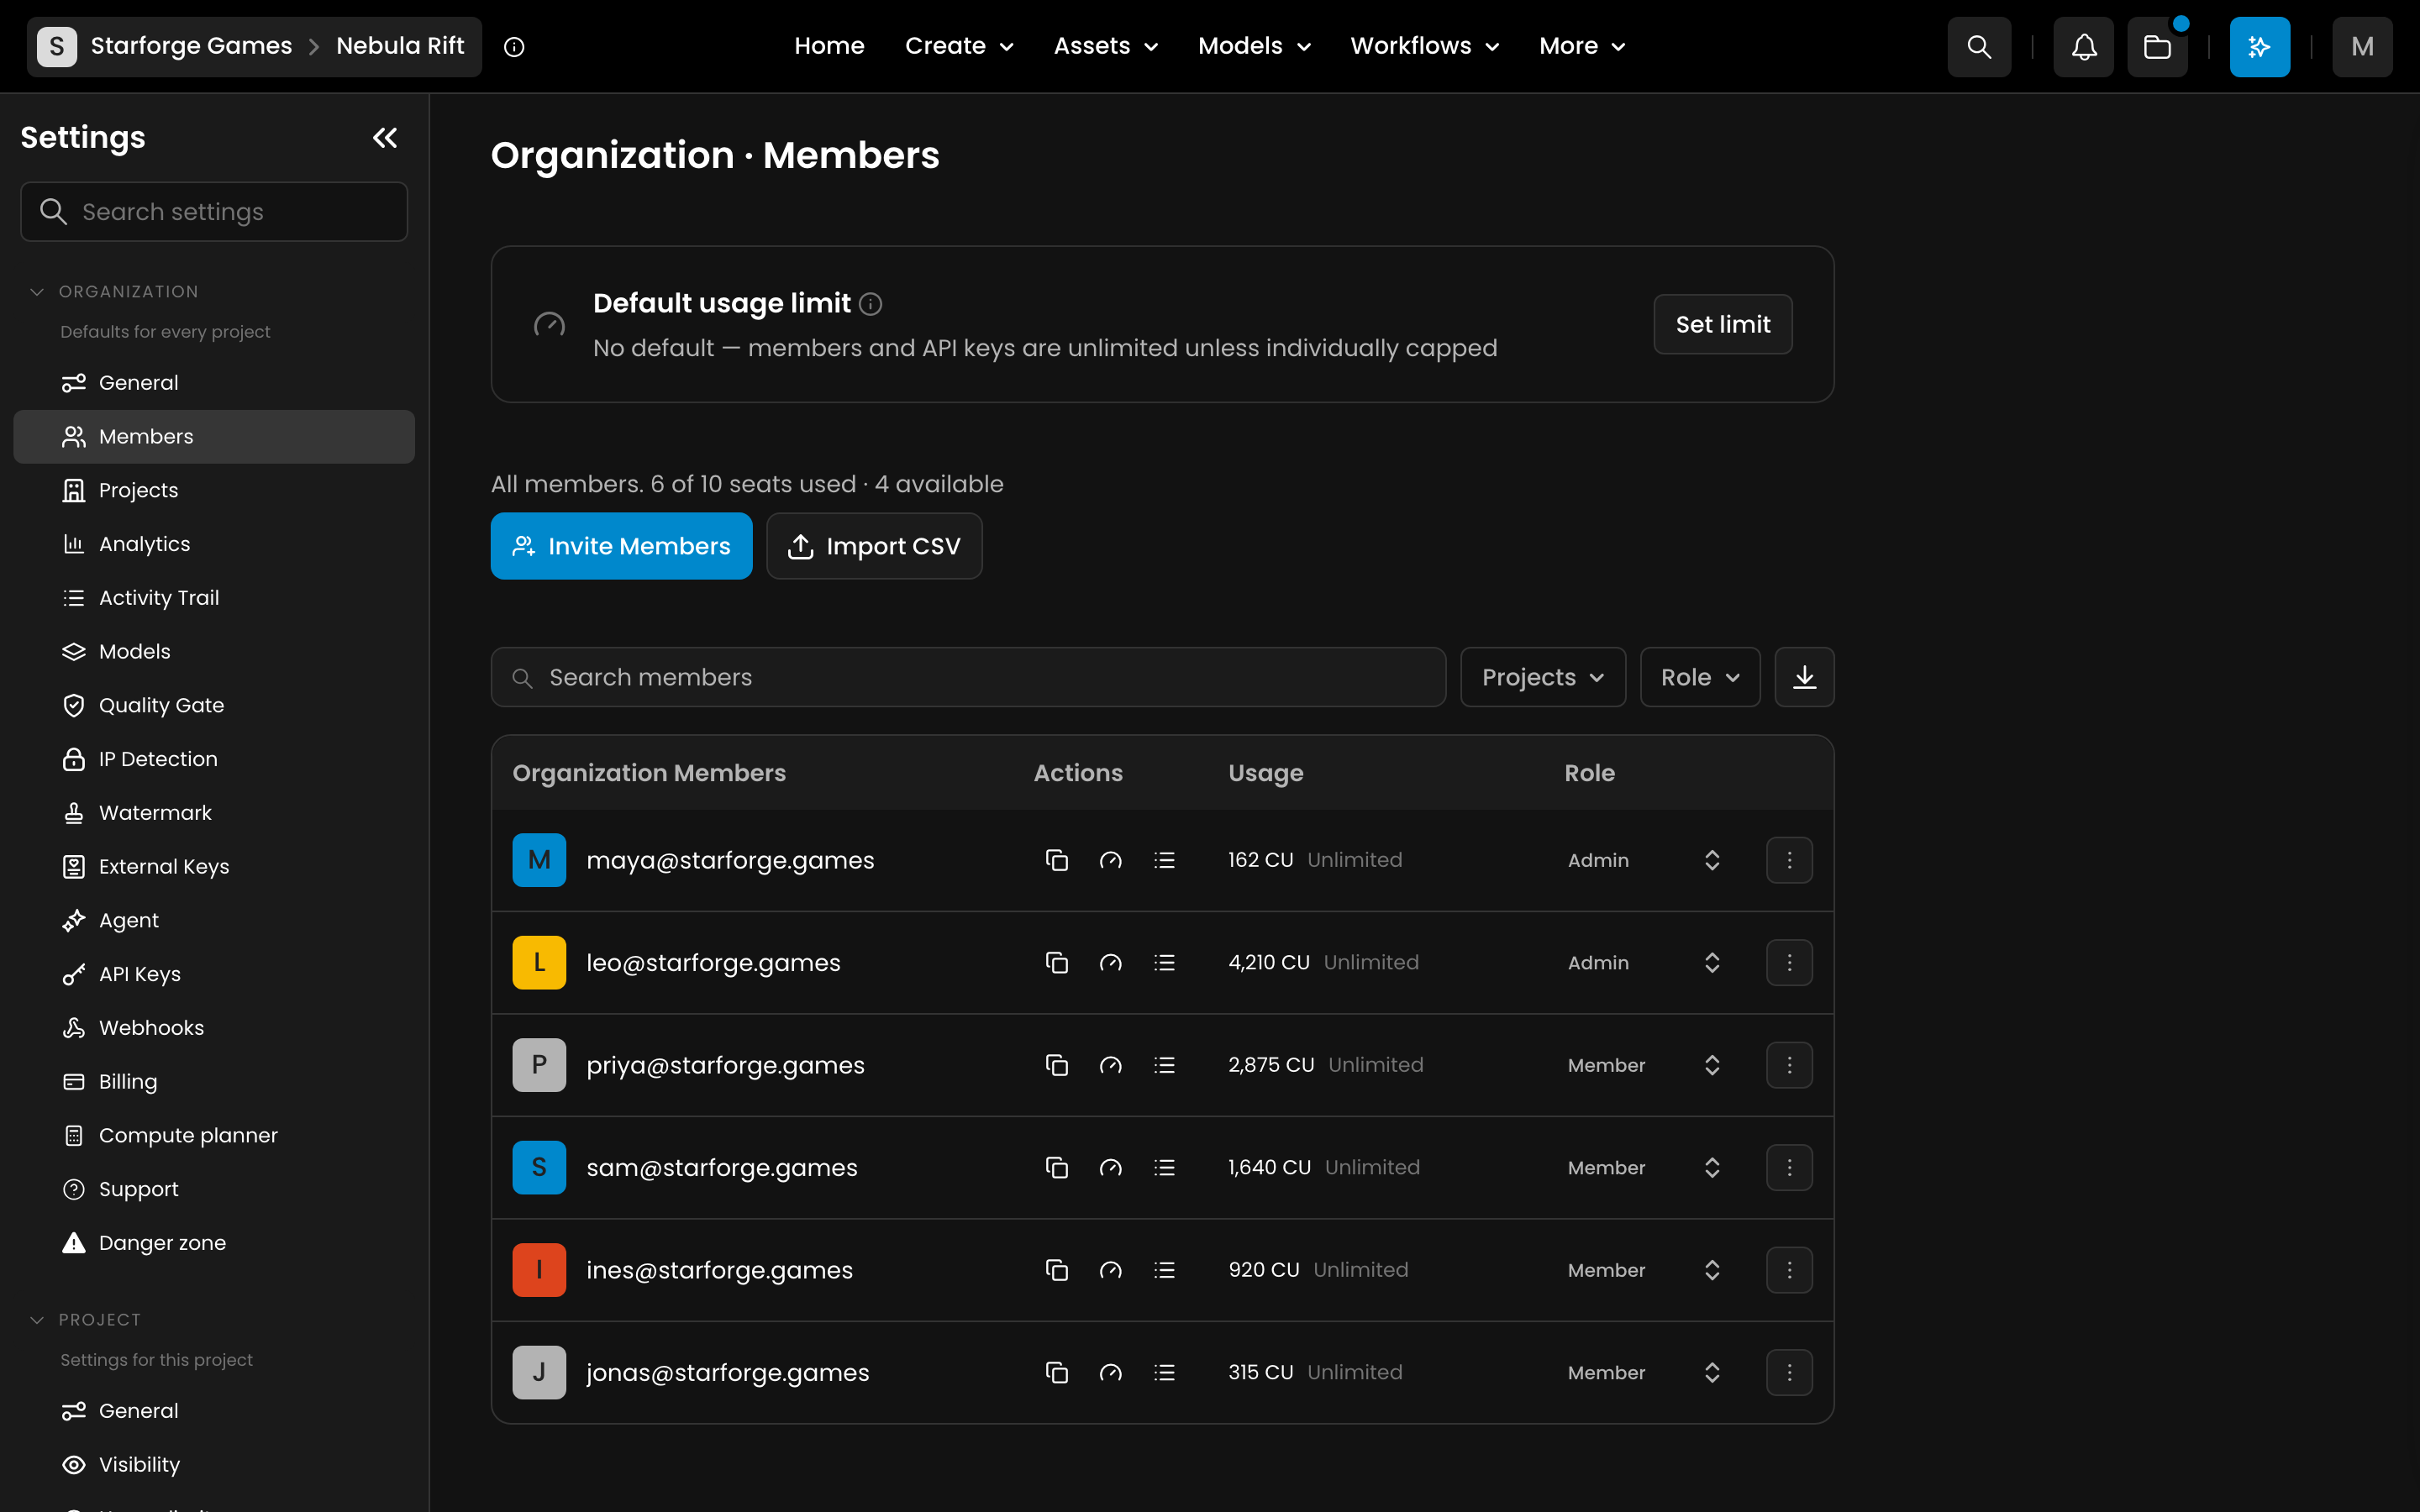
The “Members” section (Settings > Organization > Members) allows you to build and organize your team effectively:
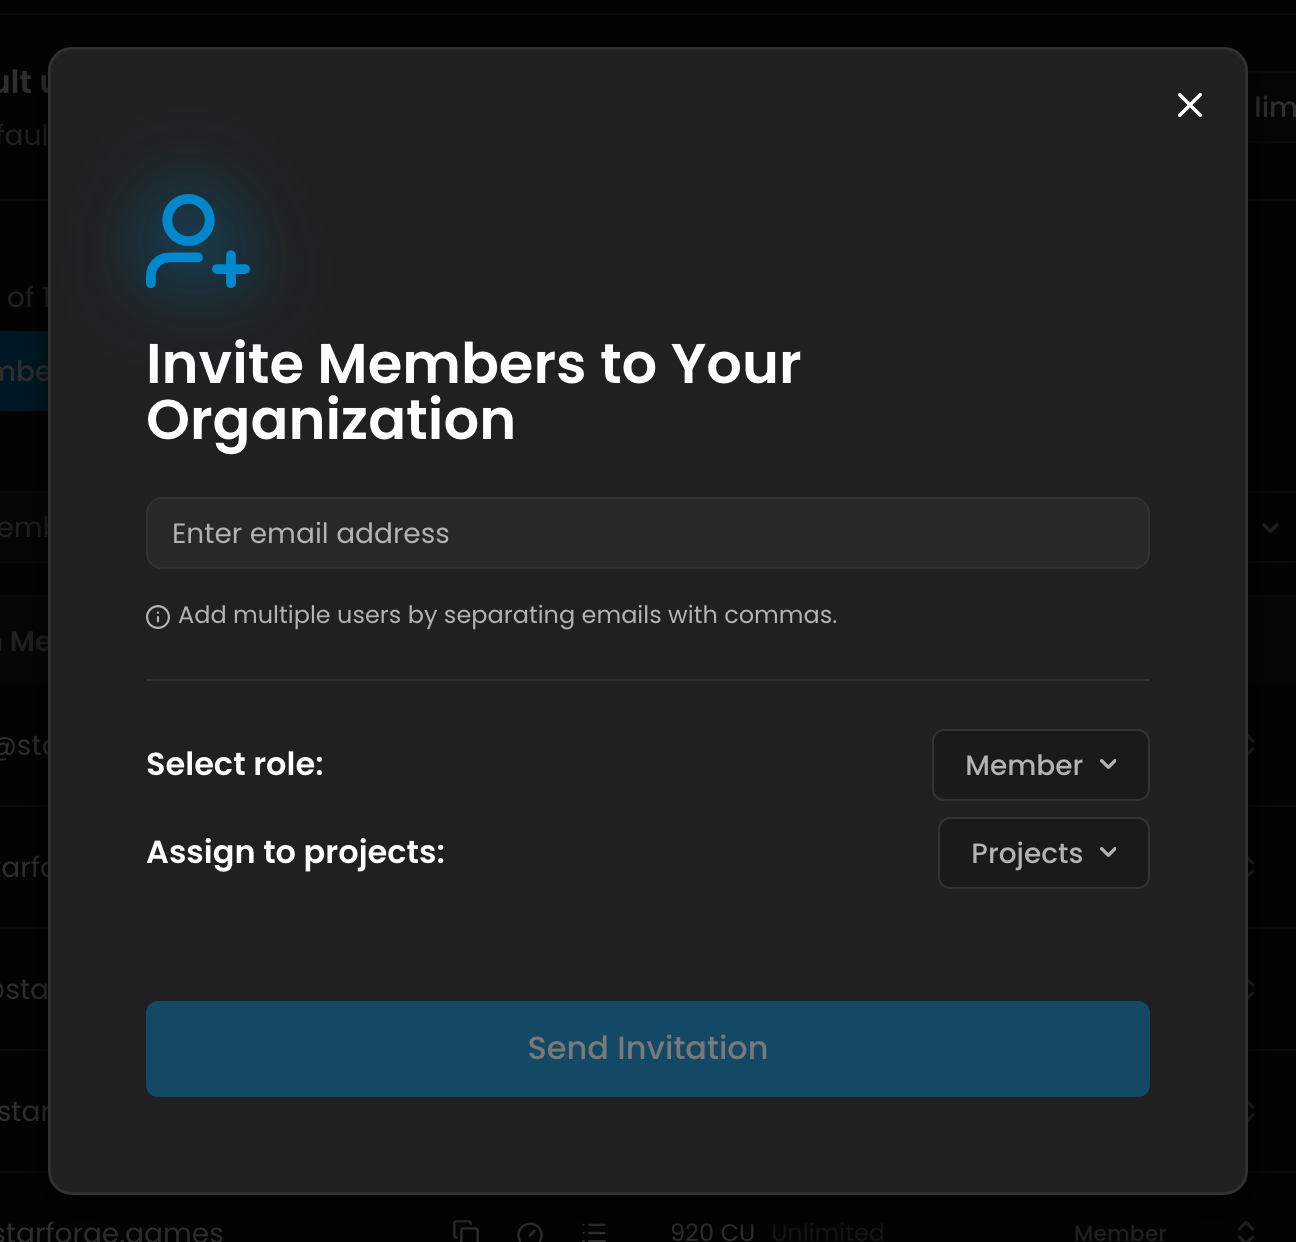
To add new collaborators, click the Invite Members button and enter their email addresses directly (using commas to separate multiple entries) or use Import CSV to upload a CSV file containing email addresses in the format: email1;email2;....
Next, assign each person a role - Admin for team leaders who need full access to organization settings, or Member for regular contributors and select the Project you want them to access. Click Send Invitation. The current members list displays everyone in your organization along with their roles. You can promote members to Admin status or remove them as needed using the controls next to each name.
For Max/Enterprise plans, you can manage the number of seats in your organization through Settings > Organization > Billing (Add More Users, or Manage Users once you have extra seats). Adding seats charges a prorated amount for the remaining billing period, while removing seats takes effect in the next cycle.
Create API Keys for Integrations
API keys allow you to connect Scenario with external tools and services securely:
Navigate to Settings > Organization > API Keys and click “Add API Key” to create a new key. Give it a descriptive name that helps identify its purpose, then click Create API key.
Once generated, copy the API Key and the Secret API Key, or click Download .csv file: for security reasons, the secret is shown only once and cannot be retrieved later. Create separate keys for different projects or integrations rather than reusing a single key across multiple services.
Check Usage Statistics in Analytics
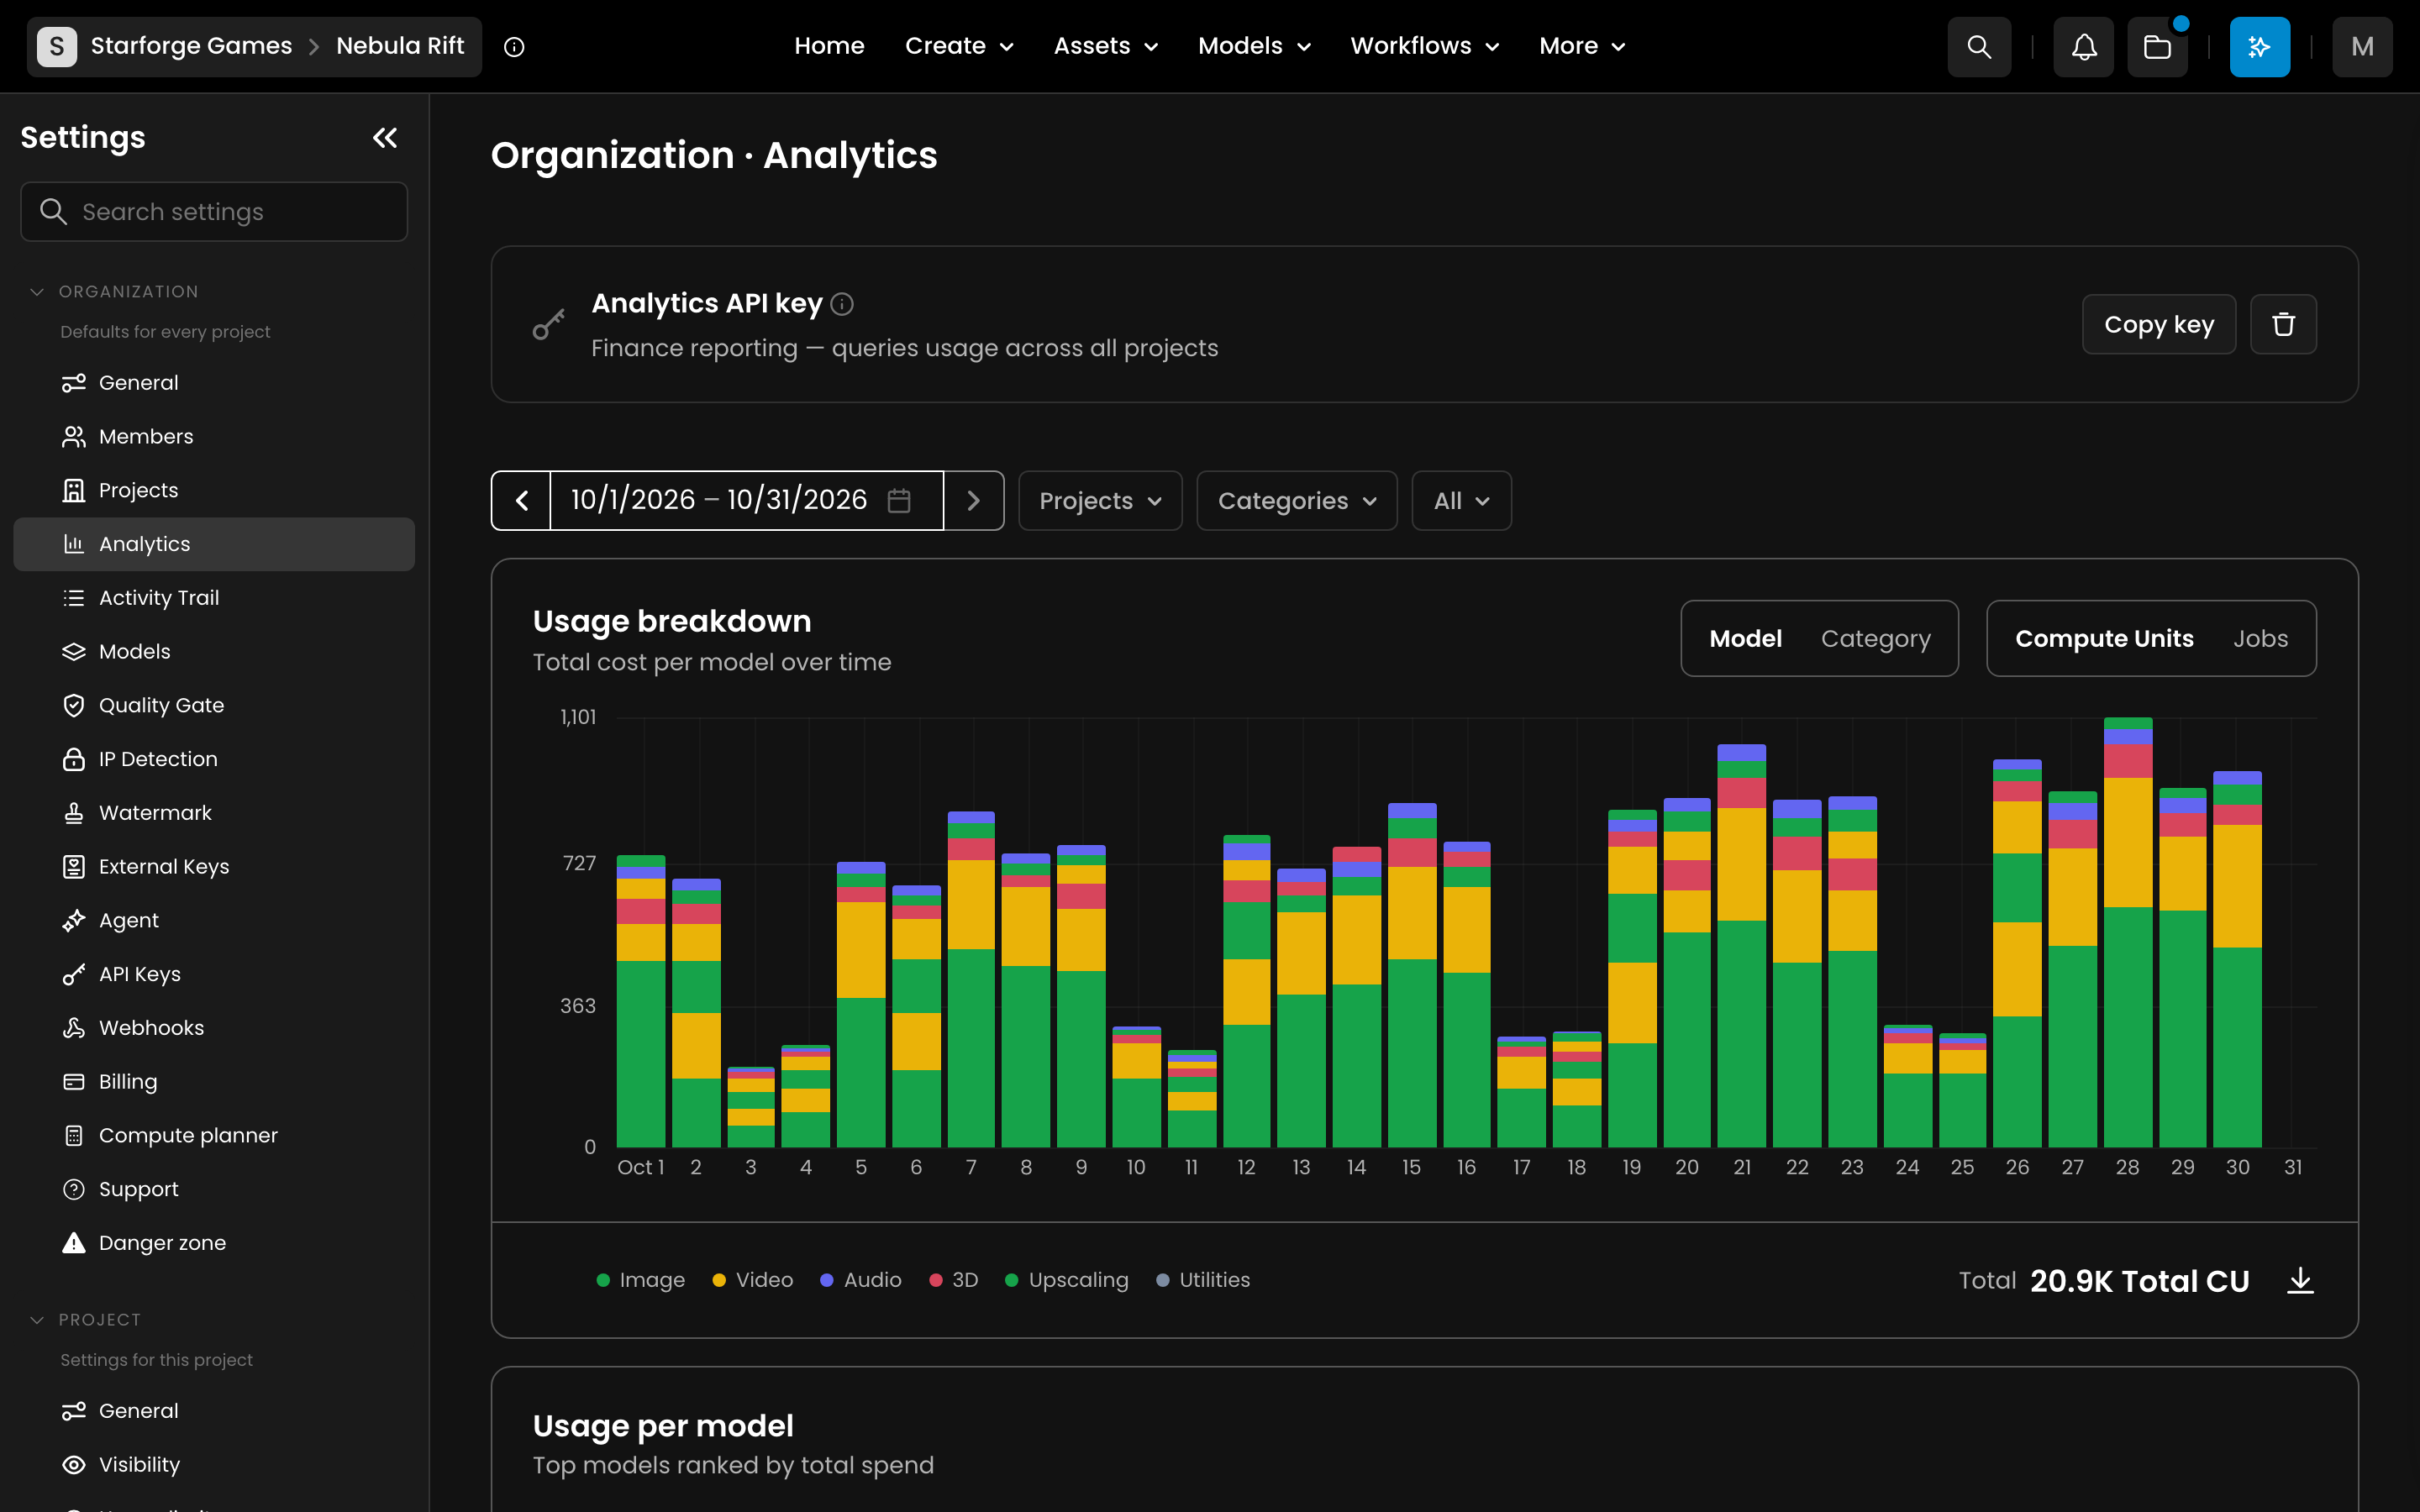
The Analytics section (Settings > Organization > Analytics) provides insights into how your organization is being utilized:
Pick a date range (such as Last 7 Days or Last 30 Days) and filter by Projects or Categories to see Compute Units or jobs per model and category, your top models and an activity heatmap. Click Export CSV to download the data.
A graph shows trends over time, helping you identify usage patterns and plan your resources accordingly.
You can identify the power users of your organization and track the activity of your members.
Review or Change Your Subscription Plan
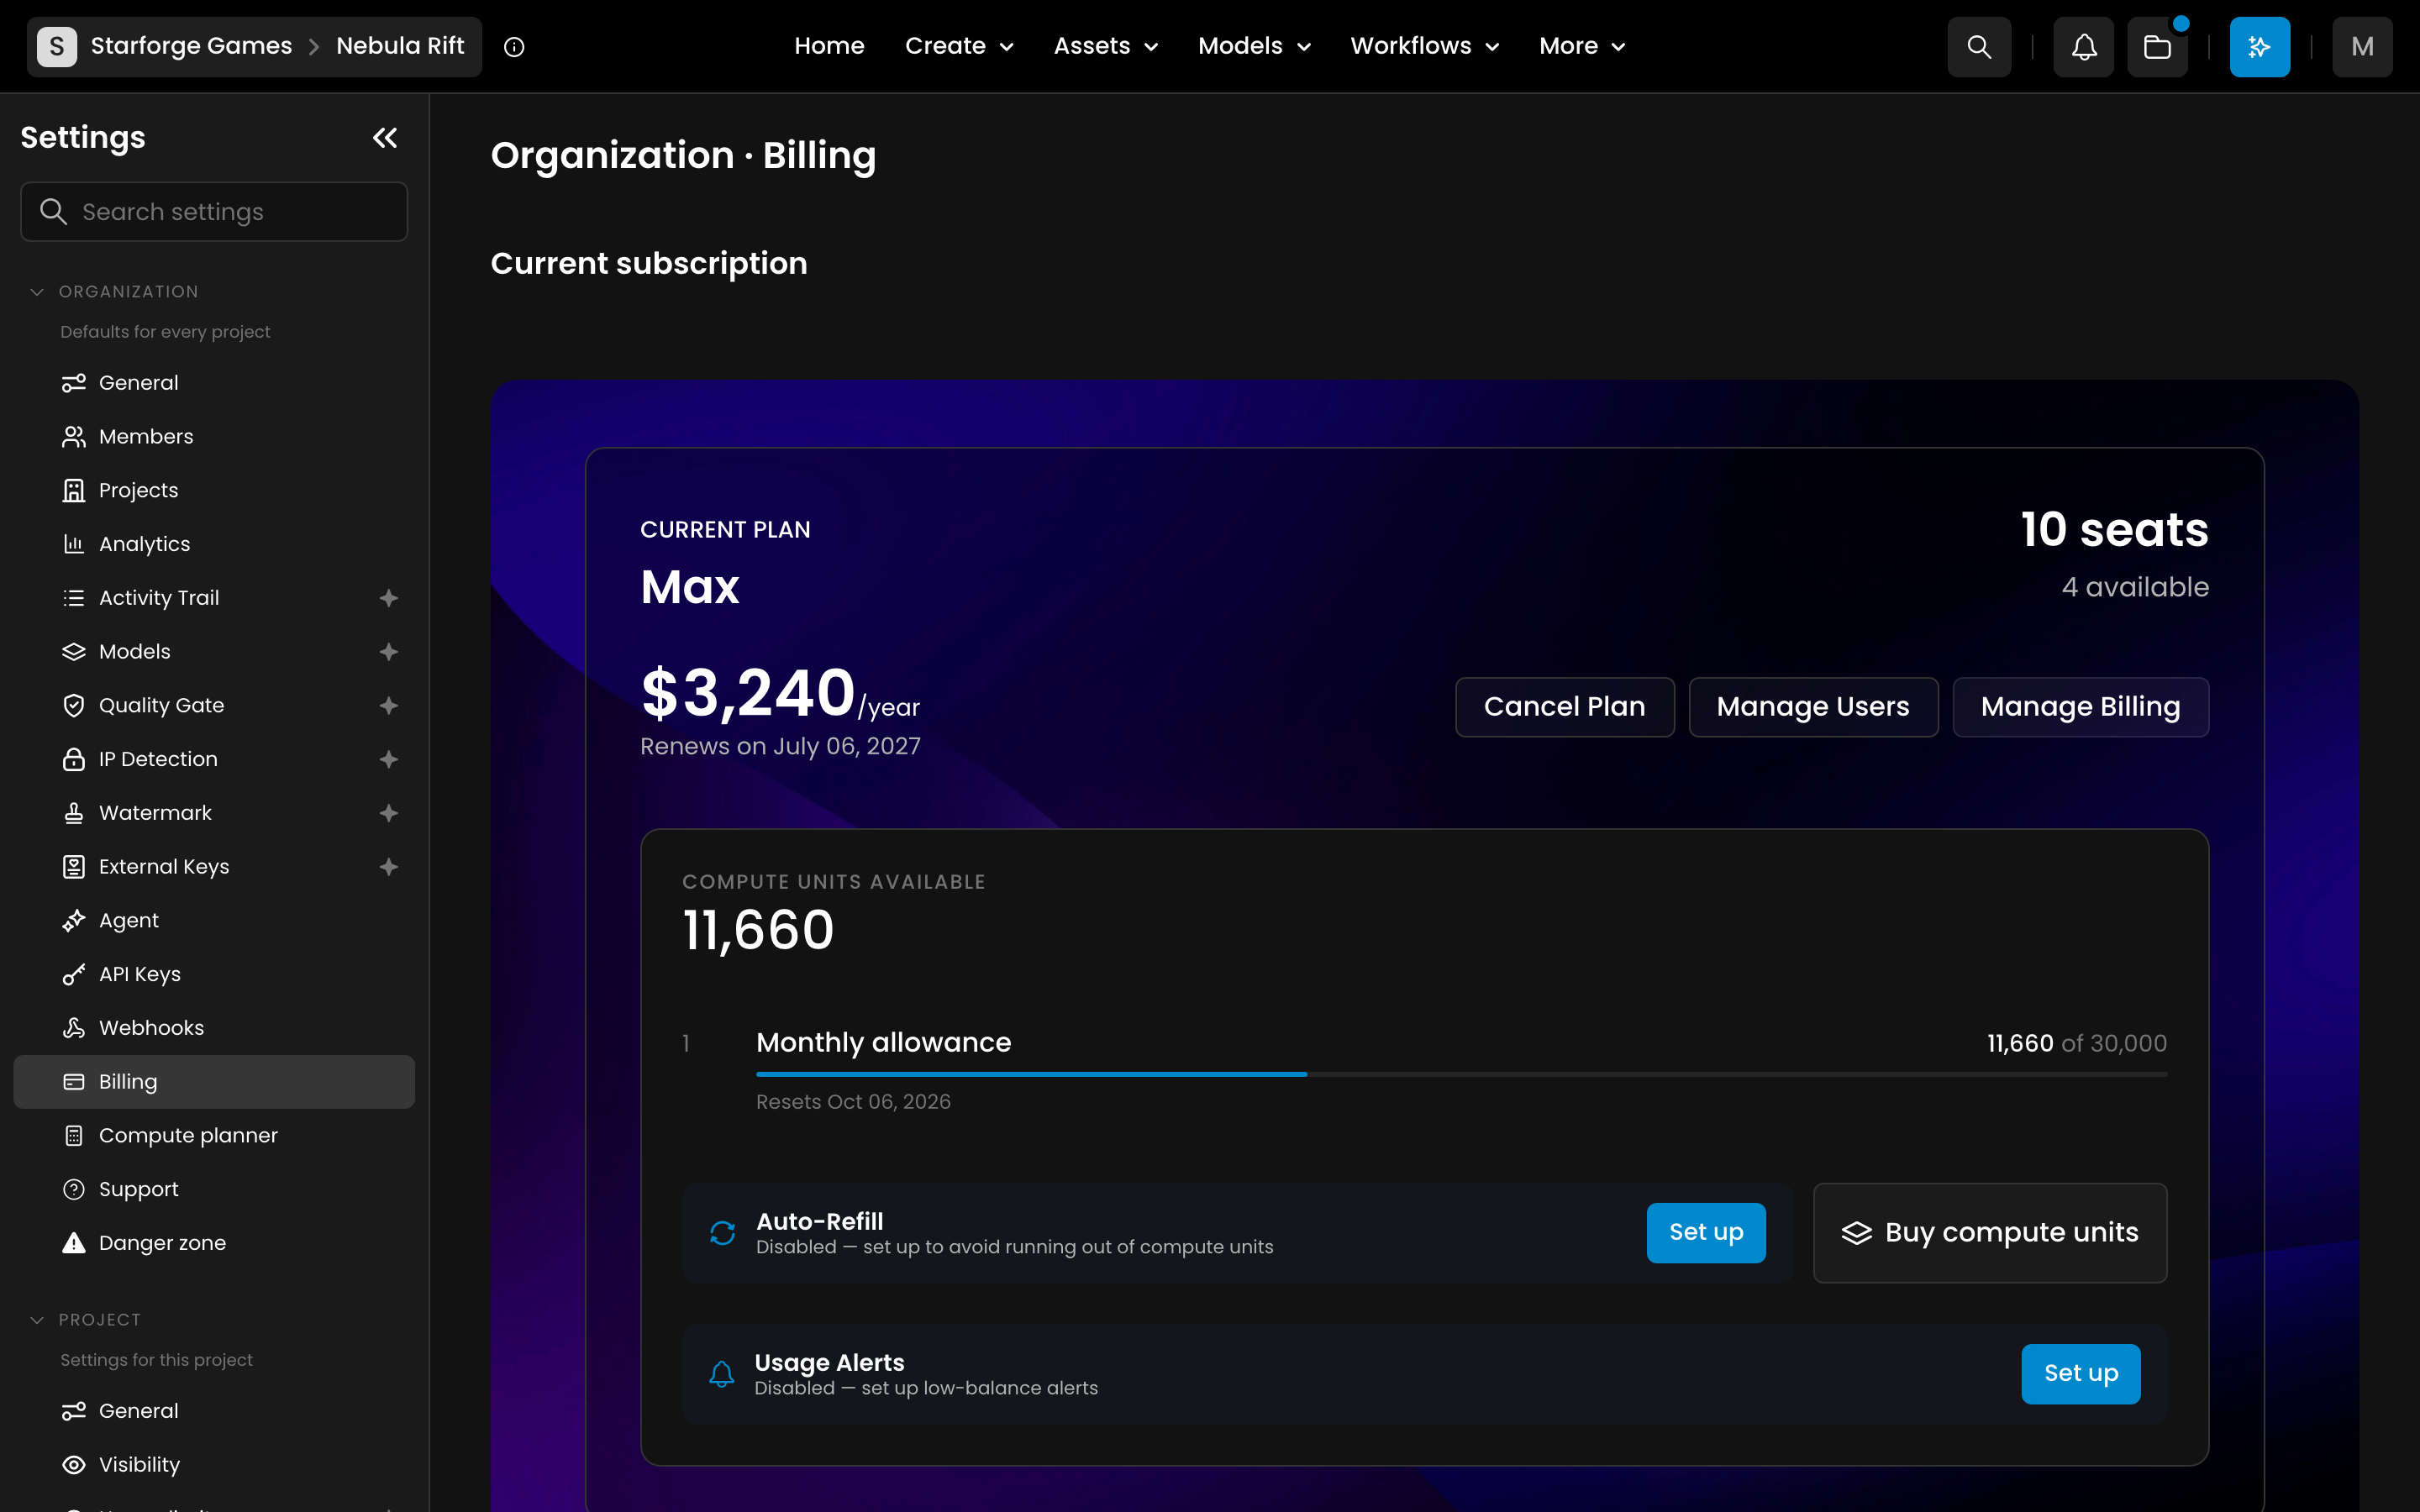
The Billing section (Settings > Organization > Billing) helps you manage your subscription and ensure it meets your team's needs:
This section displays your Current Plan details including renewal date and billing cycle. Under Compute units available, your Monthly allowance shows its reset date (for example, "Resets Oct 15, 2026"), and each top-up batch shows its expiry date.
Available plans are listed with their features and pricing. If needed, you can downgrade your plan by clicking the Downgrade button.
Switch between Monthly and Annually: annual billing saves 33% (the toggle is tagged 33% OFF). You can also purchase additional Compute Units if you need more capacity before your next reset date.
Estimate Credit Consumption with the Compute Planner
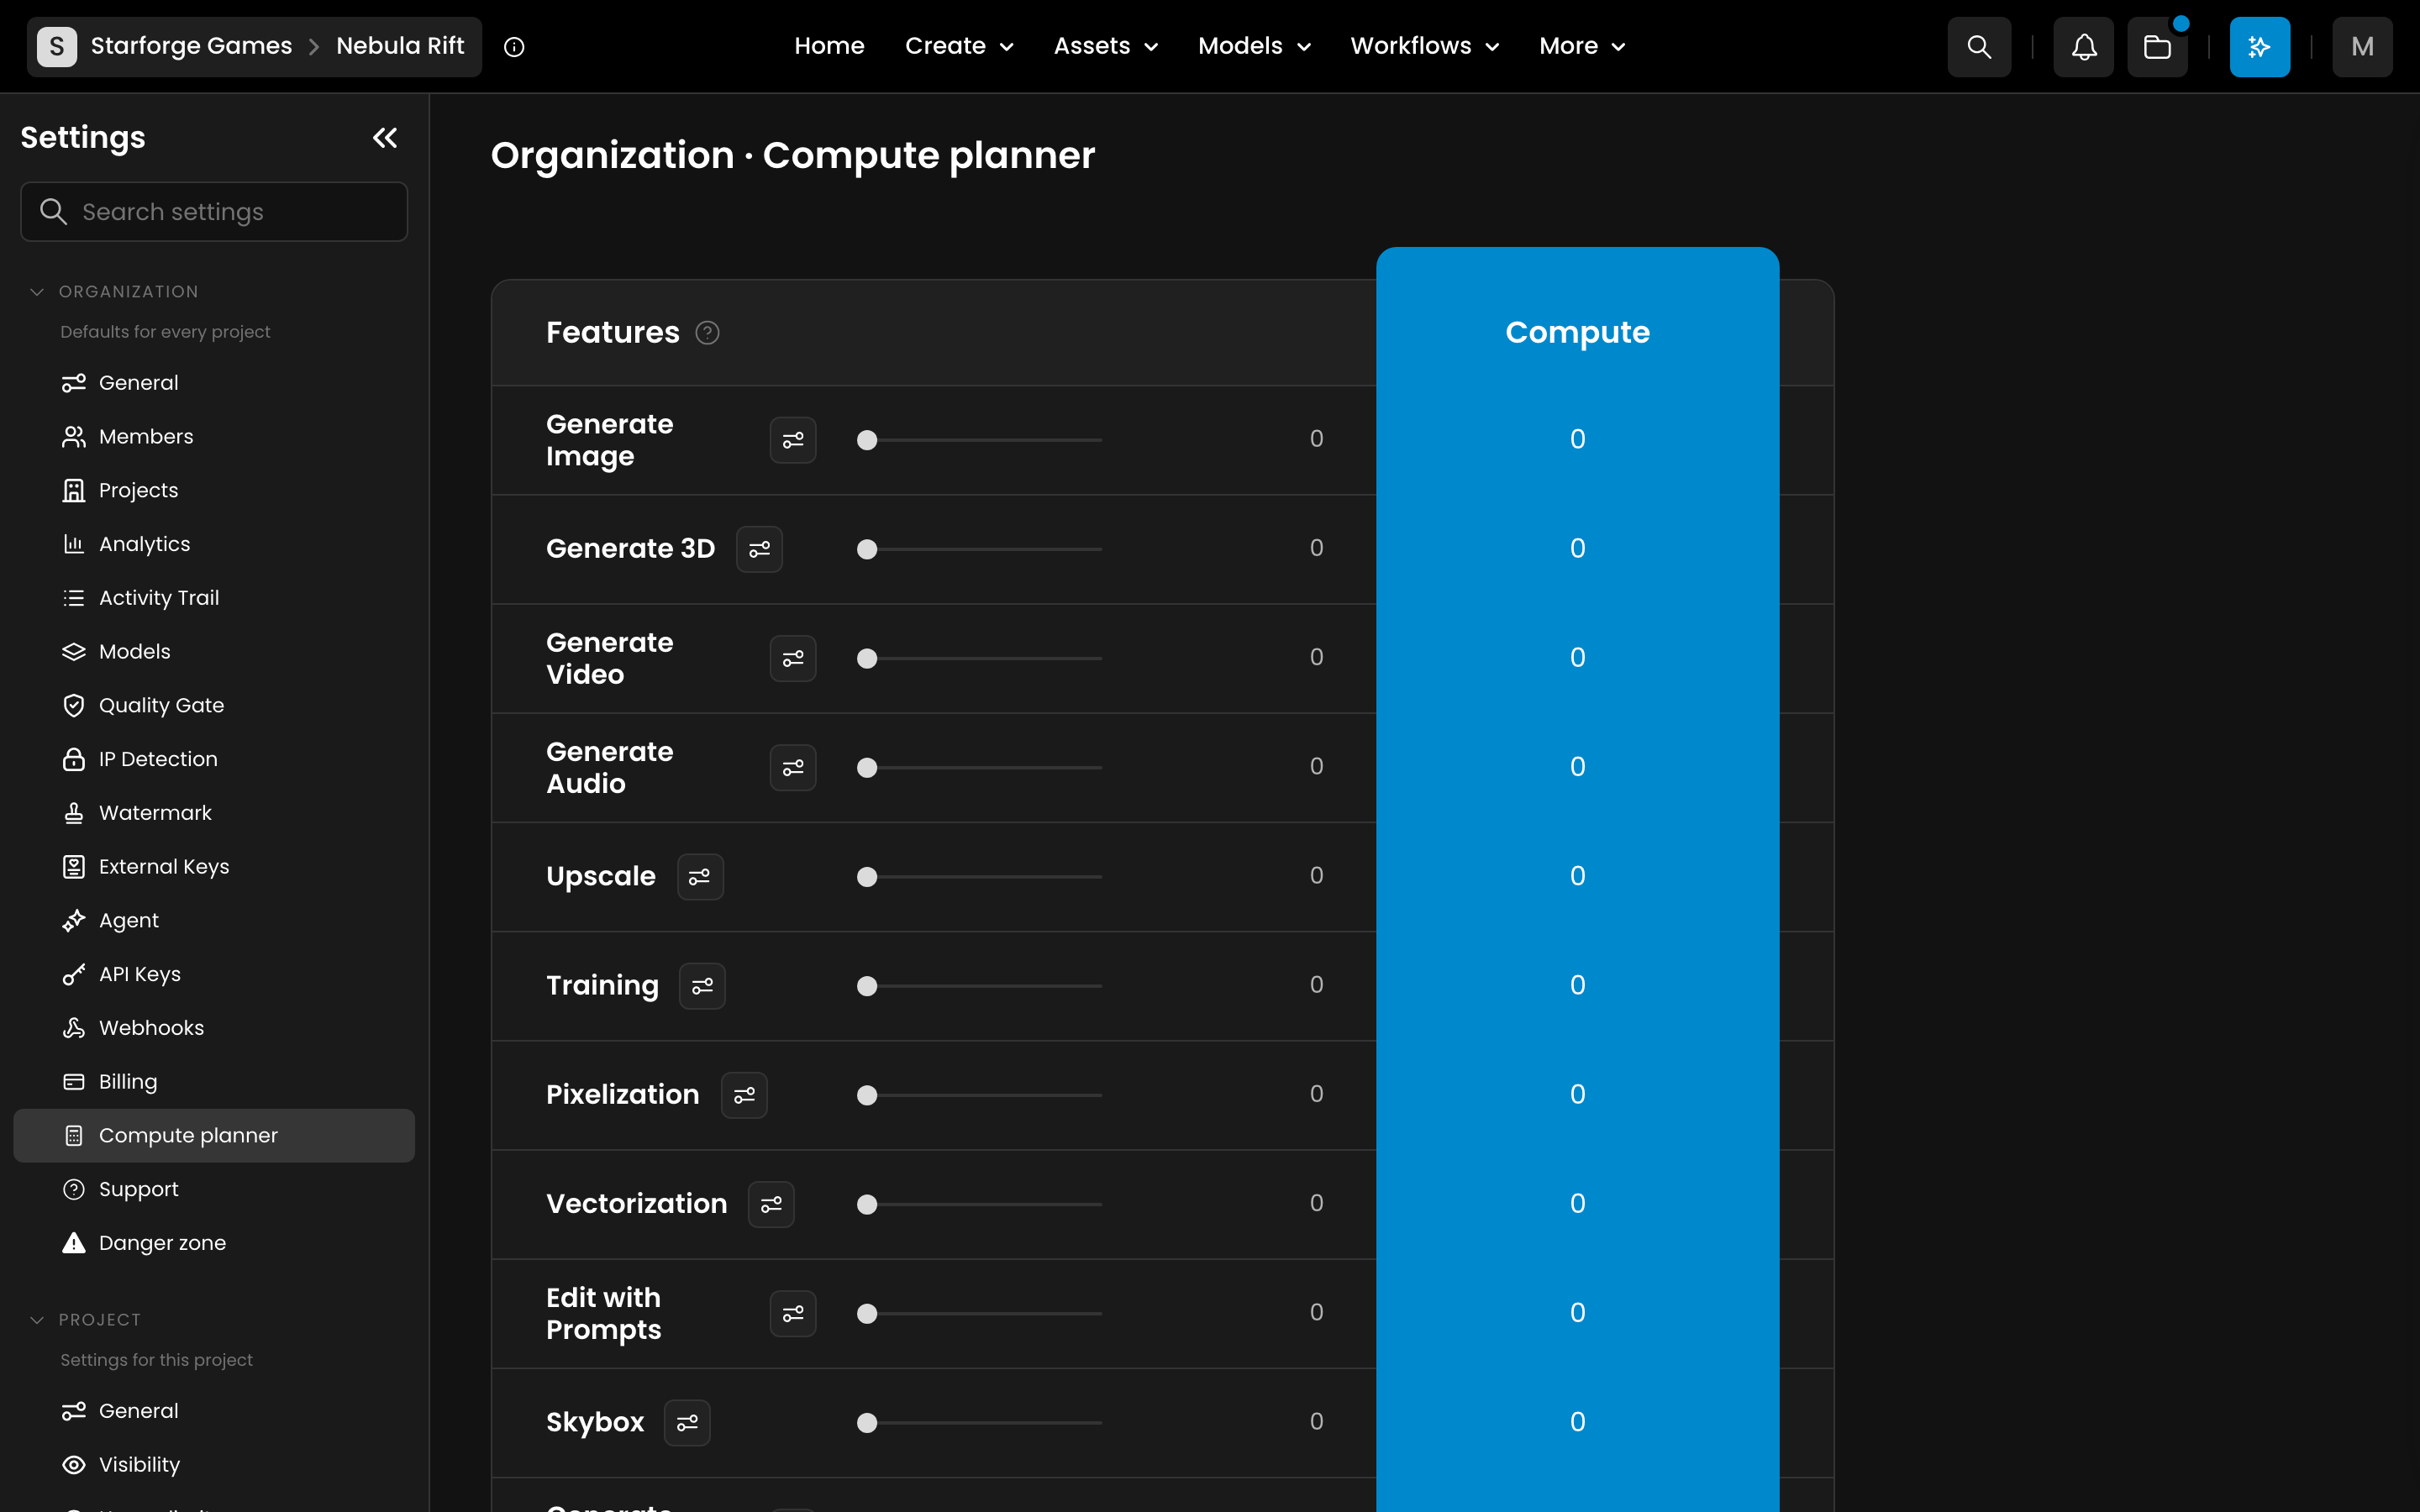
The Compute Planner (Settings > Organization > Compute planner) helps you forecast expenses based on your anticipated usage:
Adjust the sliders for different activities like image generation, model training, enhancements, vectorization, textures or skybox creation and more. The estimated credit amount updates in real-time as you adjust these values.
Access Support Resources
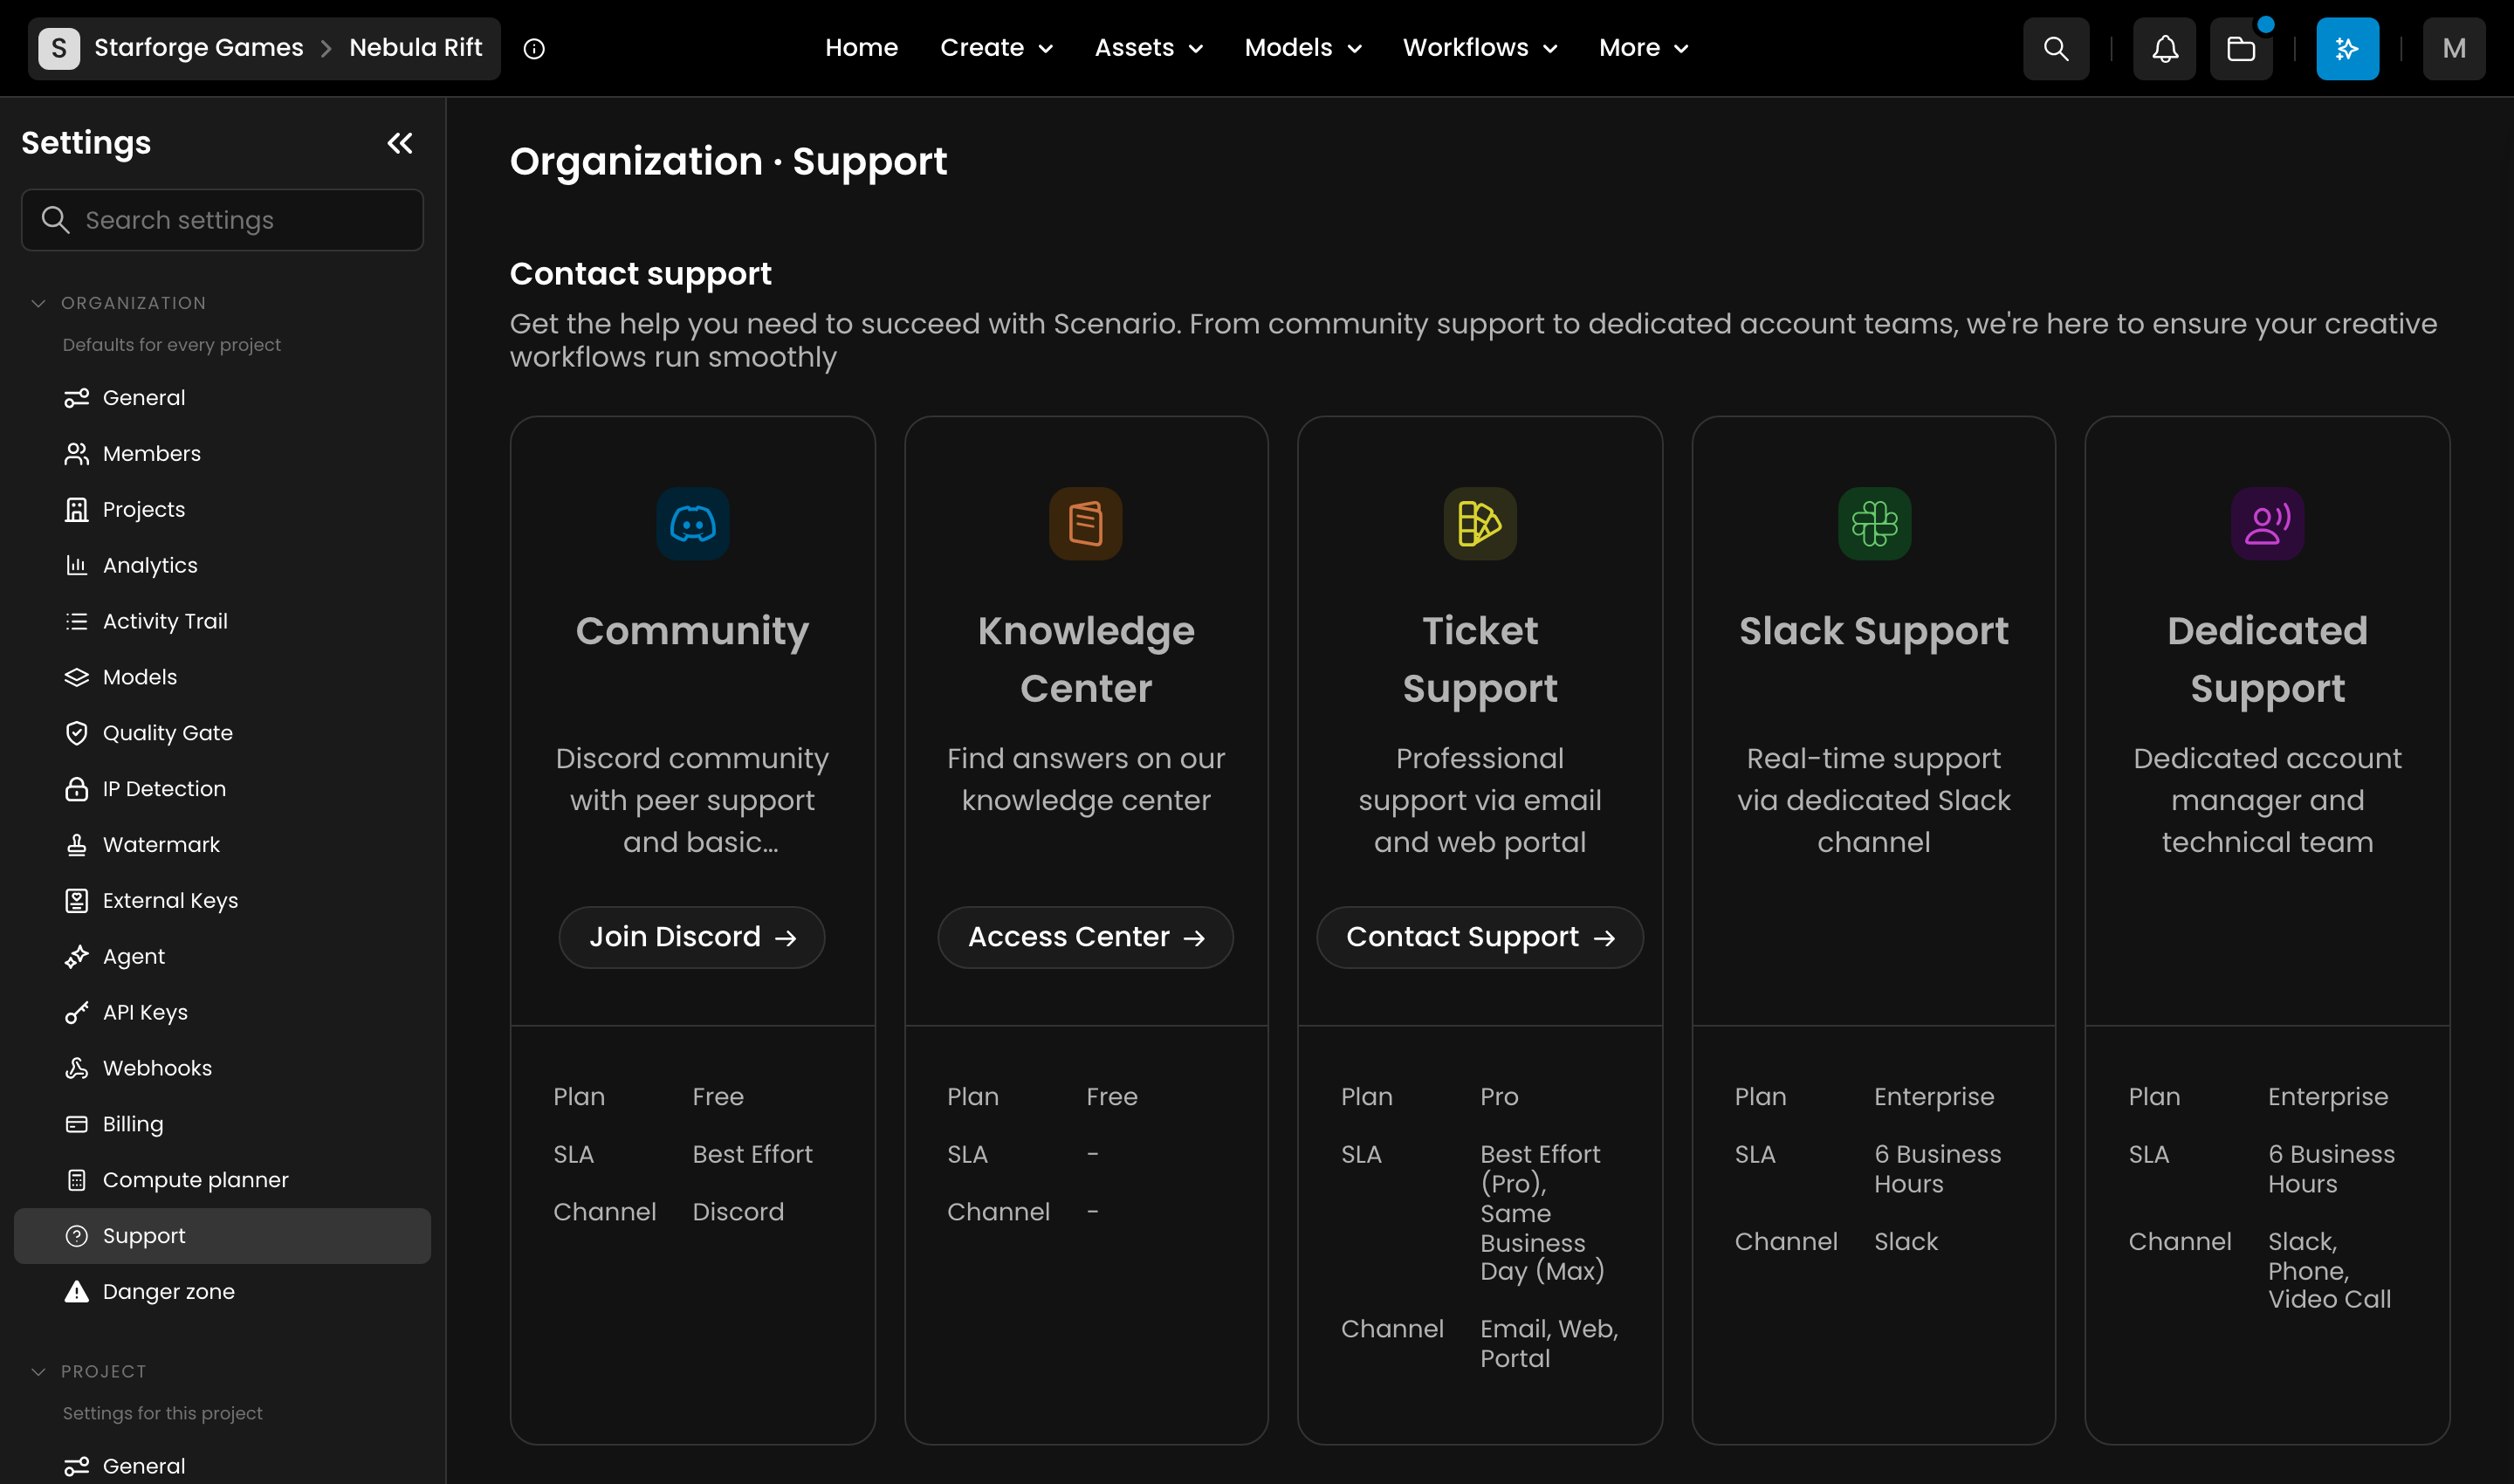
The Support section (Settings > Organization > Support) provides multiple channels for getting help:
Ticket Support: click Contact Support to submit a ticket for personalized assistance.
Knowledge Center: click Access Center to find detailed guides and tutorials for common questions.
Community: click Join Discord to connect with other creators and developers using Scenario.
Outside this section, you can also visit the Feature Request board to suggest new capabilities you'd like to see added to the platform: https://feedback.scenario.com/
Different support options are available to users on different plans, ensuring you can get help whenever you need it.