Generating from Your Custom-Trained Models via API
Last updated: April 9, 2026
The Scenario API gives you full programmatic access to every model you have trained: style models, character models, subject models, and multi-LoRA compositions. This guide walks through how to find your model ID and run your first inference against a custom-trained model.
For a general overview of what the API supports, see the Scenario API Overview. Full endpoint documentation is available at docs.scenario.com.
Finding Your Custom Model ID
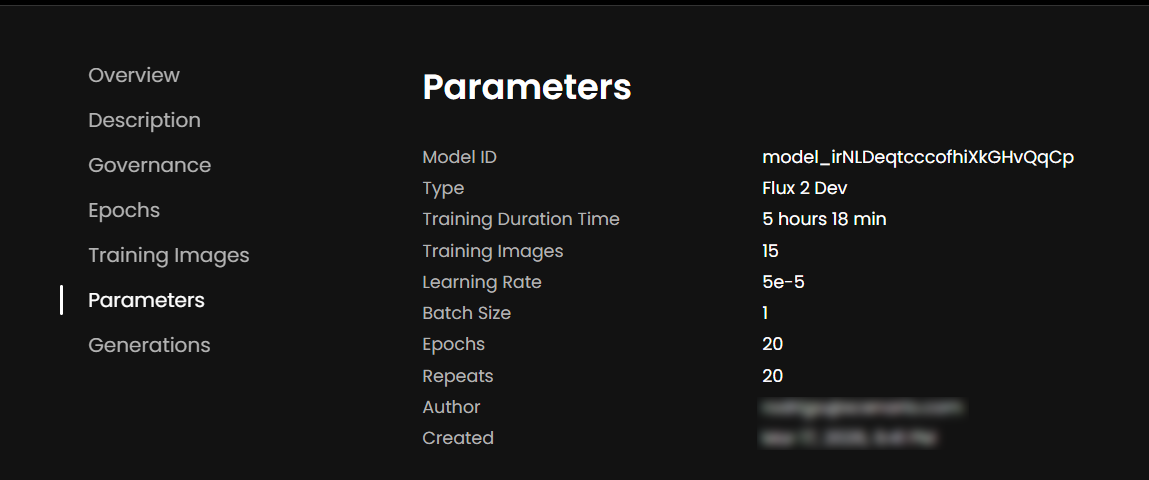
Every model you train in Scenario has a unique model ID. You will need this ID to call the model via API.
To find it:
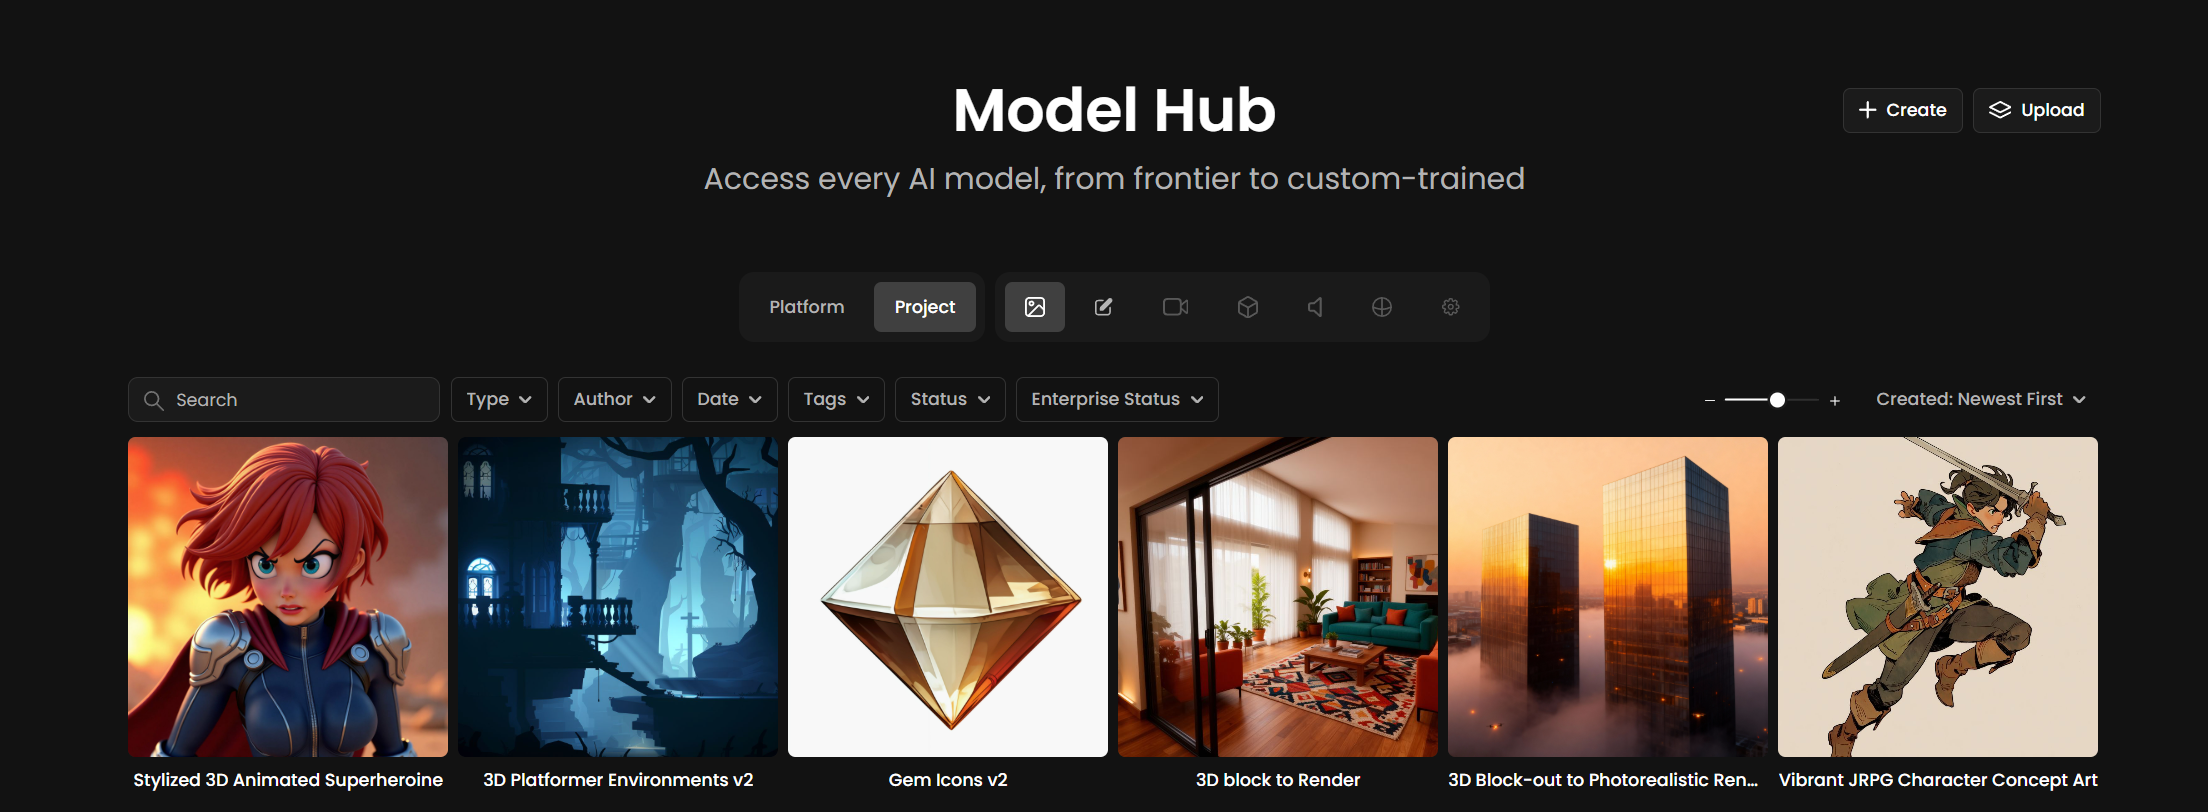
Go to Your Models in the Scenario web app.
Open the model you want to use.
Click the three-dot menu and select Copy Model ID. The ID follows the format model_xxxxxxxxxxxxxxxx.
You can also retrieve all your models programmatically using GET /v1/models, which returns a list of your trained models along with their IDs, names, and statuses.
Authentication
All API requests require your API Key and API Secret, which you can generate in Project Settings > API Keys. Authentication uses HTTP Basic Auth: your key is the username and your secret is the password.
Generating an Image from Your Custom Model
Image generation uses a single endpoint for all model types. The generation is asynchronous: you submit a request, receive a job ID, and then poll for the result.
Step 1 - Submit the generation request
POST https://api.cloud.scenario.com/v1/generate/custom/{modelId}
Replace {modelId} with your custom model's ID. The request body requires at minimum a prompt and an aspectRatio.
Example:
curl -X POST "https://api.cloud.scenario.com/v1/generate/custom/model_YOUR_MODEL_ID"
-u "YOUR_API_KEY:YOUR_API_SECRET"
-H "Content-Type: application/json"
-d '{
"prompt": "a warrior character in a forest, cinematic lighting",
"aspectRatio": "1:1"
}'
The response returns a jobId immediately:
{
"job": {
"id": "job_abcd1234efgh",
"status": "queued"
}
}
Step 2 - Poll for the result
GET https://api.cloud.scenario.com/v1/jobs/{jobId}
Poll this endpoint every 2 to 3 seconds until the status changes from queued or in-progress to success.
Step 3 - Retrieve the generated image
Once the status is success, the response includes the asset URL:
{
"job": {
"id": "job_abcd1234efgh",
"status": "success",
"result": {
"images": [{
"url": "https://media.scenario.com/assets/asset_xyz123.png"
}]
}
}
}
Using Multiple Custom Models Together (Multi-LoRA)
If you have merged two or more models into a Multi-LoRA composition, the merged model receives its own model ID just like any other trained model. You call it the same way - using that composition's ID in the endpoint. No additional parameters are required to activate the LoRA combination.
Using Your Custom Model Inside a Workflow via API
If you have built a Workflow in Scenario that uses your custom model as a node, you can trigger that workflow via API as well. Workflows are accessible through the same generation infrastructure. See the Scenario Workflows API documentation at docs.scenario.com for details on triggering and retrieving workflow outputs programmatically.
Useful Endpoints at a Glance
GET /v1/models - list all your trained models and their IDs
GET /v1/models/{modelId} - retrieve details and status for a specific model
POST /v1/generate/custom/{modelId} - run an inference against any model
GET /v1/jobs/{jobId} - check generation status and retrieve results
GET /v1/assets/{assetId} - retrieve a specific generated asset
For the full parameter reference for each model type, visit docs.scenario.com.