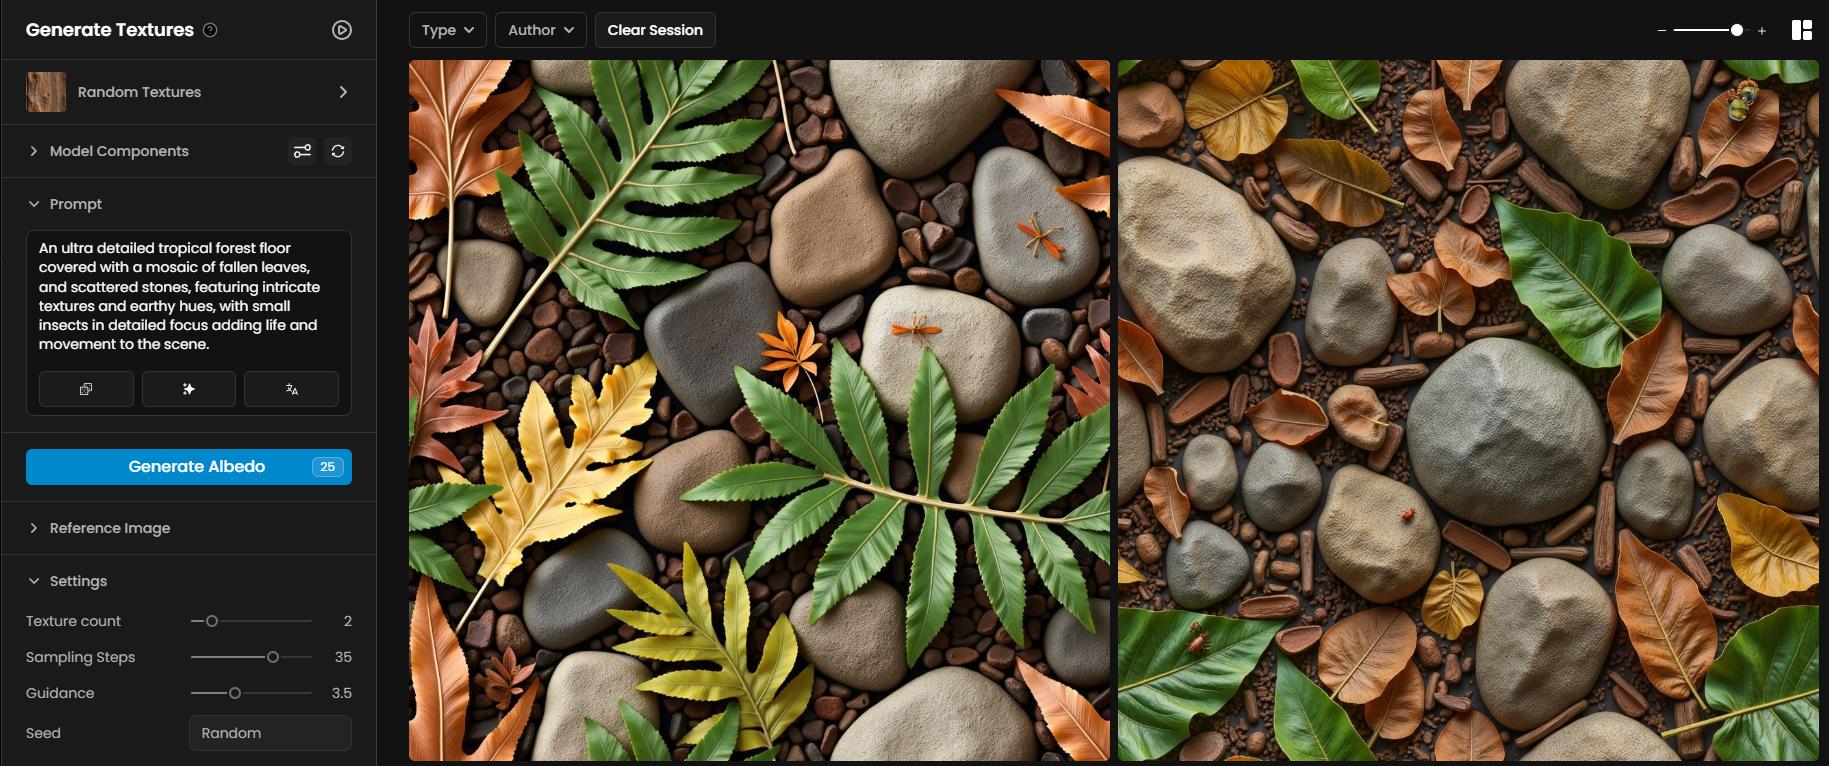
This article explains how to train your own custom texture model in Scenario, allowing you to create unique seamless textures for your projects.
Getting Started
There are two ways to start training a custom model:
Go to the side menu, click on "+ New" in the Models category, go to “Train your own model” and select "Start Training".
Or go to the models page and click on "+ New Model".
The model's training page will open, and here you can choose between Flux and SDXL as the model's base. It is recommended to choose Flux for seamless textures.

Preparing Your Dataset
Your dataset is crucial for your custom texture model:
Use at least 5 images to begin (10-15 high-quality images for better results)
Ensure images are sharp and at least 1024 pixels in resolution
If resolution is too low, use the "Upscale 2x" option in the three-dot menu on the uploaded image thumbnail
Choose images without strong light sources to create textures with neutral lighting
Avoid duplicate or very similar images as they can reduce versatility
Train the model using images that share a specific style, material or pattern
Training images don't need to be seamless - focus on capturing the style or pattern
More information about training dataset in our dedicated article.

Captioning
After uploading your images:
Review the automatic captions generated by Scenario
Adjust captions for consistency and relevance
Focus on describing variable elements (surface wear, texture variations) rather than fixed features
You don't need to describe every detail - focus on key characteristics
More information about caption in our dedicated article.
Adjusting Training Steps & Learning Rate
Two key settings affect the training process:
Training Steps: Determines how many iterations the model goes through
Learning Rate: Controls the size of adjustments made to the model's settings
Recommendations:
Keep “Automatic Training Steps” enabled to let Scenario optimize the number of iterations
Start with the default Learning Rate for a balanced approach
If you adjust manually, remember that increasing training steps might require lowering the learning rate, and vice versa
Tagging
Important: Tag your model with "Texture" either before training on the training page or after training. This makes the model recognizable as one that generates seamless textures.
Training Your Custom Model
When ready, click the "Train" button to start the process. Training time varies based on dataset size, typically ranging from 20 minutes to a few hours.
Using Your Model
Experiment with different prompts after training to explore your model's capabilities:
Start by using straightforward descriptions like "a rugged stone wall" or "a polished metal plate"
Try Prompt Spark to generate suggestions based on your captions
Adjust the prompt for more detail or style as needed
Adjusting Your Model
To refine your model:
Go to the model page and select the Details tab
You can add a Prompt Embedding with your desired style for more consistency in style
Add a description for more context about the model
Pin the best-generated images in the Generations tab to influence prompts generated by Prompt Spark
Here you can also add tags to the model

Access This Feature Via API
You can follow the API recipe to train a model: https://docs.scenario.com/recipes/train-a-flux-dev-lora-model
Resources:
Create a Model: Scenario API Documentation - Create a Model
Add Training Images: Scenario API Documentation - Add Training Images
Modify Captions: Scenario API Documentation - Modify Captions
Trigger Model Training: Scenario API Documentation - Trigger Model Training
Was this helpful?