Vectorize
Last updated: September 17, 2026
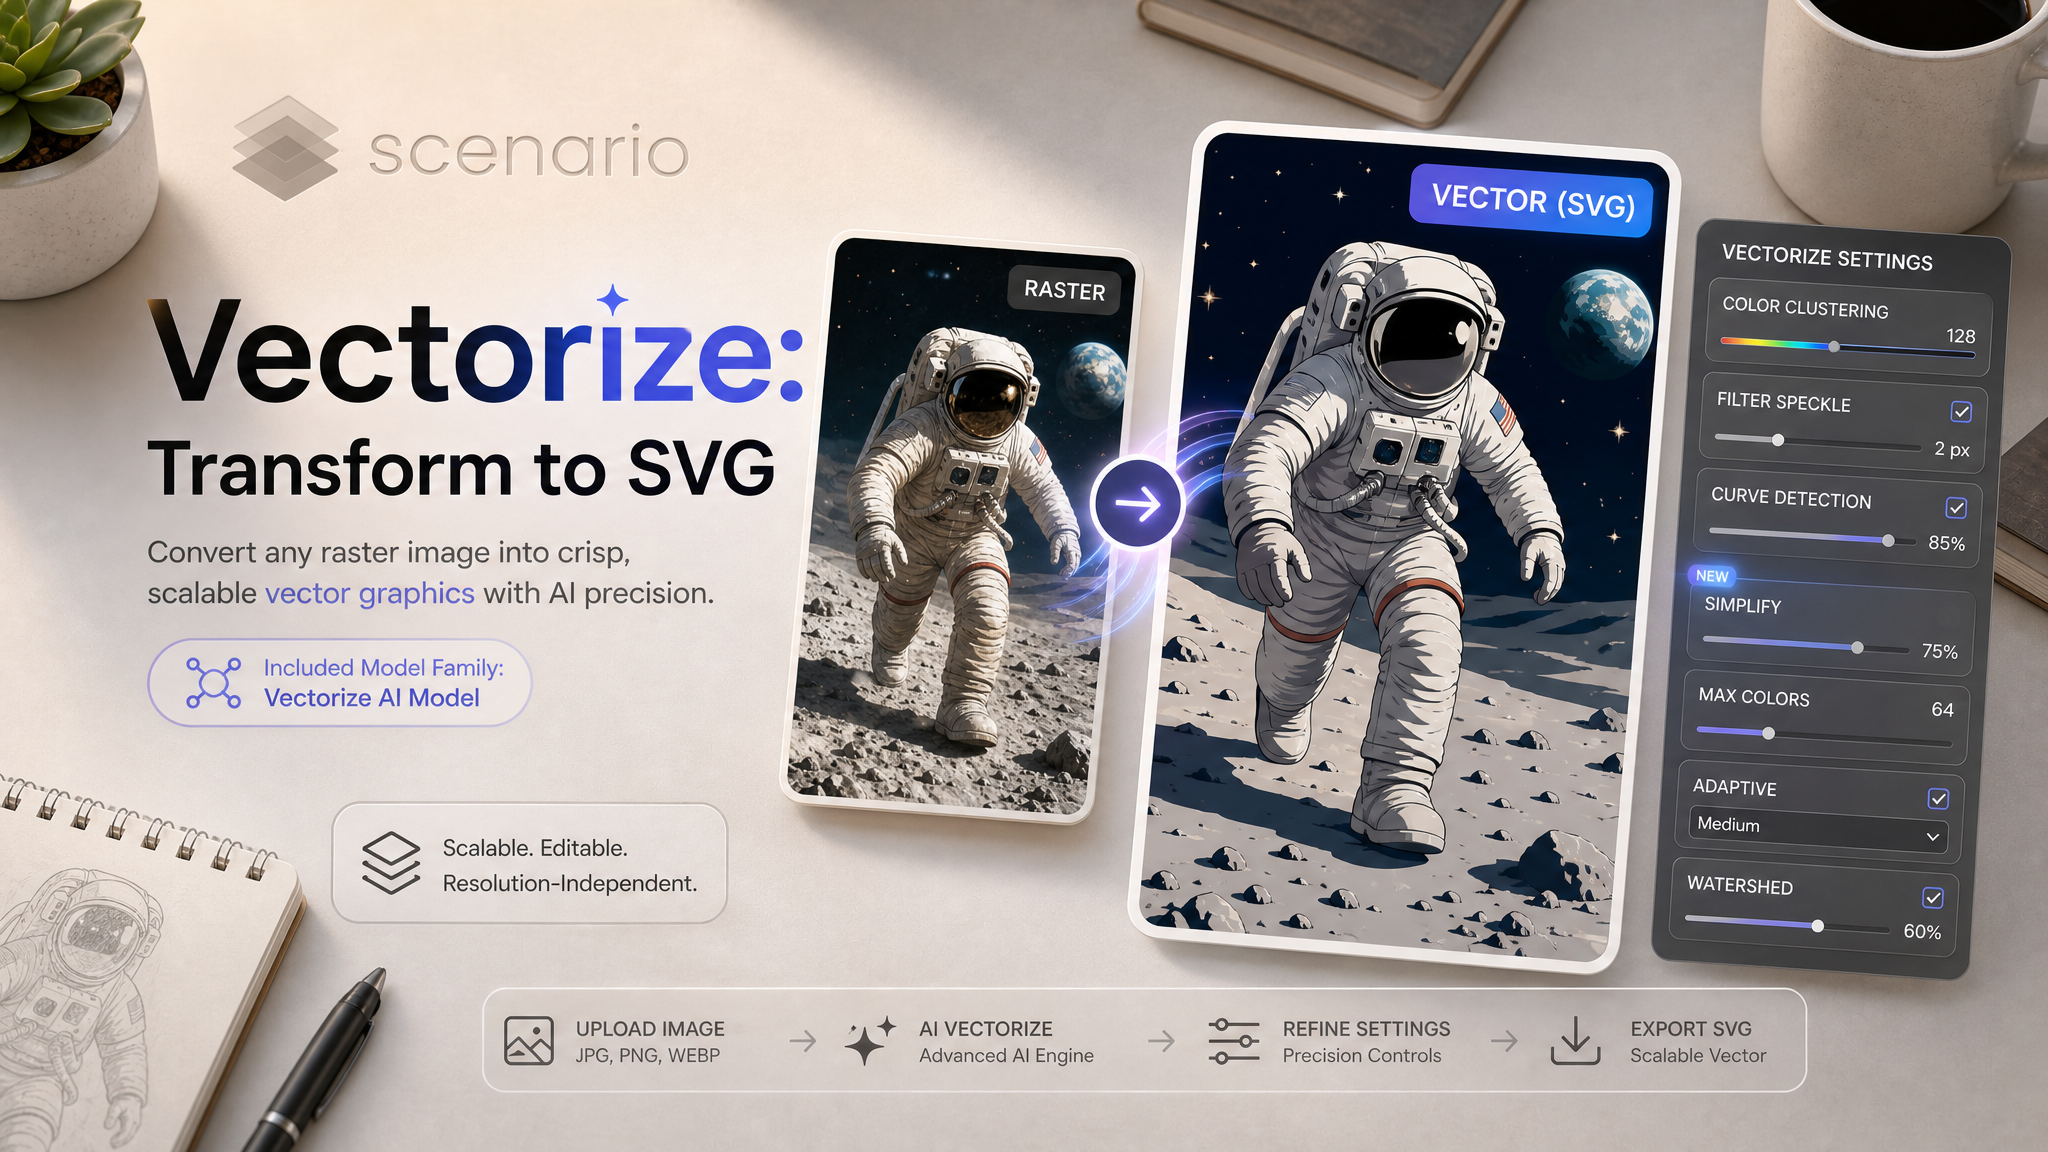
This guide walks you through using Scenario's Vectorize tool to transform standard images into clean, scalable vector graphics (SVGs). Vectorizing converts flat images (PNG or JPEG) into vectors that maintain quality at any size. This is perfect for logos, icons, game assets, and design elements that need to be used at various scales, across different platforms.

What is Vectorize?
Vectorize converts raster images (PNGs, JPGs) into SVG (Scalable Vector Graphics) format, which uses lines, curves, and shapes instead of pixels. Unlike raster images that blur when enlarged, vectors remain crisp at any scale, making them ideal for logos and branding elements, UI components and icons, game assets that need scaling, and illustrations for print and digital use.

How to Vectorize Images: Step-by-Step
Step 1 (optional): Prepare Your Image for Better Results
First, it’s recommended to enhance (upscale) your image to achieve cleaner, more precise vectors. Select an image from your gallery and click the three-dot menu on the image thumbnail. Select "Enhance" (more details about this tool here)
For best vectorization results, set the style to "Minimalist" to simplify details while preserving the core design. Choose a 2x scaling factor and select the "Precise" preset to retain important details. Click "Enhance" to process your image. When your enhanced image is ready, open it and select "Vectorize" from the right menu on the image detail page (or from the 3-dot menu).
Tip: Images with simple shapes and solid colors produce the cleanest vectors. Photos or highly detailed images often result in more complex vector outputs.

Step 2: Adjust Vectorization Settings
Once your image loads in the Vectorize interface, you'll see settings to the left side, with various options available to generate your vector. These settings control how your vectorized image will look.
You can start by selecting a preset that matches your needs. "None" gives you manual control over all settings. "Black & White" creates a monochrome vector. "Poster" simplifies colors for bold graphics. "Photo" preserves details for complex images. "Asset" optimizes for game-ready vectors. "Pixel Art" maintains a pixelated style.
The Color Clustering settings help you control the color complexity of your vector. Choose between Color (full-color output) or Black & White mode. Adjust the Filter Speckle value to remove small dots and reduce noise. Increase Color Precision to improve color matching accuracy. Increase Layer Difference to merge similar colors, simplifying the design.
Other parameters include:
Color Clustering: Select Color (default, full-color output) or Black & White (monochrome output)
Filter Speckle: Increase this value to remove small, isolated dots, reducing noise in the vector.
Color Precision: Higher values improve color matching to the original image, ensuring accuracy.
Layer Difference: Increase to merge similar colors into fewer layers, simplifying the vector design.
Curve Detection: Choose Spline for smooth, flowing curves, Pixel for blocky outlines, or Polygon for straight, angular edges.
Corner Thresh: Higher values smooth out corners for softer transitions in the vector shape
Length Thresh: Higher values ignore smaller lines, streamlining the vector output.
Splice Thresh: Adjust to fine-tune accuracy. Remember that higher values reduce accuracy, while lower values enhance precision.
Tip: Start with the default values and make small adjustments as needed.

Step 3: Generate Your Vector
With your settings configured, click the "Vectorize" button to process your image. Scenario will convert your enhanced image into a scalable vector graphic based on your parameters.
Step 4: Review and Export
After processing, check the output in Scenario's preview. If needed, adjust settings and regenerate for better results. When satisfied, download the vector as an SVG file and open it in any compatible software like Adobe Illustrator, Figma, or Unity.
Note: Scenario's preview shows a rasterized version of the vector. To see the true quality, download and open the SVG file in a compatible application.

What’s New: More Control Over Your Vectors
Vectorize just picked up a new preset plus four fine-tuning controls. Illustration joins Black and White, Poster, and Photo as a fifth preset. Simplify and Max Colors layer on top of any preset, while Adaptive and Watershed are new options inside Custom mode (Adaptive also works with the Black and White preset). The tool's cost is unchanged.
Illustration preset
Illustration is a new preset built for gradient-heavy art: soft shading, painterly backgrounds, and airbrushed color transitions that the Photo preset traces more roughly. It applies fine watershed segmentation with seam-sealing strokes, so neighboring regions blend cleanly instead of leaving visible gaps or hard edges. On that kind of asset, it beats Photo by roughly 2.6 to 2.8 dB and traces 3 to 5 times faster. In our own test on a painterly phoenix illustration, Illustration finished in about 11 seconds against 24 seconds for Photo on the same image, with visibly smoother gradient blending across the sky and plumage.

Photo preset: same image, more visible banding across the gradients · Open on Scenario

Illustration preset: cleaner blending, faster trace · Open on Scenario
Simplify
Simplify collapses redundant curve points after tracing, shrinking the SVG file with no visible change to the shape. Vectorizing this line-art logo produced a 608 KB file at the default Simplify value of 0. Raising Simplify to 2 cut it to 133 KB, a 78% reduction, with the linework looking identical. It's the fastest way to lighten an SVG before it goes into a game engine or a web page.

Coffee shop logo vectorized with Simplify at 2: same look, 78% smaller file · Open on Scenario
Max Colors and Palette
Max Colors quantizes the output to a fixed number of colors, merging close shades into fewer, cleaner fills. Palette goes further and snaps every region to a list of hex colors you provide, useful for matching a brand kit exactly. This flat illustration uses a dozen close shades of green: with no color limit, every subtle shade is traced as its own region. Setting Max Colors to 6 merges them into a bold, poster-ready palette.

No color limit: every shade traced as its own region · Open on Scenario

Max Colors set to 6: fewer, bolder fills · Open on Scenario
Adaptive (Black and White)
The Black and White preset normally applies one fixed brightness cutoff to the whole image, which struggles with scans or photos that have uneven lighting. Adaptive switches to Bradley-Roth thresholding, recalculating the cutoff locally across the image instead of globally. This photo of a pencil sketch has a lamp lighting one side of the page: with a fixed threshold, the dim half collapses into a solid black block and the drawing is lost there. Turning Adaptive on recovers the full sketch evenly across the page.

Fixed threshold: the dim side of the page is lost · Open on Scenario

Adaptive on: the same photo, fully recovered · Open on Scenario
Watershed (Color Mode)
Watershed is a new option under Color Mode, alongside Color and Binary. Instead of tracing flat color boundaries, it forms regions across color gradients, which suits art with soft shading or painted texture better than standard Color mode. The Watershed Detail dial sets how many regions it forms: higher values pick up finer gradient steps. This game shield icon has soft shading across the wood grain and metal rivets: Color mode traces it as a handful of large flat regions, while Watershed mode picks up the gradient banding for a more textured, painterly result.

Color mode: flat regions only · Open on Scenario

Watershed mode: regions follow the color gradient · Open on Scenario
Tip: Simplify and Max Colors/Palette apply on top of any preset, including Poster and Photo. Adaptive needs the Black and White preset (or Custom with Binary color mode); Watershed needs Custom mode with Color Mode set to Watershed.
Practical Examples
Example 1: Logo Vectorization
Settings: Enhance with Minimalist style (2x, Precise preset), None preset for vectorization, Spline curve type, Filter Speckle at 4, Color Precision at 5, Layer Difference at 16, Corner Thresh at 80, Length Thresh at 10, Splice Thresh at 5.
Process: Start by generating an image in Scenario using the prompt: “A logo with the text ‘EXPLORE’ in a minimalist vector style, featuring solid colors and a simple mountain symbol.” Next, enhance the generated image with the Minimalist style (2x scaling, Precise preset, same prompt) to simplify details and ensure clean lines. Finally, apply the Vectorize tool with the None preset to manually adjust settings, setting Curve Detection to Spline for smooth curves, Filter Speckle to 4, Color Precision to 5 for color matching, Layer Difference to 16, Corner Thresh to 80 for softer transitions, Length Thresh to 10 to streamline smaller lines, and Splice Thresh to 5 for high precision, resulting in a polished vector output.
Result: A crisp, scalable logo vector with streamlined details. This is perfect for game titles, branding assets, or merchandise! It features the bold ‘EXPLORE’ text and a minimalist mountain symbol with smooth, solid-color design.

Example 2: Game Icon Set
Settings: Enhance with Minimalist style (2x, Precise preset), None preset for vectorization, Spline curve type, Filter Speckle at 4, Color Precision at 7, Layer Difference at 16, Corner Thresh at 80, Length Thresh at 10, Splice Thresh at 5.
Process: Start by generating an image in Scenario using the prompt: “A game icon featuring a sword and shield crossed, isolated on a white background, in bright, bold colors, in a flat vector style.” Next, enhance the generated image with the Minimalist style (2x scaling, Precise preset, same prompt) to simplify details and ensure clean lines. Finally, apply the Vectorize tool with the None preset to manually adjust settings, setting Curve Detection to Spline for smooth curves, Filter Speckle to 4, Color Precision to 7 for accurate color matching, Layer Difference to 16, Corner Thresh to 80 for softer transitions, Length Thresh to 10 to streamline smaller lines, and Splice Thresh to 5 for high precision, resulting in a polished vector output.
Result: A set of clean, scalable game icons with smooth, bold designs. This is perfect for in-game UI or inventory systems. The vectorized set includes a stylized bottle of wine paired with a piece of meat, a sword and shield emblem with a vibrant star, and a stack of wooden logs, all rendered with crisp lines and solid colors, as shown below.
Tip: Generate the other icons using a similar prompt or generate one with Prompt Spark.


Quick Tips
Enhance your image with the Minimalist style before vectorizing for the best results. Images with fewer, flatter colors naturally produce cleaner vectors. Adjust Filter Speckle values between 4-12 to help remove noise without losing detail.
Always download and test your SVG in the intended application to ensure it meets your needs.
Vectorizing in Scenario gives you the flexibility to create professional, scalable graphics from any image. With these steps, you can transform your designs into clean vectors ready for any project, from game development to brand assets and beyond.
New: Scenario Vectorize Model (Quick Presets)
There is now a second way to vectorize on Scenario: the standalone Scenario Vectorize model, available directly from the model catalog. Upload any image and pick one of three style presets, no Enhance step needed first. It is the fastest path for icons, logos, stickers, and clean illustrations. Use the manual Vectorize tool described above when a project needs fine-grained control over color count, curve type, or noise filtering.
Clean (recommended)
Flat shapes with smooth curves, using the colors already in the source image. The right choice for icons, logos, stickers, illustrations, and comics.

Source: a grid of fantasy game badges · Open on Scenario
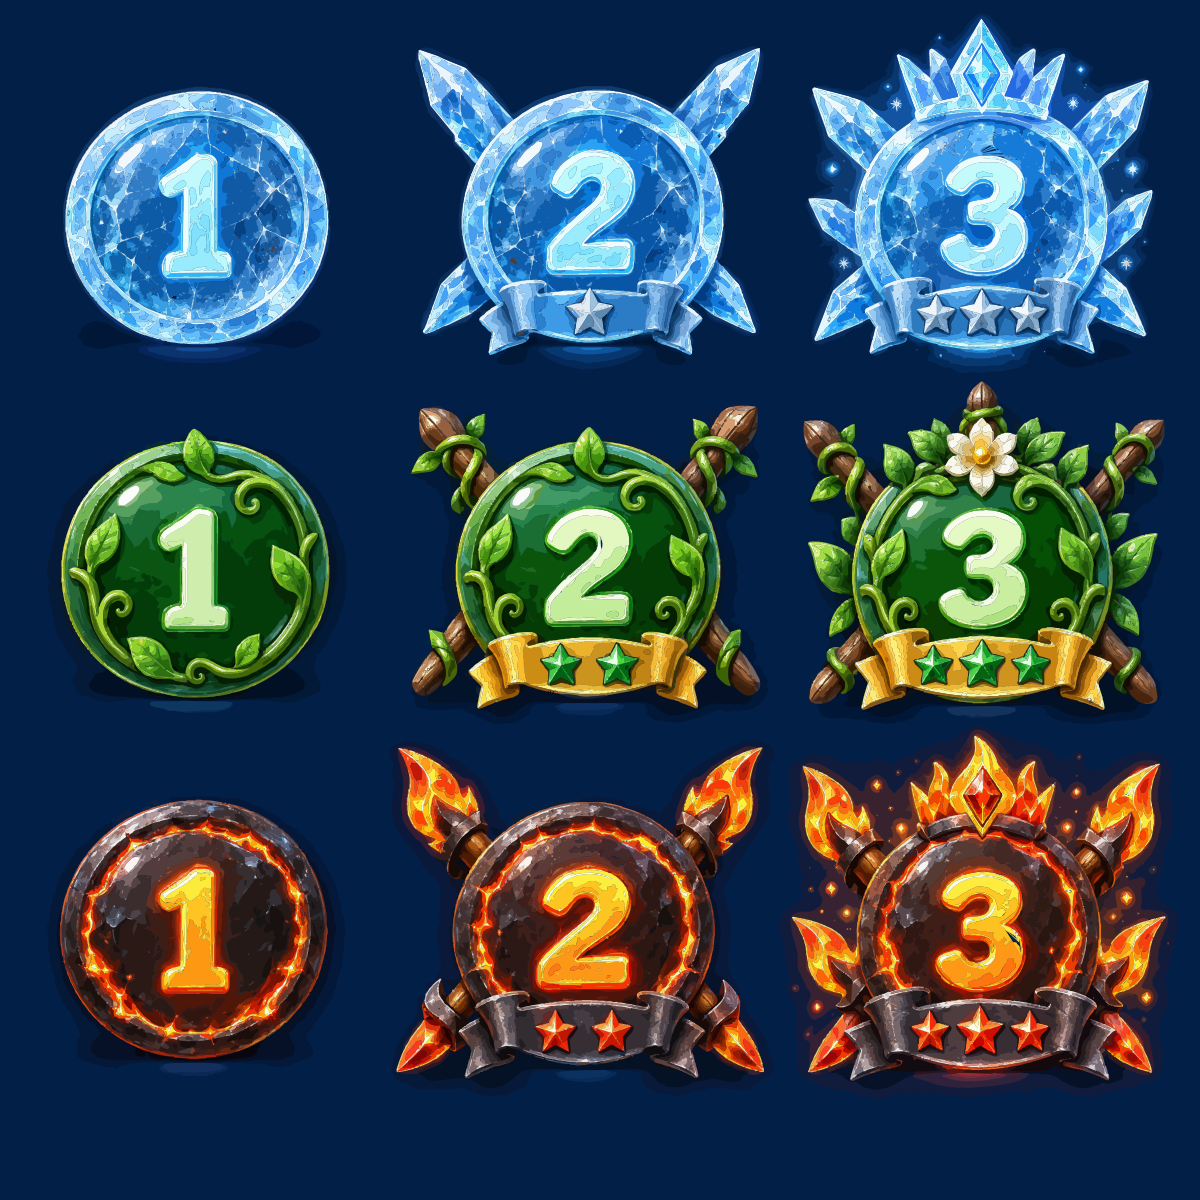
Vectorized with Clean: flat shapes, smooth curves, original colors · Open on Scenario
Minimal
The same flat look as Clean, but with the fewest colors possible. Good for turning a photo or a busy illustration into a bold, poster-like palette.

Source: a labeled human heart diagram · Open on Scenario
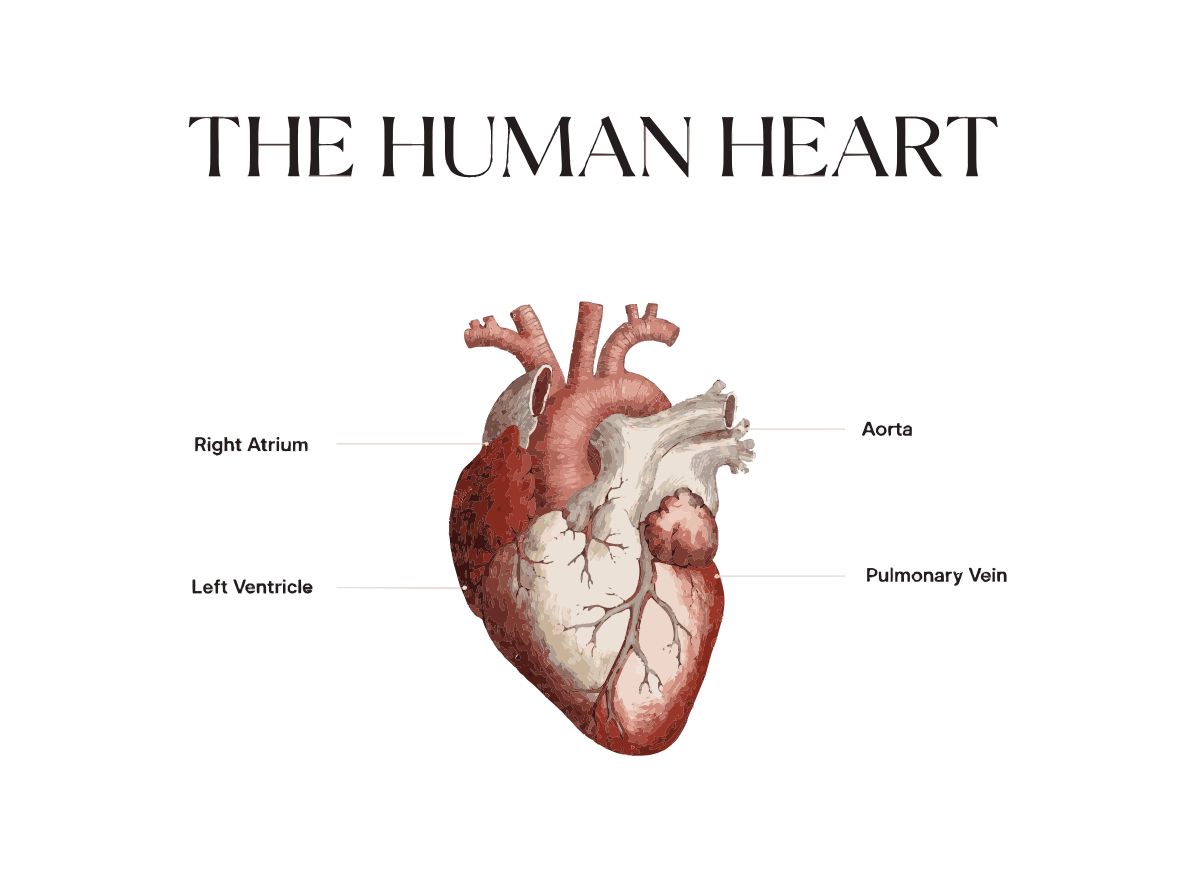
Vectorized with Minimal: flat shapes, fewest colors · Open on Scenario
Textured
Keeps the original shading and texture instead of flattening it, at the cost of many more shapes. Built for photos and painterly art where the gradient detail matters.

Source: a stained glass peacock illustration · Open on Scenario
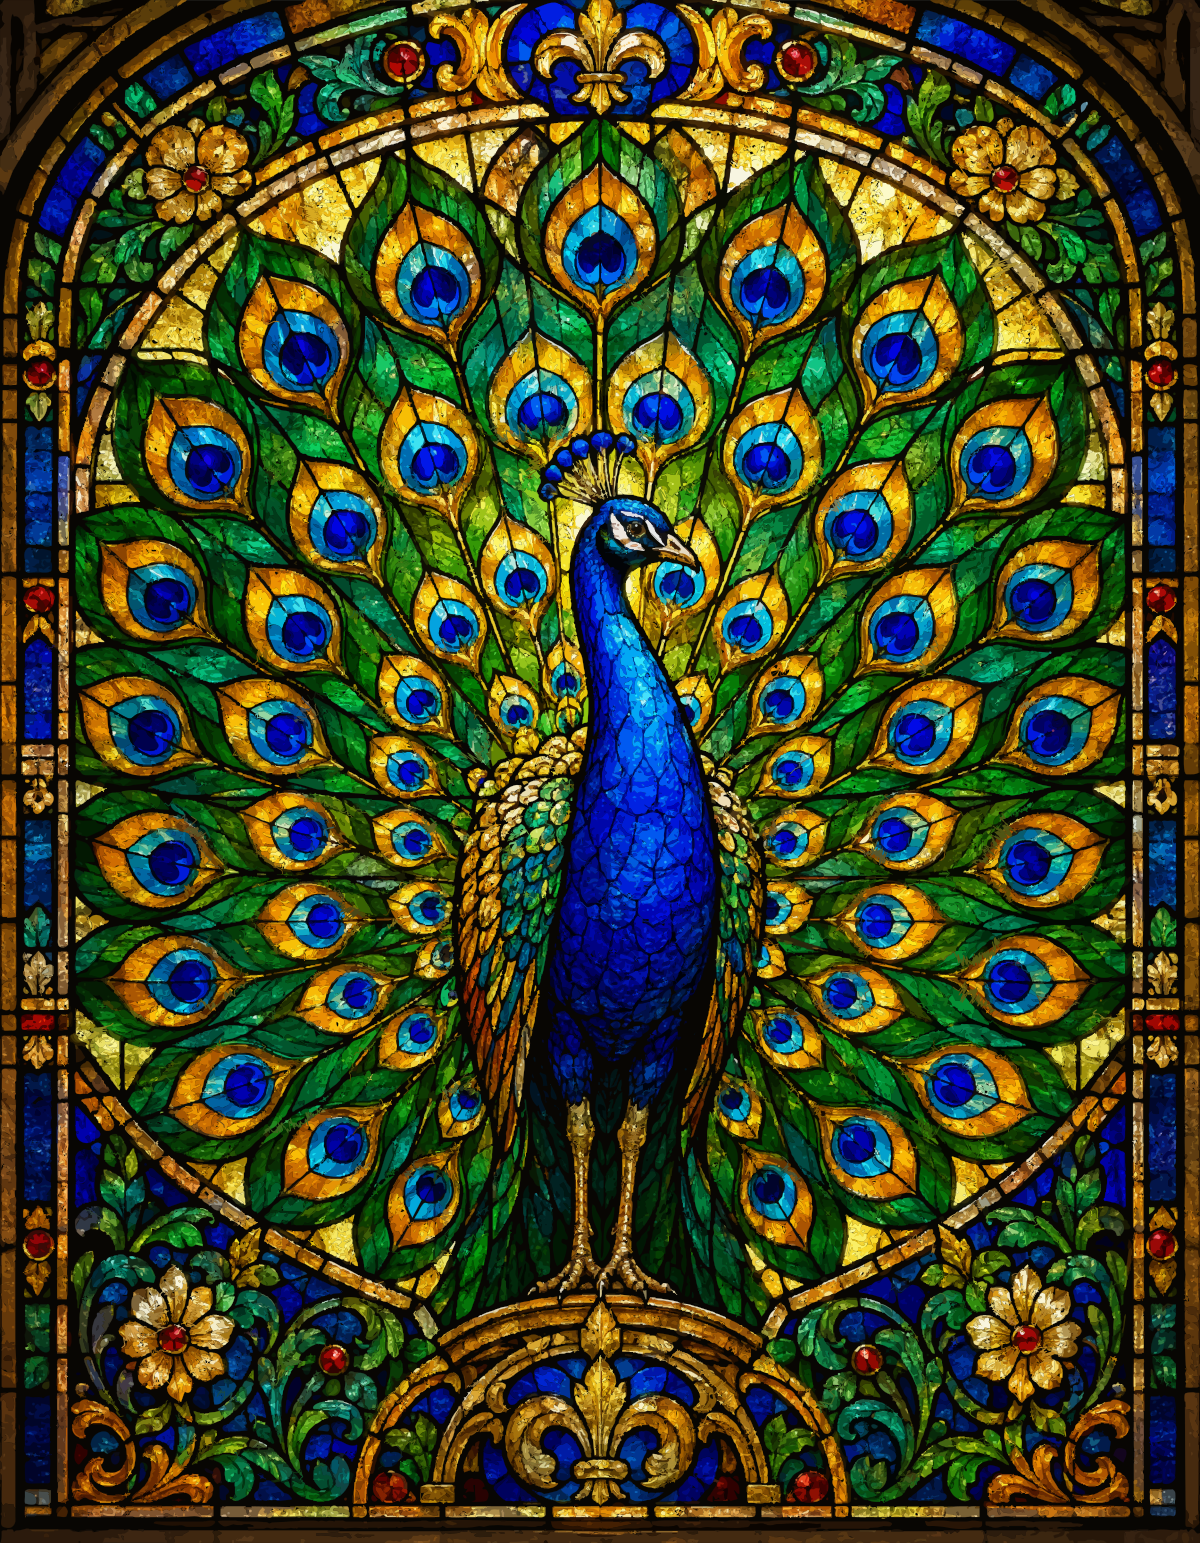
Vectorized with Textured: shading and gradient detail preserved · Open on Scenario
Tip: images smaller than 1024px are enlarged first with Scenario's creative upscaler so the shapes come out clean, which adds a small cost. For icons and logos, Clean plus a simple, solid-color source image gives the cleanest result.