FLUX.3 Edit Video: The Essentials
Last updated: October 6, 2026
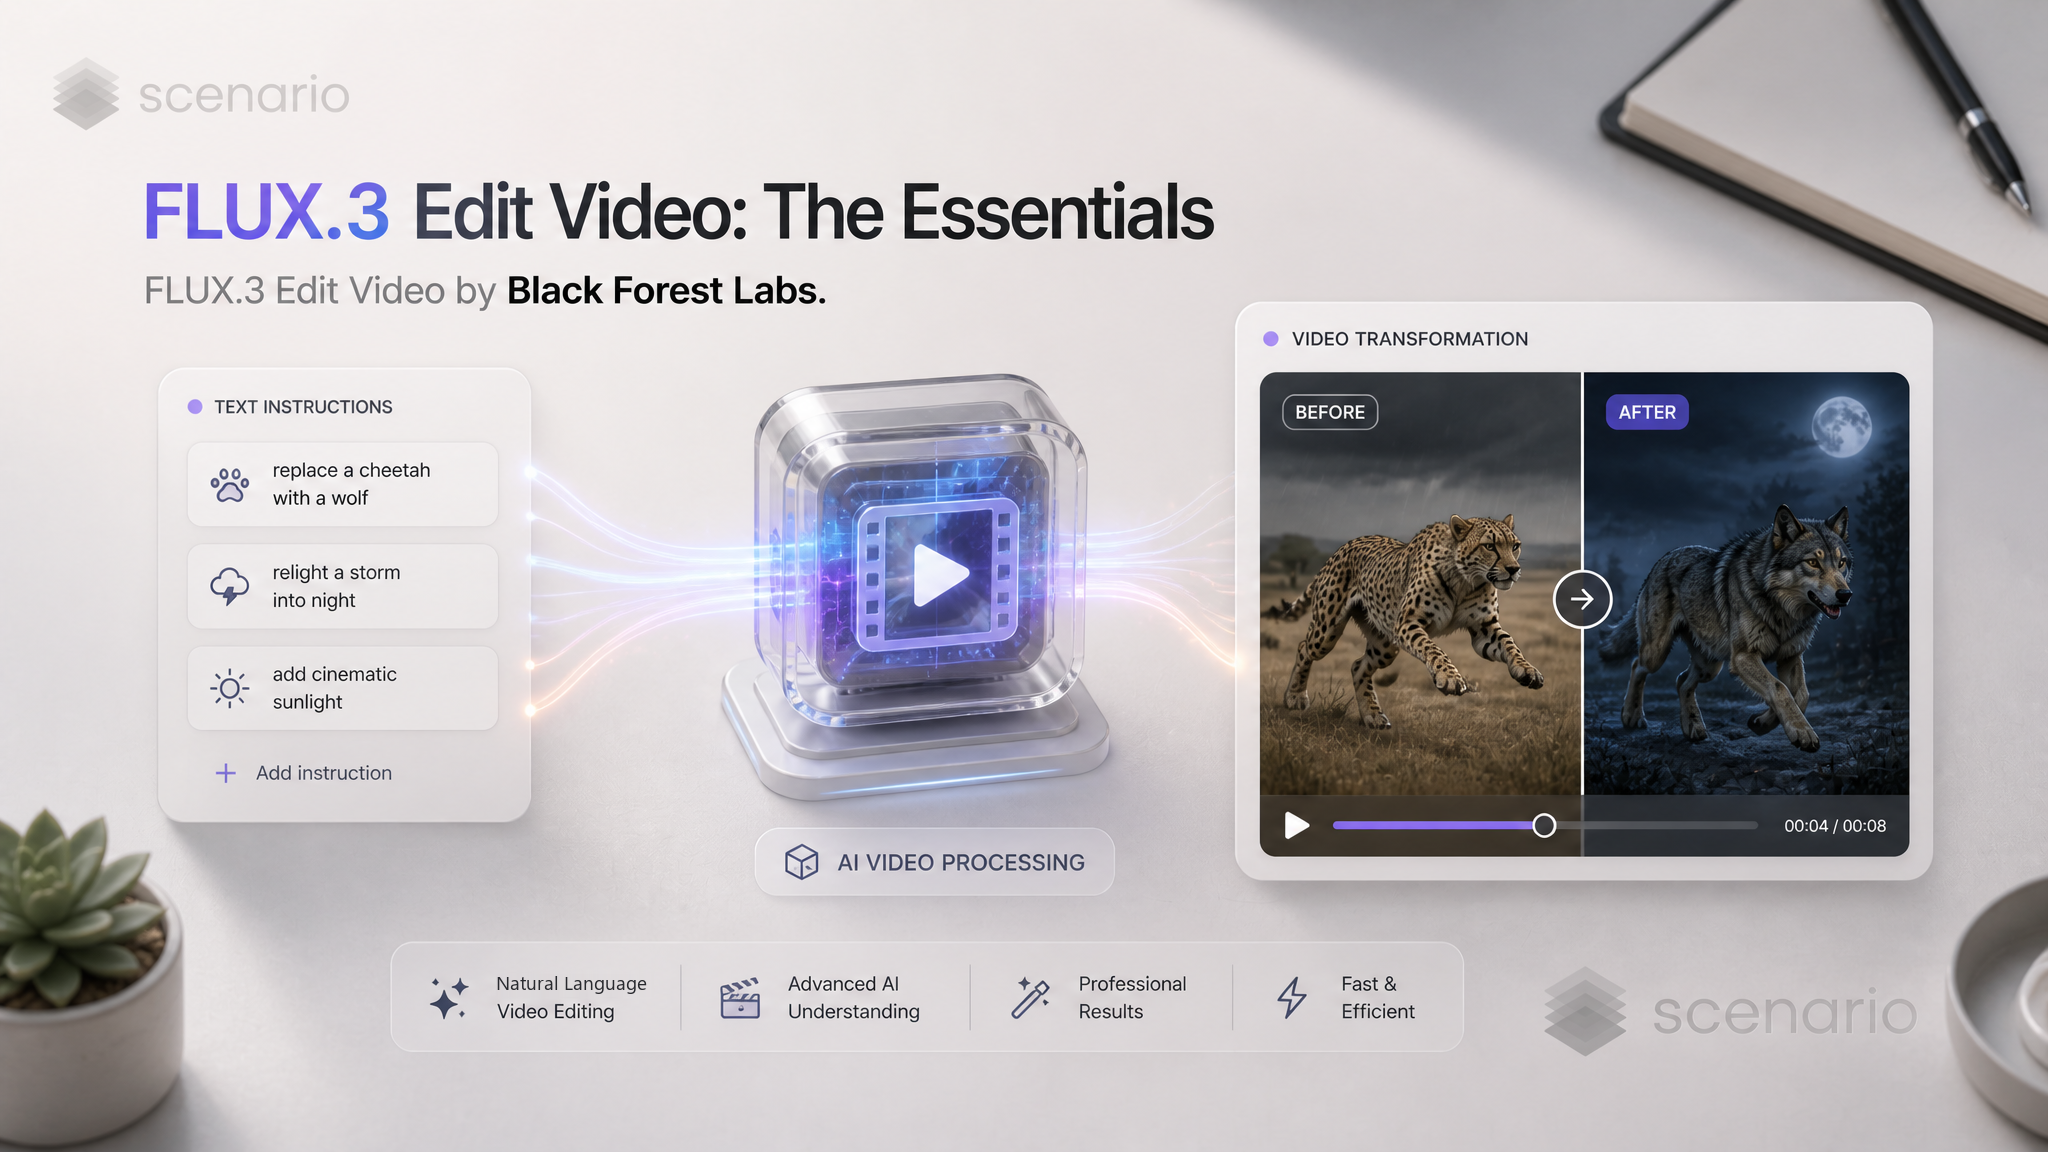
FLUX.3 Edit Video is Black Forest Labs' video editing model. Give it a clip and one text instruction, and it re-renders the footage with that change while keeping the original motion, timing, framing and camera move. Relight a scene, swap the environment, replace a character, add or remove objects, change the weather or move the whole clip into another style, without reshooting. It is a companion to the generation models covered in FLUX.3 Video: The Essentials.
An anime clip re-rendered as live-action footage with one prompt · Open on Scenario
Which Model Should I Use?
Model | ID | Input | Best for |
|---|---|---|---|
FLUX.3 Edit Video (Editing) |
| A video under 15 seconds and a prompt | Changing what is in a clip you already have: light, setting, subjects, objects, weather, style |
FLUX.3 Extend (Generation) |
| A video and a prompt | Continuing a clip in time rather than changing it |
Use Edit Video when the footage is right and only something in it should change. To make a clip longer, use an extend model instead; to create footage from scratch, use the FLUX.3 Video generation models.
How to Use the Model
How FLUX.3 Edit Video works
Upload a video (MP4, under 15 seconds and under 50 MB) and write a prompt that describes only the change. Anything the prompt does not mention stays as filmed: the length, the cuts, the framing, the camera move, the timing of every action and the original audio. The result comes back at 720p (for example 1248 by 704 for a 16:9 clip) with the source's duration.
Black Forest Labs' guidance, confirmed in our tests: lead with the change, then add the details that matter, such as where a new object sits, what it is made of, which surfaces it touches and how the light falls on it. End with a sentence on what must stay the same. Keep to one main edit per pass; for a bigger transformation, run the result through again with the next edit.
Each example below shows the original on the left and the edited clip on the right, with the exact prompt that produced it.
Relight: stormy dusk to night.
Change the stormy dusk to deep night. Turn on the lighthouse lantern so a powerful white beam sweeps slowly out across the sea and back through the driving rain, lighting up individual raindrops and flashing along the wet iron railing each time it passes. The lantern room glows warm gold behind the keeper, rim-lighting the hood and shoulders of the yellow raincoat. The sea turns near-black with silver highlights only where whitecaps break against the rocks, and the gulls become dark silhouettes against a deep navy sky with a few stars showing between torn clouds. Keep the keeper, the railing, the camera move and the timing exactly as filmed.Left: original. Right: Lantern beam added, sky and sea relit, keeper and camera unchanged · Open on Scenario
Environment swap: snow to desert.
Replace the snowy mountain face with a towering orange sand dune in a desert at midday, so the rider is sandboarding instead of snowboarding. The board carves through fine rippled sand, and the spray behind the rider becomes a fan of golden sand grains that hangs in the air and drifts downhill in the wind. The dark rock outcrop becomes a weathered sandstone ridge, and the pale blue sky turns hot and hazy with a faint heat shimmer near the crest. The rider's dark jacket and helmet pick up a thin layer of dust. Keep the rider's body, the carving line, the speed and the camera framing exactly as filmed.Left: original. Right: Powder spray becomes sand, same rider and carving line · Open on Scenario
Subject replacement.
Replace the cheetah with a lean grey wolf with a thick winter coat, pale amber eyes and darker fur along its spine, crouched in exactly the same stalking pose with its belly low in the grass and its head fixed on the gazelle. Its fur catches the warm sunset backlight as a soft golden rim along the ears and back, and the dry grass stalks bend against its shoulders and flanks where they touch. Keep the gazelle, the savanna, the light and the camera move exactly as filmed.Left: original. Right: Cheetah replaced by a grey wolf through the whole chase · Open on Scenario
Style transfer: anime to live action.
Turn the anime into live-action film footage. The boy becomes a real teenage actor with naturally messy dark spiked hair, a knitted crimson wool scarf whose loose fibers and fringe flutter in the wind, a black cotton hoodie with visible fabric texture, worn grey jeans and scuffed leather boots. The rooftop becomes real weathered concrete with stains and gravel, the low wall is rough cement, and the city below is a real skyline with lit office windows. Sunset light becomes a true photographic golden hour with lens flare and soft atmospheric haze, shot on 35mm with natural skin texture. Keep his run, his glance back, the camera move and the timing exactly as in the original.Left: original. Right: Same run, glance and camera, rebuilt as 35mm footage · Open on Scenario
Live action to 2D animation.
Turn the whole clip into hand-painted 2D animation, like a traditional animated feature painted in gouache and watercolor on paper. The deep blue ocean becomes flat layered washes of ultramarine and turquoise with soft painted gradients and visible paper grain, the sun rays become pale translucent painted beams, the small fish become simple brushed silhouettes, and the humpback whale is drawn with clean dark ink outlines, a flat slate-blue fill, a lighter painted belly and white painted barnacle spots. The swimmer is drawn as a simple cartoon character with ink outlines, a full-length dark blue diving suit, a mask and long black fins. Keep every element in the same position and moving with the same timing, camera motion and cuts as the original clip.Left: original. Right: Underwater footage repainted as watercolor animation · Open on Scenario
Black and white film noir grade.
Convert the entire clip into a black and white film noir grade, as if shot on high-contrast monochrome 35mm film stock. Remove all color: the warm amber wood paneling, the gray suits and the sunlit windows become rich tones of black, silver and white. Crush the shadows in the jury box and under the judge's bench to deep inky black, and push the sunlight streaming through the tall windows in the wide shot into bright glowing white shafts that cut hard diagonal beams across the floorboards. Add fine film grain, a subtle vignette darkening the frame edges, and harder contrast on faces so the lawyer in the charcoal suit is lit with crisp highlights on her cheekbones and deep shadow under her jaw. The frame stays clean with no subtitles, captions, title cards or any added text. The people, their performances, the camera moves, the courtroom layout and the cuts between shots stay exactly as filmed.Left: original. Right: Courtroom regraded as high-contrast noir · Open on Scenario
Wardrobe recolor.
Recolor the model's asymmetrical one-shoulder satin gown from silver gray to a deep emerald green. The structured folded bodice panel across her chest, the angular peplum at her waist and the long flowing skirt with its sweeping train all become the same rich emerald satin, with bright jade highlights where the runway spotlight hits the sheen of the fabric and darker bottle-green tones inside the folds. The green also appears in the reflection of the gown on the glossy black runway floor. Keep the exact cut, drape, fabric weight and movement of the dress as she walks. Her face, skin, slicked-back hair, earrings, the audience, the pale blue backdrop and the lighting stay the same.Left: original. Right: Silver gown recolored to emerald on the runway · Open on Scenario
Add a large object with exact placement.
Add a giant inflatable golden dragon head as a permanent part of the stage set, standing behind the drum riser at the back of the stage and visible in every shot of the clip. The dragon head is about three times the height of the drummer, made of shiny gold metallic nylon with visible seams and air-filled bulges, with a wide open mouth showing white fabric teeth, two red glowing eyes and long curved horns that reach up between the lighting trusses. It sits centered behind the drum kit, between the keyboard rig on the right and the left edge of the stage. In the hazy shot where the singer covers her face with her hand, it stays visible behind the drum kit as a gold shape glowing through the white haze. In the final distant wide shot of the open-air festival, it stands as a large gold dragon head at the center of the far stage between the floodlights. It catches the red and blue stage lights on its glossy surface throughout. The band, the crowd, the lighting rig and the camera moves stay unchanged.Left: original. Right: A gold dragon head added behind the drummer in every shot · Open on Scenario
Material change on a character.
Change the material of the small round robot from painted cream and teal metal to hand-knitted wool. Its round body becomes a soft cream knitted shell with visible stockinette stitches and slightly fuzzy fibers, the teal band around its lower half becomes chunky teal ribbed knitting, its antenna becomes a twisted yarn stalk topped with a small teal pompom, and its little arms become knitted tubes with felted hands. Its big round eyes stay glossy glass buttons with embroidered stitched rims. Keep the robot's exact shape, wheels, expressions, movements and timing, and let the warm workshop light catch the fuzz of the wool along its edges. The workshop, the tools, the pile of bolts, the butterfly and the camera framing stay unchanged.Left: original. Right: Workshop robot remade in knitted wool · Open on Scenario
Remove objects.
Remove all of the small black quadcopter drones hovering above the market street, including the ones with glowing lights flying near the neon signs in the first shot and the group hovering in the upper half of the frame in the final shot. Fill the space where they were with the dark night sky, falling rain, the purple and pink holographic billboards and the building facades behind them, so no trace of any drone remains. The crowd in hooded rain jackets, the food stalls, the steam, the vendor behind the counter, the neon lighting, the rain and the camera movement stay exactly as filmed.Left: original. Right: Drones removed from the night market sky · Open on Scenario
Parameters
The model has two inputs.
prompt
Required, up to 4,096 characters. Describe the change in a detailed paragraph, then what stays the same. Placement detail matters: "Add a tall white lighthouse with a red lantern room on the end of the harbor wall to the right of the boats" works far better than "Add a lighthouse". For a style transfer, describe the new materials and textures, not just a style name, as in the live-action and watercolor examples.
video
Required. An MP4 under 15 seconds and under 50 MB. Aspect ratio, length, frame timing and audio all come from this clip. Larger sources are downscaled to 720p.
Use Cases
VFX previz and look development: try a night version, a new environment or a different creature on a blocked-out shot before committing to a full render.
Advertising variants: recolor a product or a garment, change the season or the weather, or relight a spot for a different market without a reshoot.
Animation and live action conversions: turn an animatic or anime clip into live-action footage, or live footage into painted animation, keeping the original timing.
Cleanup: remove distracting objects such as drones or props from a shot.
Games and trailers: restyle gameplay or cinematic captures into a new art direction for pitches and teasers.
Tips for Better Results
Describe only the change. Re-describing the whole scene invites the model to redraw things you wanted to keep.
Close with what stays. A last sentence such as "Keep the keeper, the railing, the camera move and the timing exactly as filmed" held identity and framing in every example.
Add a no-text sentence on ad-like or dialogue clips. Without it the model sometimes invented a slogan or a subtitle; "No subtitles, captions, slogans or text" removed them.
Place added objects in every shot of a multi-shot clip. The dragon only persisted through all the cuts once the prompt said where it sits in the close-up and in the wide shot too.
Name materials for style changes. Fibers, seams, paper texture and brush strokes make a restyle convincing; a style name alone is weaker.
Chain edits. Do one change per run and feed the result back in for the next change.
Use a before and after for subtle edits. Removals and small recolors read best when shown next to the original.
Known Limitations
15 second, 50 MB limit. Trim longer clips first; split long shots into parts.
720p output. Run the result through a video upscaler if you need 1080p or 4K.
Silent in, silent out. The source audio is kept, so a silent source returns a silent result.
Effect strength can be light. Weather such as snow may come out as a light flurry rather than a blizzard; describe the intensity explicitly and rerun if needed.
Content filtering. The provider screens prompts and sources; neutral wording (for example "swimmer in a full-length diving suit") can get past a false positive.