Getting Started & Authentication
Last updated: October 9, 2026
Objective
In this article, you will learn how to obtain your API credentials, authenticate requests using Basic Auth, and understand the critical Asynchronous Workflow used by the Scenario API. This is the foundation for all subsequent guides.
Prerequisites
A Scenario account on a paid plan (Starter or above). The Free plan cannot use the API.
Step 1: Obtain Your API Key
Log in to the Scenario Web App.
Open Settings (click the context switcher at the top left, then the gear icon next to your organization).
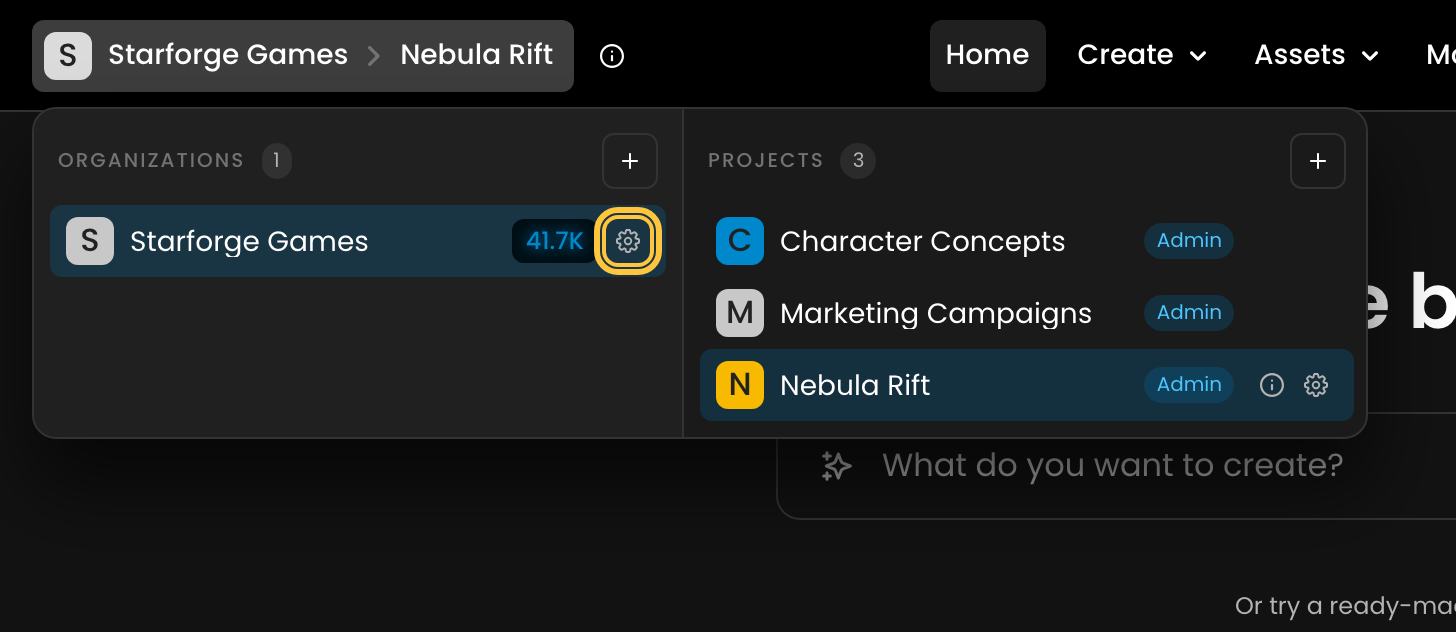
In the left rail, click API Keys under Organization.
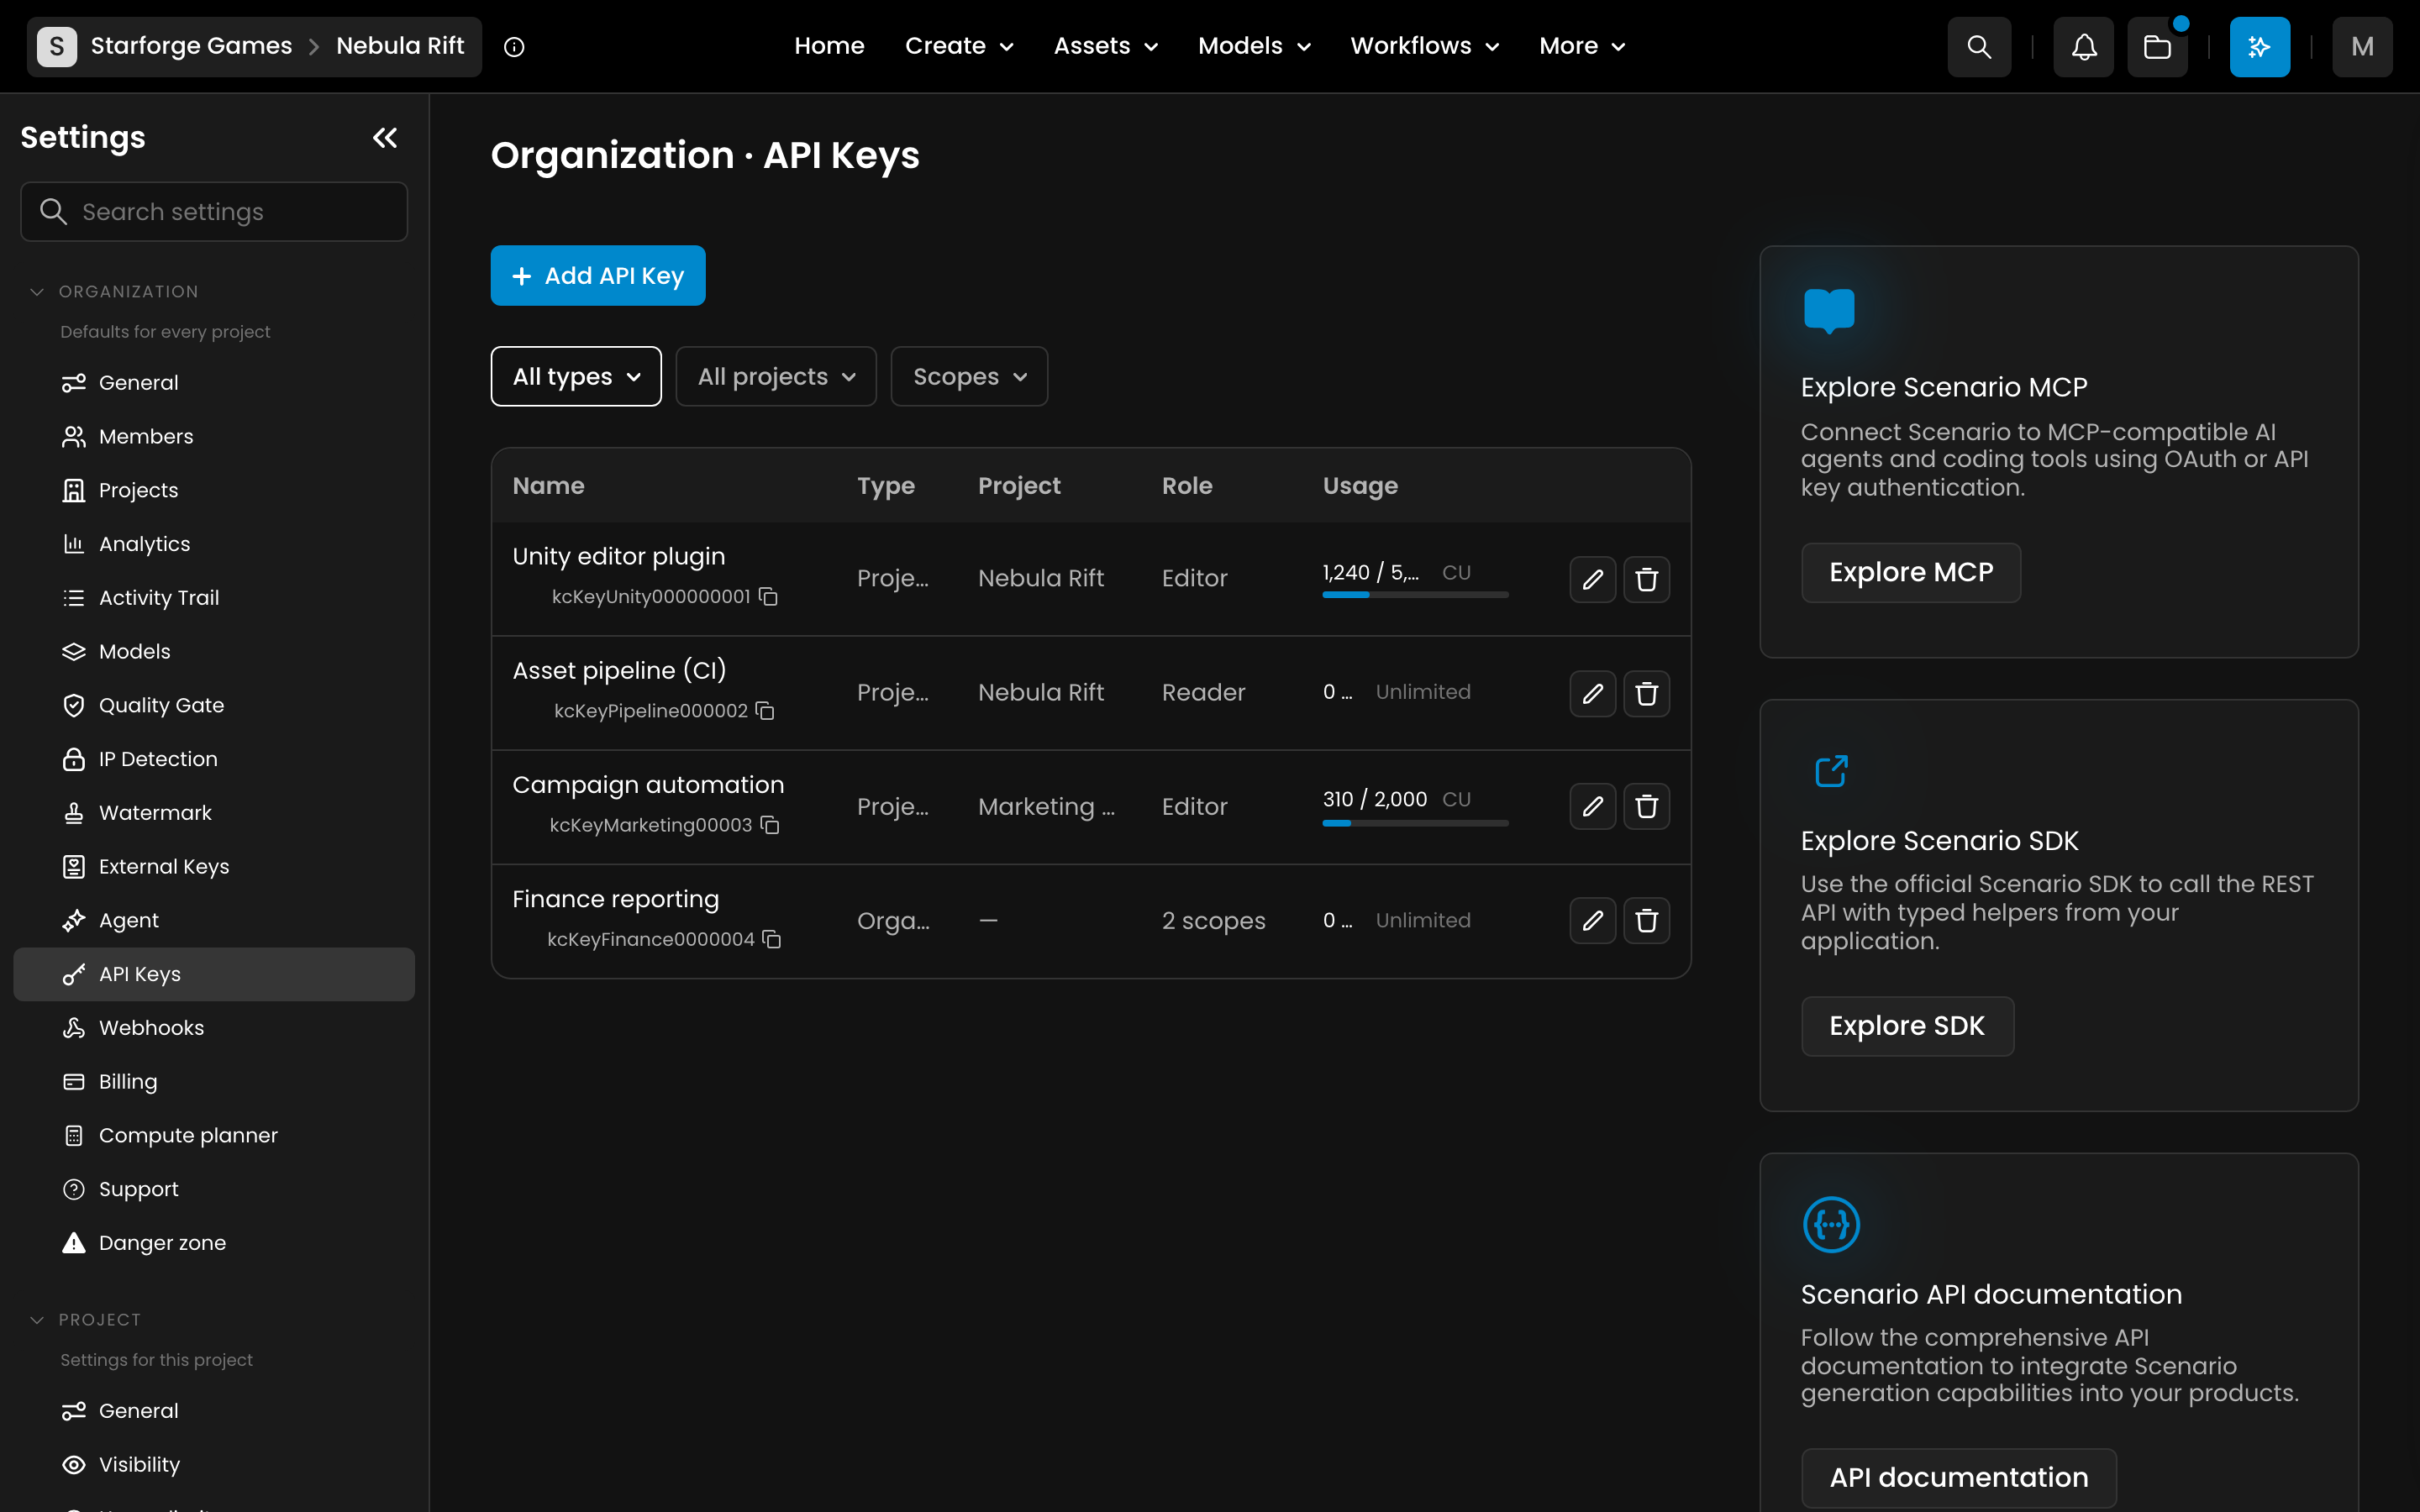
Click Add API Key.
Secure Your Key
Once created, you'll see your API key and secret. This is the only time your secret will be fully displayed, so it's crucial to save it securely:
Download the credentials as a CSV file using the download button
Store this information in a secure password manager or secret management system
Click 'I've secured my secret key' only after you've safely stored your credentials
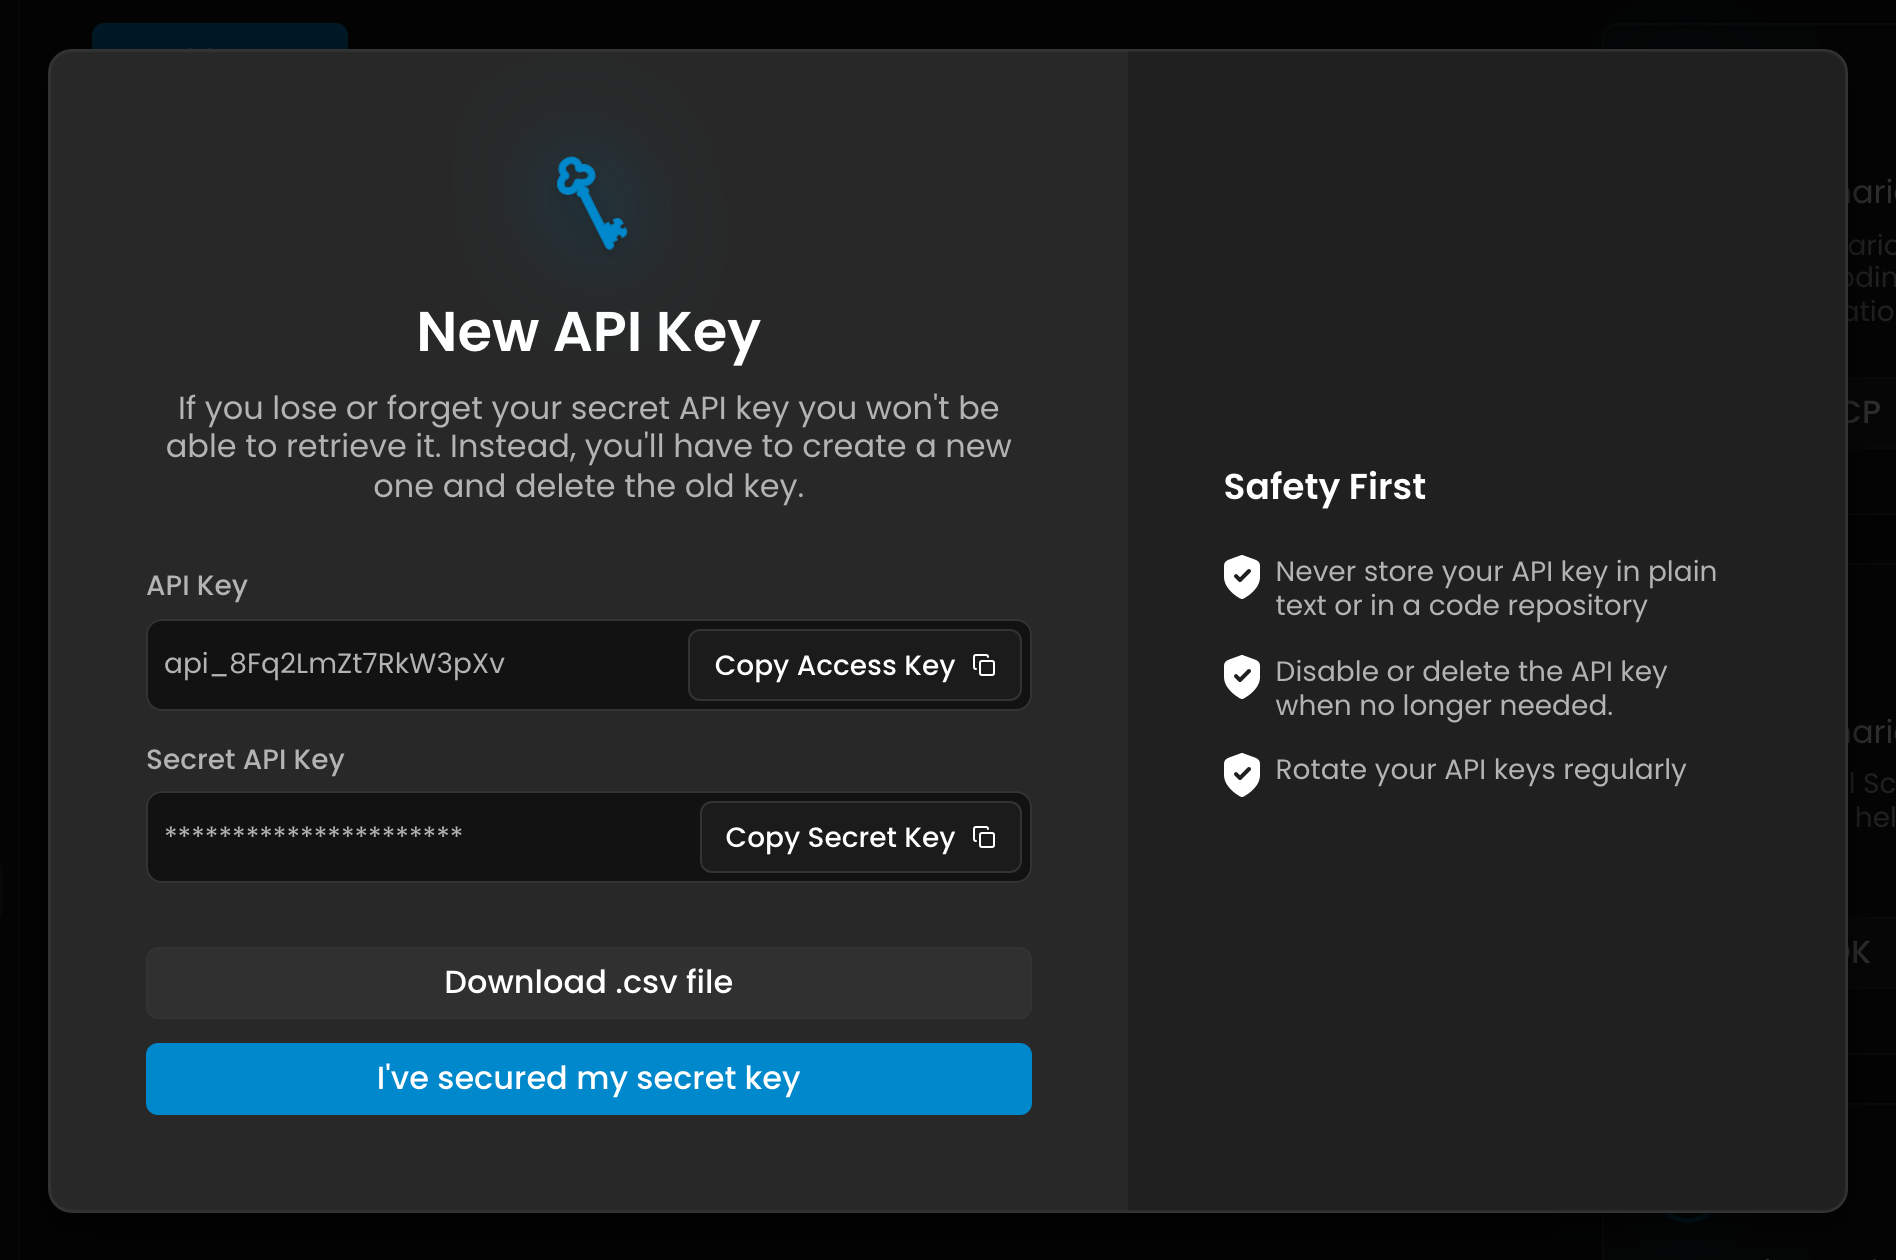
Your API key is now ready to use in your applications. For security, we recommend create separate API keys for different projects or environments rather than reusing the same key everywhere.
Step 2: Understanding Basic Authentication
Scenario uses Basic Authentication. This is not a simple Bearer token. You must construct an authorization header by combining your Key and Secret.
The Formula:
Combine credentials:
API_KEY:API_SECRETEncode the resulting string in Base64.
Prepend
Authorization: Basic <Base64String>
For example, if your API key is hello and your secret is world, you would:
Combine them with a colon:
hello:worldEncode this string in Base64:
aGVsbG86d29ybGQ=Include the header:
Authorization: Basic aGVsbG86d29ybGQ=
Step 3: The Asynchronous Workflow (Trigger -> Job -> Asset)
Most generative AI tasks (like creating images or training models) take time (from seconds to minutes). To prevent timeouts, the Scenario API is Asynchronous.
Trigger: You send a POST request to start a task (e.g., Generate Image).
Response: The API immediately returns a jobId.
Poll: You repeatedly GET the
/jobs/{jobId}endpoint.
Response: Returns the status: pending, queued, warming-up, in-progress or finalizing while the job runs, then success, failure or canceled.
Retrieve: Once the status is success, the job's metadata lists the
assetIdsof your final images, videos or models. Fetch each one withGET /v1/assets/{assetId}to get its file URL.
Documentation & Resources
For a complete list of endpoints, parameters, and SDKs, please visit our full developer documentation: