What Is a Character Model?
A Character Model is a custom-trained AI model designed to generate a specific character with consistent traits across different poses, expressions, or scenes. Unlike standard models that may struggle with character consistency, a well-trained Character Model ensures uniformity in features, proportions, clothing, and many character details.
Character Models are especially useful for game development, concept art, animation, or storytelling in general (comics, webtoons, books etc.). They allow you to recreate the same character seamlessly in various environments and contexts, reducing the need for constant manual adjustments.
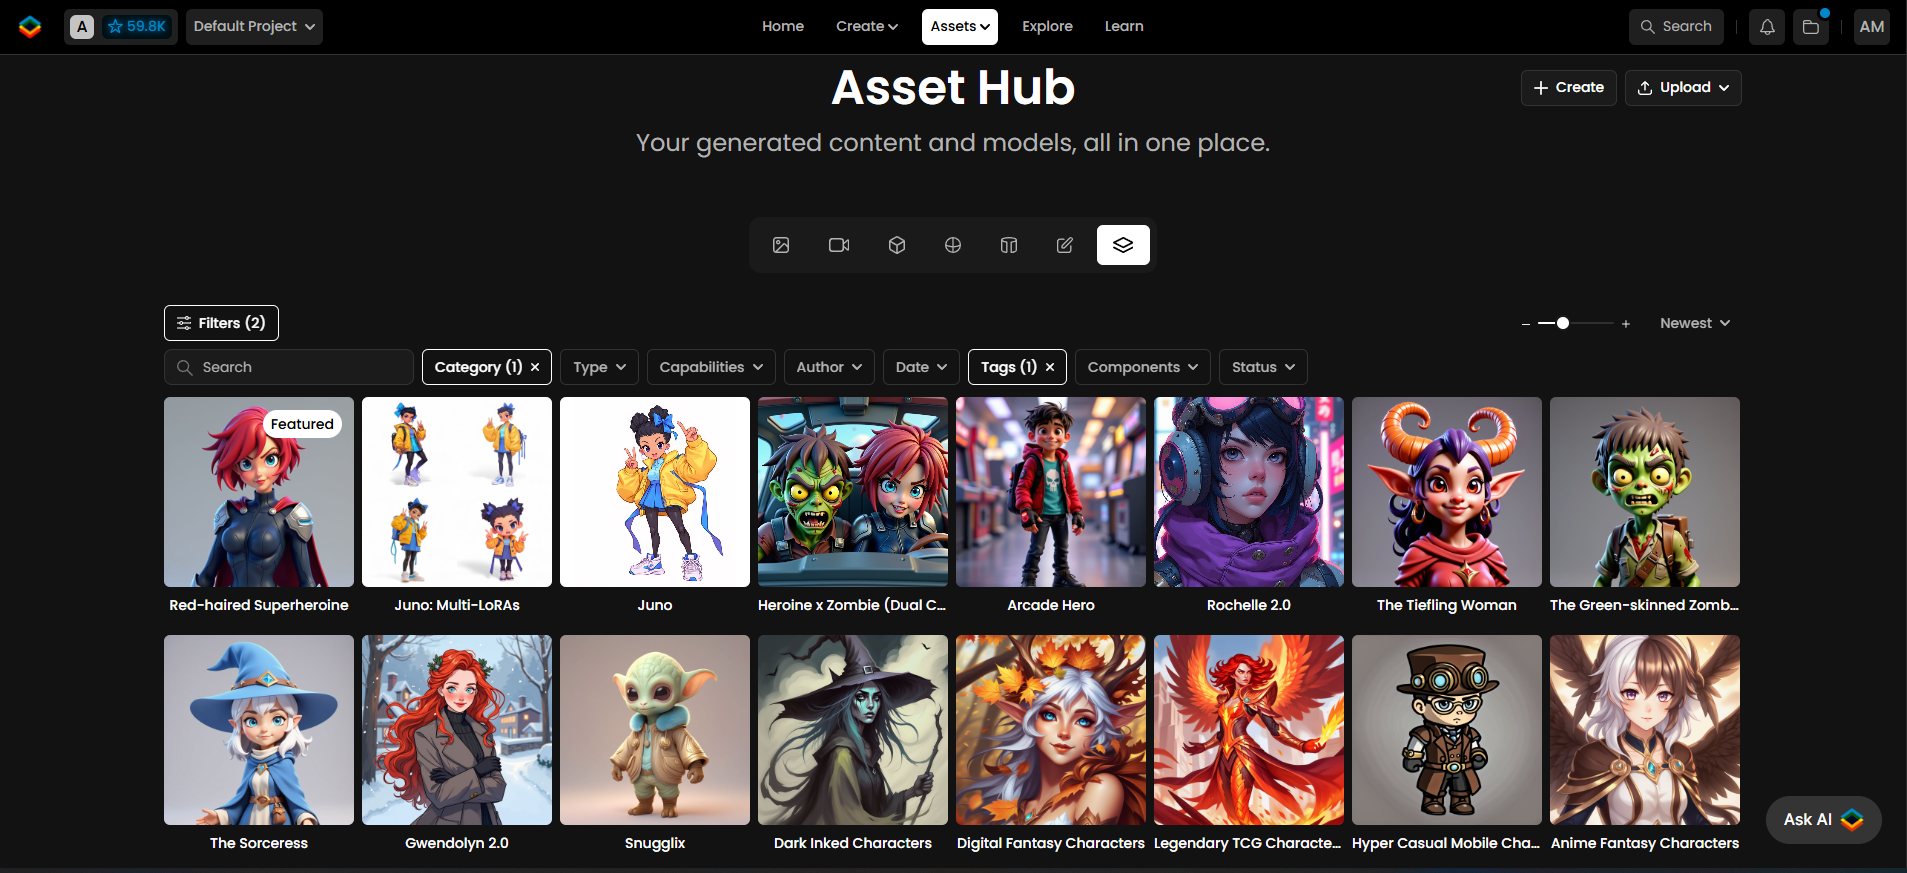
Some examples of Character Models available on Scenario
By training a Character Model, you gain greater control over the final outputs. Instead of tweaking prompts endlessly to generate your character, you can focus on refining the scene or composition, knowing that your AI-generated character should retain their defining attributes every time.
Just like Style Models, Character Models require careful dataset curation and proper training settings. This guide walks you through the essential steps to create a high-quality Character Model effectively.
Step-by-Step Guide
Step 1 - Curate a Training Set
A well-prepared dataset is the foundation of a successful Character Model. Consistency and diversity in the dataset play a crucial role in maintaining accuracy while allowing the model to generate dynamic poses and expressions.
Image Quality
Use high-resolution images (1024 x 1024 pixels or higher) to capture fine details such as facial structure, hair texture, and clothing elements. If necessary, use the Enhance tool to upscale your images before training.
Consistency in Features
Ensure all images depict the same character with consistent traits such as the image style, proportions, facial features, outfits and accessories (if relevant for maintaining identity)
Variety in Poses and Expressions
While keeping the most consistent character, introduce variety in your dataset with different angles (front, side, three-quarter view), or multiple facial expressions (neutral, happy, surprised, serious, etc.), different zoom levels (close-up, full body…) or multiple scenes & backgrounds. This will avoid overfitting of the model.
Avoid excessive repetition of the character in the exact same pose, as it can limit the model’s ability to generate dynamic and flexible results:

Step 2 - Size Your Training Set
Character models typically require less training images than style models, a small but well-curated dataset (of 5-15 images) is often sufficient and more effective than a large dataset (20+) where images will be too redundant. Too many similar images can lead to overfitting, where the model struggles to generate creative variations.

Here are some examples of character models training sets using only 5-6 images.
Step 3 - Crop Training Images (optional)
All training images must be in a square format. You have two options here:
Manually crop images before uploading them.
Use Scenario’s built-in cropping tool to adjust images during the upload process.
For flexibility, you can mix square and landscape crops to better capture different poses and expressions.

Step 4 - Caption Your Images
Captions help the AI understand your character’s unique attributes. Scenario provides an automated captioning tool, but reviewing and refining the generated captions is always recommended. You might want to include in your captions:
The character name (if applicable - you can especially use a unique token or trigger word)
Defining traits (e.g., "young woman with red hair, wearing a blue jacket")
Pose or expression details (e.g., "smiling, looking to the side")
And more elements like the zoom level (close-up portrait), the art style (e.g., "anime-style, cel-shaded") or the outfit details.
If your character images all look very similar, but you want to prompt variations in details like clothing, expressions, or style, it’s best to caption those specific elements that should change. Put simply, “caption the elements that are meant to vary in the generated images.” For best practices on captioning, refer to our dedicated guide.
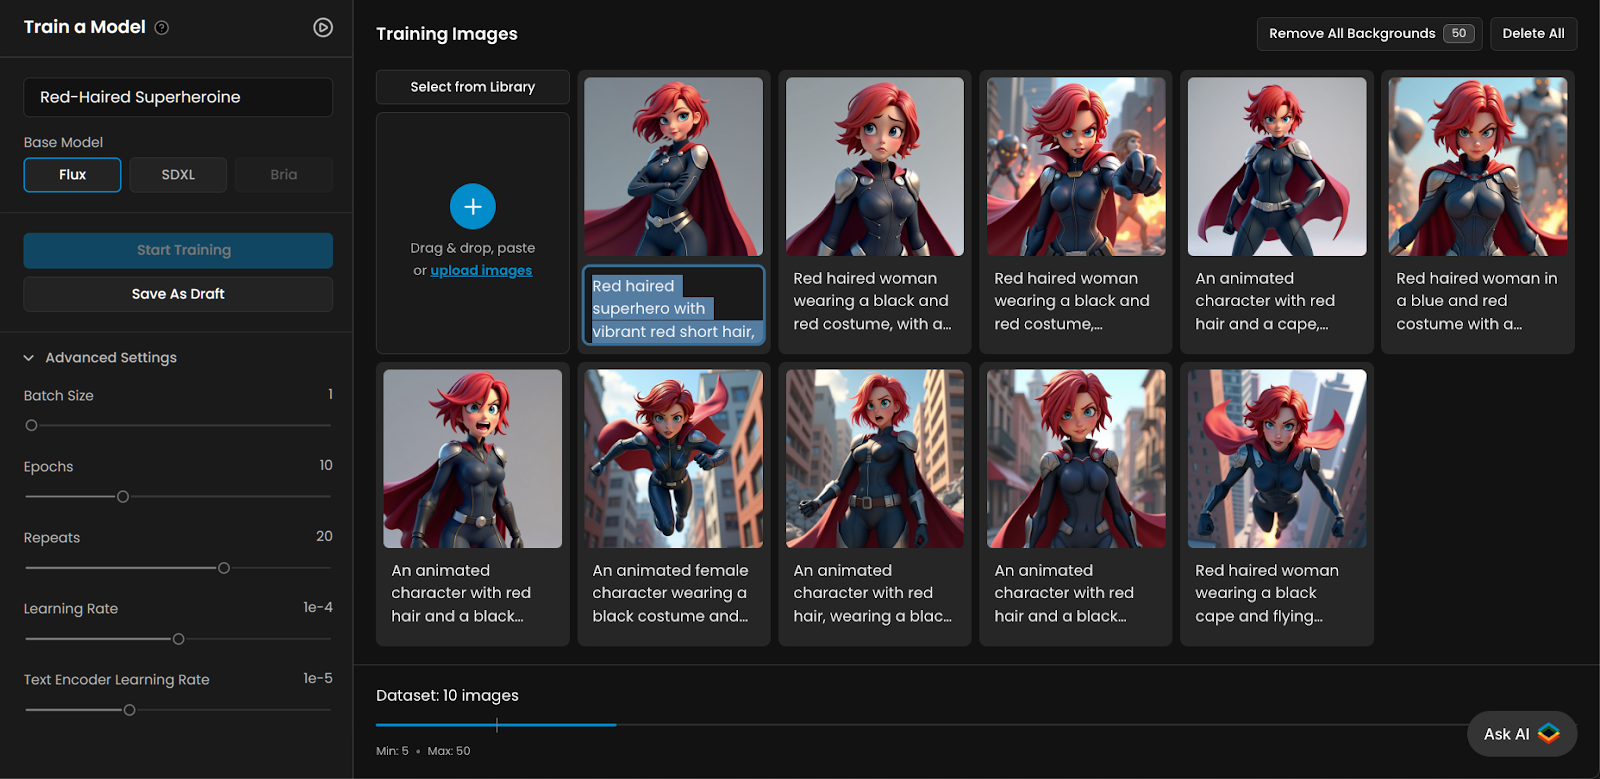
Step 5 - Train Your Model
Select a base model for training. You can choose from Flux, SDXL, or Bria (if activated in your account). Each base model has different characteristics and you might even want to train your custom model on both and compare results:
Flux (default) – The most up-to-date model, highly versatile, and working with a large range of captions. It offers great prompt adherence and allows for longer prompts while maintaining strong consistency. However, it might often “lean toward realism” unless style elements are explicitly prompted.
SDXL – SDXL – Less versatile and with weaker prompt adherence, but better at maintaining simple, “minimalist” styles or character. It performs best with carefully crafted captions, especially when using a unique token to name the character (click here for more information). When training on SDXL, don’t forget to select the “Character” Preset.
Bria – Reach out for more information (Enterprise users).
Once everything is set, click "Start Training" and wait for the process to complete. The training time will depend on your dataset size, number of training steps, and base model. You’ll be notified via email and through the “Recent Tasks“ (bell) icon to the top menu, which will display a blue dot when training is complete.
Test and Refine Your Model
Once training is finished, it’s time to test your Character Model. Use (or Generate) some simple prompts that describe key character traits and experiment with different poses, expressions or details (e.g., "same character, different outfit"). Test from short to detailed descriptions to find the best prompts structure. Check out this article and video about Improving Custom Models:
Finalize Your Model
Once you're satisfied with your model, finalize it by adding a clear description that outlines key character features, a representative thumbnail, pinned images, and some tags for easy organization and retrieval. For more details on managing models, check out this article and this this short video:
Access This Feature Via API
You can follow our API recipe to train a model: https://docs.scenario.com/recipes/train-a-flux-dev-lora-model
Resources:
Create a Model: Scenario API Documentation - Create a Model
Add Training Images: Scenario API Documentation - Add Training Images
Modify Captions: Scenario API Documentation - Modify Captions
Trigger Model Training: Scenario API Documentation - Trigger Model Training
Was this helpful?