Usage limits and Compute Units (CU)
Last updated: October 5, 2026
Usage limits are one of the most important things to understand about Scenario: every generation, training run, and AI tool you use draws from a pool of Compute Units (CU), and CU is what your plan, your team's spending controls, and your API keys are all built around. This article explains what a CU is, where usage limits apply, how to configure them in the webapp, and what happens when a limit is reached.
What is a Compute Unit (CU)?
A Compute Unit is Scenario's metering unit for AI compute. Actions that consume CU include:
Image generation (including with custom/trained models)
Model training
Background removal, upscale, pixelate, vectorization, embed, and segmentation
Skybox and texture generation
Detection and AI content-safety checks
Assistant/agent messages
The CU cost of a generation depends on the model, image resolution, number of steps, whether you're using a custom model or LoRA, and batch size. Wherever you generate, Scenario shows the CU cost right on the button before you click, so there are no surprises.
What "current billing period" means
Usage limits are always measured "for the current billing period," and that period isn't the same for everyone:
On a paid plan, your billing period runs on your own subscription's monthly cycle, anchored to the date you subscribed (or last upgraded), not the calendar month. If you subscribed on the 15th, your CU resets on the 15th of every month. You can see your exact reset date in Settings → Organization → Billing, labeled "Resets {date}" under your monthly allowance.
Upgrading your plan resets your billing period immediately: your cycle restarts on the day you upgrade, and your reset date moves to that day going forward. Downgrading doesn't cut your current period short: the change takes effect at your existing cycle's next reset, so you keep what you already have until then.
Purchased top-up CU is separate from the billing period entirely: it doesn't "reset," it expires on its own fixed schedule (shown as "Expires {date}" rather than "Resets {date}"), and is only used once your monthly allowance has run out.
Check your balance and buy more CU
Your CU balance is only shown in the Scenario web app, in two places:
In the top bar: open the context switcher in the top-left corner. The small number next to your organization is its remaining balance. Click it to open the Billing page.
On the Billing page (Settings → Organization → Billing, organization admins only): Compute units available shows your total, split into your Monthly allowance with its reset date (Resets a date) and any Top-up batches with their expiry date (Expires a date). The monthly allowance is always spent first. On the Free plan, the Billing page has no Compute units available panel: check your balance in the top bar.
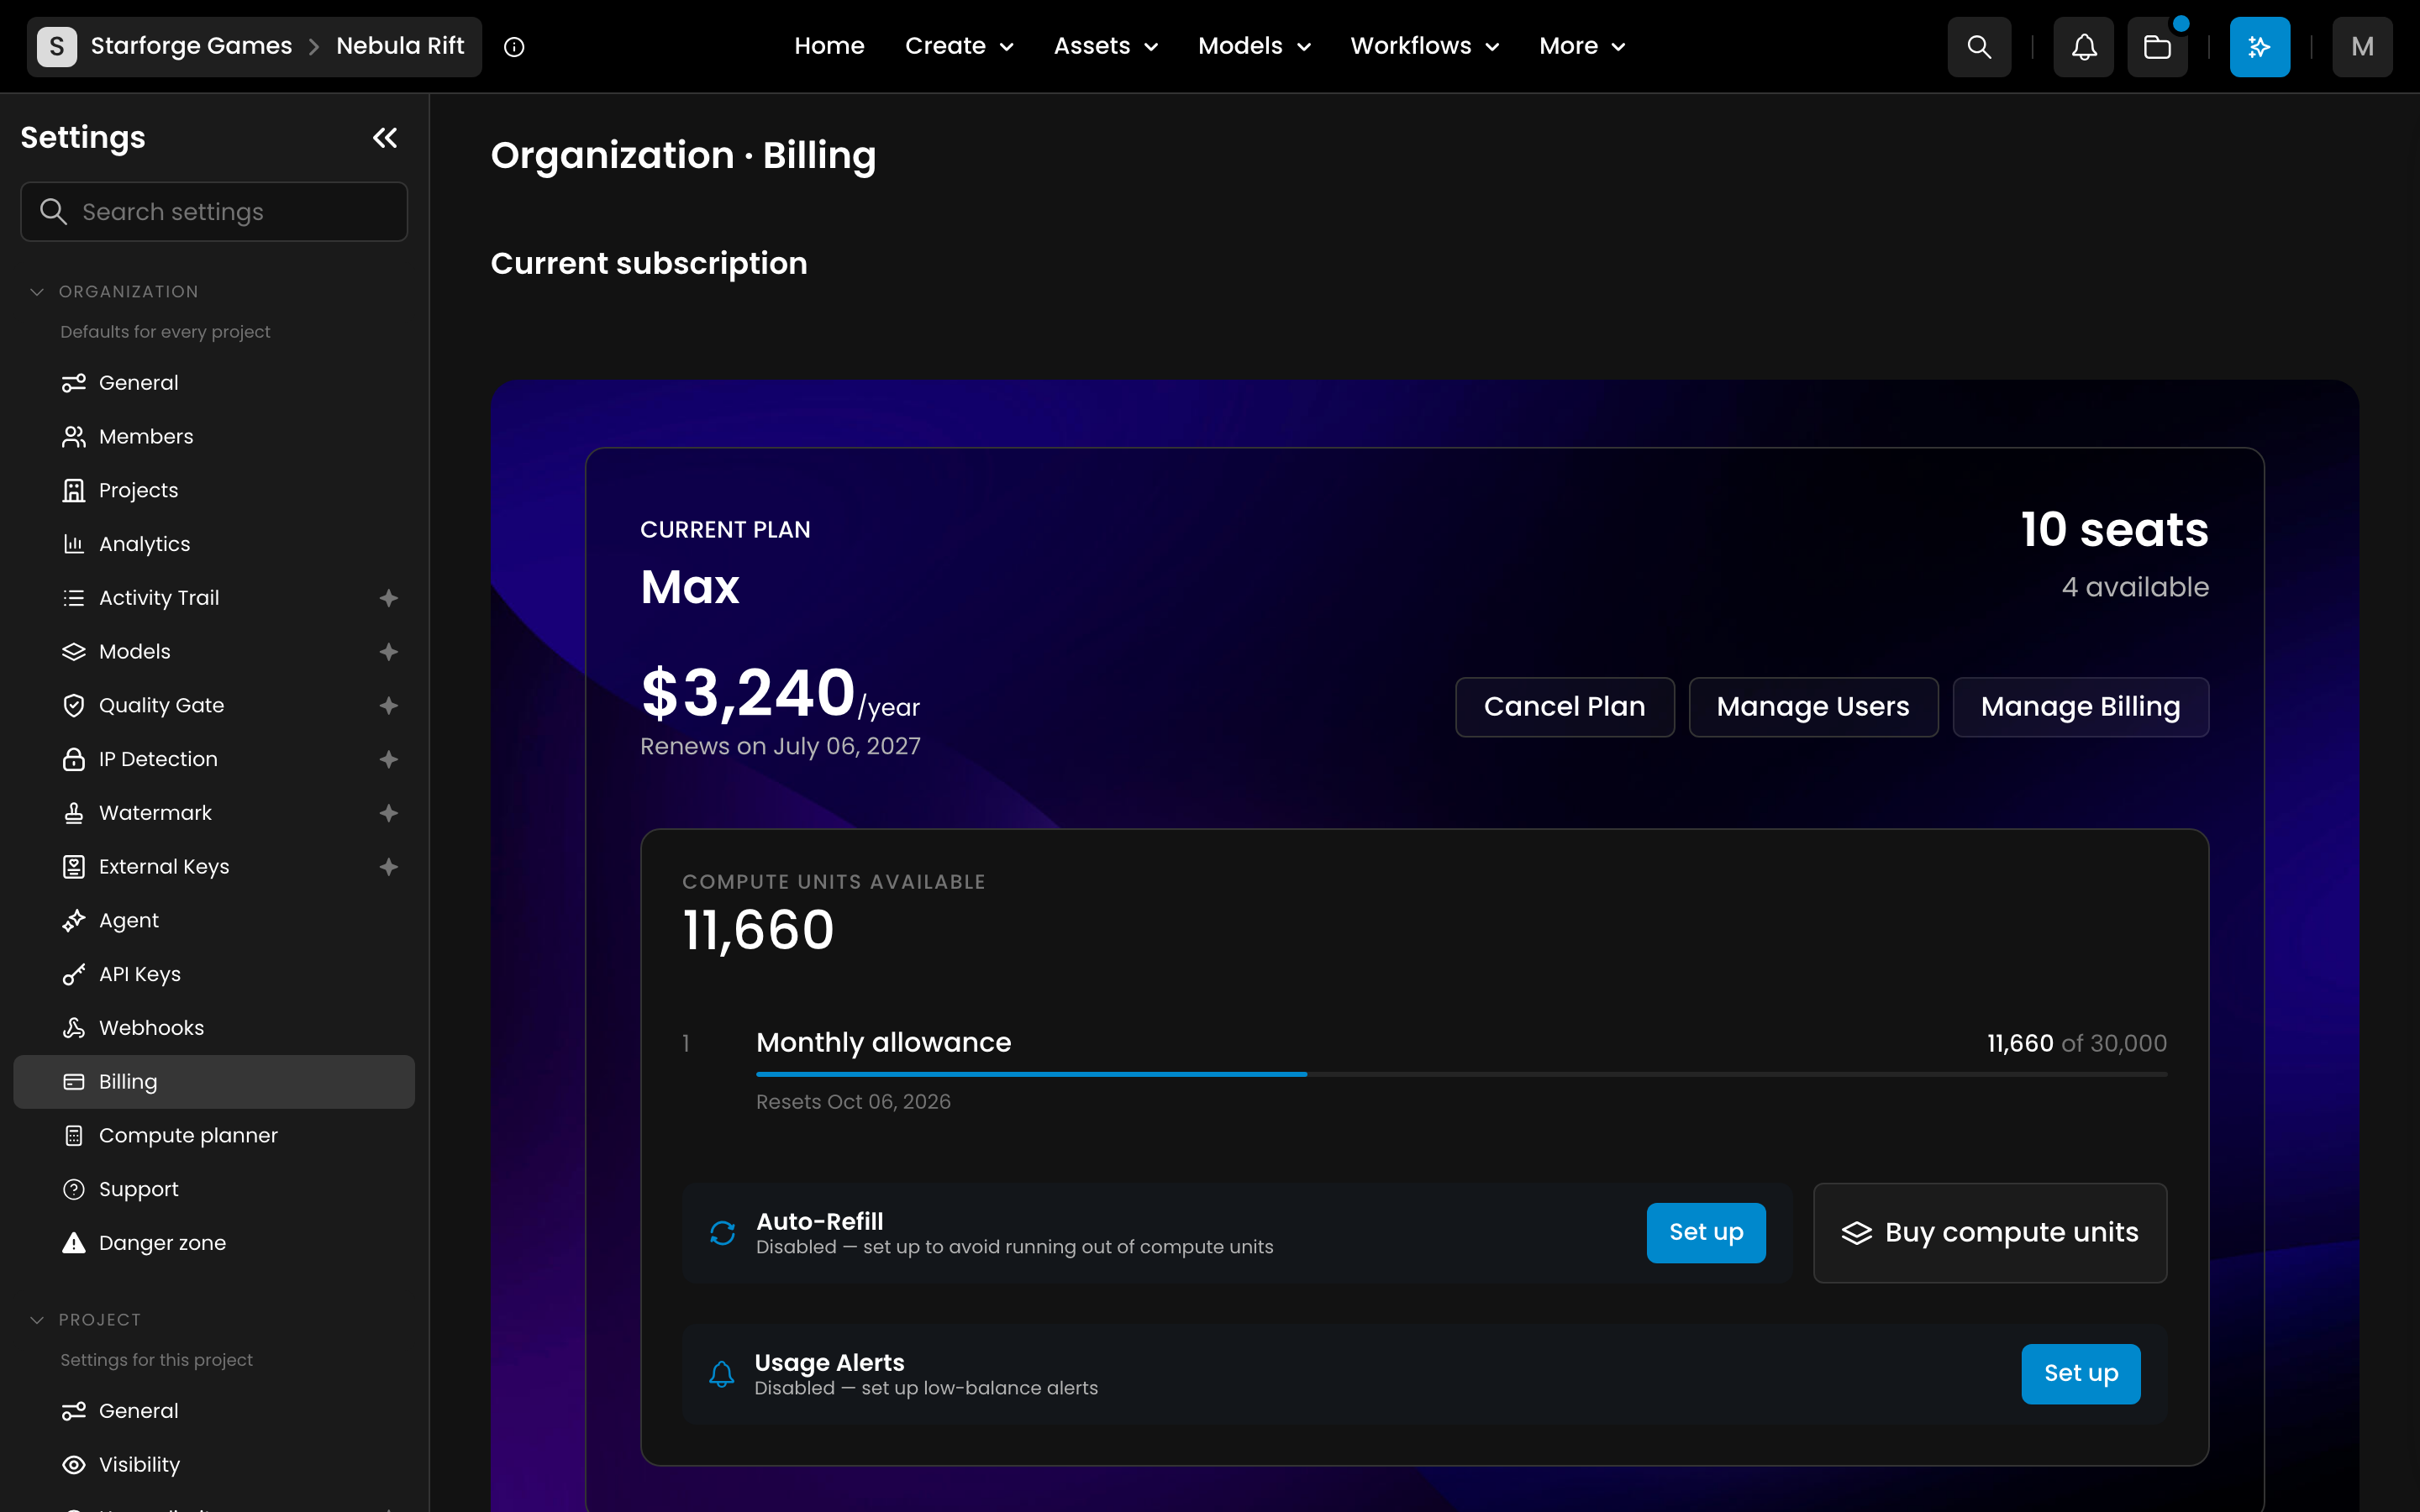
Buy more CU
On a paid plan, an organization admin can buy extra CU at any time:
Open Settings → Organization → Billing and click Buy compute units.
In Buy Additional Compute Units, pick an amount. The total shows how long the CU stay valid (Valid until a date).
Click Purchase to pay.
The CU are added to your balance as soon as the payment goes through, and they end Relax mode right away if it had started. If you need a larger volume than the amounts offered, contact us. Top-ups are not available on the Free plan: upgrade to a paid plan to buy CU.
Never run out
Auto-Refill buys a set amount of CU automatically when your balance drops below a level you choose. It is on the same Billing page, on every paid plan.
Usage Alerts email your organization admins when the balance drops below a threshold.
See what used your CU
Settings → Organization → Analytics breaks your usage down by model, project, category and member, with a CSV export. Each member can see their own usage under Settings → You → Analytics. Analytics is included in the Pro plan and higher.
The four places a usage limit can apply
Enterprise only: per-member, per-project and per-API-key usage limits are available on the Enterprise plan. The plan allowance applies to every plan.
Your team has one pooled CU balance for the current billing period. On top of that pool, admins can optionally set caps that restrict how much of the pool a subset of the team can draw from. There are four levels:
1. Team plan allowance – the monthly CU allowance included in your subscription. This is the overall bucket everything else draws from.
2. Per-member limit – an optional cap an admin sets on an individual team member, so one person can't use more than their share of the team's CU.
3. Per-project limit – an optional cap on a specific project, so one project's usage can't consume the whole team's balance.
4. Per-API-key limit – an optional cap on an individual API key (covered in our API keys and scopes article.
Important: these are caps, not separate allotments. If you don't set a per-member, per-project, or per-key limit, that member, project, or key can draw on the full team balance. Setting a limit only restricts, it never grants extra CU beyond what the team plan provides.
Where to view and configure usage limits in the webapp
Settings → Organization → Billing: shows your current CU balance ("Compute units available"), broken into your monthly plan allowance (with its reset date) and any purchased top-up CU batches. From here you can:
Buy compute units: a one-time top-up purchase.
Auto-Refill: automatically buy a set amount of CU whenever your balance drops below a threshold you choose, so you don't get interrupted.
Settings → Organization → Members: admins see each member's usage as a bar ("used / cap CU"), which turns amber near 80% and red at 100%. Use the usage action in a member's row to set, raise, or remove their individual cap.
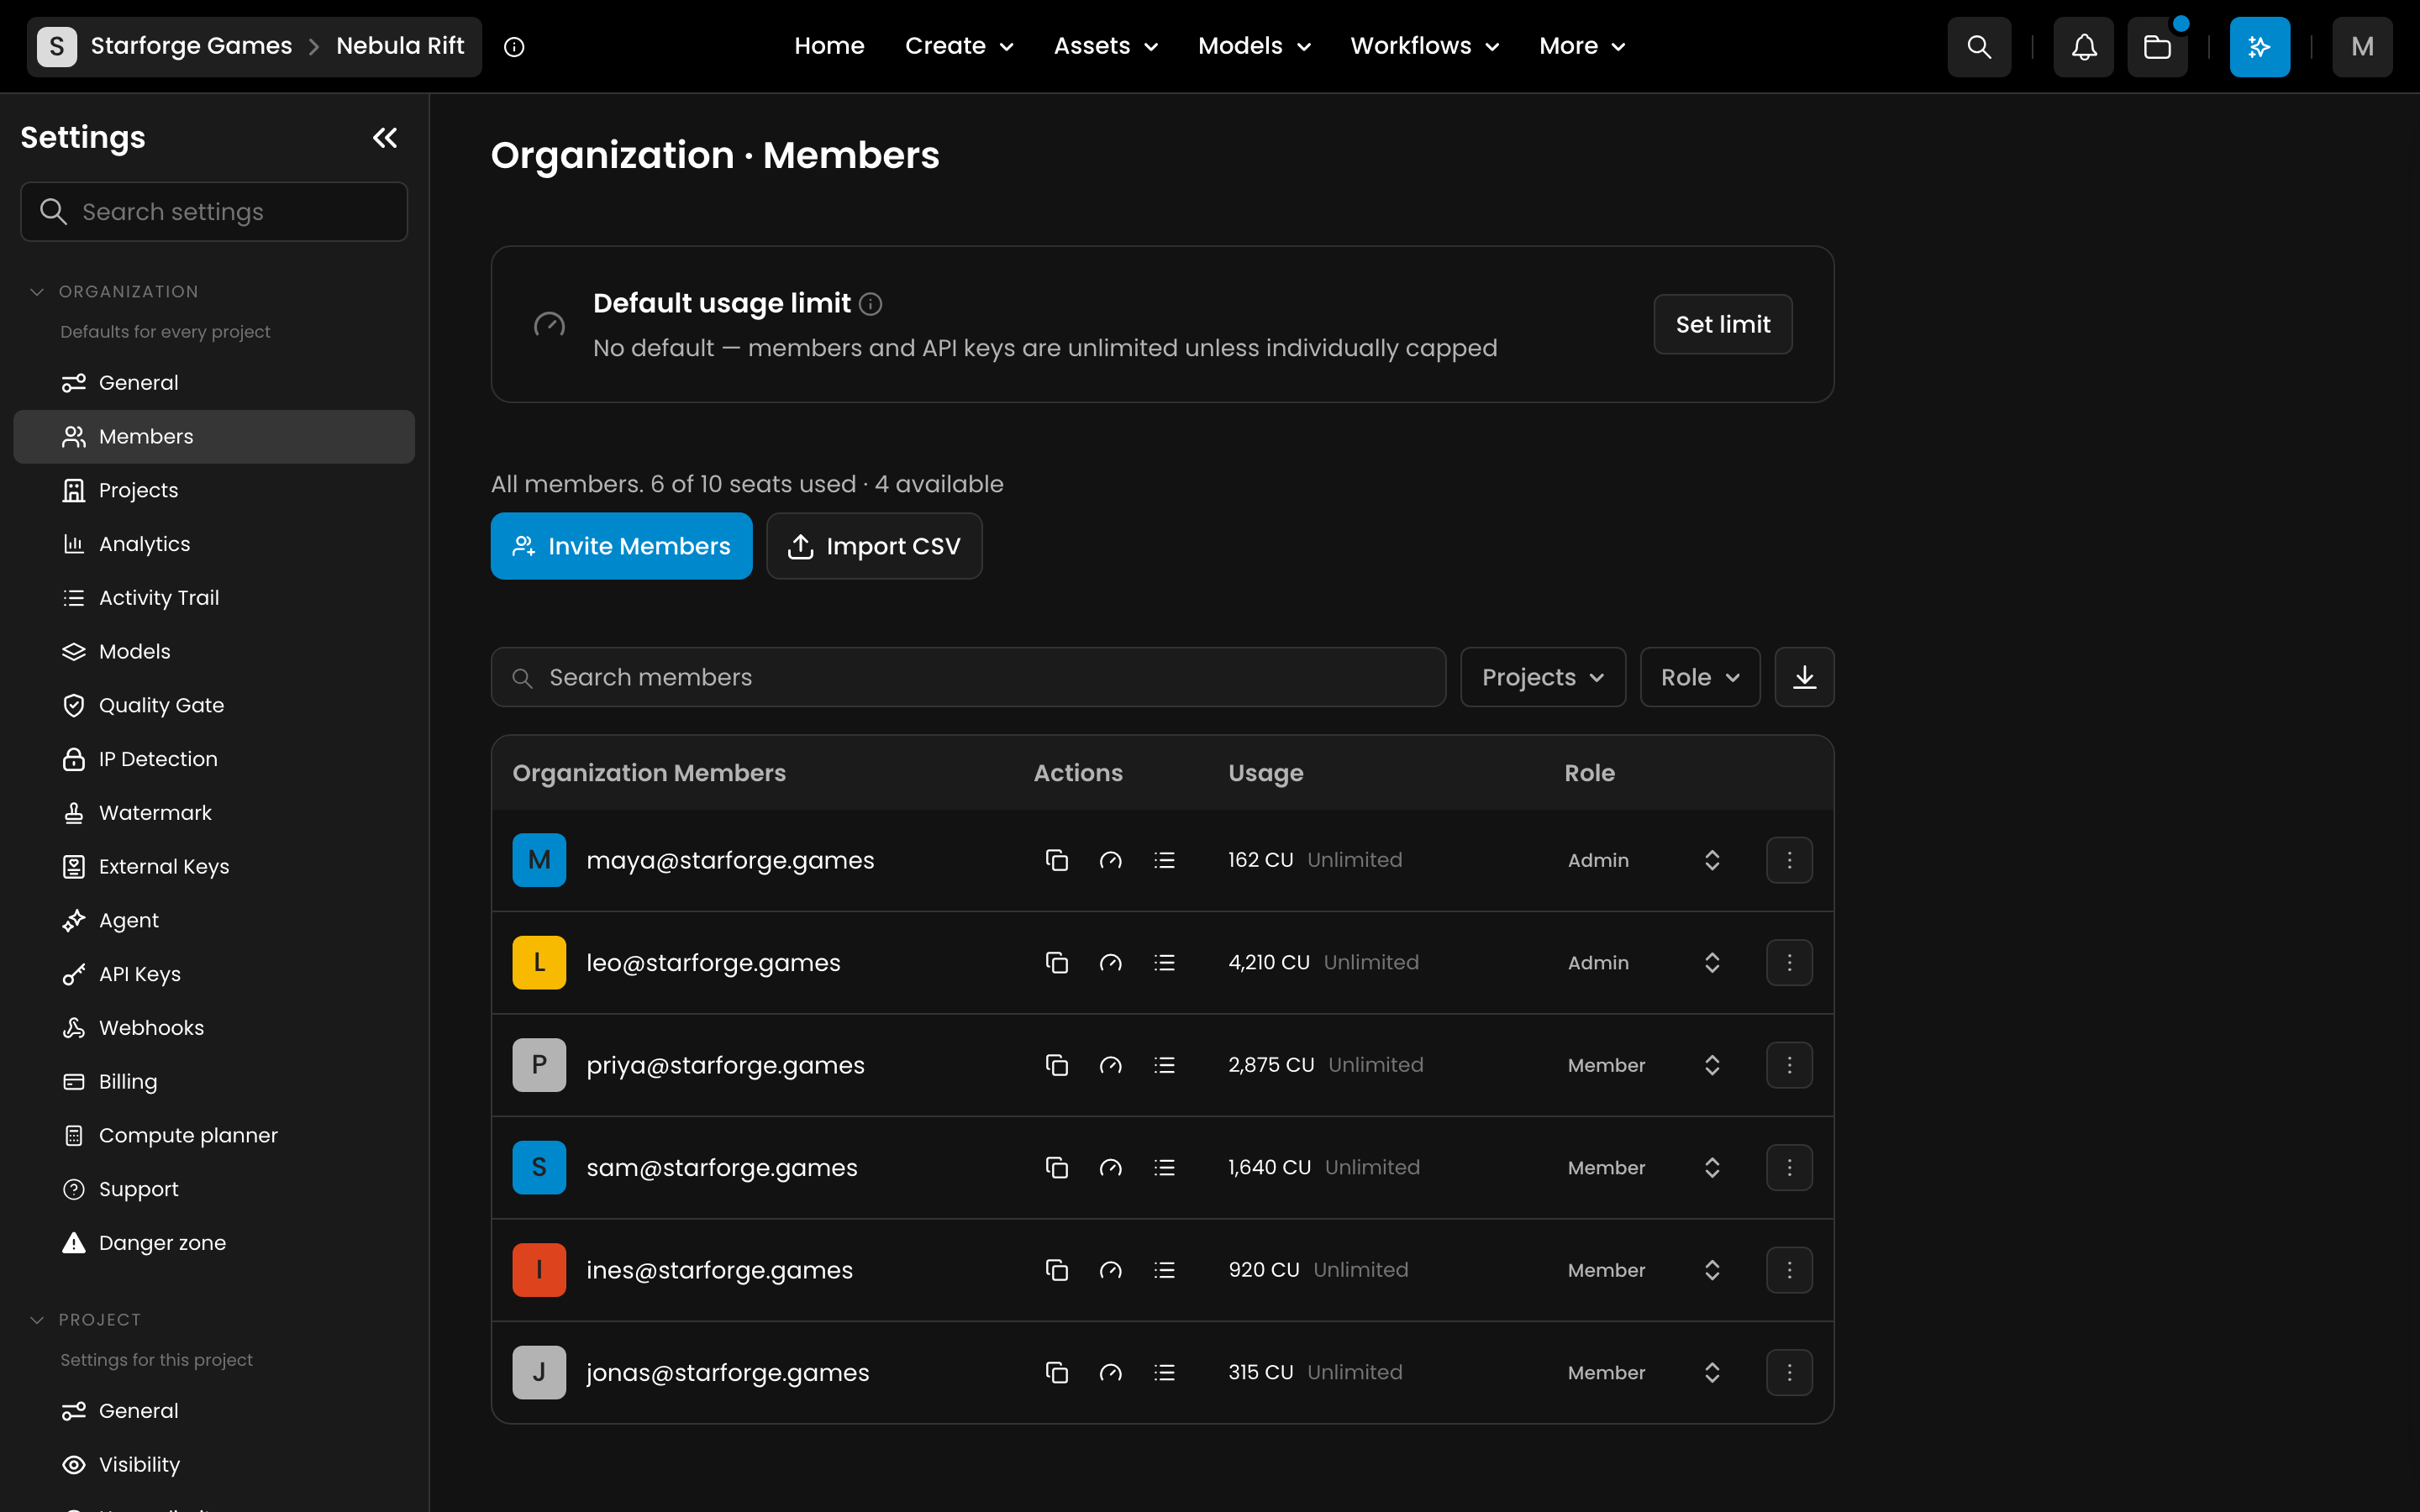
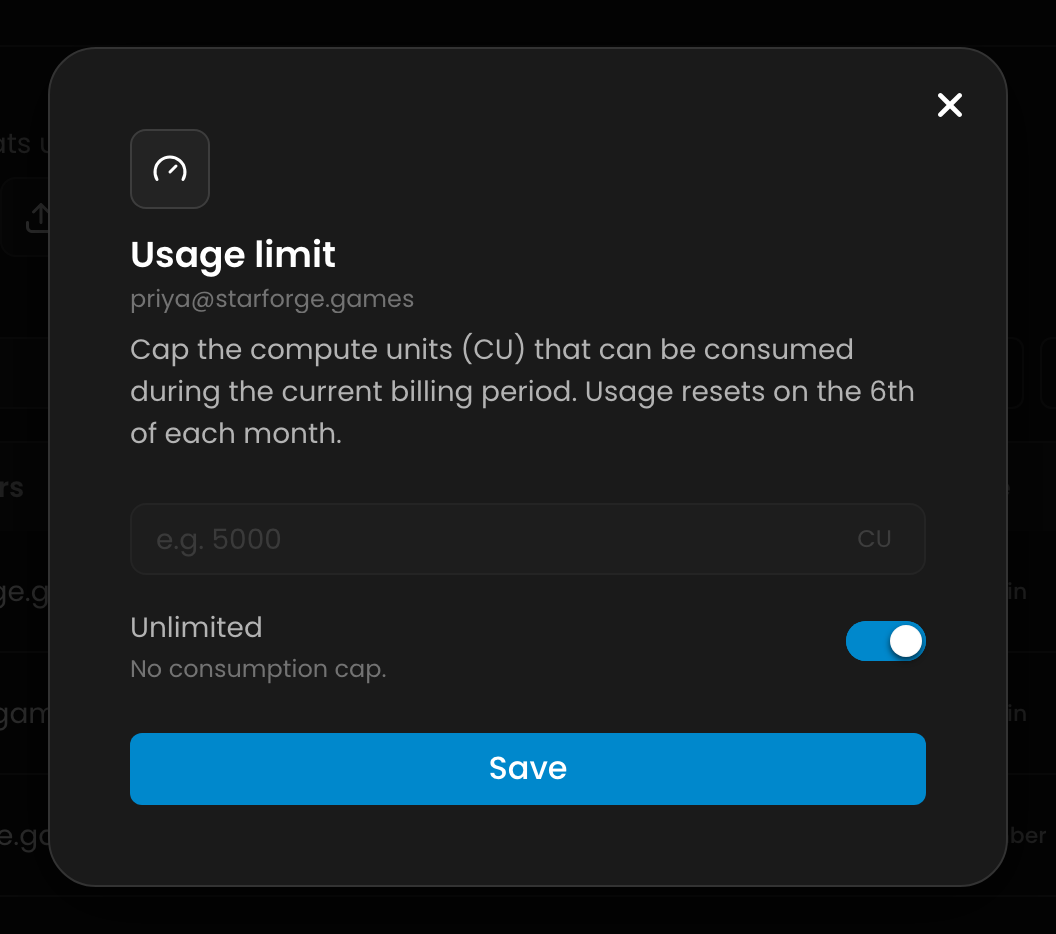
Default usage limit: on the same page, click Set limit to set a CU cap that applies to every member and API key that does not have its own limit.

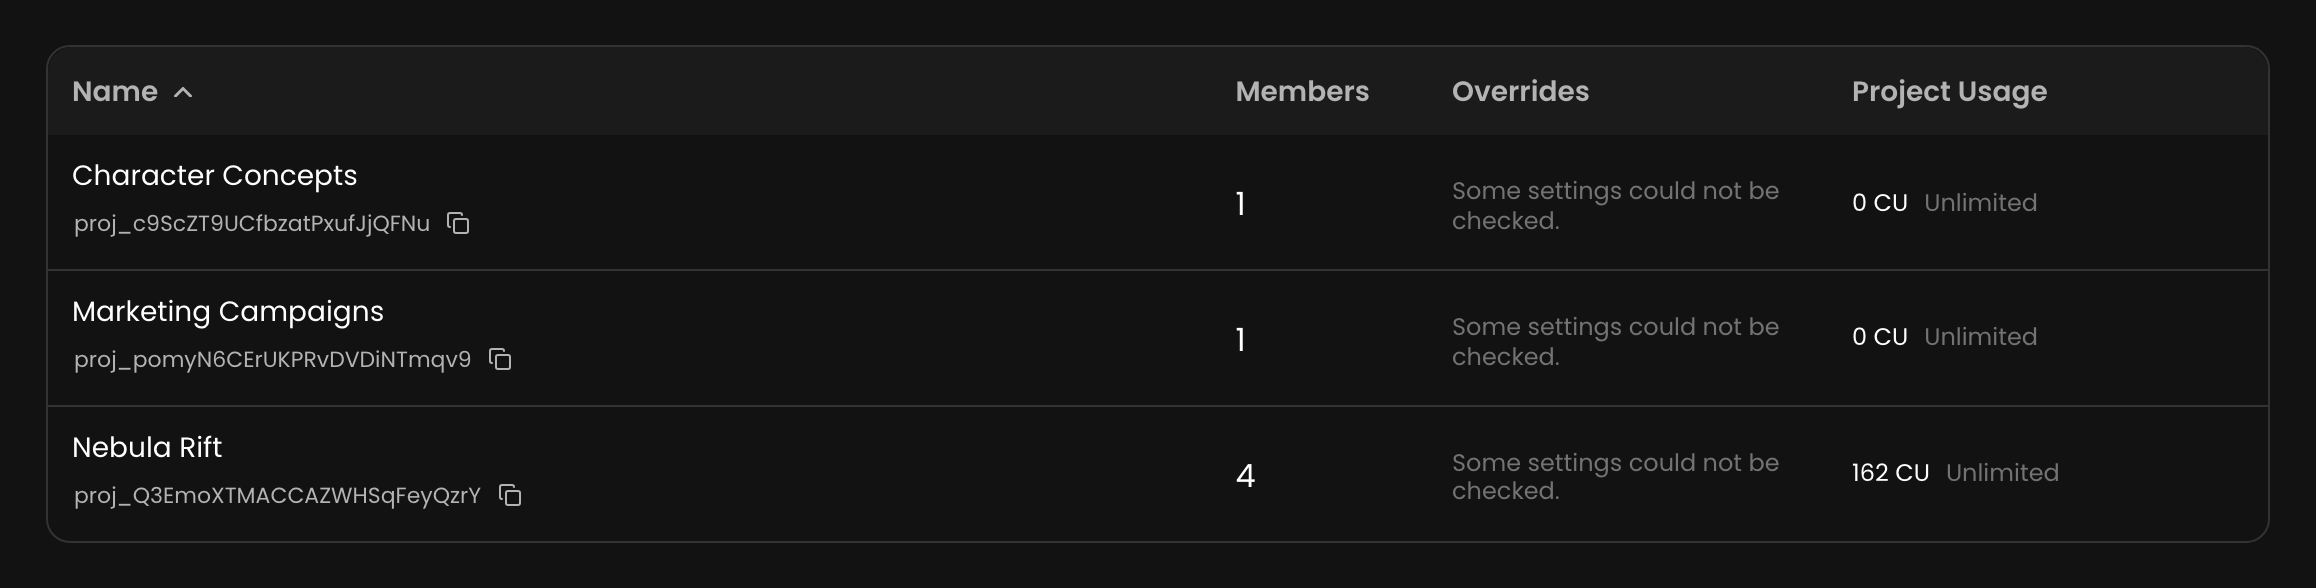
Settings → Organization → Projects: same usage bar per project. Only organization admins can change a project's cap; project owners can see it. A project's cap is also available in Settings → Project → Usage limit.
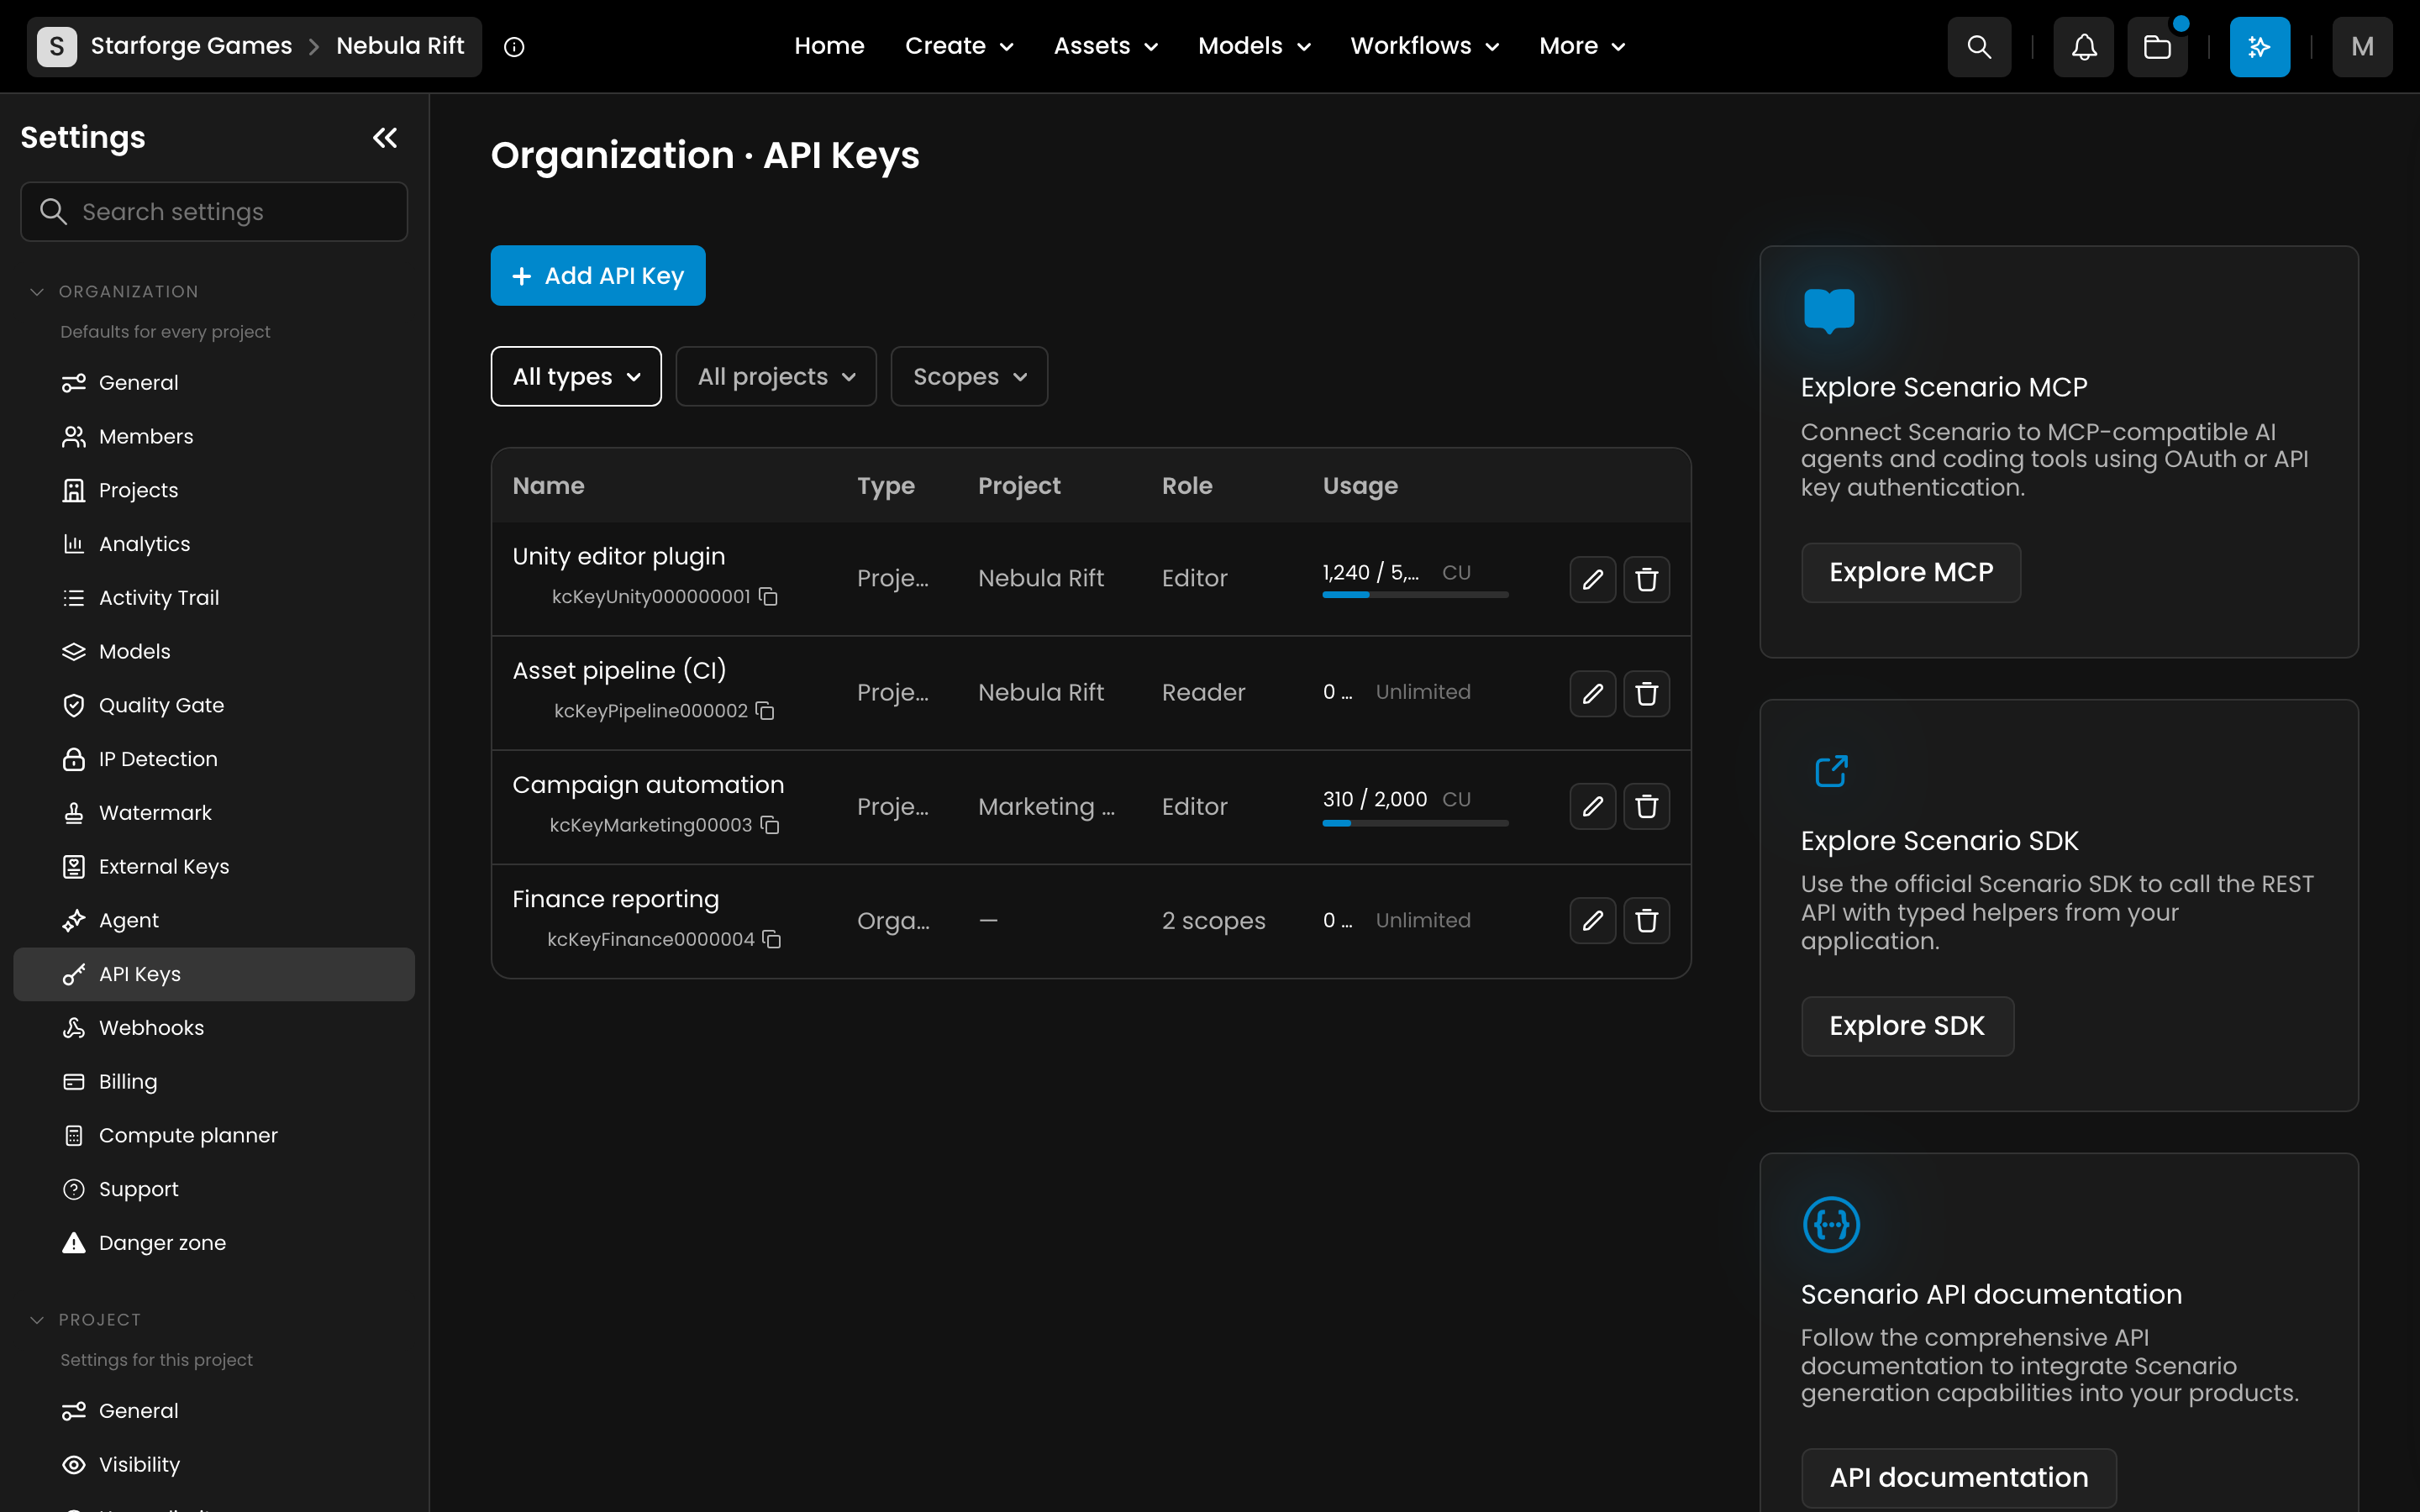
Settings → Organization → API Keys: set an optional CU cap when creating a key, or edit it later from the key's row.
What happens when you hit a limit
Plan allowance used up, with no top-up CU left: on Free and Starter, generation stops until your CU reset (every day at 00:00 UTC on Free, at your renewal date on Starter) or until you upgrade or buy CU. On Pro, Max and Enterprise, your organization switches to Relax mode: you can keep generating in the web app, with a wait between jobs. Requests made with an API key always stop at the limit.
Per-member or per-project cap reached: generation is blocked with a message explaining that the cap was reached, and that a team admin can raise or remove it from Members or Project settings.
Good to know
CU caps are independent of scopes. An API key's usage limit only restricts how much it can spend; it has no effect on which endpoints the key is allowed to call (that's what scopes are for, see API keys and scopes article.