Train a Style Model
Last updated: October 5, 2026
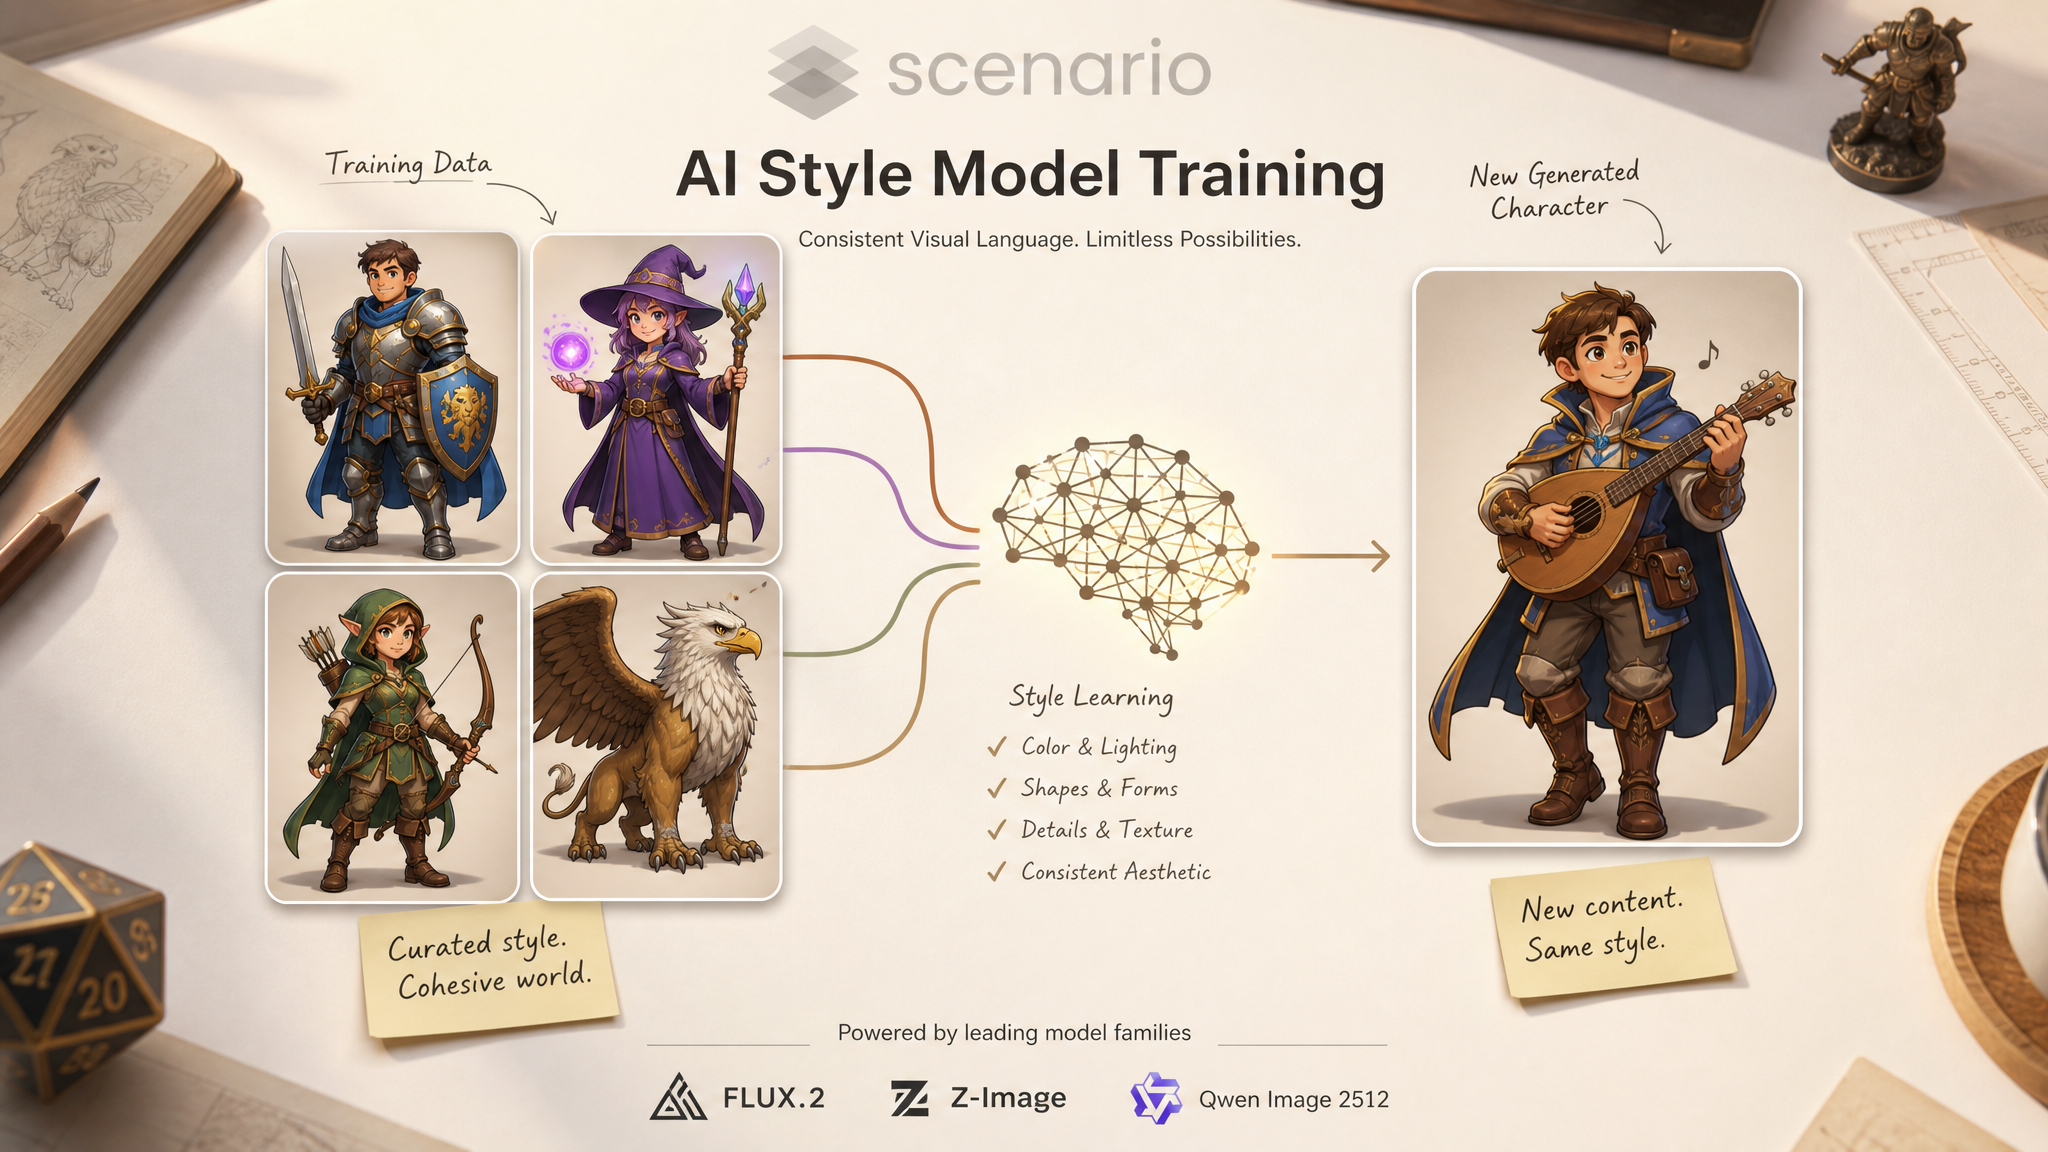
A style LoRA teaches Scenario a cohesive visual language (a color palette, lighting approach, brushwork, line weight, or any combination of aesthetic traits) and lets you apply it to any subject. This article covers what makes a strong style dataset, which base family to pick, and how to caption for style learning.
For the broader workflow and decision framework, see Basics of Model Training.
Before you start: training needs a Pro, Max or Enterprise plan on the organization selected in the context switcher, and at least 5 images whose shortest side is 700 pixels or more (the most you can add is 25 on Pro, 50 on Max and 100 on Enterprise). All four test prompts must be filled in. See Requirements in Basics of Model Training.
What is a Style Model?
A Style Model is a custom-trained AI model designed to replicate a specific aesthetic: a color palette, brushwork, line weight, a cartoon look, a 3D-rendered finish, a photographic grade, or any combination of these traits. By learning from a curated dataset with consistent stylistic traits, it generates new content that maintains the same visual identity across any subject.

The same prompt is applied to a custom-trained model (left) and to a base model (right). The custom-trained model immediately reproduces the style of the training images, even with a short prompt
Style Models have a wide range of applications. They can create uniform backgrounds and environments, generate a series of characters with matching proportions and style, design assets for games or animations, produce consistent illustrations for storytelling, or ensure a cohesive look across different scenes and elements in a project.
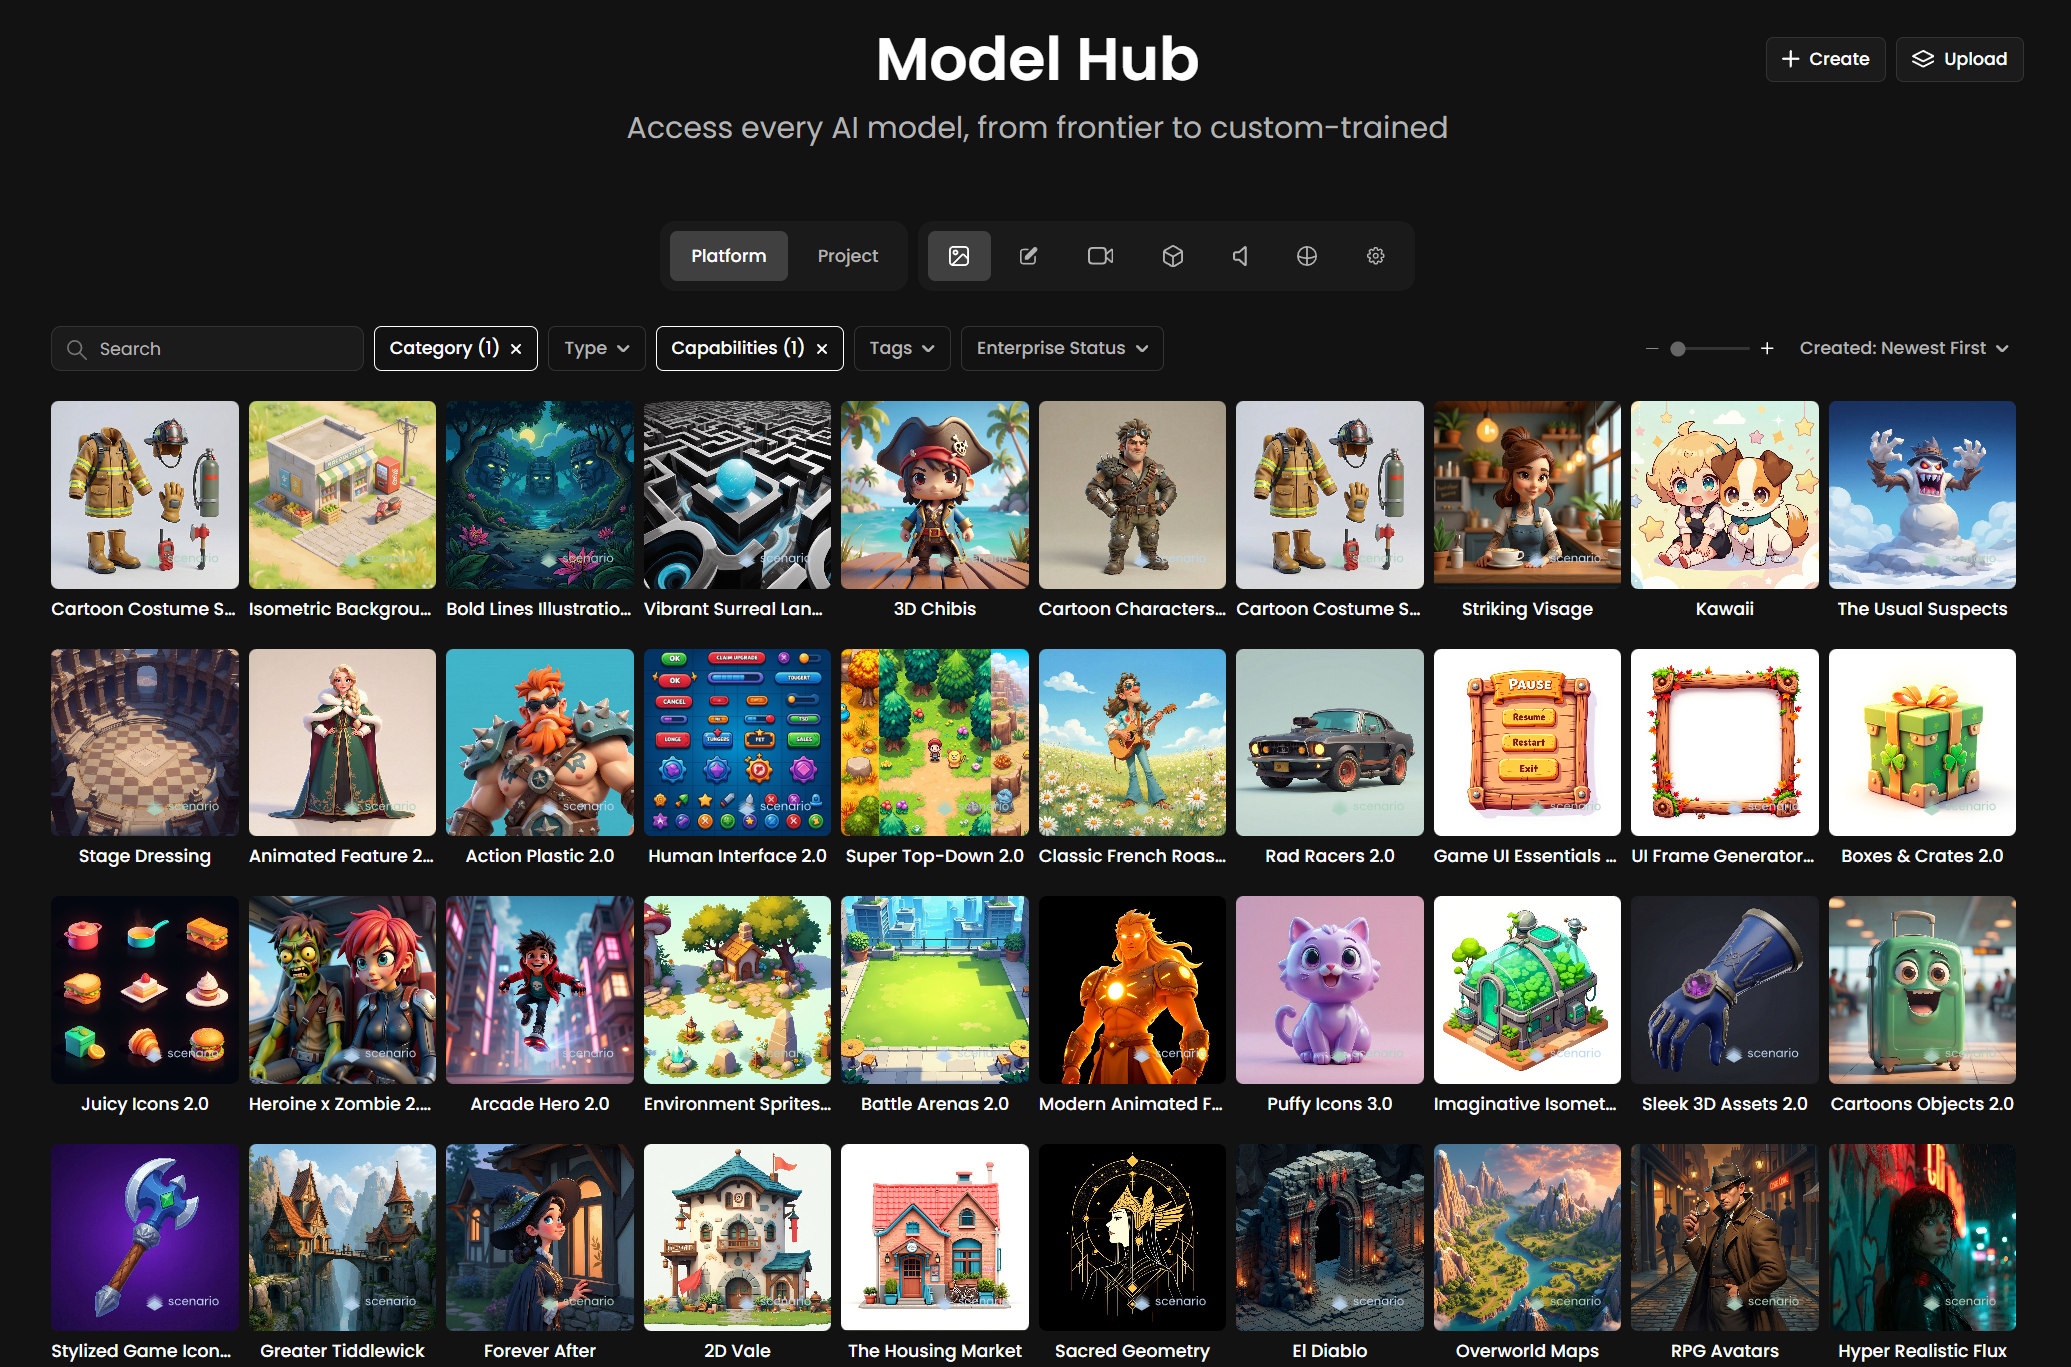
Some examples of Style Models available on Scenario
The big advantage is control. Instead of relying on unpredictable style prompts in every generation, you can focus on the subject or scene composition, knowing the AI has already "learned" the style and will naturally apply it to every generated image.
Style Models are also the easiest type of custom AI model to train, but a few best practices make a real difference. The most important factor is curating a high-quality, diverse dataset. The rest is mostly choosing the right base model and tuning a small number of training parameters.
This guide walks you through every step. For the broader workflow, see Basics of Model Training.
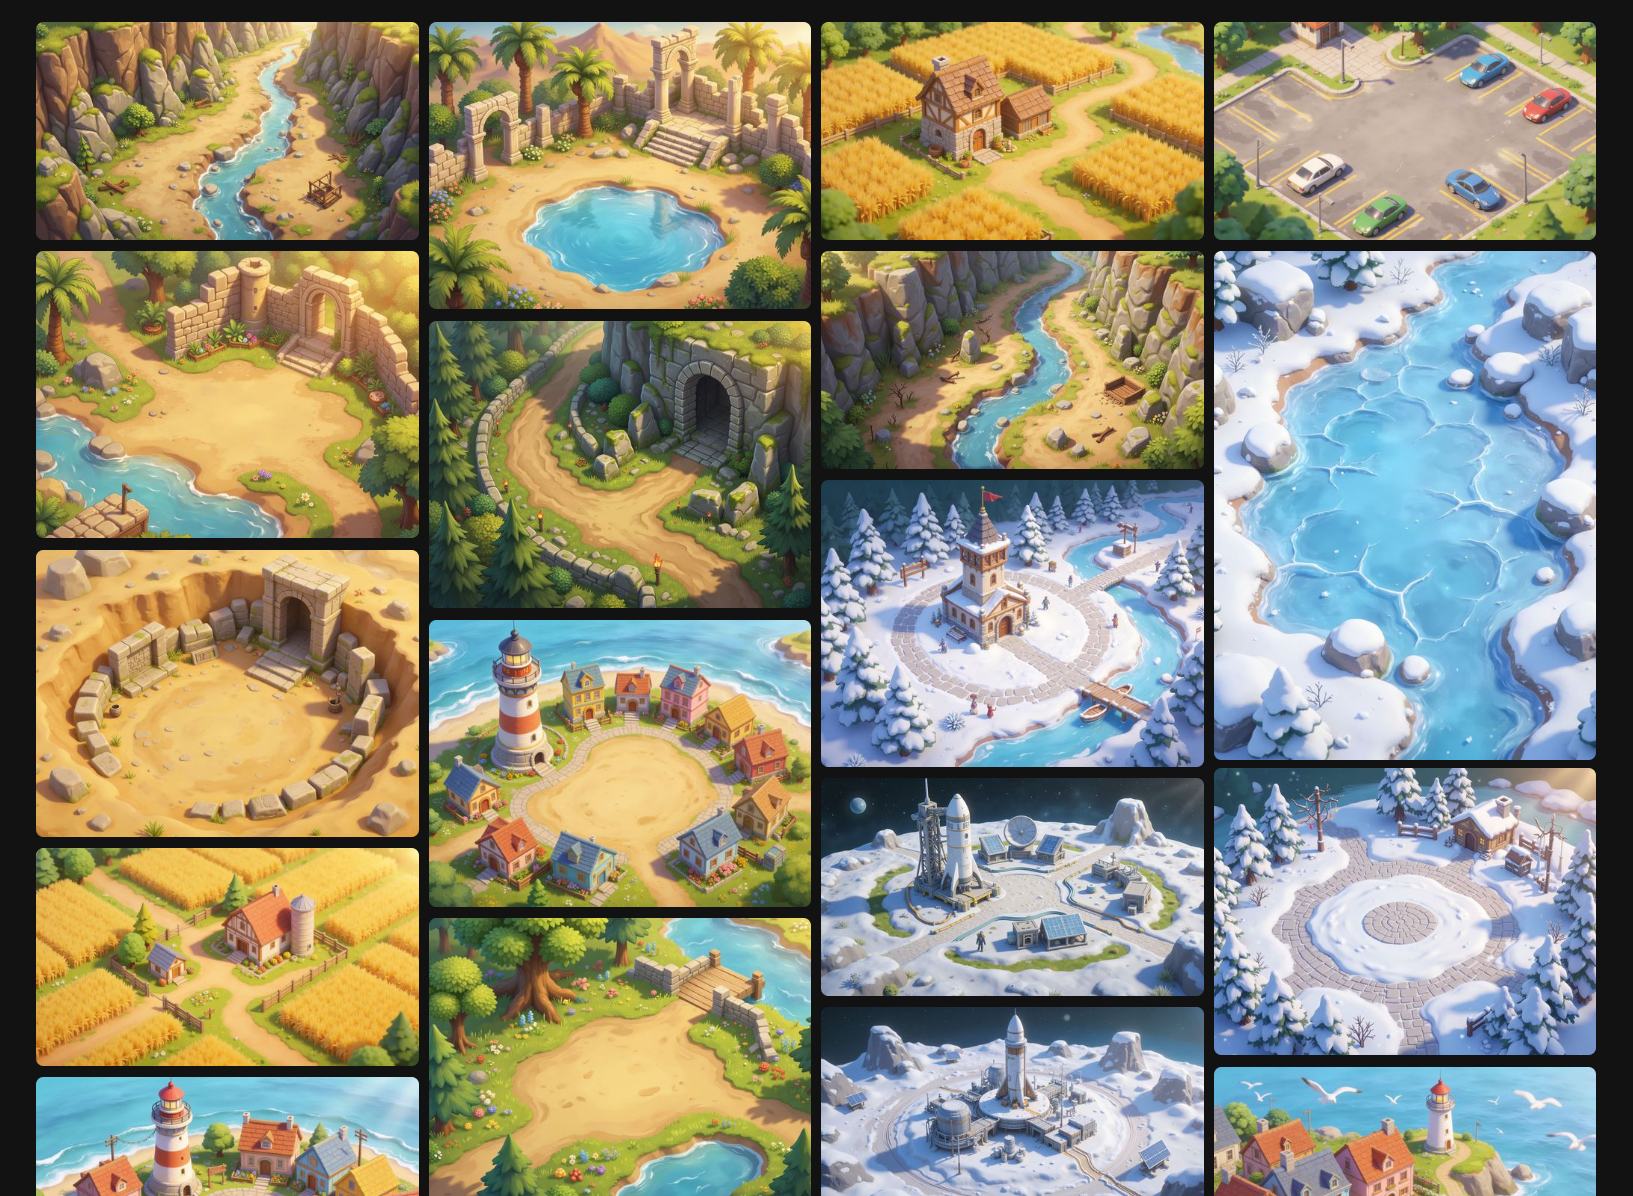
Style-consistent images generated with the “Isometric Background” model on Scenario
This guide walks you through the steps to create high-quality Style Models effectively.
Step 1: Pick a base model
From the main menu, navigate to Train > New Model to open the training interface. The first decision is which base model family you train on top of. Each family has its own strengths.
Family | Pick when |
|---|---|
Flux 2 (Dev / Klein 9B / Klein 4B) ⭐ | Default for new style models. Pick the variant by quality versus cost: Dev for hero work, Klein 9B for production, Klein 4B for fast iteration. |
Z-Image (Z-Image / Z-Image Turbo) | When you want fast inference at low cost (especially with the Turbo variant) and bilingual English/Chinese text rendering. Also strong for photoreal styles. |
Qwen Image 2512 | Cost-sensitive workflows, high-volume style runs, or styles that include readable text and signage. |
All three families handle both stylized and photorealistic styles: illustration, anime, painterly, film grades, photographic looks. The choice is about variant range, inference speed, and cost, not about whether your style is stylized or realistic.
Step 2: Curate and upload your training set
A well-curated dataset is the foundation of a great Style Model. Three rules cover most of it:
Image quality. Use high-resolution images (1024 x 1024 pixels or higher) so the model can capture fine details like textures and brushstrokes. If your images are too small, use the Enhance 2x tool to upscale them in one click.
Consistency in style. All images should share a cohesive aesthetic, whether through color palette, lighting logic, or artistic technique. This is what allows the model to apply the style consistently across new contexts.
Variety in subject. Within that consistency, include diverse subjects, environments, perspectives, and zoom levels. A strong dataset features different objects, scenes, and angles within the same style, making the model versatile. Avoid excessive repetition (such as five near-duplicate compositions); it limits the model's adaptability.
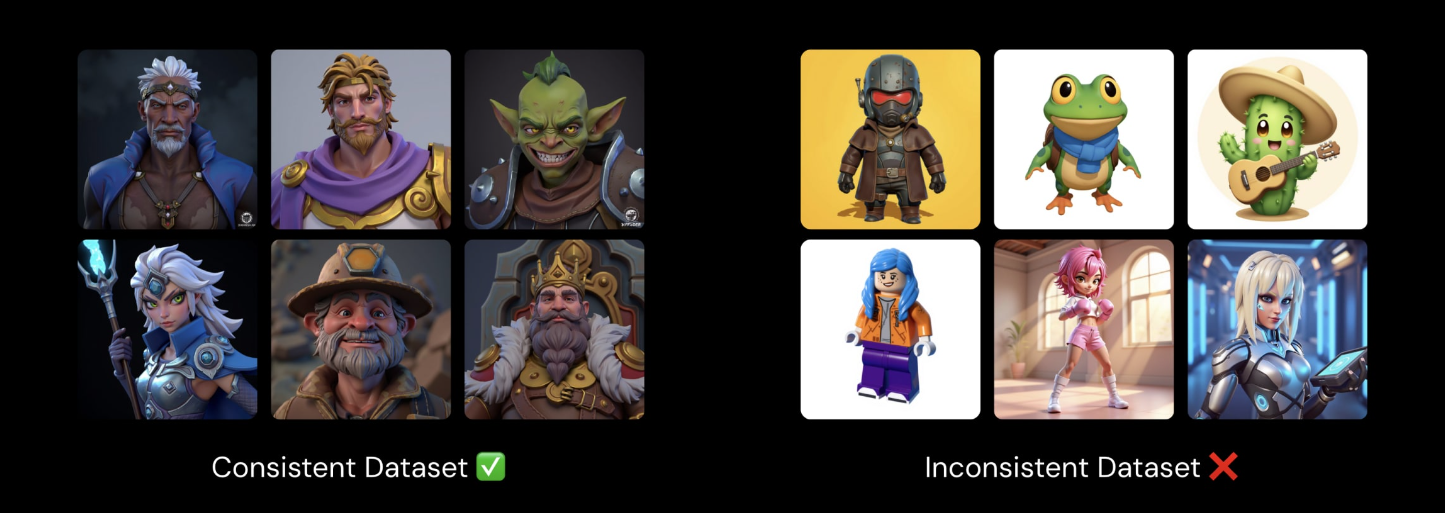
In this example , the dataset to the left is made with all very consistent images (same style, same proportion, same angle of view). The one to the right has images that do not share the same style
S4tep 3: Size your training set
When deciding on dataset size, less is more. A small, well-curated set (5 to 15 images) usually outperforms a larger one (30 to 50 images) that lacks variety or contains too many similar examples.
For beginners, we recommend starting with 10 to 15 high-quality images. As you gain experience, you can expand gradually for more nuanced styles. If your images are both consistent and diverse, stay on the smaller side (20 max) rather than reaching for the upper limits.
A dataset of 12 images that all feel like the same artist's hand will outperform a dataset of 40 mixed pieces every time.

Even just 10 images can give you a great style model, like this training dataset for “Top-down TD Game” on Scenario (link)
Step - Optional: Upscale or Crop Training Images
Training images can be uploaded in any format. Square images are optimal, but non-square images are accepted too. You have two options:
Crop your images to a square format before uploading for ideal results.
Upload images in any format and adjust cropping directly in Scenario's interface during upload.
If you upload landscape or portrait images without adjusting the crop, Scenario automatically fits the entire image into a square by default.
For greater flexibility, you can mix image formats: square crops for close-ups, landscape for full-scene shots. This works well when your dataset combines different framings such as portraits, half-body, full-body, or wide environment shots.
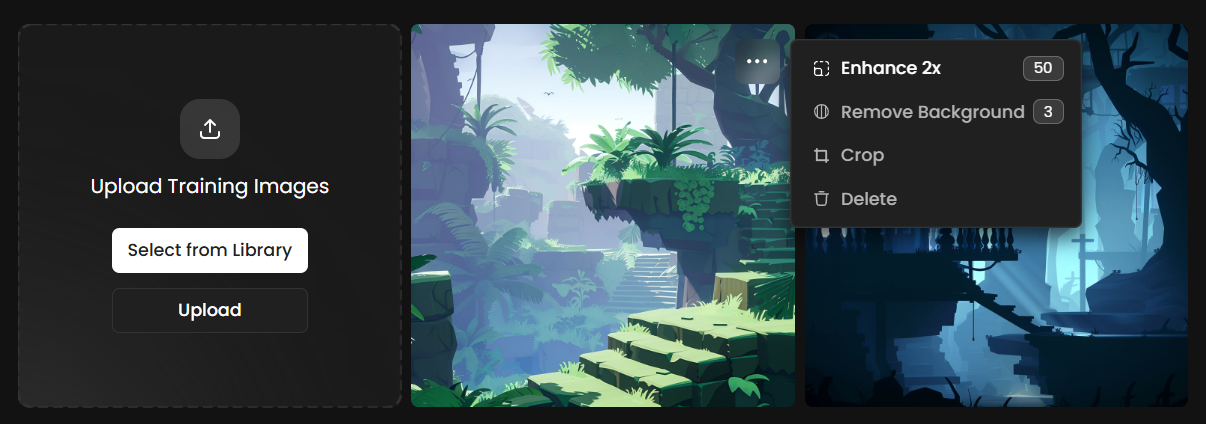
Low-resolution images are automatically detected. You can upscale them 2x in one click before training: open the three-dot menu on any image and select Enhance 2x.
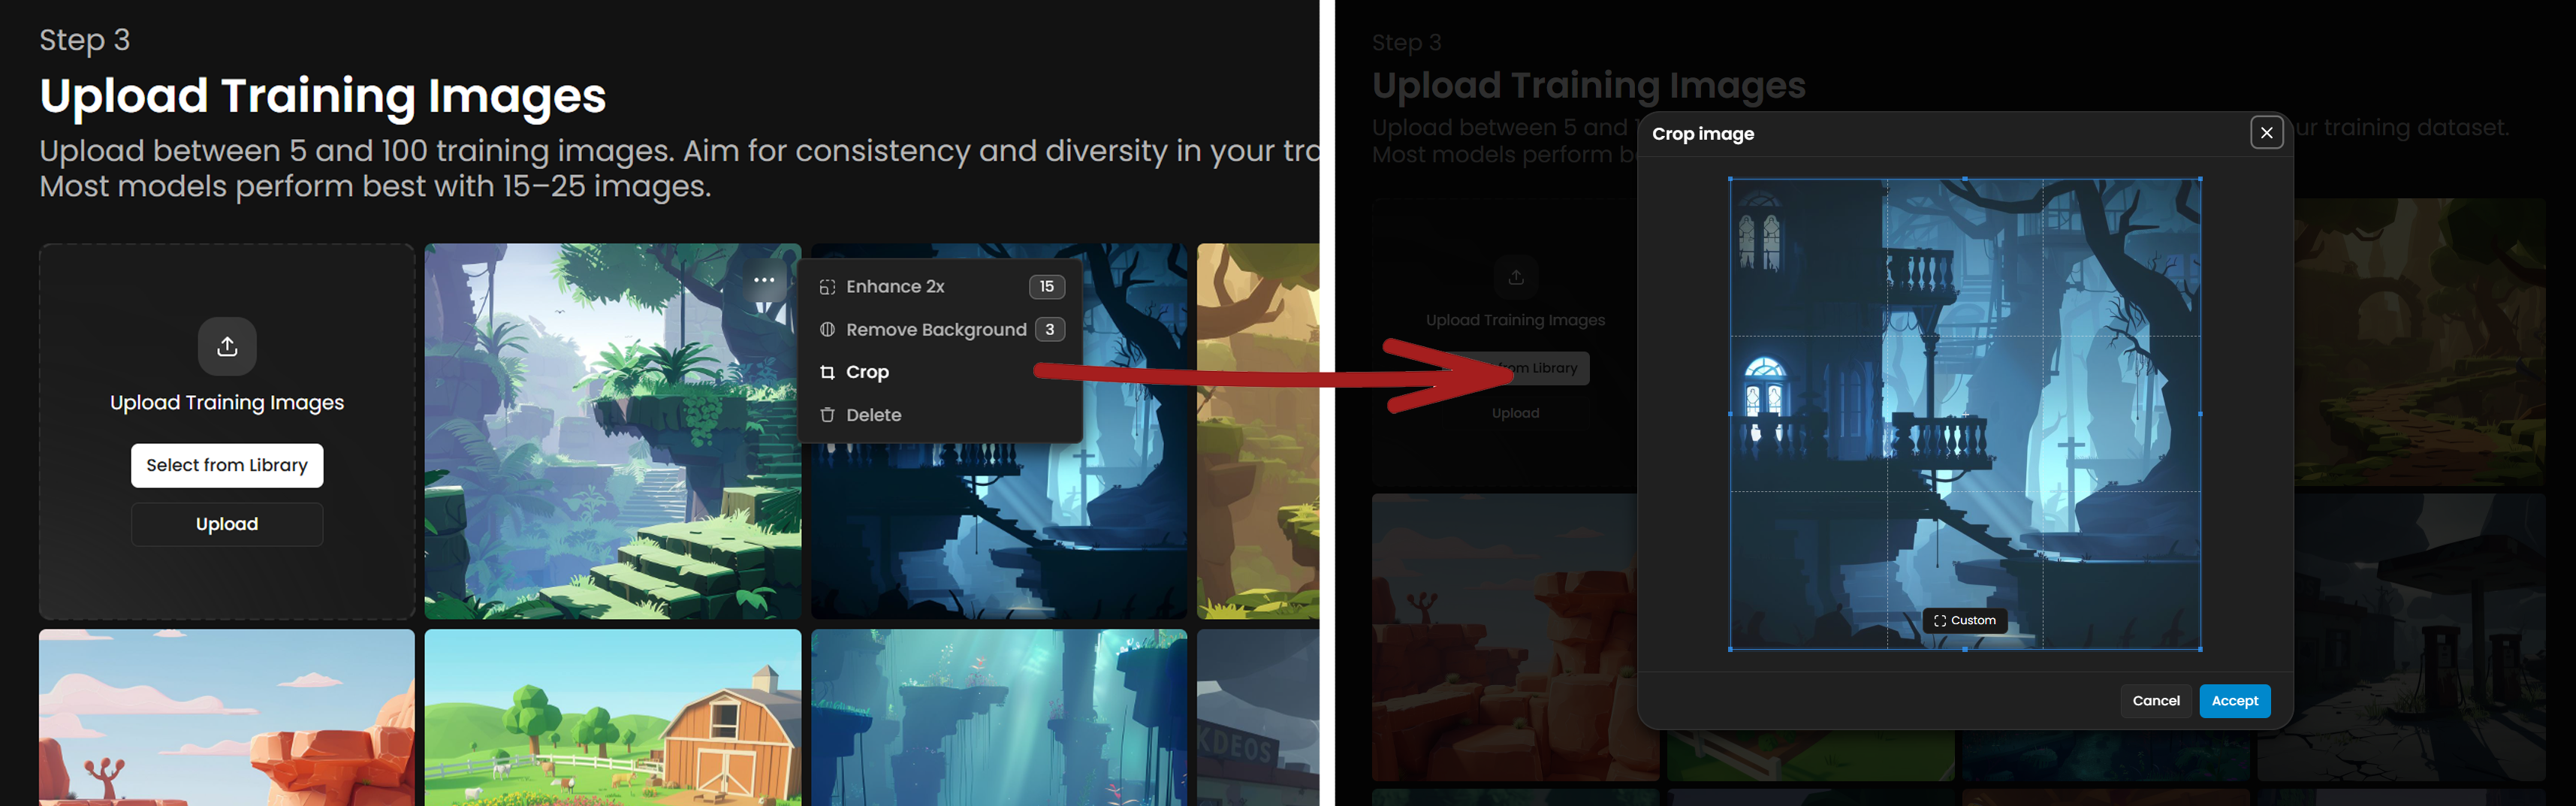
If you upload landscape or portrait images without adjusting the crop, Scenario automatically fits the entire image into a square by default.
For greater flexibility, you can mix image formats: square crops for close-ups, landscape for full-scene shots. This works well when your dataset combines different framings such as portraits, half-body, full-body, or wide environment shots.
Low-resolution images are automatically detected. You can upscale them 2x in one click before training: open the three-dot menu on any image and select Enhance 2x.
Low-resolution images are automatically detected. You can upscale them 2× in one click before starting training — simply open the three-dot menu and select Enhance 2x.
Step 5 - Caption Your Images
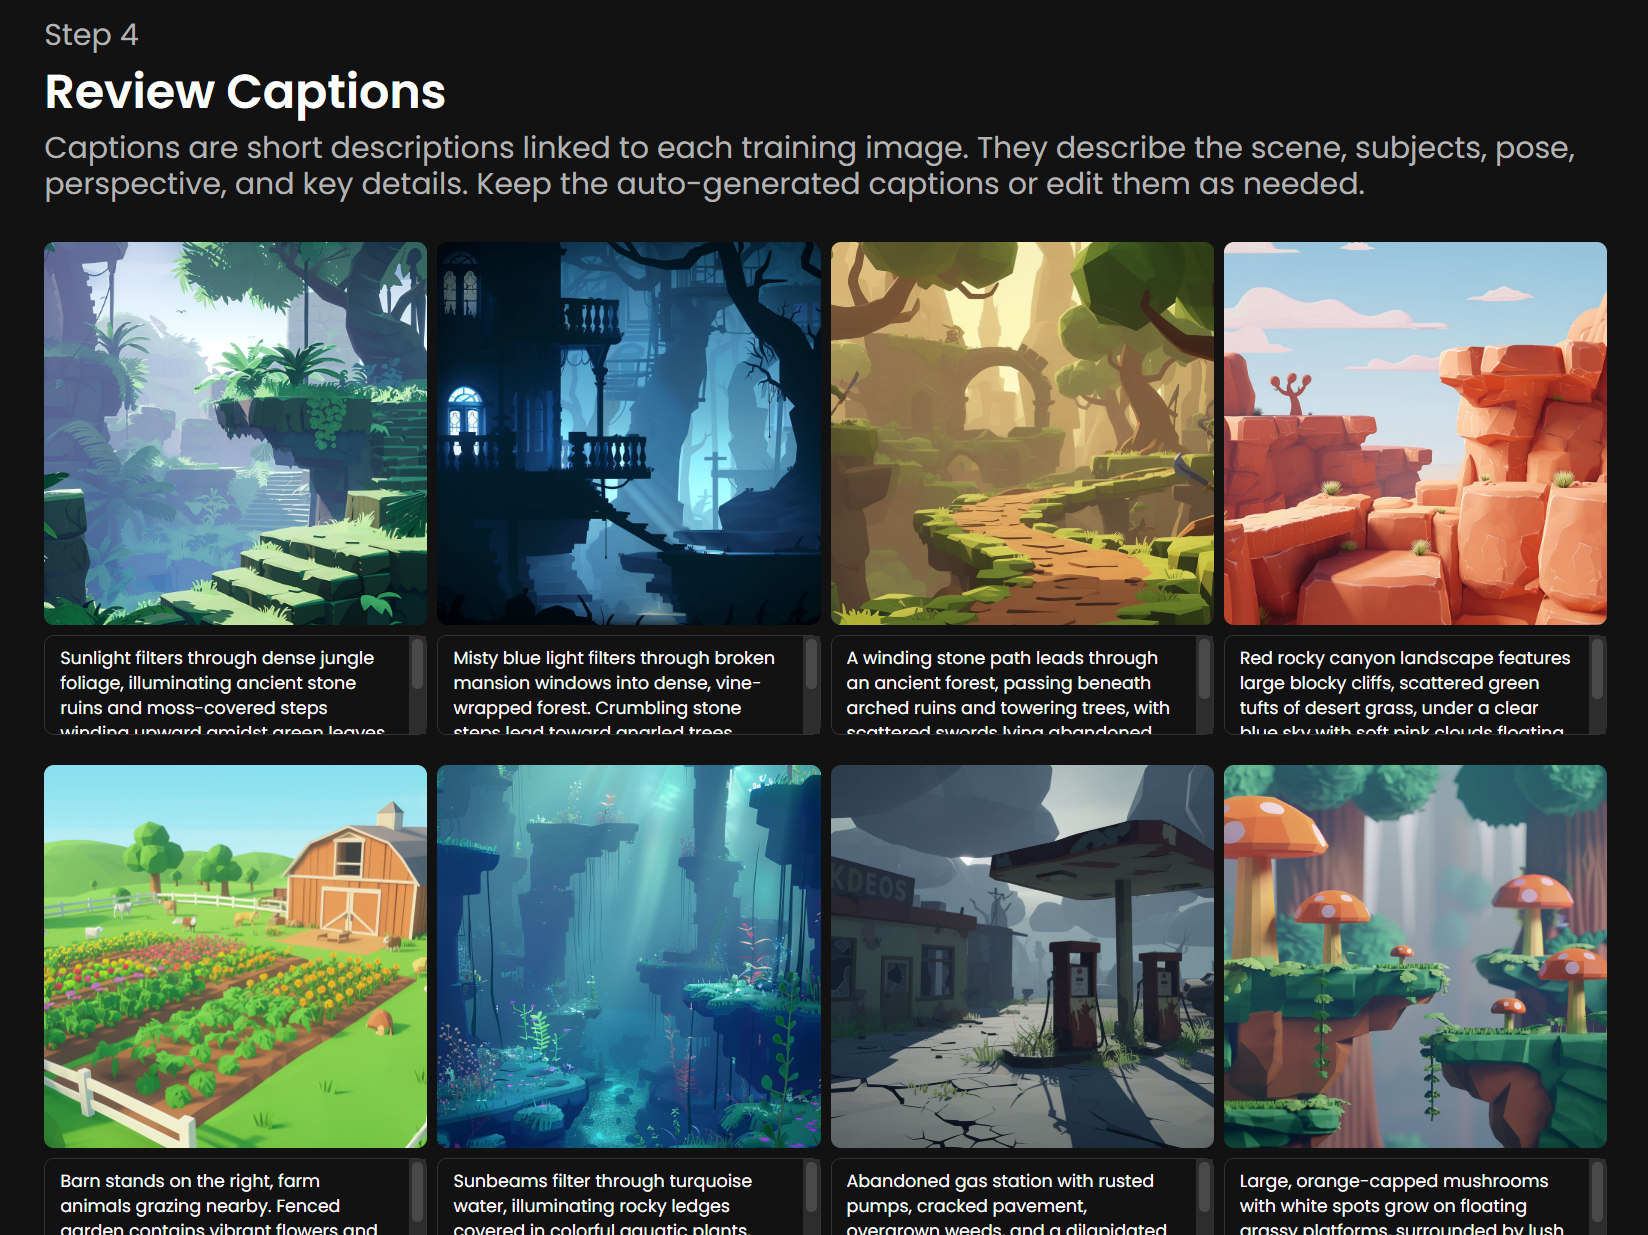
Once your dataset is uploaded, every image gets an auto-generated caption. Captions are short descriptions linked to each training image: they describe the scene, subjects, pose, perspective, and key details. Scenario's automated captioning works well in the vast majority of cases, but reviewing it is always recommended. You can edit captions by clicking on each image individually.
For style models, one rule is counterintuitive but critical: describe what is in the image, not the style itself. The style is what the model is supposed to learn implicitly across all images. If you describe it in captions, the model associates it with specific words rather than learning it as the underlying aesthetic.
Describe subject and content (subject, environment, pose, key visible details), not the style.
Match caption structure to your test prompts. If your test prompts are short and direct, your training captions should be too.
Trigger words are optional for style models. With Flux 2 and a diverse dataset, the model often learns the style organically without a trigger. For smaller or more subtle styles, a trigger word (such as
MYSTYLEorSTUDIO_LX) gives you precise activation control.Edit auto-captions aggressively. They tend to be generic. Be specific about elements that vary across images so the model learns them as variable, not fixed.
For more on captioning best practices, see Advanced Captioning.
Step 6: Set test prompts
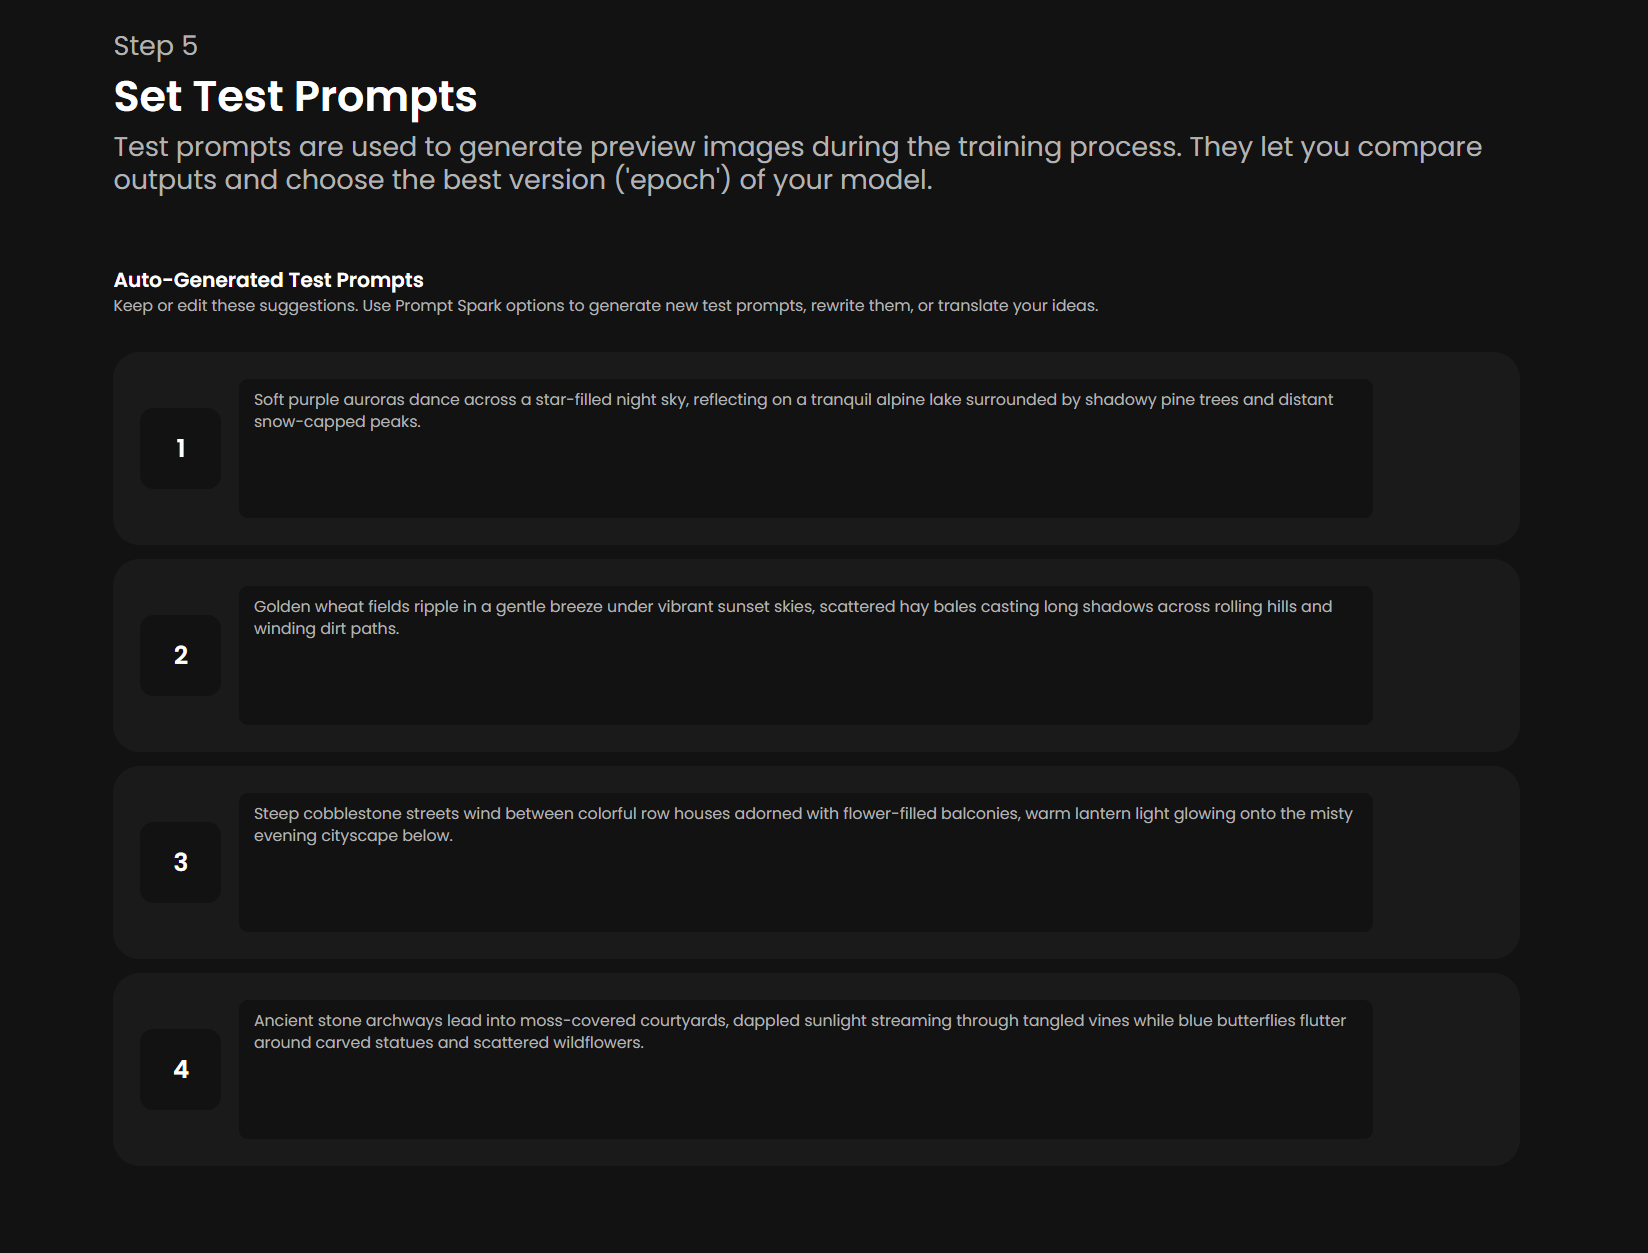
Before starting training, add four test prompts to monitor your model's progress and evaluate the quality of each epoch. All four are required: Next stays greyed out until each one is filled in.
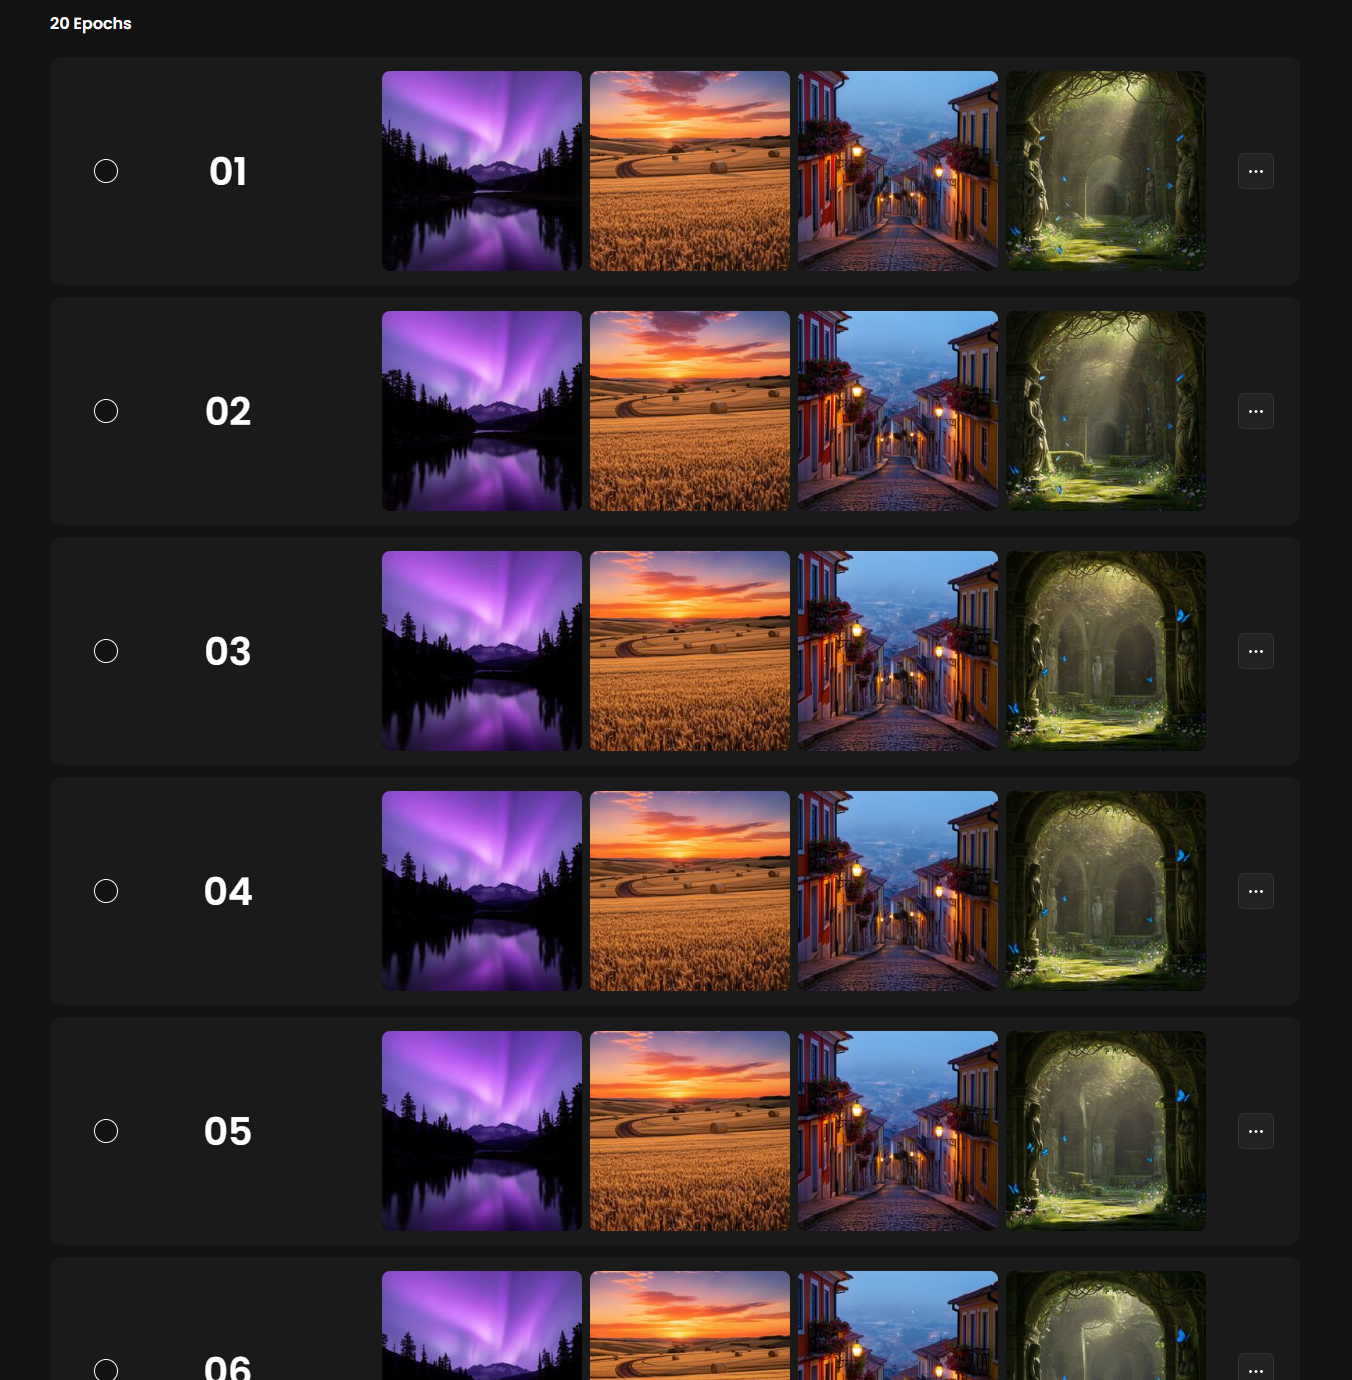
During training, the model generates one image per test prompt for every epoch. For example, with 4 test prompts and 10 epochs, you will receive 40 test images (4 per epoch). This gives you a built-in apples-to-apples grid to compare across epochs once training finishes.
You can quickly create these test prompts using Prompt Spark, Scenario's built-in prompting assistant (via the buttons to the right of each prompt field). For best results, make sure your test prompts follow a similar structure to your training captions; use the "Generate" or "Rewrite" tools to refine them if needed.
Use all four test slots for precise tracking. Style models benefit from running test prompts across very different subjects (a portrait, an environment, an object, a multi-element scene) so you can confirm the style generalizes.
Step 7: Configure training parameters
The defaults work for most style runs, so you can usually skip this step:
Learning Rate:
1e-4Text Encoder Learning Rate:
1e-5Batch Size:
1Repeats:
20Epochs:
10
If your dataset is at the edges of the recommended range, adjust by size:
Dataset size | Learning Rate | Epochs | Repeats |
|---|---|---|---|
5 to 10 images |
| 15 to 20 | 20 to 30 |
10 to 25 images |
| 10 | 15 to 20 |
25 to 50 images |
| 6 to 8 | 10 to 15 |
For deeper parameter tuning, see Advanced Training Parameters.
Step 8: Start training and monitor progress
Once everything is set, click Start Training and wait for the process to complete. Training time depends on your dataset size, the base model variant, and your training settings, and typically ranges from 30 minutes to 2 hours.
You will be notified when training finishes by email and through the Recent Tasks icon in the top menu (a red dot appears as soon as the job is complete).
During training, each epoch generates results using your test prompts, so you can watch how the model improves over time.
Step 9: Compare epochs and pick the best one
Once training is complete, compare two epochs side by side to determine which performs best. The last epoch is set as the default, but earlier epochs are often the better pick.
To compare, simply select two epochs, click Compare, and follow the on-screen options. Look for these signs:
Underfit signs: the style barely shows up; outputs look like the base model with a hint of your aesthetic.
Sweet spot: style is recognizable across diverse prompts, including subjects not in your training set.
Overfit signs: outputs reproduce specific compositions or subjects from training; prompt variations have little effect.
Earlier epochs tend to be more flexible; later epochs are more aggressive. The right pick depends on whether you will use the model alone or merged with others. Models meant for merging benefit from slightly under-baked styles.
Step 10: Finalize your model
Don't forget to finalize the process. Test your model with a few real prompts, then add a clear description, set tags, and pin a few representative example images so teammates can discover and trust it at a glance. See Improve and Refine Your Models for the full process, including retraining strategies if the first run misses.
Common pitfalls
Mixing two styles in one dataset. Train them separately and merge later (see Merge Custom-Trained Models).
Including reference photos that are not in the target style. They poison the dataset.
Captions that describe the style. This forces the model to associate the style with specific keywords rather than learning it implicitly.
One subject repeated across all images. The model learns the subject as part of the style.